Page 34 of 280

Cooling your vehicle with outside air
Cooling your vehicle with air conditioned outside air is quieter but less
economical than using recirculated air. It also has less cooling capacity.
In order to cool your vehicle using outside air:
1. Turn the mode selector to
(panel),(panel and floor) or
(floor).
2. Press the
A/C(A/C) control. The indicator light next to theA/C(A/C)
control will illuminate.
3. Slide the temperature control knob to the left.
4. Turn the fan speed control to the position of your choice.
During periods of high humidity, vapor may be emitted from the air
outlets when using the A/C system with outside air. This can be
corrected by using MAX A/C to cool the vehicle.
Operating tips
²In humid weather, selectbefore driving. This will reduce fogging
on your windshield. After a few minutes, select any desired position.
²To prevent humidity buildup inside the vehicle, do not drive with the
climate control system in the OFF or MAX A/C position.
²Do not put objects under the front seat that will interfere with the
airflow to the back seats.
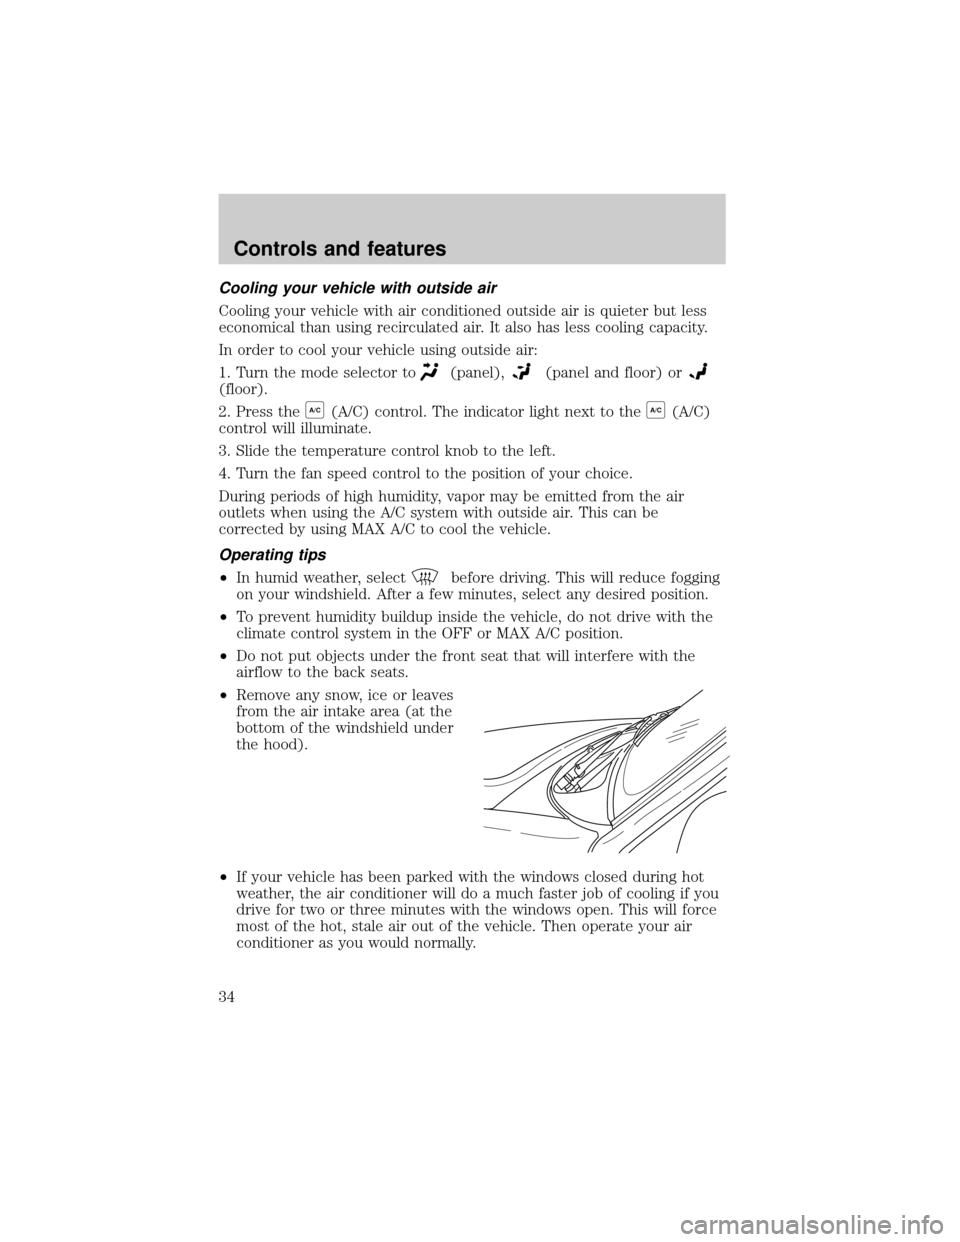
²Remove any snow, ice or leaves
from the air intake area (at the
bottom of the windshield under
the hood).
²If your vehicle has been parked with the windows closed during hot
weather, the air conditioner will do a much faster job of cooling if you
drive for two or three minutes with the windows open. This will force
most of the hot, stale air out of the vehicle. Then operate your air
conditioner as you would normally.
Controls and features
34
Page 106 of 280
Unlocking the doors
²3±button remote
²4±button remote
²5±button remote
Press this control to unlock the driver door and disarm the anti-theft
system (if equipped). The interior lamps will illuminate.
Press the control again within three seconds to unlock all doors and
liftgate. If the control is pressed a third time within three seconds, the
vehicle will chirp the horn once if all doors/hood are closed or twice if
any door/hood is open.
Controls and features
106
Page 108 of 280
Locking the doors
²3±button remote
²4±button remote
²5±button remote
Press this control to lock all doors and liftgate, turn off the interior lights
(if they were on) and arm the perimeter anti-theft system (if equipped).
To confirm doors/hood are closed and locked, press the control a second
time within three seconds. The door(s) will lock again and the horn will
chirp once.
If any of the doors are open or ajar, the horn will make two quick chirps,
reminding you to properly close all doors/hood.
Controls and features
108
Page 114 of 280

The system is ready to arm whenever the key is removed from the
ignition. Any of the following actions will prearm the alarm system:
²Press the remote entry lock control
²Press the interior power door lock control while the door is open
Twenty seconds after one of the above events occurs, any door/hood that
is closed is armed.
Any door/hood that still open is prearmed and waiting for the door/hood
to be closed.
Once that input is closed, the input will arm in 20 seconds and the
exterior lamps may flash.
Disarming the system
You can disarm the system by any of the following actions:
²Press the transmitter unlock control.
²Unlock the doors with a key.
²Turn a programmed SecuriLock key to RUN /START.
SECURILOCKYPASSIVE ANTI-THEFT SYSTEM
Your vehicle is equipped with a coded-key anti-theft system. Only the
correct keywill be able to start your vehicle. If your keys are lost or
stolen, you must take your vehicle to your dealership for key
reprogramming.
This system provides an advanced level of vehicle theft protection. Your
vehicle's engine can only be started with the two coded keys provided
with your vehicle. Each time you start your vehicle, the coded key is
read by the anti-theft system. If the key identification code matches the
code stored in the anti-theft system, the vehicle's engine is allowed to
start. If the key identification code does not match the code stored in
the system or if a coded key is not detected (vehicle theft situation), the
vehicle's engine will not operate.
If there is any anti-theft problem with your vehicle, ensureALL coded
keysfor that vehicle are brought to the dealership, to aid in
troubleshooting.
The SecuriLockypassive anti-theft system is not compatible with
aftermarket remote start systems. Use of these systems may result in
vehicle starting problems and a loss of security protection. Large metallic
objects, electronic devices on the key chain that can be used to purchase
Controls and features
114
Page 204 of 280
Do not start your engine with the air cleaner removed and do
not remove it while the engine is running.
OPENING THE HOOD
1. Inside the vehicle, pull the hood
release handle located under the
bottom left corner of the instrument
panel.
2. Go to the front of the vehicle and release the auxiliary latch that is
located under the front center of the hood.
3. Lift the hood and secure it with the prop rod. Your vehicle's hood has
two locations for the prop rod to be placed. These locations provide two
different hood opening positions. Use the location which best suits your
needs.
HOOD
Maintenance and care
204
Page 207 of 280
1. Make sure the vehicle is on level ground.
2. Turn the engine off and wait a few minutes for the oil to drain into the
oil pan.
3. Set the parking brake and ensure the gearshift is securely latched in P
(Park).
4. Open the hood. Protect yourself from engine heat.
5. Locate and carefully remove the
engine oil level indicator (dipstick).
6. Wipe the indicator clean. Insert the indicator fully, then remove it
again.
²If the oil level isbetween the MIN and MAX marks,the oil level is
acceptable.DO NOT ADD OIL.
MAX MIN
Maintenance and care
207
Page 221 of 280
To replace the filter, perform the following procedure:
1. Release and open the hood.
2. Locate the cabin air filter access cover.
HOOD
Maintenance and care
221
Page 241 of 280

Do not remove lamp bulbs unless they will be replaced immediately. If a
bulb is removed for an extended period of time, contaminants may enter
the lamp housings and affect performance.
Replacing headlamp bulbs
To remove the headlamp bulb:
1. Make sure headlamp switch is in OFF position, then open the hood.
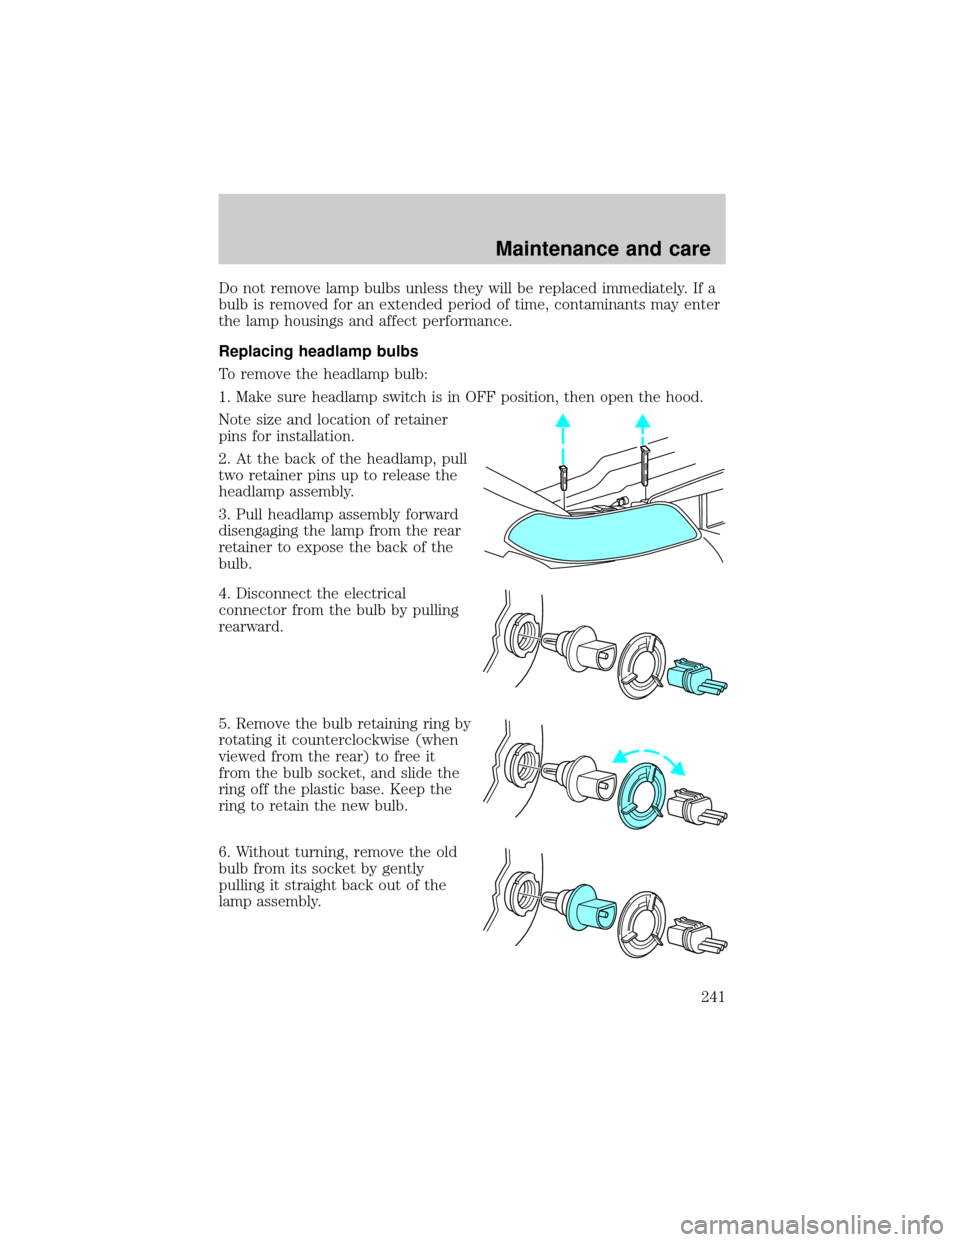
Note size and location of retainer
pins for installation.
2. At the back of the headlamp, pull
two retainer pins up to release the
headlamp assembly.
3. Pull headlamp assembly forward
disengaging the lamp from the rear
retainer to expose the back of the
bulb.
4. Disconnect the electrical
connector from the bulb by pulling
rearward.
5. Remove the bulb retaining ring by
rotating it counterclockwise (when
viewed from the rear) to free it
from the bulb socket, and slide the
ring off the plastic base. Keep the
ring to retain the new bulb.
6. Without turning, remove the old
bulb from its socket by gently
pulling it straight back out of the
lamp assembly.
Maintenance and care
241