2000 FORD TAURUS warning
[x] Cancel search: warningPage 43 of 232

POWER ADJUSTABLE FOOT PEDALS (IF EQUIPPED)
Press and hold the rocker control
(located on the side of the driver's
seat) to adjust accelerator and
brake pedal.
²press the rear side of the control
to adjust the pedals toward you
²press the front side of the control to adjust the pedals away from you
The adjustment allows for approximately 76mm (3 inches) of maximum
travel.
Never adjust the accelerator and brake pedal with feet on pedals
or while the vehicle is moving.
TRACTION CONTROLY(IF EQUIPPED)
This control can be used to turn the
Traction Controlyon or off. Refer
to theTraction Controlysection of
theDrivingchapter for more
information.
POSITIONS OF THE IGNITION
1. ACCESSORY, allows the electrical
accessories such as the radio to
operate while the engine is not
running.
2. LOCK, locks the steering wheel,
automatic transmission gearshift
lever and allows key removal.
3. OFF, shuts off the engine without
locking the steering wheel.
4. ON, all electrical circuits
operational. Warning lights illuminated with engine off. Key position
when driving.
5. START, cranks the engine. Release the key as soon as the engine
starts.
PEDALS
T/C O
F
F
1
23
4
5
Controls and features
43
Page 79 of 232

²The electrical wiring for the air bags, crash sensor(s), safety belt
pretensioners, front safety belt usage sensors and driver's seat position
sensor.
How does the personal safety system work?
The Personal Safety System uses a collection of sensors to gather
information about the driver's seat position, driver and front outboard
passenger's safety belt usage and accident severity. Then, dual-stage
inflating air bags are combined with safety belt pretensioners and energy
management retractors to help provide enhanced occupant protection in
frontal crashes.
The driver's seat position sensor determines if the seat is fore or aft of a
reference position. Similarly, the safety belt usage sensors determine if
the driver and front outboard passenger safety belts are fastened. These
sensors provide the ability to tailor the air bag deployment based upon
how close the driver's seat is to the steering wheel and whether or not
the safety belts are fastened.
The dual-stage air bags offer the ability to tailor the air bag inflation with
two energy levels. A lower, less forceful energy level is provided for more
common, moderate-severity impacts. A higher energy level is provided
for the most severe impacts. Whether or not the air bag deploys at all
can also be different for the driver versus the passenger based upon
driver's seat position and safety belt usage allowing further tailoring of
the system.
Determining if the personal safety system is operational
The Personal Safety System uses a warning indicator light in the
instrument cluster or a back-up tone to indicate the condition of the
system. Refer to theRestraints Warning Indicatorsection in the
Instrumentationchapter. Routine maintenance of the Personal Safety
System is not required.
The RCM (restraints control module) monitors its own internal circuits
and the circuits for the air bag supplemental restraints, crash sensor(s),
safety belt pretensioners, front safety belt usage sensors and driver's seat
position sensor. In addition, the RCM also monitors the restraints
warning indicator light in the instrument cluster. A difficulty with the
system is indicated by one or more of the following:
²The indicator light will either
flash or stay lit.
Seating and safety restraints
79
Page 89 of 232

While you are fastened in the seat belt, the shoulder belt adjusts to your
movement. However, if you brake hard, turn hard or your vehicle
receives an impact of 8 km/h (5 mph) or more, the safety belt will
become locked and help reduce your forward movement.
To unfasten the belt, push the red release button on the end of the
buckle. This allows the tongue to unlatch from the buckle. While the belt
retracts, guide the tongue to its original position to prevent it from
striking you or the vehicle.
Safety belt extension assembly
If the safety belt assembly is too short, even when fully extended, 20 cm
(8 inches) can be added to the safety belt assembly by adding a safety
belt extension assembly (part number 611C22). Safety belt extension
assemblies can be obtained from your dealer at no cost.
Use only extensions manufactured by the same supplier as the safety
belt. Manufacturer identification is located at the end of the webbing on
the label. Also, use the safety belt extension only if the safety belt is too
short for you when fully extended. Do not use extensions to change the
fit of the shoulder belt across the torso.
Safety belt warning light and indicator chime
The seat belt warning light illuminates in the instrument cluster and a
chime sounds to remind the occupants to fasten their safety belts.
Conditions of operation
If... Then...
The driver's safety belt is not
buckled before the ignition
switch is turned to the ON
position...The safety belt warning light
illuminates1-2 minutes and the
warning chime sounds 4-8 seconds.
The driver's safety belt is
buckled while the indicator
light is illuminated and the
warning chime is sounding...The safety belt warning light and
warning chime turn off.
The driver's safety belt is
buckled before the ignition
switch is turned to the ON
position...The safety belt warning light and
indicator chime remain off.
Seating and safety restraints
89
Page 90 of 232

Belt minder (if equipped)
The Belt Minder feature is a supplemental warning to the safety belt
warning function. This feature provides additional reminders to the
driver that the driver's safety belt is unbuckled by intermittently
sounding a chime and illuminating the safety belt warning lamp in the
instrument cluster.
If... Then...
The driver's safety belt is not
buckled before the vehicle has
reached at least 5 km/h (3
mph) and 1-2 minutes have
elapsed since the ignition
switch has been turned to
ON...The Belt Minder feature is activated -
the safety belt warning light
illuminates and the warning chime
sounds for 6 seconds every 30
seconds, repeating for approximately
5 minutes or until safety belt is
buckled.
The driver's safety belt is
buckled while the safety belt
indicator light is illuminated
and the safety belt warning
chime is sounding...The Belt Minder feature will not
activate.
The driver's safety belt is
buckled before the ignition
switch is turned to the ON
position...The Belt Minder feature will not
activate.
The purpose of the Belt Minder is to remind occasional wearers to wear
safety belts all of the time.
Seating and safety restraints
90
Page 92 of 232

One time disable
Anytime the safety belt is buckled and then unbuckled during an ignition
ON cycle, Belt Minder will be disabled for that ignition cycle only. The
safety belt needs to be latched for a minimum of 3 seconds before belt
minder is disabled.
Deactivating/activating the belt minder feature
Read steps1-9thoroughly before proceeding with the
deactivation/activation programming procedure.
The Belt Minder feature can be deactivated/activated by performing the
following procedure:
Before following the procedure, make sure that:
²the parking brake is set
²the gearshift is in P (Park) (automatic transmission).
²the ignition switch is in the OFF position
²all vehicle doors are closed
²the driver's safety belt is unbuckled
²the parklamps/headlamps are in OFF position (If vehicle is equipped
with Autolamps, this will not affect the procedure.)
To reduce the risk of injury, do not deactivate/activate the Belt
Minder feature while driving the vehicle.
1. Turn the ignition switch to the RUN (or ON) position. (DO NOT
START THE ENGINE)
2. Wait until the safety belt warning light turns off. (Approximately 1±2
minutes)
²Steps 3±5 must be completed within 60 seconds or the procedure will
have to be repeated.
3. Buckle then unbuckle the safety belt three times, ending with the
safety belt unbuckled. This can be done before or during Belt Minder
warning activation.
4. Turn on the parklamps/headlamps, turn off the parklamps/headlamps.
5. Buckle then unbuckle the safety belt three times, ending with the
safety belt unbuckled.
Seating and safety restraints
92
Page 93 of 232

²After step 5 the safety belt warning light will be turned on for three
seconds.
6. Within seven seconds of the safety belt warning light turning off,
buckle then unbuckle the safety belt.
²This will disable Belt Minder if it is currently enabled, or enable Belt
Minder if it is currently disabled.
7. Confirmation of disabling Belt Minder is provided by flashing the
safety belt warning light four times per second for three seconds.
8. Confirmation of enabling Belt Minder is provided by flashing the safety
belt warning light four times per second for three seconds, followed by
three seconds with the safety belt warning light off, then followed by
flashing the safety belt warning light four times per second for three
seconds again.
9. After receiving confirmation, the deactivation/activation procedure is
complete.
Safety belt maintenance
Inspect the safety belt systems periodically to make sure they work
properly and are not damaged. Inspect the safety belts to make sure
there are no nicks, wears or cuts, replacing if necessary. All safety belt
assemblies, including retractors, buckles, front seat belt buckle
assemblies, buckle support assemblies (slide bar-if equipped), shoulder
belt height adjusters (if equipped), shoulder belt guide on seatback (if
equipped), child safety seat tether bracket assemblies (if equipped), and
attaching hardware, should be inspected after a collision. Ford
recommends that all safety belt assemblies used in vehicles involved in a
collision be replaced. However, if the collision was minor and a qualified
technician finds that the belts do not show damage and continue to
operate properly, they do not need to be replaced. Safety belt assemblies
not in use during a collision should also be inspected and replaced if
either damage or improper operation is noted.
Failure to inspect and if necessary replace the safety belt
assembly under the above conditions could result in severe
personal injuries in the event of a collision.
Refer toCleaning and maintaining the safety beltsin the
Maintenance and caresection.
Seating and safety restraints
93
Page 97 of 232

Determining if the system is operational
The supplemental restraint system uses a warning indicator in the
instrument cluster or a back-up tone to indicate the condition of the
system. Refer to theRestraints Warning Indicatorsection in the
Instrumentationchapter. Routine maintenance of the air bag is not
required.
A difficulty with the system is indicated by one or more of the following:
²The readiness light (same light
for front and side air bag system)
will either flash or stay lit.
²The readiness light will not
illuminate immediately after ignition is turned on.
²A series of five beeps will be heard. The tone pattern will repeat
periodically until the problem and light are repaired.
If any of these things happen, even intermittently, have the supplemental
restraint system serviced at your dealership or by a qualified technician
immediately. Unless serviced, the system may not function properly in
the event of a collision.
How do the air bag supplemental restraints work?
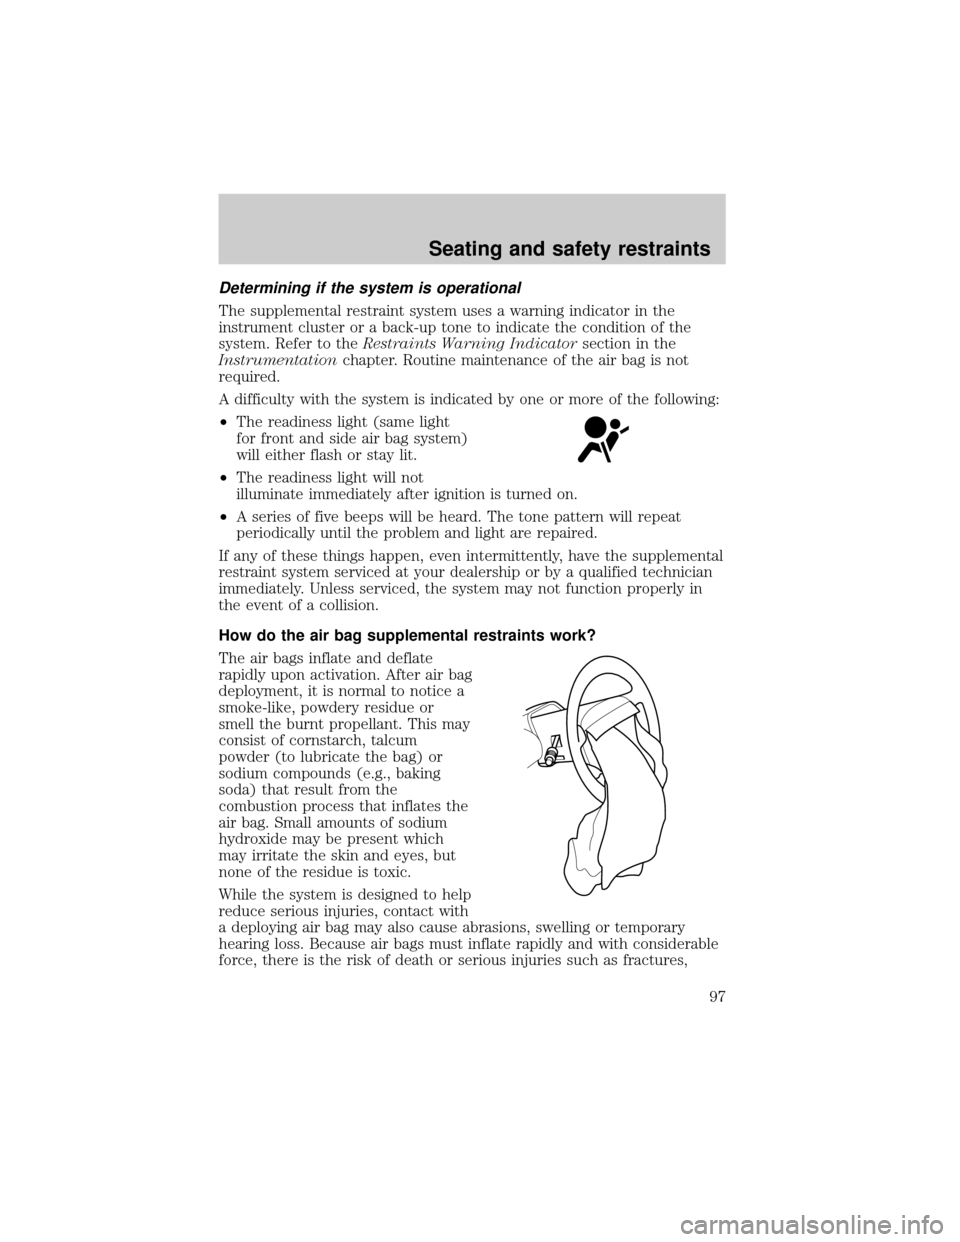
The air bags inflate and deflate
rapidly upon activation. After air bag
deployment, it is normal to notice a
smoke-like, powdery residue or
smell the burnt propellant. This may
consist of cornstarch, talcum
powder (to lubricate the bag) or
sodium compounds (e.g., baking
soda) that result from the
combustion process that inflates the
air bag. Small amounts of sodium
hydroxide may be present which
may irritate the skin and eyes, but
none of the residue is toxic.
While the system is designed to help
reduce serious injuries, contact with
a deploying air bag may also cause abrasions, swelling or temporary
hearing loss. Because air bags must inflate rapidly and with considerable
force, there is the risk of death or serious injuries such as fractures,
Seating and safety restraints
97
Page 99 of 232

How does the side air bag system work?
The side air bag system consists of
the following:
²An inflatable nylon bag (air bag)
with a gas generator concealed
behind the outboard bolster of
the driver and front passenger
seatbacks.
²A special seat cover designed to
allow airbag deployment.
²The same warning light,
electronic control and diagnostic
unit as used for the front air
bags.
²Two crash sensors located under
the outboard side of the front
seats, attached to the floor.
Side air bags, in combination with seat belts, can help reduce the risk of
severe injuries in the event of a significant side impact collision.
The side air bags are fitted on the outboard side of the seatbacks of the
front seats. In certain lateral collisions, the air bag on the side affected
by the collision will be inflated, even if the respective seat is not
occupied. The air bag was designed to inflate between the door panel
and occupant to further enhance the protection provided occupants in
side impact collisions.
The air bag SRS is designed to activate when the vehicle sustains lateral
deceleration sufficient to cause the sensors to close an electrical circuit
that initiates air bag inflation.
The fact that the air bags did not inflate in a collision does not mean that
something is wrong with the system. Rather, it means the forces were
not of the type sufficient to cause activation. Side air bags are designed
to inflate in side-impact collisions, not roll-over, rear-impact, frontal or
near-frontal collisions, unless the collision causes sufficient lateral
deceleration.
Seating and safety restraints
99