2000 FORD TAURUS ECO mode
[x] Cancel search: ECO modePage 10 of 232

3. The fuel cap may not have been properly installed and securely
tightened.
These temporary malfunctions can be corrected by filling the fuel tank
with high quality fuel of the recommended octane and/or properly
installing and securely tightening the gas cap. After three driving cycles
without these or any other temporary malfunctions present, the
light should turn off. (A driving cycle consists of a cold engine
startup followed by mixed city/highway driving.) No additional vehicle
service is required.
If the
light remains on, have your vehicle serviced at the first
available opportunity.
Light is blinking:
Engine misfire is occurring which could damage your catalytic converter.
You should drive in a moderate fashion (avoid heavy acceleration and
deceleration) and have your vehicle serviced at the first available
opportunity.
Under engine misfire conditions, excessive exhaust temperatures
could damage the catalytic converter, the fuel system, interior
floor coverings or other vehicle components, possibly causing a fire.
Low fuel
Illuminates as an early reminder of a
low fuel condition indicated on the
fuel gauge (refer toFuel gaugein
this chapter for more information).
When refueling, after the light
comes on, the amount of fuel that is added will be less than the
advertised capacity since there is fuel still in the tank. The ignition must
be in the ON position for this lamp to illuminate. The lamp will also
illuminate for several seconds after the ignition is turned to the ON
position regardless of the fuel level to ensure your bulb is working.
Low coolant (if equipped)
This lamp will illuminate when the
engine coolant inside the reservoir is
low. This lamp will come on when
the ignition is first turned on, but
then should turn off. If the lamp
LOW
COOLANT
Instrumentation
10
Page 19 of 232
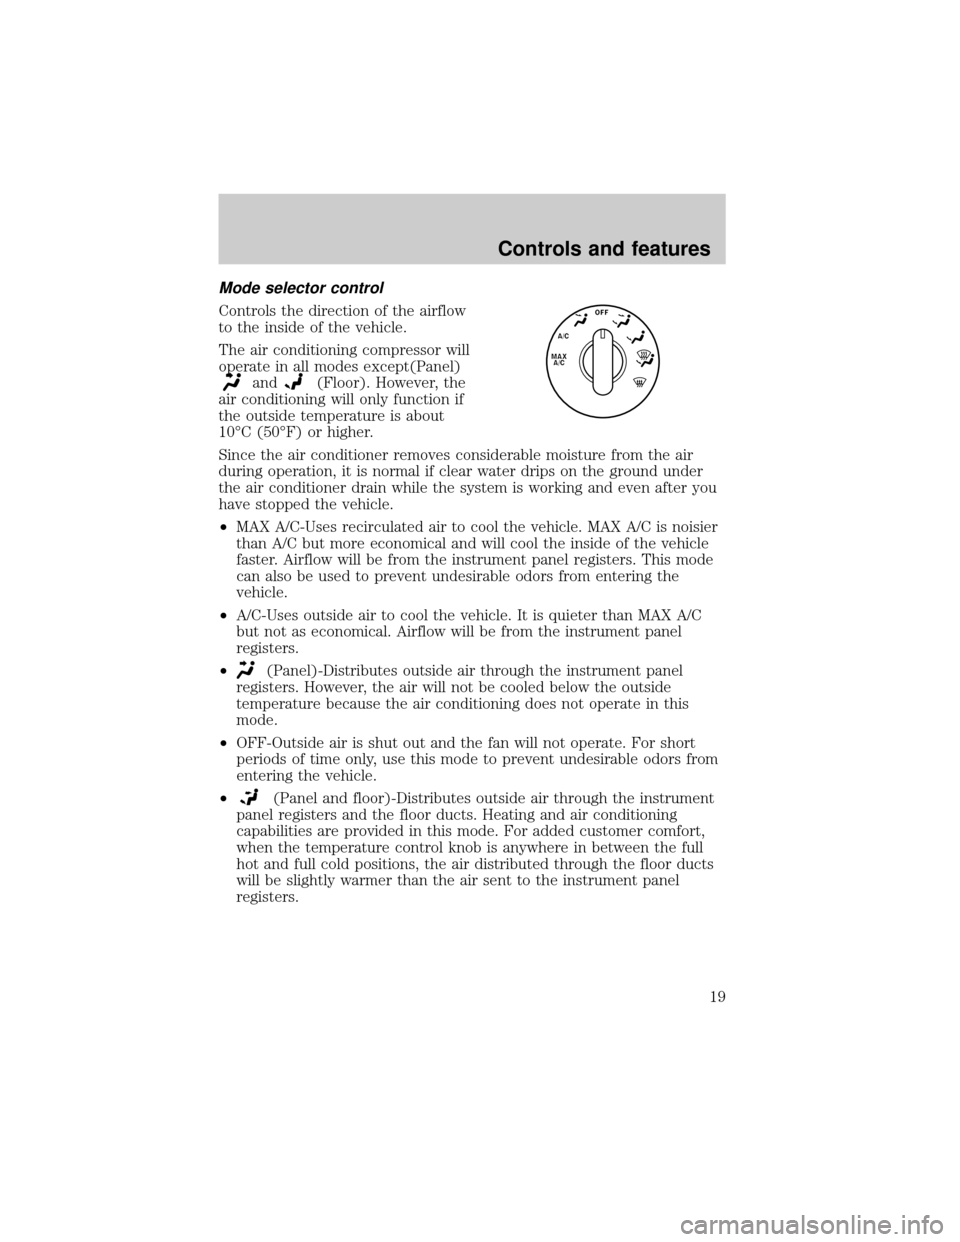
Mode selector control
Controls the direction of the airflow
to the inside of the vehicle.
The air conditioning compressor will
operate in all modes except(Panel)
and(Floor). However, the
air conditioning will only function if
the outside temperature is about
10ÉC (50ÉF) or higher.
Since the air conditioner removes considerable moisture from the air
during operation, it is normal if clear water drips on the ground under
the air conditioner drain while the system is working and even after you
have stopped the vehicle.
²MAX A/C-Uses recirculated air to cool the vehicle. MAX A/C is noisier
than A/C but more economical and will cool the inside of the vehicle
faster. Airflow will be from the instrument panel registers. This mode
can also be used to prevent undesirable odors from entering the
vehicle.
²A/C-Uses outside air to cool the vehicle. It is quieter than MAX A/C
but not as economical. Airflow will be from the instrument panel
registers.
²
(Panel)-Distributes outside air through the instrument panel
registers. However, the air will not be cooled below the outside
temperature because the air conditioning does not operate in this
mode.
²OFF-Outside air is shut out and the fan will not operate. For short
periods of time only, use this mode to prevent undesirable odors from
entering the vehicle.
²
(Panel and floor)-Distributes outside air through the instrument
panel registers and the floor ducts. Heating and air conditioning
capabilities are provided in this mode. For added customer comfort,
when the temperature control knob is anywhere in between the full
hot and full cold positions, the air distributed through the floor ducts
will be slightly warmer than the air sent to the instrument panel
registers.
A/C
Controls and features
19
Page 26 of 232
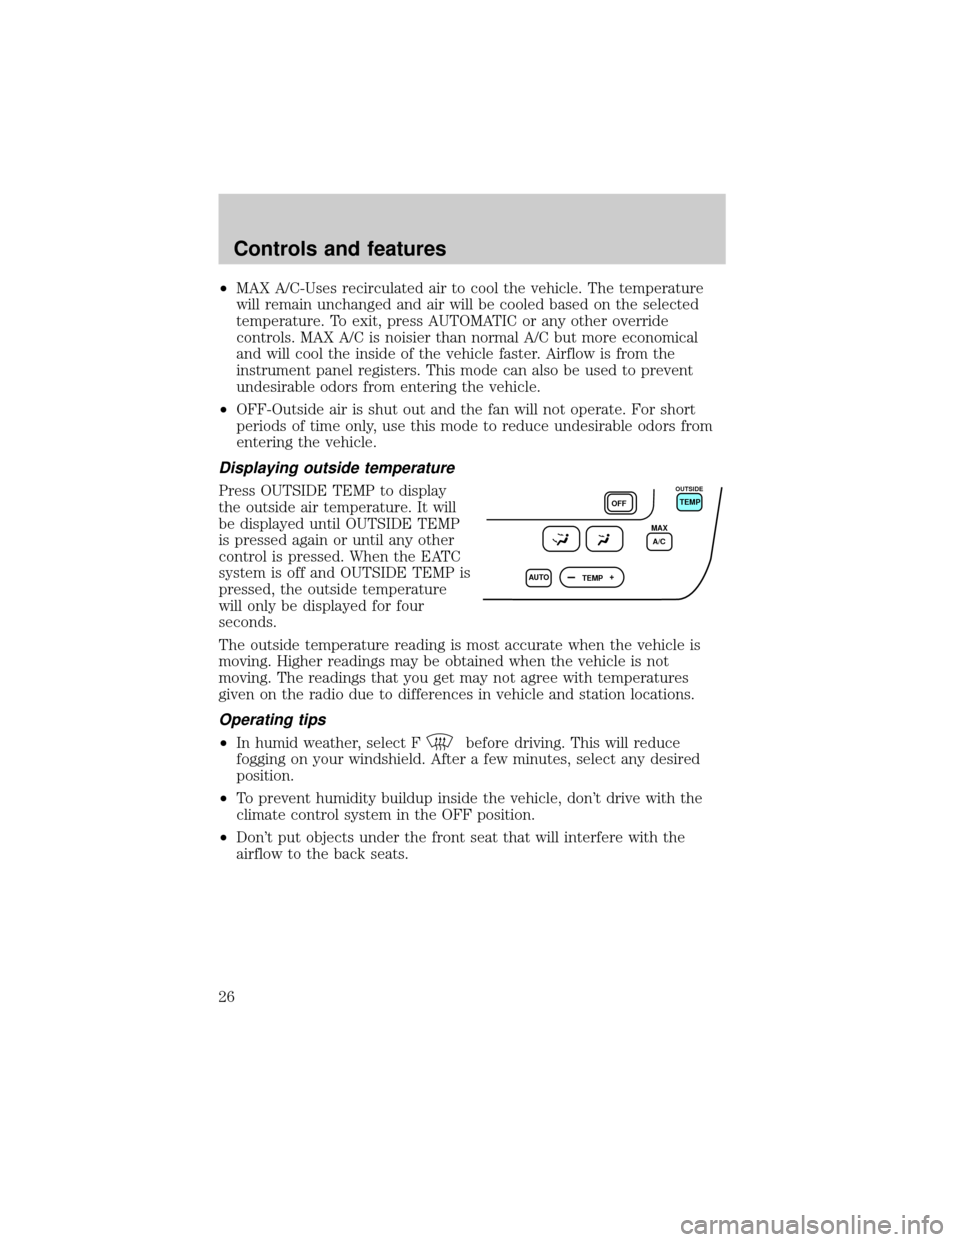
²MAX A/C-Uses recirculated air to cool the vehicle. The temperature
will remain unchanged and air will be cooled based on the selected
temperature. To exit, press AUTOMATIC or any other override
controls. MAX A/C is noisier than normal A/C but more economical
and will cool the inside of the vehicle faster. Airflow is from the
instrument panel registers. This mode can also be used to prevent
undesirable odors from entering the vehicle.
²OFF-Outside air is shut out and the fan will not operate. For short
periods of time only, use this mode to reduce undesirable odors from
entering the vehicle.
Displaying outside temperature
Press OUTSIDE TEMP to display
the outside air temperature. It will
be displayed until OUTSIDE TEMP
is pressed again or until any other
control is pressed. When the EATC
system is off and OUTSIDE TEMP is
pressed, the outside temperature
will only be displayed for four
seconds.
The outside temperature reading is most accurate when the vehicle is
moving. Higher readings may be obtained when the vehicle is not
moving. The readings that you get may not agree with temperatures
given on the radio due to differences in vehicle and station locations.
Operating tips
²In humid weather, select Fbefore driving. This will reduce
fogging on your windshield. After a few minutes, select any desired
position.
²To prevent humidity buildup inside the vehicle, don't drive with the
climate control system in the OFF position.
²Don't put objects under the front seat that will interfere with the
airflow to the back seats.
AUTO
TEMPOFFTEMP
MAX
A/C
OUTSIDE
Controls and features
26
Page 34 of 232
²Pressto select the next disc in the CD changer. Hold the control
to fast-forward through the remaining discs.
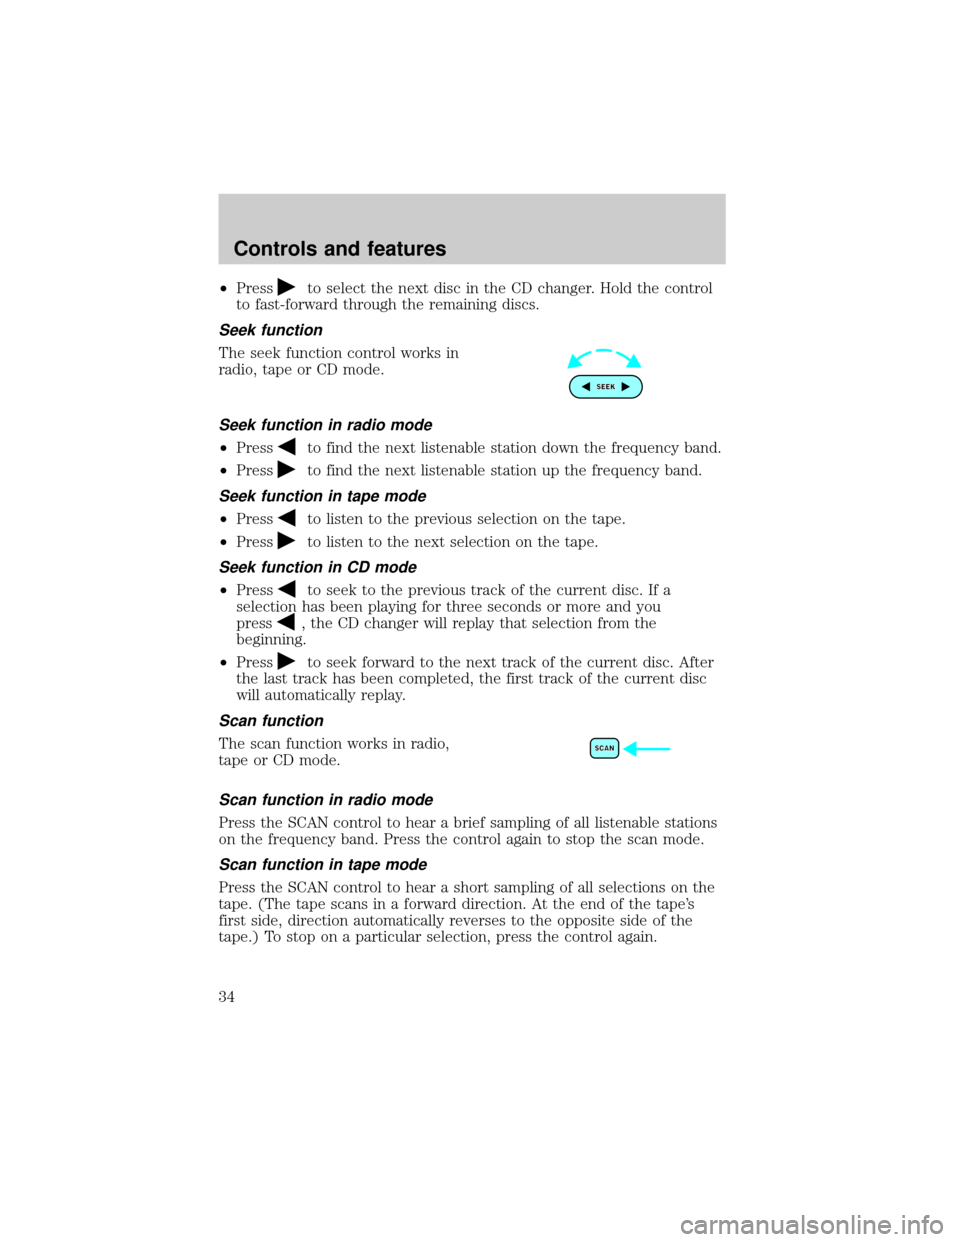
Seek function
The seek function control works in
radio, tape or CD mode.
Seek function in radio mode
²Pressto find the next listenable station down the frequency band.
²Press
to find the next listenable station up the frequency band.
Seek function in tape mode
²Pressto listen to the previous selection on the tape.
²Press
to listen to the next selection on the tape.
Seek function in CD mode
²Pressto seek to the previous track of the current disc. If a
selection has been playing for three seconds or more and you
press
, the CD changer will replay that selection from the
beginning.
²Press
to seek forward to the next track of the current disc. After
the last track has been completed, the first track of the current disc
will automatically replay.
Scan function
The scan function works in radio,
tape or CD mode.
Scan function in radio mode
Press the SCAN control to hear a brief sampling of all listenable stations
on the frequency band. Press the control again to stop the scan mode.
Scan function in tape mode
Press the SCAN control to hear a short sampling of all selections on the
tape. (The tape scans in a forward direction. At the end of the tape's
first side, direction automatically reverses to the opposite side of the
tape.) To stop on a particular selection, press the control again.
Controls and features
34
Page 37 of 232
²In CD mode, pressing the REW control for less than three seconds
results in a slow reverse. Pressing the control for more than three
seconds results in fast reverse.
Fast forward
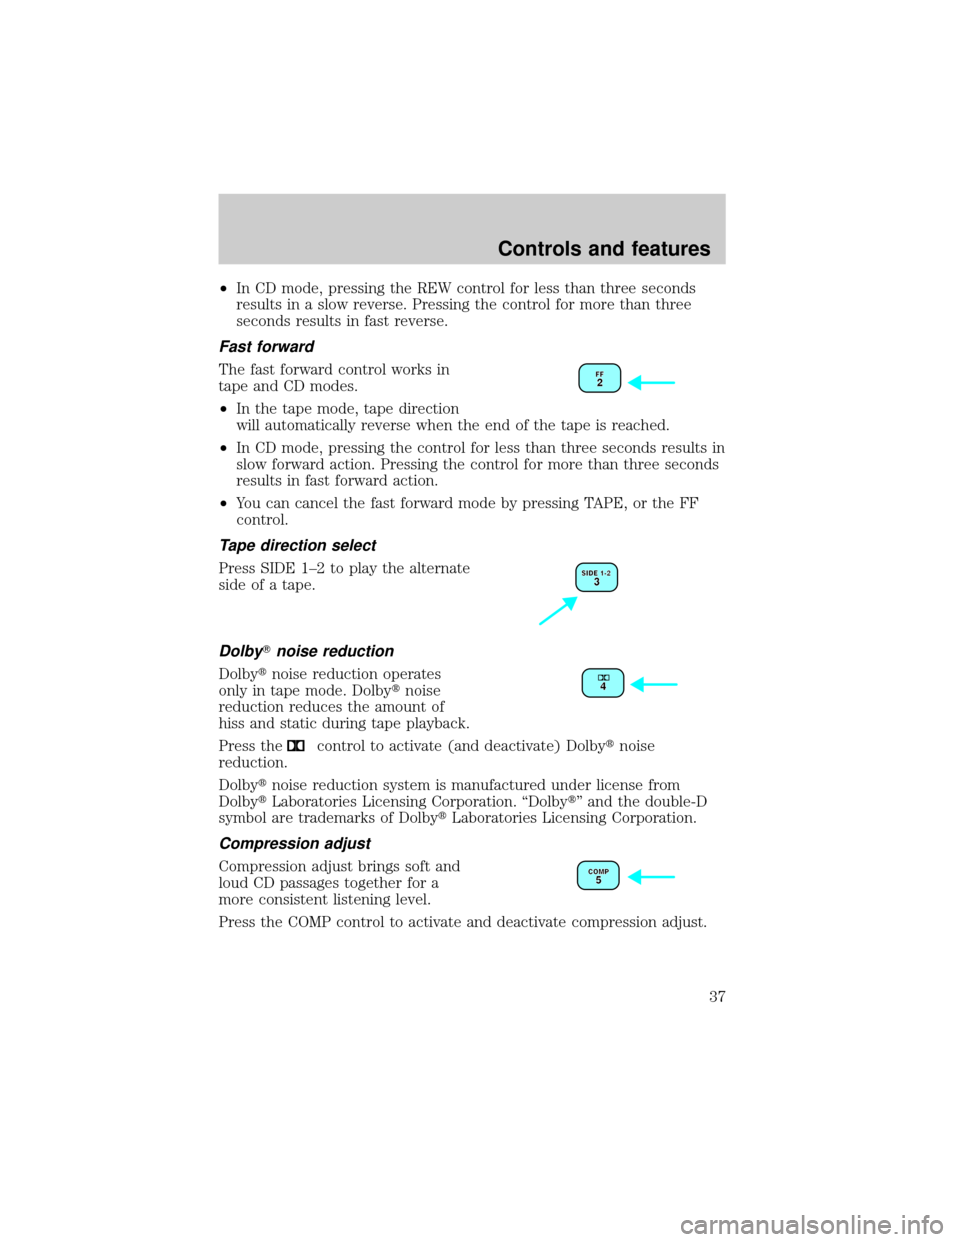
The fast forward control works in
tape and CD modes.
²In the tape mode, tape direction
will automatically reverse when the end of the tape is reached.
²In CD mode, pressing the control for less than three seconds results in
slow forward action. Pressing the control for more than three seconds
results in fast forward action.
²You can cancel the fast forward mode by pressing TAPE, or the FF
control.
Tape direction select
Press SIDE 1±2 to play the alternate
side of a tape.
DolbyTnoise reduction
Dolbytnoise reduction operates
only in tape mode. Dolbytnoise
reduction reduces the amount of
hiss and static during tape playback.
Press the
control to activate (and deactivate) Dolbytnoise
reduction.
Dolbytnoise reduction system is manufactured under license from
DolbytLaboratories Licensing Corporation. ªDolbytº and the double-D
symbol are trademarks of DolbytLaboratories Licensing Corporation.
Compression adjust
Compression adjust brings soft and
loud CD passages together for a
more consistent listening level.
Press the COMP control to activate and deactivate compression adjust.
Controls and features
37
Page 63 of 232

To program the transmitters yourself:
²Insert a key in the ignition and
turn from 3 (OFF) to 4 (ON)
eight times in rapid succession
(within 10 seconds) with the
eighth turn ending in the 4 (ON)
position. The doors will
lock/unlock to confirm that
programming mode has been
entered.
²Within 20 seconds, program a remote transmitter by pressing any
button on a transmitter. The doors will lock/unlock to confirm that the
remote transmitter has been programmed. (If more than 20 seconds
pass before pressing a remote transmitter button, the programming
mode will exit and the procedure will have to be repeated.)
²Repeat the previous step to program additional remote transmitters.
The doors will lock/unlock to confirm that each remote transmitter has
been programmed.
²When you have completed programming the remote transmitters, turn
the ignition to 3 (OFF) or wait 20 seconds. Again the doors will
lock/unlock to confirm programming has been completed.
Replacing the battery
The remote transmitter is powered by one coin type three-volt lithium
battery CR2032 or equivalent. Typical operating range will allow you to
be up to 10 meters (33 feet) away from your vehicle. A decrease in
operating range can be caused by:
²weather conditions
²nearby radio towers
²structures around the vehicle
²other vehicles parked next to the vehicle
3
4
1 2
5
Controls and features
63
Page 102 of 232
SAFETY SEATS FOR CHILDREN
Child and infant or child safety seats
Use a safety seat that is recommended for the size and weight of the
child. Carefully follow all of the manufacturer's instructions with the
safety seat you put in your vehicle. If you do not install and use the
safety seat properly, the child may be injured in a sudden stop or
collision.
When installing a child safety seat:
²Review and follow the information
presented in theAir Bag
Supplemental Restraint System
section in this chapter.
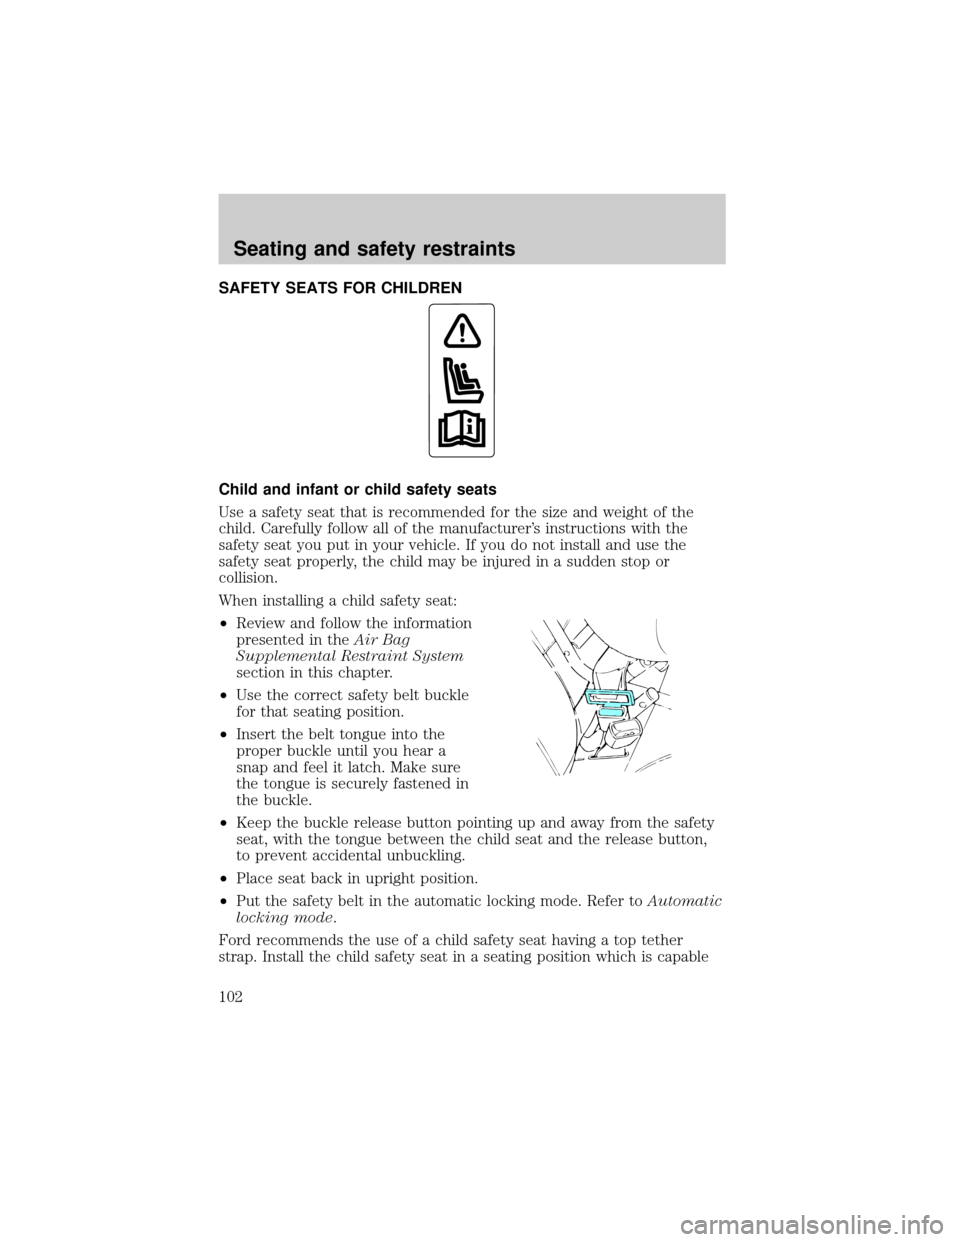
²Use the correct safety belt buckle
for that seating position.
²Insert the belt tongue into the
proper buckle until you hear a
snap and feel it latch. Make sure
the tongue is securely fastened in
the buckle.
²Keep the buckle release button pointing up and away from the safety
seat, with the tongue between the child seat and the release button,
to prevent accidental unbuckling.
²Place seat back in upright position.
²Put the safety belt in the automatic locking mode. Refer toAutomatic
locking mode.
Ford recommends the use of a child safety seat having a top tether
strap. Install the child safety seat in a seating position which is capable
Seating and safety restraints
102
Page 126 of 232
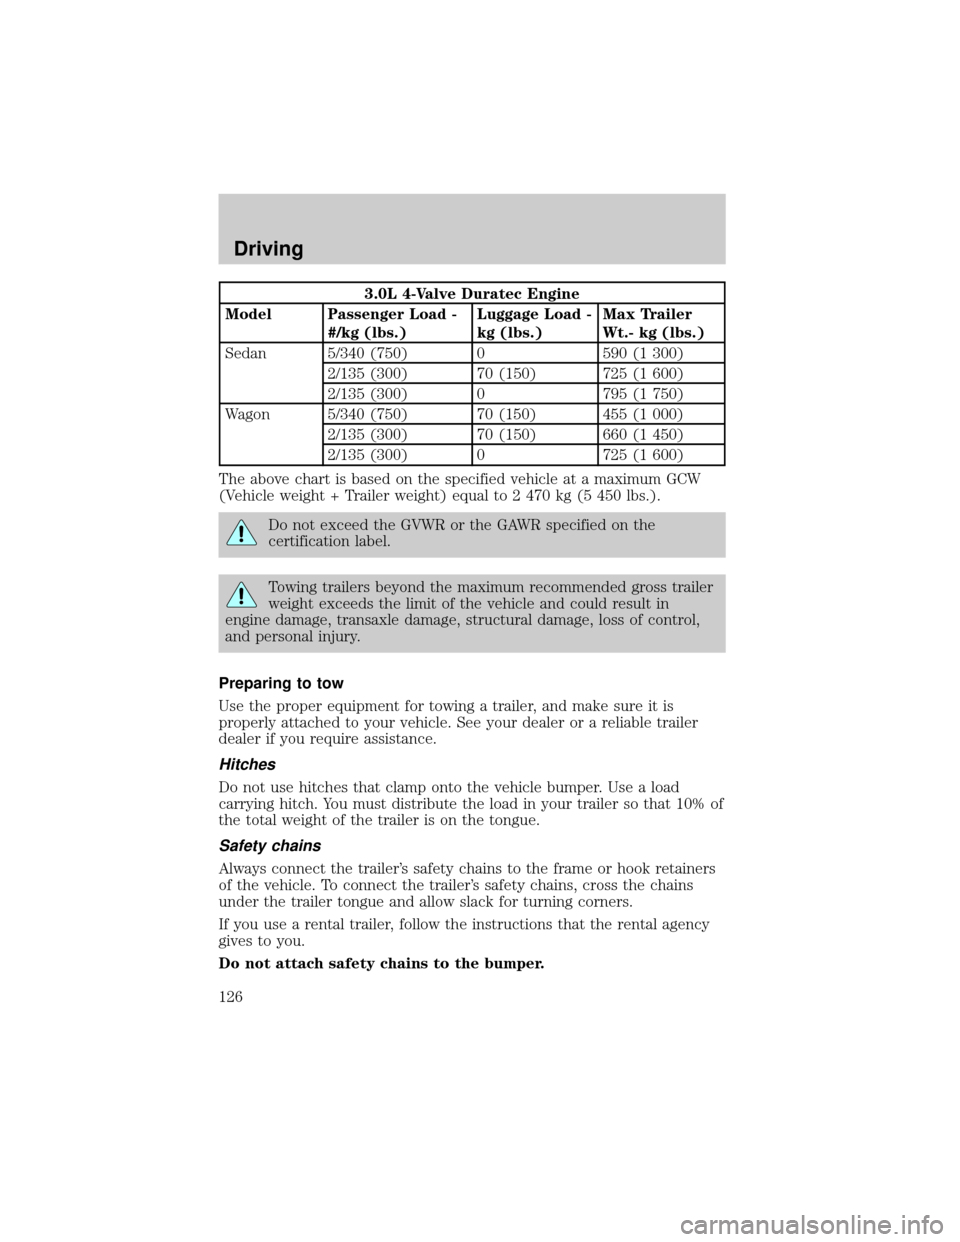
3.0L 4-Valve Duratec Engine
Model Passenger Load -
#/kg (lbs.)Luggage Load -
kg (lbs.)Max Trailer
Wt.- kg (lbs.)
Sedan 5/340 (750) 0 590 (1 300)
2/135 (300) 70 (150) 725 (1 600)
2/135 (300) 0 795 (1 750)
Wagon 5/340 (750) 70 (150) 455 (1 000)
2/135 (300) 70 (150) 660 (1 450)
2/135 (300) 0 725 (1 600)
The above chart is based on the specified vehicle at a maximum GCW
(Vehicle weight + Trailer weight) equal to 2 470 kg (5 450 lbs.).
Do not exceed the GVWR or the GAWR specified on the
certification label.
Towing trailers beyond the maximum recommended gross trailer
weight exceeds the limit of the vehicle and could result in
engine damage, transaxle damage, structural damage, loss of control,
and personal injury.
Preparing to tow
Use the proper equipment for towing a trailer, and make sure it is
properly attached to your vehicle. See your dealer or a reliable trailer
dealer if you require assistance.
Hitches
Do not use hitches that clamp onto the vehicle bumper. Use a load
carrying hitch. You must distribute the load in your trailer so that 10% of
the total weight of the trailer is on the tongue.
Safety chains
Always connect the trailer's safety chains to the frame or hook retainers
of the vehicle. To connect the trailer's safety chains, cross the chains
under the trailer tongue and allow slack for turning corners.
If you use a rental trailer, follow the instructions that the rental agency
gives to you.
Do not attach safety chains to the bumper.
Driving
126