2000 FORD F350 tires
[x] Cancel search: tiresPage 113 of 256

Extended use of other than the manufacturer’s specified size tires on a
Traction-Lok rear axle could result in a permanent reduction in
effectiveness. This loss of effectiveness does not affect normal driving
and should not be noticeable to the driver.
To avoid injury, never run the engine with one wheel off the
ground, such as when changing a tire.
PREPARING TO DRIVE YOUR VEHICLE
Utility vehicles have a significantly higher rollover rate than
other types of vehicles.
In a rollover crash, an unbelted person is significantly more likely
to die than a person wearing a seat belt.
Your vehicle has special design and equipment features to make it
capable of performing in a wide variety of circumstances. These special
design features, such as larger tires and increased ground clearance, give
the vehicle a higher center of gravity than a passenger car.
Vehicles with a higher center of gravity such as utility and
four-wheel drive vehicles handle differently than vehicles with a
lower center of gravity. Utility and four-wheel drive vehicles arenot
designed for cornering at speeds as high as passenger cars any more
than low-slung sports cars are designed to perform satisfactorily under
off-road conditions. Avoid sharp turns, excessive speed and abrupt
maneuvers in these vehicles. Failure to drive cautiously could result in
an increased risk of vehicle rollover, personal injury and death.
Loaded vehicles, with a higher center of gravity, may handle
differently than unloaded vehicles. Extra precautions, such as
slower speeds and increased stopping distance, should be taken when
driving a heavily loaded vehicle.
Your vehicle has the capability to haul more cargo and people than most
passenger cars. Depending upon the type and placement of the load,
hauling people and cargo may raise the center of gravity of the vehicle.
Use extra caution while becoming familiar with your vehicle. Know the
capabilities and limitations of both you as a driver and your vehicle.
Driving
113
ProCarManuals.com
Page 114 of 256
AUTOMATIC TRANSMISSION OPERATION
Brake-shift interlock
This vehicle is equipped with a brake-shift interlock feature that prevents
the gearshift lever from being moved from P (Park) when the ignition is
in the ON position unless brake pedal is depressed.
If you cannot move the gearshift lever out of P (Park) with ignition in
the ON position and the brake pedal depressed:
1. Apply the parking brake, turn ignition to the LOCK position, then
remove the key.
2. Reinsert the key and turn the ignition to the OFF position.
3. Press and hold down the brake pedal and shift into N (Neutral).
4. Start the vehicle.
If it is necessary to use the above procedure to move the gearshift lever,
it is possible that a fuse has blown or the vehicle’s brakelamps are not
operating properly. Refer toFuses and relaysin theRoadside
emergencieschapter.
Do not drive your vehicle until you verify that the brakelamps
are working.
If your vehicle gets stuck in mud or snow it may be rocked out by
shifting from forward and reverse gears, stopping between shifts, in a
steady pattern. Press lightly on the accelerator in each gear.
Do not rock the vehicle for more than a few minutes. The
transmission and tires may be damaged or the engine may
overheat.
Always set the parking brake fully and make sure the gearshift is
latched in P (Park). Turn off the ignition whenever you leave
your vehicle.
If the parking brake is fully released, but the brake warning lamp
remains illuminated, the brakes may not be working properly.
See your dealer or a qualified service technician.
Driving
114
ProCarManuals.com
Page 130 of 256
Drive cautiously to avoid vehicle damage from concealed objects such as
rocks and stumps.
You should either know the terrain or examine maps of the area before
driving. Map out your route before driving in the area. For more
information on driving off-road, read the “Four Wheeling” supplement in
your owner’s portfolio.
If your vehicle gets stuck
If the vehicle is stuck it may be rocked out by shifting from forward and
reverse gears, stopping between shifts, in a steady pattern. Press lightly
on the accelerator in each gear.
Do not rock the vehicle if the engine is not at normal operating
temperature or damage to the transmission may occur.
Do not rock the vehicle for more than a few minutes or damage
to the transmission and tires may occur or the engine may
overheat.
Do not spin the wheels at over 56 km/h (35 mph). The tires may
fail and injure a passenger or bystander.
Sand
When driving over sand, try to keep all four wheels on the most solid
area of the trail. Do not reduce the tire pressures but shift to a lower
gear and drive steadily through the terrain. Apply the accelerator slowly
and avoid spinning the wheels.
Mud and water
If you must drive through high water, drive slowly. Traction or brake
capability may be limited.
When driving through water, determine the depth; avoid water higher
than the bottom of the hubs (if possible) and proceed slowly. If the
ignition system gets wet, the vehicle may stall.
Once through water, always try the brakes. Wet brakes do not stop the
vehicle as effectively as dry brakes. Drying can be improved by moving
your vehicle slowly while applying light pressure on the brake pedal.
After driving through mud, clean off residue stuck to rotating driveshafts
and tires. Excess mud stuck on tires and rotating driveshafts causes an
imbalance that could damage drive components.
Driving
130
ProCarManuals.com
Page 133 of 256
•Maximum Trailer Weight:Maximum weight of a trailer the loaded
vehicle (including passengers and cargo) is permitted to tow. It is
determined by subtracting the weight of the loaded trailer towing
vehicle from the GCWR for the towing vehicle.
•Trailer Weight Range:Specified weight range that the trailer must
fall within that ranges from zero to the maximum trailer weight rating.
Remember to figure in the tongue load of your loaded trailer when
figuring the total weight.
Do not exceed the GVWR or the GAWR specified on the
certification label.
Do not use replacement tires with lower load carrying capacities than the
originals because they may lower the vehicle’s GVWR and GAWR
limitations. Replacement tires with a higher limit than the originals do
not increase the GVWR and GAWR limitations.
The Certification Label, found on the inside pillar of the driver’s door,
lists several important vehicle weight rating limitations. Before adding
any additional equipment, refer to these limitations. If you are adding
weight to the front of your vehicle, (potentially including weight added
to the cab), the weight added should not exceed the front axle reserve
capacity (FARC). Additional frontal weight may be added to the front
axle reserve capacity provided you limit your payload in other ways (i.e.
restrict the number of passengers or amount of cargo carried).
You may add equipment throughout your vehicle if the total weight
added is equal to or less than the total axle reserve capacity (TARC)
weight. You should NEVER exceed the total axle reserve capacity.
Always ensure that the weight of passengers, cargo and equipment being
carried is within the weight limitations that have been established for
your vehicle including both gross vehicle weight and Front and rear
gross axle weight rating limits. Under no circumstance should these
limitations be exceeded. Exceeding any vehicle weight rating limitation
could result in serious damage to the vehicle and/or personal injury.
Driving
133
ProCarManuals.com
Page 135 of 256
Driving through deep water where the transmission vent tube is
submerged may allow water into the transmission and cause
internal transmission damage.
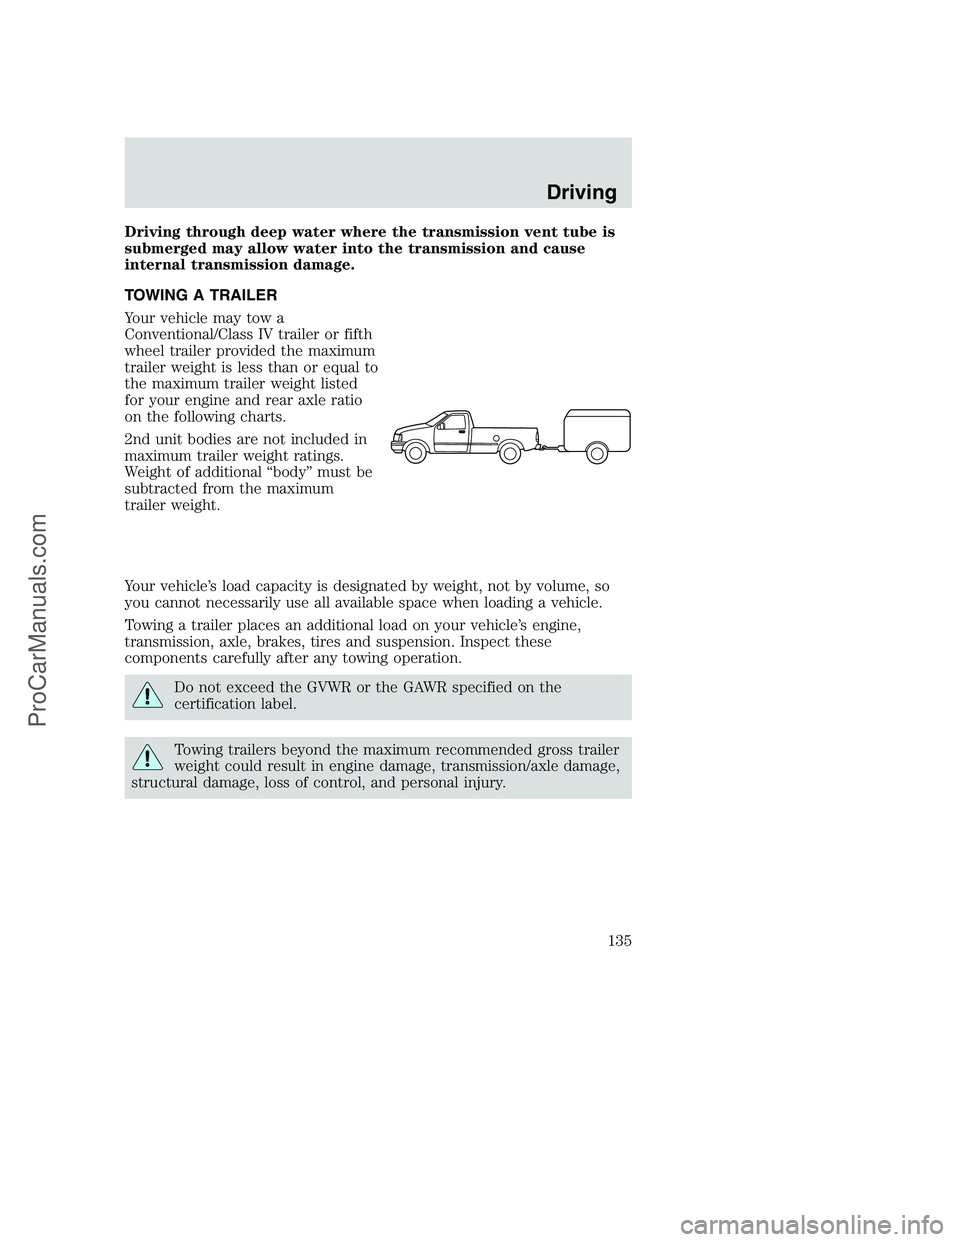
TOWING A TRAILER
Your vehicle may tow a
Conventional/Class IV trailer or fifth
wheel trailer provided the maximum
trailer weight is less than or equal to
the maximum trailer weight listed
for your engine and rear axle ratio
on the following charts.
2nd unit bodies are not included in
maximum trailer weight ratings.
Weight of additional “body” must be
subtracted from the maximum
trailer weight.
Your vehicle’s load capacity is designated by weight, not by volume, so
you cannot necessarily use all available space when loading a vehicle.
Towing a trailer places an additional load on your vehicle’s engine,
transmission, axle, brakes, tires and suspension. Inspect these
components carefully after any towing operation.
Do not exceed the GVWR or the GAWR specified on the
certification label.
Towing trailers beyond the maximum recommended gross trailer
weight could result in engine damage, transmission/axle damage,
structural damage, loss of control, and personal injury.
Driving
135
ProCarManuals.com
Page 144 of 256
If you are driving more than 24 km (15 miles) at temperatures above
freezing, angle the plow blade either full left or full right to provide
maximum airflow to the radiator.
If you are driving less than 24 km (15 miles) at speeds up to 64 km/h
(40 mph) in cold weather, you will not need to worry about blade
position to provide maximum airflow.
4WD operation while plowing
•Shift transfer case to 4x4 LOW (4WD Low) when plowing in small
areas at speeds below 8 km/h (5 mph).
•Shift transfer case to 4x4 HIGH (4WD High) when plowing larger
areas or light snow at higher speeds. Do not exceed 24 km/h (15
mph).
•Do not shift the transmission from a forward gear to R (Reverse) until
the engine is at idle and the wheels are stopped.
•If the vehicle is stuck, shift the transmission in a steady motion
between forward and reverse gears. Do not rock the vehicle for more
than a few minutes. The transmission and tires may be damaged or
the engine can overheat.
It is the owner’s responsibility to avoid engine overheating which
can cause damage.
Do not spin the wheels at over 35 mph (55 km/h). The tires may
fail and injure a passenger or bystander.
Driving
144
ProCarManuals.com
Page 155 of 256

CHANGING THE TIRES
If you get a flat tire while driving, do not apply the brake heavily.
Instead, gradually decrease your speed. Hold the steering wheel firmly
and slowly move to a safe place on the side of the road.
Spare tire information
Your vehicle may be equipped with a spare tire that can be used as
either a spare or a regular tire. The spare tire is not equipped with wheel
trim. The wheel trim from the original wheel/tire may be used on the
spare.
If your vehicle is equipped with 4WD, a spare tire of a different
size than the road tires should not be used. Such a tire could
result in damage to driveline components and make the vehicle
difficult to control.
Location of the spare tire and tools
The spare tire and tools for your vehicle are stowed in the following
locations:
Tool Location
Spare tire (pick-up
trucks only)Under the vehicle, just forward of the rear
bumper
Jack Regular cab, crew cab and SuperCab without
rear bench seat: Fastened to floor pan behind
rearmost seat on passenger side
SuperCab with rear bench seat: Under rear
bench on passenger side
Jack handle and lug
wrenchOn top of the radiator support at the front of
the engine compartment
Key, spare tire lock (if
equipped)In the glove box
Removing the spare tire (with spare tire carrier only)
1. The following tools are required to remove the spare tire:
•one handle extension and one
typical extension. To assemble,
align button with hole and slide
parts together. To disconnect,
depress button and pull apart.
Roadside emergencies
155
ProCarManuals.com
Page 162 of 256

8. Turn the jack handle clockwise
until the wheel is completely off the
ground and high enough to install
the spare tire.
9. Remove the lug nuts with the lug
wrench.
10. On single rear wheel vehicles,
replace the flat tire with the spare
tire, making sure the valve stem is
facing outward for all front tires and
vehicles equipped with single rear
wheels. If replacing an inboard rear
tire on a dual rear wheel vehicle,
the valve stem must be facing outward. If replacing the outboard wheel,
the valve stem must be facing inward. Reinstall the lug nuts until the
wheel is snug against the hub. Do not fully tighten the lug nuts until the
wheel has been lowered.
11. Lower the wheel by turning the jack handle counterclockwise.
Go to step 19.
The following steps apply to F450/F550 only:
12. Slide the notched end of the
jack handle over the release valve
and use the handle to slide the jack
under the vehicle. Make sure the
valve is closed by turning it
clockwise.
13. Position the jack according to
the following guides:
Roadside emergencies
162
ProCarManuals.com