2000 FORD F350 manual transmission
[x] Cancel search: manual transmissionPage 126 of 256
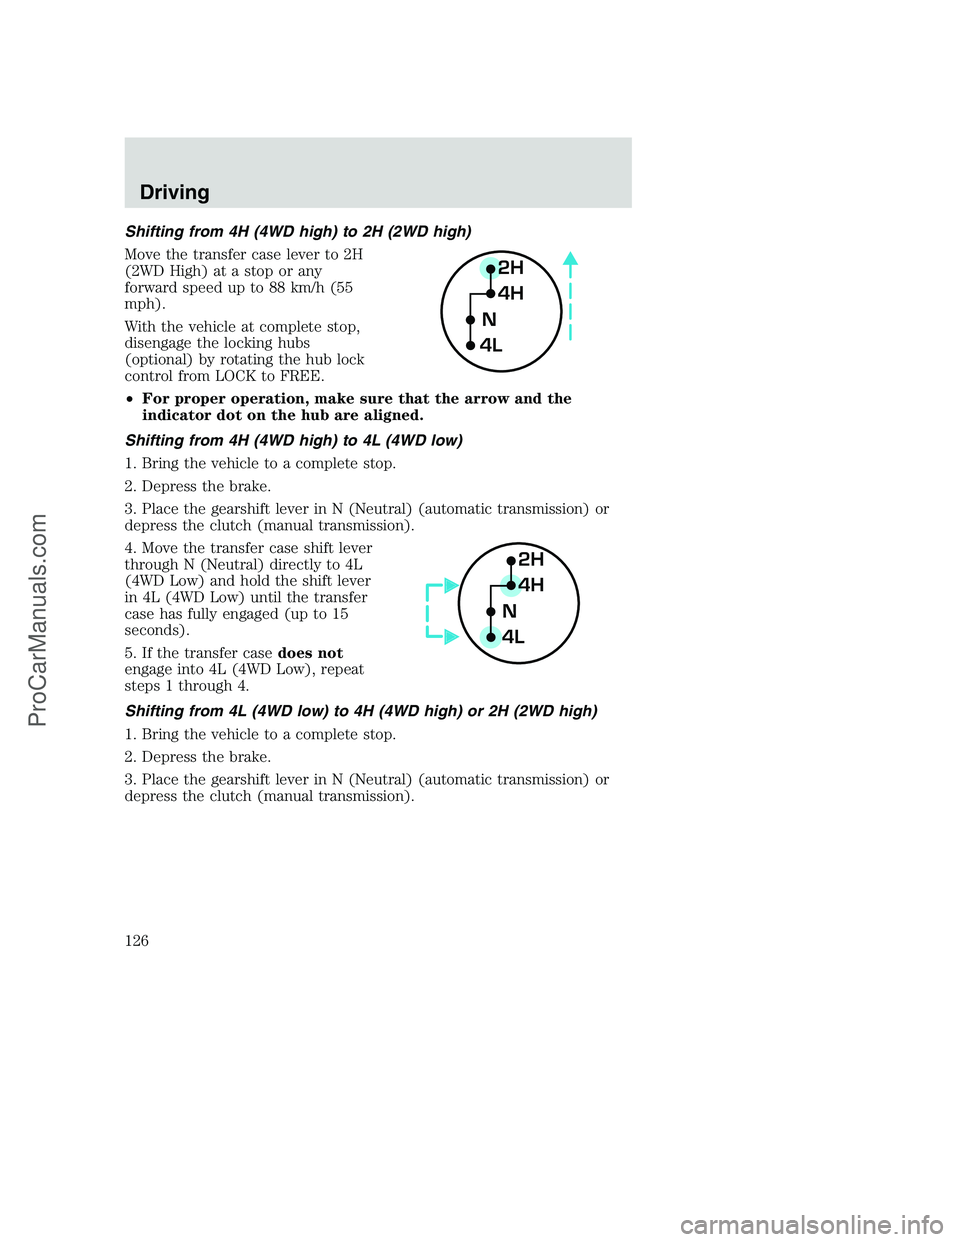
Shifting from 4H (4WD high) to 2H (2WD high)
Move the transfer case lever to 2H
(2WD High) at a stop or any
forward speed up to 88 km/h (55
mph).
With the vehicle at complete stop,
disengage the locking hubs
(optional) by rotating the hub lock
control from LOCK to FREE.
•For proper operation, make sure that the arrow and the
indicator dot on the hub are aligned.
Shifting from 4H (4WD high) to 4L (4WD low)
1. Bring the vehicle to a complete stop.
2. Depress the brake.
3. Place the gearshift lever in N (Neutral) (automatic transmission) or
depress the clutch (manual transmission).
4. Move the transfer case shift lever
through N (Neutral) directly to 4L
(4WD Low) and hold the shift lever
in 4L (4WD Low) until the transfer
case has fully engaged (up to 15
seconds).
5. If the transfer casedoes not
engage into 4L (4WD Low), repeat
steps 1 through 4.
Shifting from 4L (4WD low) to 4H (4WD high) or 2H (2WD high)
1. Bring the vehicle to a complete stop.
2. Depress the brake.
3. Place the gearshift lever in N (Neutral) (automatic transmission) or
depress the clutch (manual transmission).
2H
4H
4LN
2H
4H
4LN
Driving
126
ProCarManuals.com
Page 127 of 256
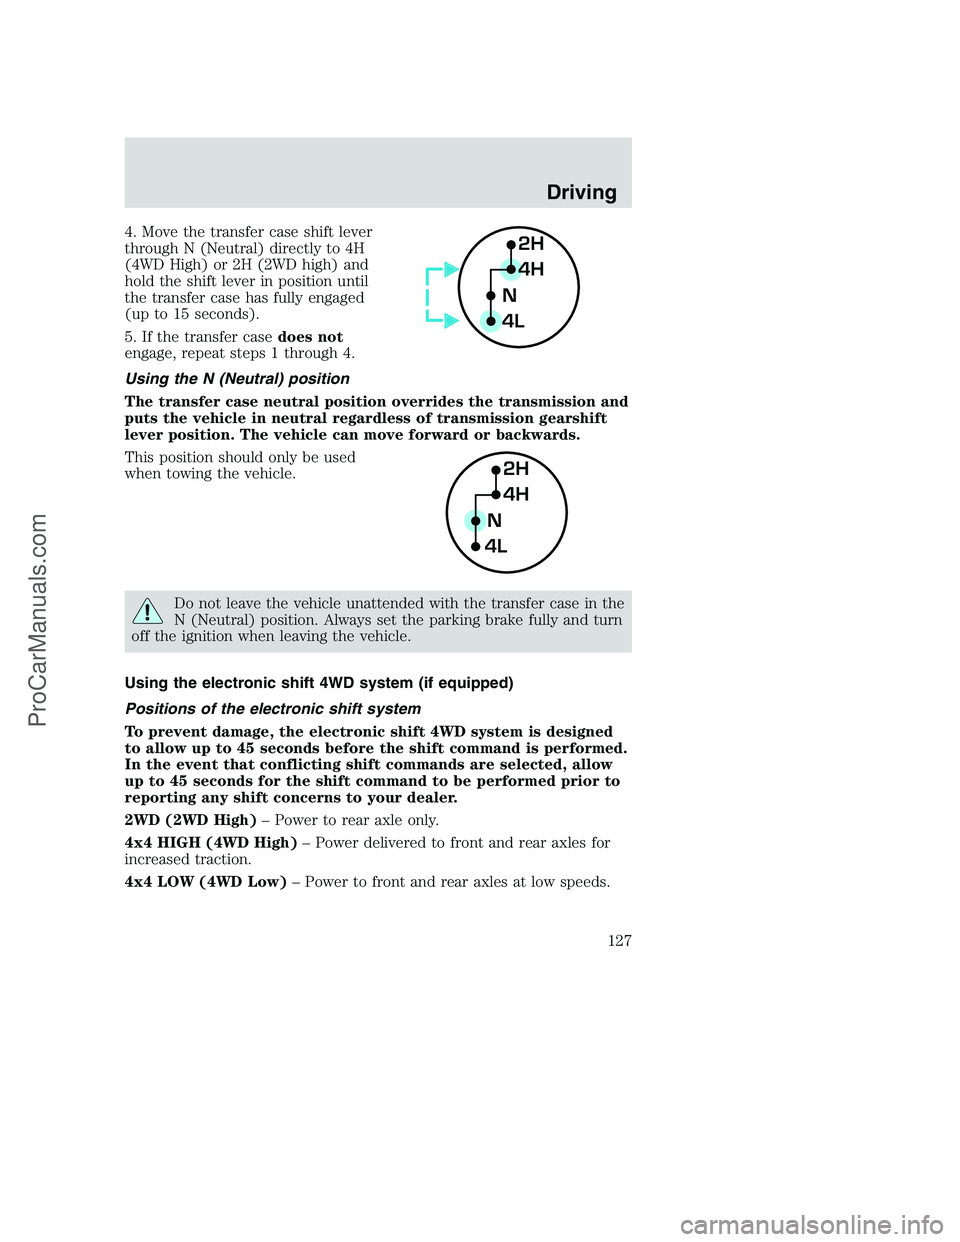
4. Move the transfer case shift lever
through N (Neutral) directly to 4H
(4WD High) or 2H (2WD high) and
hold the shift lever in position until
the transfer case has fully engaged
(up to 15 seconds).
5. If the transfer casedoes not
engage, repeat steps 1 through 4.
Using the N (Neutral) position
The transfer case neutral position overrides the transmission and
puts the vehicle in neutral regardless of transmission gearshift
lever position. The vehicle can move forward or backwards.
This position should only be used
when towing the vehicle.
Do not leave the vehicle unattended with the transfer case in the
N (Neutral) position. Always set the parking brake fully and turn
off the ignition when leaving the vehicle.
Using the electronic shift 4WD system (if equipped)
Positions of the electronic shift system
To prevent damage, the electronic shift 4WD system is designed
to allow up to 45 seconds before the shift command is performed.
In the event that conflicting shift commands are selected, allow
up to 45 seconds for the shift command to be performed prior to
reporting any shift concerns to your dealer.
2WD (2WD High)– Power to rear axle only.
4x4 HIGH (4WD High)– Power delivered to front and rear axles for
increased traction.
4x4 LOW (4WD Low)– Power to front and rear axles at low speeds.
2H
4H
4LN
2H
4H
4LN
Driving
127
ProCarManuals.com
Page 128 of 256
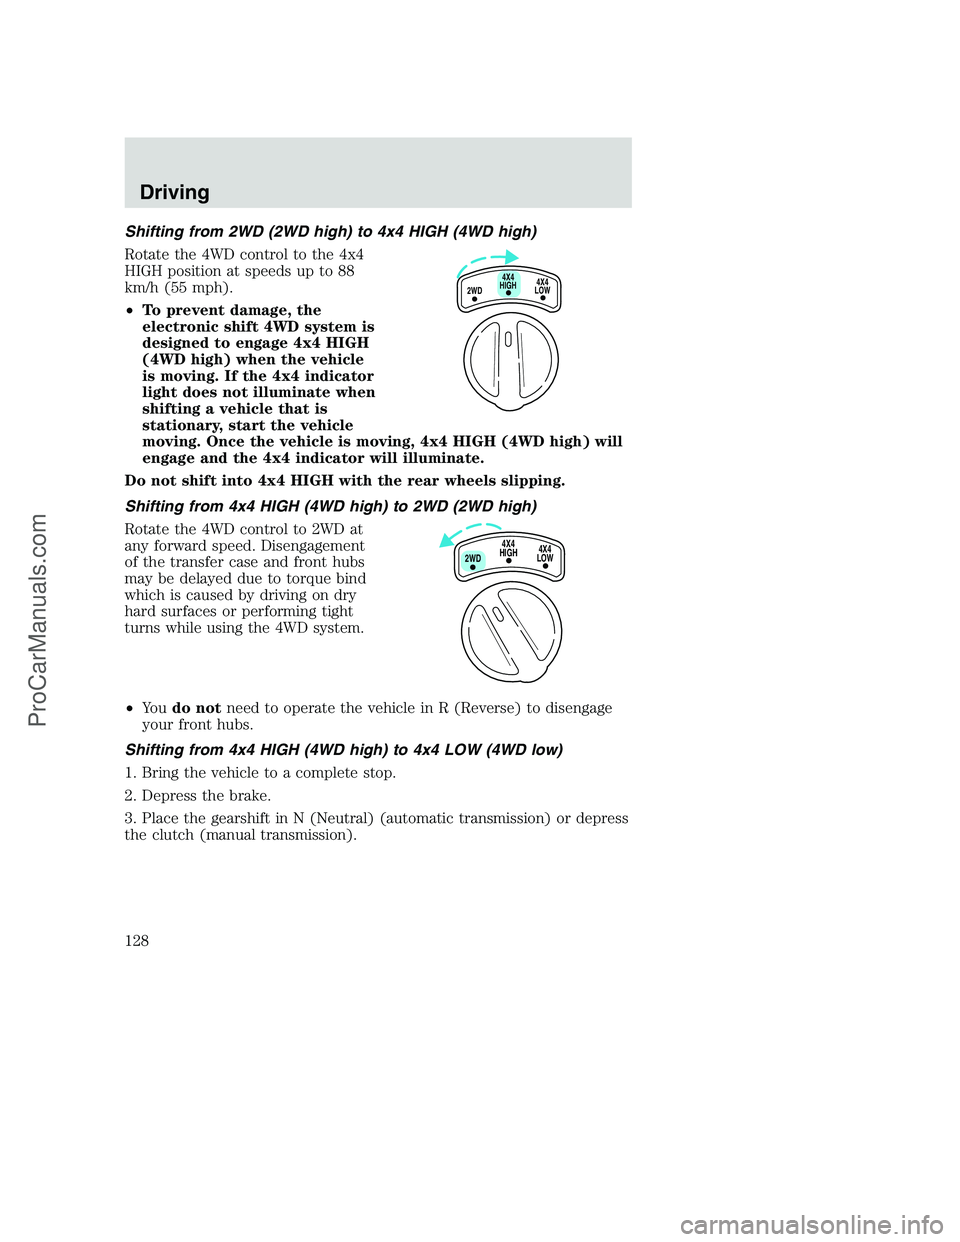
Shifting from 2WD (2WD high) to 4x4 HIGH (4WD high)
Rotate the 4WD control to the 4x4
HIGH position at speeds up to 88
km/h (55 mph).
•To prevent damage, the
electronic shift 4WD system is
designed to engage 4x4 HIGH
(4WD high) when the vehicle
is moving. If the 4x4 indicator
light does not illuminate when
shifting a vehicle that is
stationary, start the vehicle
moving. Once the vehicle is moving, 4x4 HIGH (4WD high) will
engage and the 4x4 indicator will illuminate.
Do not shift into 4x4 HIGH with the rear wheels slipping.
Shifting from 4x4 HIGH (4WD high) to 2WD (2WD high)
Rotate the 4WD control to 2WD at
any forward speed. Disengagement
of the transfer case and front hubs
may be delayed due to torque bind
which is caused by driving on dry
hard surfaces or performing tight
turns while using the 4WD system.
•Yo udo notneed to operate the vehicle in R (Reverse) to disengage
your front hubs.
Shifting from 4x4 HIGH (4WD high) to 4x4 LOW (4WD low)
1. Bring the vehicle to a complete stop.
2. Depress the brake.
3. Place the gearshift in N (Neutral) (automatic transmission) or depress
the clutch (manual transmission).
4X4
HIGH
2WD4X4
LOW
4X4
HIGH
2WD4X4
LOW
Driving
128
ProCarManuals.com
Page 129 of 256
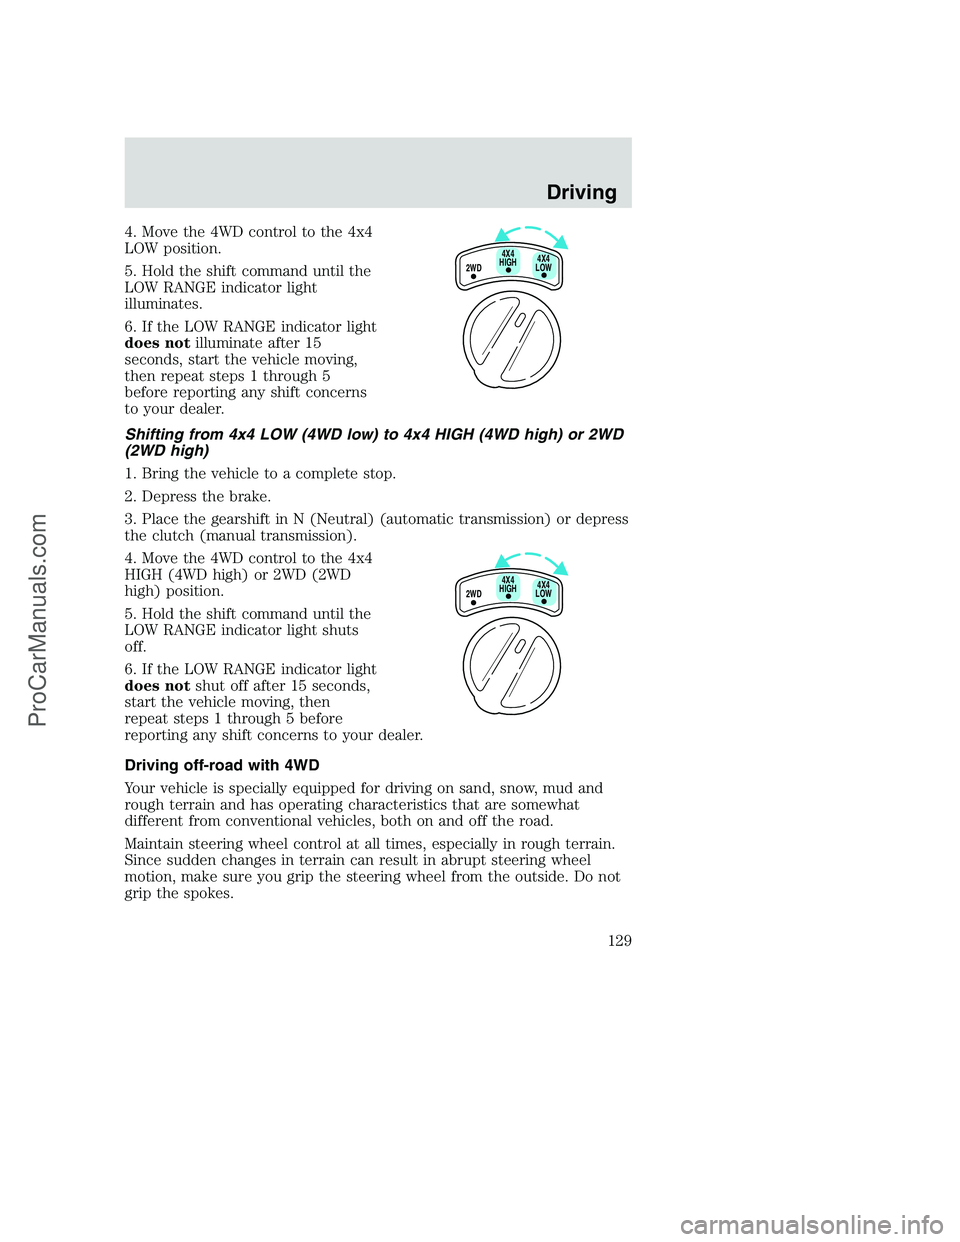
4. Move the 4WD control to the 4x4
LOW position.
5. Hold the shift command until the
LOW RANGE indicator light
illuminates.
6. If the LOW RANGE indicator light
does notilluminate after 15
seconds, start the vehicle moving,
then repeat steps 1 through 5
before reporting any shift concerns
to your dealer.
Shifting from 4x4 LOW (4WD low) to 4x4 HIGH (4WD high) or 2WD
(2WD high)
1. Bring the vehicle to a complete stop.
2. Depress the brake.
3. Place the gearshift in N (Neutral) (automatic transmission) or depress
the clutch (manual transmission).
4. Move the 4WD control to the 4x4
HIGH (4WD high) or 2WD (2WD
high) position.
5. Hold the shift command until the
LOW RANGE indicator light shuts
off.
6. If the LOW RANGE indicator light
does notshut off after 15 seconds,
start the vehicle moving, then
repeat steps 1 through 5 before
reporting any shift concerns to your dealer.
Driving off-road with 4WD
Your vehicle is specially equipped for driving on sand, snow, mud and
rough terrain and has operating characteristics that are somewhat
different from conventional vehicles, both on and off the road.
Maintain steering wheel control at all times, especially in rough terrain.
Since sudden changes in terrain can result in abrupt steering wheel
motion, make sure you grip the steering wheel from the outside. Do not
grip the spokes.
2WD4X4
LOW4X4
HIGH
2WD4X4
LOW4X4
HIGH
Driving
129
ProCarManuals.com
Page 130 of 256
Drive cautiously to avoid vehicle damage from concealed objects such as
rocks and stumps.
You should either know the terrain or examine maps of the area before
driving. Map out your route before driving in the area. For more
information on driving off-road, read the “Four Wheeling” supplement in
your owner’s portfolio.
If your vehicle gets stuck
If the vehicle is stuck it may be rocked out by shifting from forward and
reverse gears, stopping between shifts, in a steady pattern. Press lightly
on the accelerator in each gear.
Do not rock the vehicle if the engine is not at normal operating
temperature or damage to the transmission may occur.
Do not rock the vehicle for more than a few minutes or damage
to the transmission and tires may occur or the engine may
overheat.
Do not spin the wheels at over 56 km/h (35 mph). The tires may
fail and injure a passenger or bystander.
Sand
When driving over sand, try to keep all four wheels on the most solid
area of the trail. Do not reduce the tire pressures but shift to a lower
gear and drive steadily through the terrain. Apply the accelerator slowly
and avoid spinning the wheels.
Mud and water
If you must drive through high water, drive slowly. Traction or brake
capability may be limited.
When driving through water, determine the depth; avoid water higher
than the bottom of the hubs (if possible) and proceed slowly. If the
ignition system gets wet, the vehicle may stall.
Once through water, always try the brakes. Wet brakes do not stop the
vehicle as effectively as dry brakes. Drying can be improved by moving
your vehicle slowly while applying light pressure on the brake pedal.
After driving through mud, clean off residue stuck to rotating driveshafts
and tires. Excess mud stuck on tires and rotating driveshafts causes an
imbalance that could damage drive components.
Driving
130
ProCarManuals.com
Page 131 of 256
If the transmission, transfer case or front axle are submerged in water,
their fluids should be checked and changed, if necessary.
Water intrusion into the transmission may damage the
transmission.
If the front or rear axle is submerged in water, the axle lubricant should
be replaced.
Driving on hilly or sloping terrain
When driving on a hill, avoid driving crosswise or turning on steep
slopes. You could lose traction and slip sideways. Drive straight up,
straight down or avoid the hill completely. Know the conditions on the
other side of a hill before driving over the crest.
When climbing a steep hill, start in a lower gear rather than downshifting
to a lower gear from a higher gear once the ascent has started. This
reduces strain on the engine and the possibility of stalling.
When descending a steep hill, avoid sudden braking. Shift to a lower gear
when added engine braking is desired.
When speed control is on and you are driving uphill, your vehicle speed
may drop considerably, especially if you are carrying a heavy load.
If vehicle speed drops more than 16 km/h (10 mph), the speed control
will cancel automatically. Resume speed with accelerator pedal.
If speed control cancels after climbing the hill, reset speed by pressing
and holding the SET ACCEL button (to resume speeds over 50 km/h [30
mph]).
Automatic transmissions may shift frequently while driving up steep
grades. Eliminate frequent shifting by shifting out of
(Overdrive) into
a lower gear.
Driving on snow and ice
A 4WD vehicle has advantages over 2WD vehicles in snow and ice but
can skid like any other vehicle.
Avoid sudden applications of power and quick changes of direction on
snow and ice. Apply the accelerator slowly and steadily when starting
from a full stop.
If your vehicle is equipped with a Rear Anti-lock Brake System (RABS),
you should be careful when braking. Front brake lock-up, on any surface,
causes loss of steering control.
Driving
131
ProCarManuals.com
Page 132 of 256
If your vehicle is equipped with a Four Wheel Anti-lock Brake System
(ABS), apply the brakes as you normally would. In order to allow the
ABS to operate properly, keep steady pressure on the brake pedal.
When driving on snow or ice with either braking system, allow more
stopping distance and drive slower than usual. Consider using one of the
lower gears.
VEHICLE LOADING
Before loading a vehicle, familiarize yourself with the following terms:
•Base Curb Weight:Weight of the vehicle including any standard
equipment, fluids, lubricants, etc. It does not include passengers or
aftermarket equipment.
•Payload:Combined maximum allowable weight of cargo, passengers
and optional equipment. The payload equals the gross vehicle weight
rating minus base curb weight.
•GVW (Gross Vehicle Weight):Base curb weight plus payload
weight. The GVW is not a limit or a specification.
•GVWR (Gross Vehicle Weight Rating):Maximum total weight of
the base vehicle, passengers, optional equipment and cargo. The
GVWR is specific to each vehicle and is listed on the Safety
Compliance Label on the driver’s door pillar.
•GAWR (Gross Axle Weight Rating):Carrying capacity for each axle
system. The GAWR is specific to each vehicle and is listed on the
Safety Compliance Label on the driver’s door pillar.
•GCW (Gross Combined Weight):The combined weight of the
towing vehicle (including passengers and cargo) and the trailer.
•GCWR (Gross Combined Weight Rating):Maximum combined
weight of towing vehicle (including passengers and cargo) and the
trailer. The GCWR indicates the maximum loaded weight that the
vehicle is designed to tow.
•Maximum Trailer Weight Rating:Maximum weight of a trailer the
vehicle is permitted to tow. The maximum trailer weight rating is
determined by subtracting the vehicle curb weight for each
engine/transmission combination, any required option weight for trailer
towing and the weight of the driver from the GCWR for the towing
vehicle.
Driving
132
ProCarManuals.com
Page 135 of 256
Driving through deep water where the transmission vent tube is
submerged may allow water into the transmission and cause
internal transmission damage.
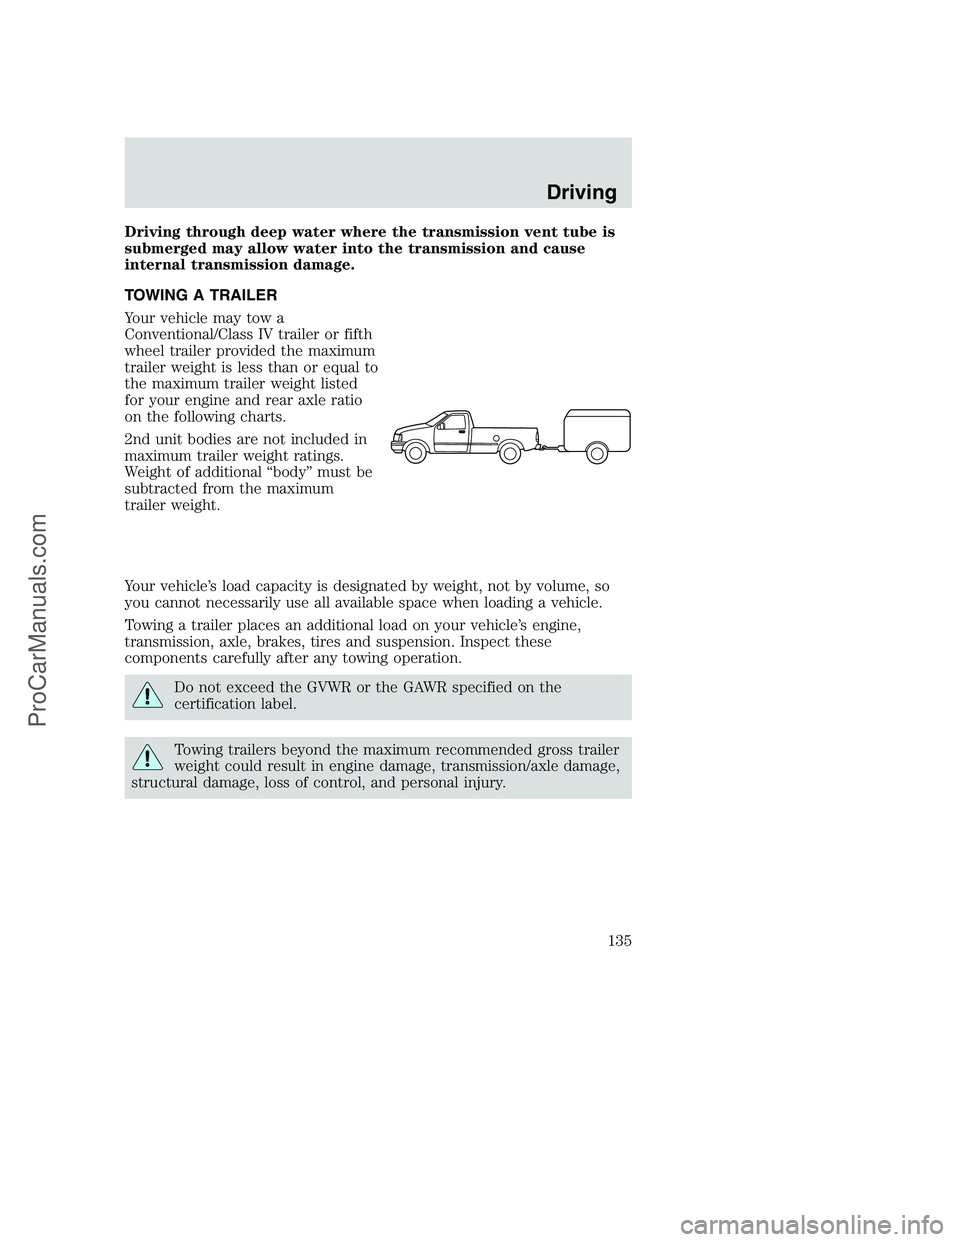
TOWING A TRAILER
Your vehicle may tow a
Conventional/Class IV trailer or fifth
wheel trailer provided the maximum
trailer weight is less than or equal to
the maximum trailer weight listed
for your engine and rear axle ratio
on the following charts.
2nd unit bodies are not included in
maximum trailer weight ratings.
Weight of additional “body” must be
subtracted from the maximum
trailer weight.
Your vehicle’s load capacity is designated by weight, not by volume, so
you cannot necessarily use all available space when loading a vehicle.
Towing a trailer places an additional load on your vehicle’s engine,
transmission, axle, brakes, tires and suspension. Inspect these
components carefully after any towing operation.
Do not exceed the GVWR or the GAWR specified on the
certification label.
Towing trailers beyond the maximum recommended gross trailer
weight could result in engine damage, transmission/axle damage,
structural damage, loss of control, and personal injury.
Driving
135
ProCarManuals.com