Page 3 of 256

WARNINGS
Warnings provide information which may reduce the risk of personal
injury and prevent possible damage to others, your vehicle and its
equipment.
BREAKING-IN YOUR VEHICLE
There are no particular breaking-in rules for your vehicle. During the
first 1 600 km (1 000 miles) of driving, vary speeds frequently. This is
necessary to give the moving parts a chance to break in.
INFORMATION ABOUT THIS GUIDE
The information found in this guide was in effect at the time of printing.
Ford may change the contents without notice and without incurring
obligation.
SPECIAL NOTICES
Notice to owners of diesel-powered vehicles
Read the 7.3 Liter Power Stroke Direct Injection Turbo Diesel Owner’s
Guide Supplement for information regarding correct operation and
maintenance of your diesel-powered light truck.
Notice to owners of pickup trucks and utility type vehicles
Utility vehicles have a significantly higher rollover rate than
other types of vehicles.
Before you drive your vehicle, please read this Owner’s Guide carefully.
Your vehicle is not a passenger car. As with other vehicles of this type,
failure to operate this vehicle correctly may result in loss of control or an
accident.
Be sure to readDriving off roadin theDrivingchapter as well as the
“Four Wheeling” supplement included with 4WD and utility type vehicles.
Introduction
3
ProCarManuals.com
Page 112 of 256

Always set the parking brake fully and make sure that the
gearshift is securely latched in P (Park) (automatic
transmission) or in 1 (First) (manual transmission).
The parking brake is not recommended to stop a moving vehicle.
However, if the normal brakes fail, the parking brake can be used to stop
your vehicle in an emergency. Since the parking brake applies only the
rear brakes, the vehicle’s stopping distance will increase greatly and the
handling of your vehicle will be adversely affected.
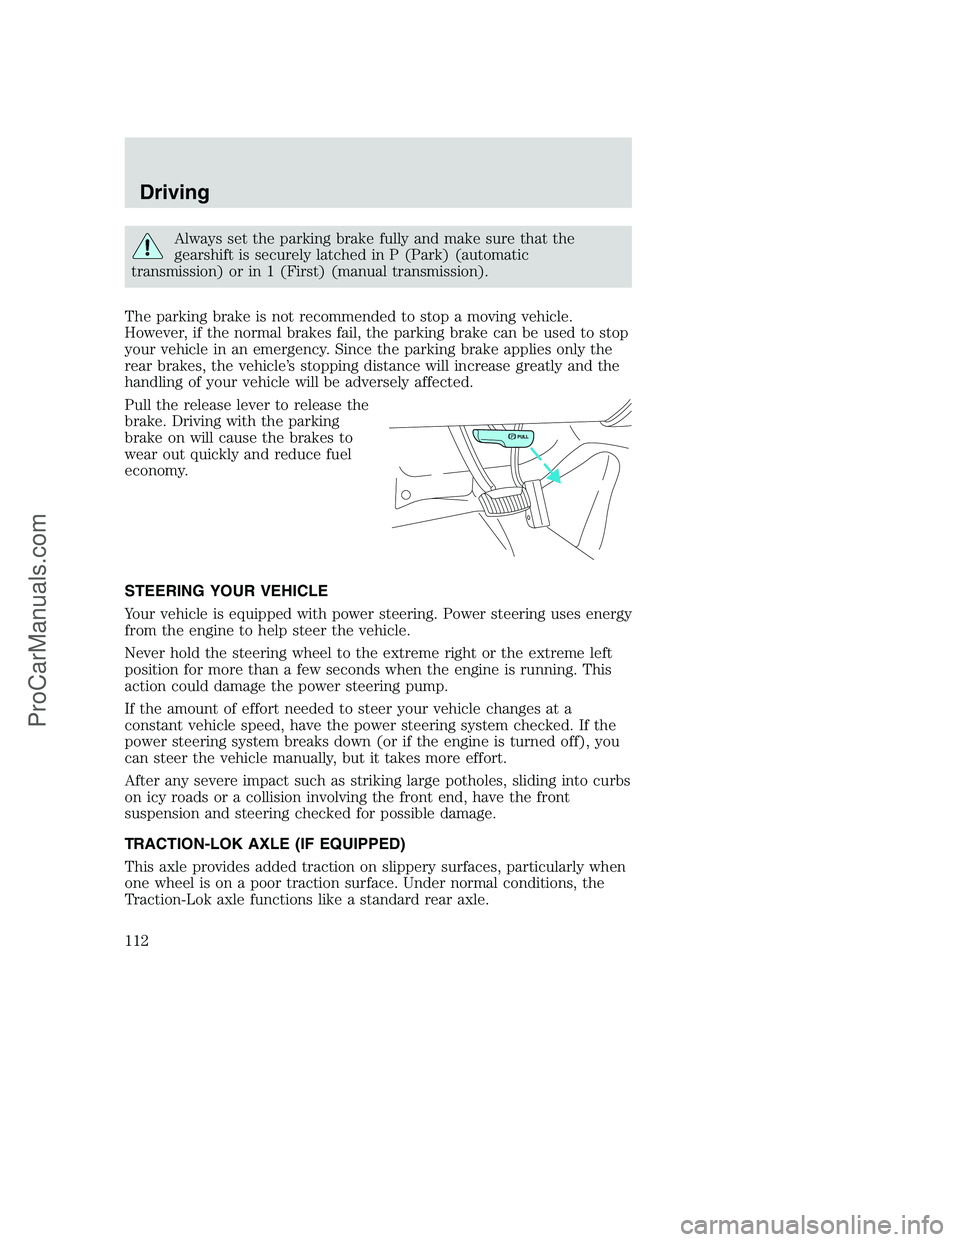
Pull the release lever to release the
brake. Driving with the parking
brake on will cause the brakes to
wear out quickly and reduce fuel
economy.
STEERING YOUR VEHICLE
Your vehicle is equipped with power steering. Power steering uses energy
from the engine to help steer the vehicle.
Never hold the steering wheel to the extreme right or the extreme left
position for more than a few seconds when the engine is running. This
action could damage the power steering pump.
If the amount of effort needed to steer your vehicle changes at a
constant vehicle speed, have the power steering system checked. If the
power steering system breaks down (or if the engine is turned off), you
can steer the vehicle manually, but it takes more effort.
After any severe impact such as striking large potholes, sliding into curbs
on icy roads or a collision involving the front end, have the front
suspension and steering checked for possible damage.
TRACTION-LOK AXLE (IF EQUIPPED)
This axle provides added traction on slippery surfaces, particularly when
one wheel is on a poor traction surface. Under normal conditions, the
Traction-Lok axle functions like a standard rear axle.
PULL
Driving
112
ProCarManuals.com
Page 129 of 256

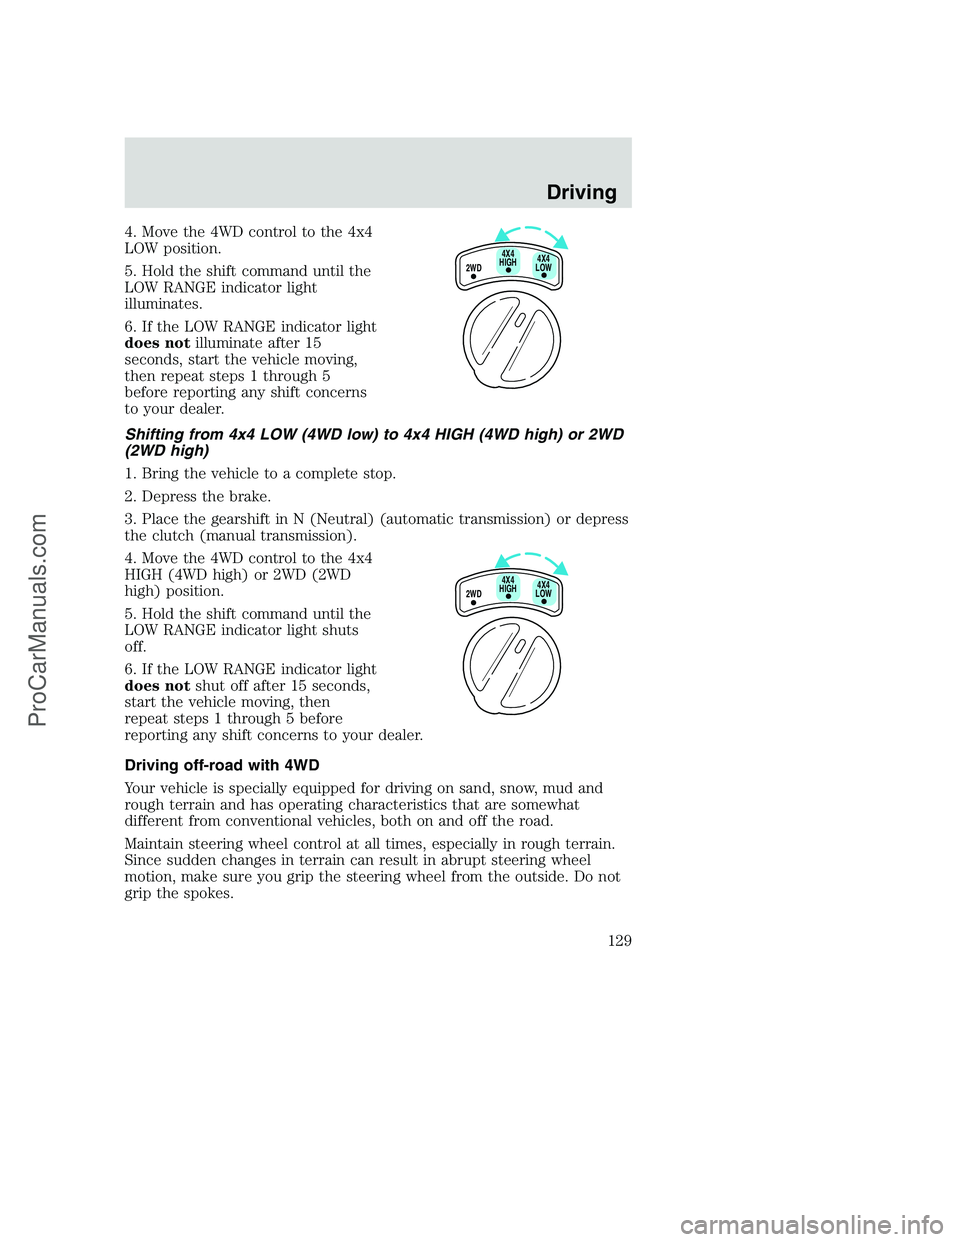
4. Move the 4WD control to the 4x4
LOW position.
5. Hold the shift command until the
LOW RANGE indicator light
illuminates.
6. If the LOW RANGE indicator light
does notilluminate after 15
seconds, start the vehicle moving,
then repeat steps 1 through 5
before reporting any shift concerns
to your dealer.
Shifting from 4x4 LOW (4WD low) to 4x4 HIGH (4WD high) or 2WD
(2WD high)
1. Bring the vehicle to a complete stop.
2. Depress the brake.
3. Place the gearshift in N (Neutral) (automatic transmission) or depress
the clutch (manual transmission).
4. Move the 4WD control to the 4x4
HIGH (4WD high) or 2WD (2WD
high) position.
5. Hold the shift command until the
LOW RANGE indicator light shuts
off.
6. If the LOW RANGE indicator light
does notshut off after 15 seconds,
start the vehicle moving, then
repeat steps 1 through 5 before
reporting any shift concerns to your dealer.
Driving off-road with 4WD
Your vehicle is specially equipped for driving on sand, snow, mud and
rough terrain and has operating characteristics that are somewhat
different from conventional vehicles, both on and off the road.
Maintain steering wheel control at all times, especially in rough terrain.
Since sudden changes in terrain can result in abrupt steering wheel
motion, make sure you grip the steering wheel from the outside. Do not
grip the spokes.
2WD4X4
LOW4X4
HIGH
2WD4X4
LOW4X4
HIGH
Driving
129
ProCarManuals.com
Page 158 of 256
Tire change procedure
1. Park on a level surface, activate
hazard flashers and set the parking
brake.
•Automatic transmission: Place
gearshift lever in P (Park).
•Manual transmission: Place
gearshift lever in R (Reverse).
•Electronic Shift On the Fly four
wheel drive: Place transfer case
in 2WD, 4x4 HIGH or 4x4 LOW.
•Manual shift transfer case four
wheel drive: Place transfer case
in 2H, 4H or 4L.
To prevent the vehicle from
moving when you change a
tire, be sure the parking brake is
set, then block (in both
directions) the wheel that is
diagonally opposite (other side
and end of the vehicle) to the tire
being changed.
2. Turn engine OFF and block the diagonally opposite wheel (block not
provided).
3. Remove the jack, jack handle, lug wrench and spare tire from the
stowage locations.
4. Use the tip of the lug wrench to remove any wheel trim.
Roadside emergencies
158
ProCarManuals.com
Page 159 of 256
5. Loosen each wheel lug nut
one-half turn counterclockwise but
do not remove them until the wheel
is raised off the ground.
When one of the rear
wheels is off the ground,
the transmission alone will not
prevent the vehicle from moving
or slipping off the jack, even if the
transmission is in P (Park)
(automatic transmission) or R
(Reverse) (manual transmission).
To prevent the vehicle from
moving when you change the tire,
be sure that the parking brake is
set and the diagonally opposite
wheel is blocked.
If the vehicle slips off the jack, you or someone else could be
seriously injured.
The following steps apply to F250/F350 only:
6. Insert the hooked end of the jack
handle into the jack and use the
handle to slide the jack under the
vehicle.
7. Position the jack according to the
following guides:
Roadside emergencies
159
ProCarManuals.com