Page 122 of 296

Memory seats (if equipped)
This system allows automatic
positioning of the driver seat to
three programmable positions.
The memory seat control is located
on the driver door.
²To program position one, move
the driver seat to the desired
position using the seat controls.
Press the SET control. The SET
control indicator light will briefly
illuminate. While the light is illuminated, press control 1.
²To program position two, repeat the previous procedure using control
2.
²To program position three, repeat the previous procedure but press
controls 1 and 2 simultaneously.
A position can only be set or recalled when the transmission gearshift is
in Park or Neutral. A memory seat position may be programmed at any
time.
The memory seat positions are also recalled when you press your remote
entry transmitter UNLOCK control.
To program the memory seat to remote entry transmitter, refer to
Remote entry systemin theControls and features chapter.
Using the manual lumbar support
Turn the lumbar support control
toward the front of vehicle to move
the lumbar support forward for
more direct support.
Turn the lumbar support control
toward the rear of vehicle to move
the lumbar support back for less
direct support.
SE T
12
Seating and safety restraints
122
Page 125 of 296
To return the seat to the upright
position:
²Press downward on the upper
corner of the seatback and hold.
²Pull the release handle upward to
unlatch the seat.
²Rotate the seatback upward until
the seatback latches in the
upright position. The seatback
will click when it is locked into
position.
SAFETY RESTRAINTS
Safety restraints precautions
Always drive and ride with your seatback upright and the lap
belt snug and low across the hips.
To reduce the risk of injury, make sure children sit where they
can be properly restrained.
Never let a passenger hold a child on his or her lap while the
vehicle is moving. The passenger cannot protect the child from
injury in a collision.
Seating and safety restraints
125
Page 127 of 296

After any vehicle collision, the safety belt system at all outboard
seating positions (except driver, which has no ªautomatic locking
retractorº feature) must be checked by a qualified technician to verify
that the ªautomatic locking retractorº feature for child seats is still
functioning properly. In addition, all safety belts should be checked for
proper function.
BELT AND RETRACTOR ASSEMBLY MUST BE REPLACED if
the safety belt assembly ªautomatic locking retractorº feature or
any other safety belt function is not operating properly when checked
according to the procedures in Workshop Manual.
Failure to replace the Belt and Retractor assembly could
increase the risk of injury in collisions.
Combination lap and shoulder belts
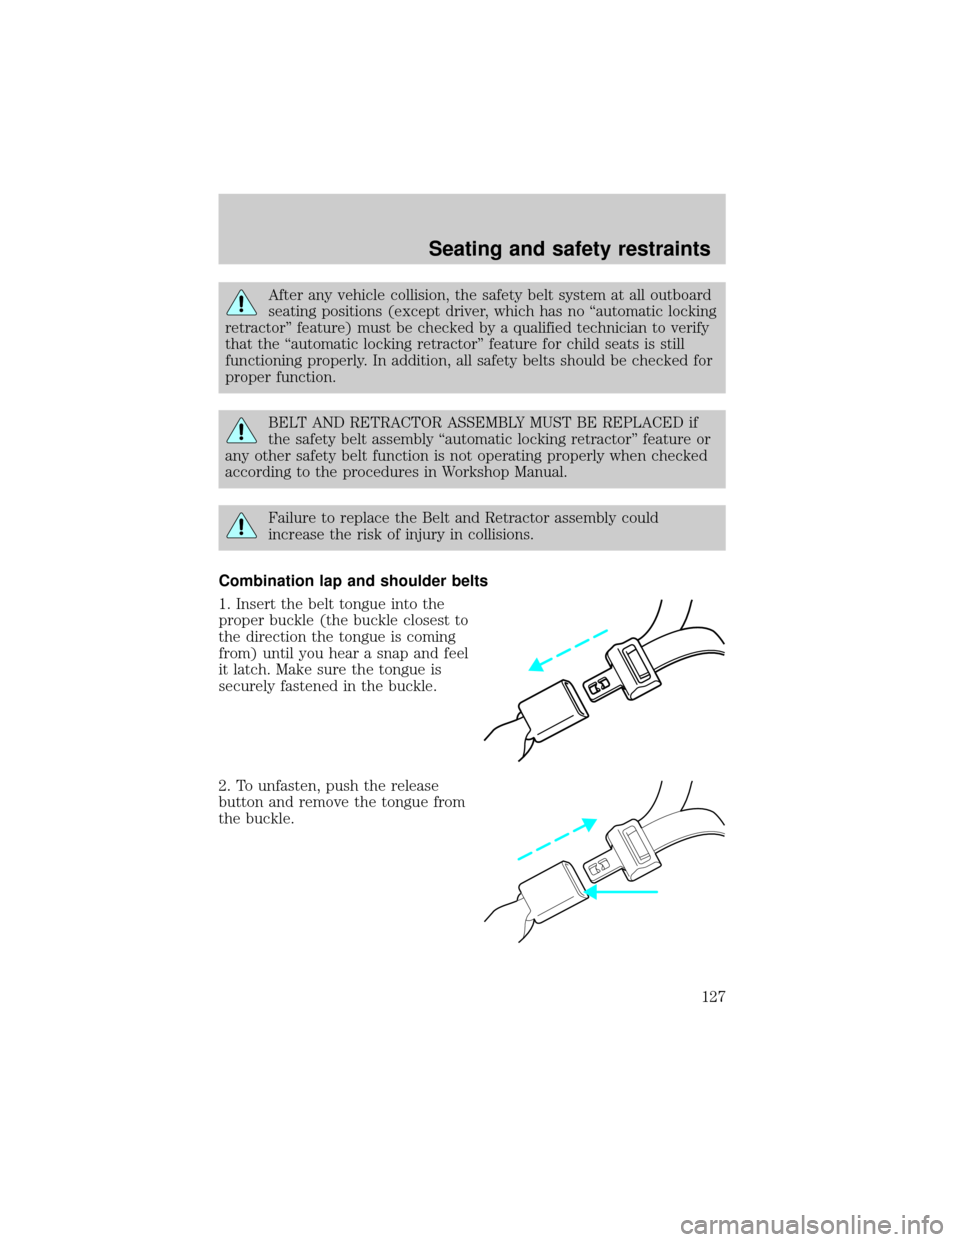
1. Insert the belt tongue into the
proper buckle (the buckle closest to
the direction the tongue is coming
from) until you hear a snap and feel
it latch. Make sure the tongue is
securely fastened in the buckle.
2. To unfasten, push the release
button and remove the tongue from
the buckle.
Seating and safety restraints
127
Page 128 of 296

The front and rear outboard safety restraints in the vehicle are
combination lap and shoulder belts. The front passenger and rear seat
outboard safety belts have two types of locking modes described below:
Vehicle sensitive mode
The vehicle sensitive mode is the normal retractor mode, allowing free
shoulder belt length adjustment to your movements and locking in
response to vehicle movement. For example, if the driver brakes
suddenly or turns a corner sharply, or the vehicle receives an impact of
approximately 8 km/h (5 mph) or more, the combination safety belts will
lock to help reduce forward movement of the driver and passengers.
Automatic locking mode
In this mode, the shoulder belt is automatically pre-locked. The belt will
still retract to remove any slack in the shoulder belt.
The automatic locking mode is not available on the driver safety belt.
When to use the automatic locking mode
²Anytimea child safety seat is installed in a passenger front or
outboard rear seating position (if equipped). Children 12 years old and
under should be properly restrained in the rear seat whenever
possible. Refer toSafety Restraints for ChildrenorSafety Seats for
Childrenlater in this chapter.
How to use the automatic locking mode
²Buckle the combination lap and
shoulder belt.
Seating and safety restraints
128
Page 129 of 296

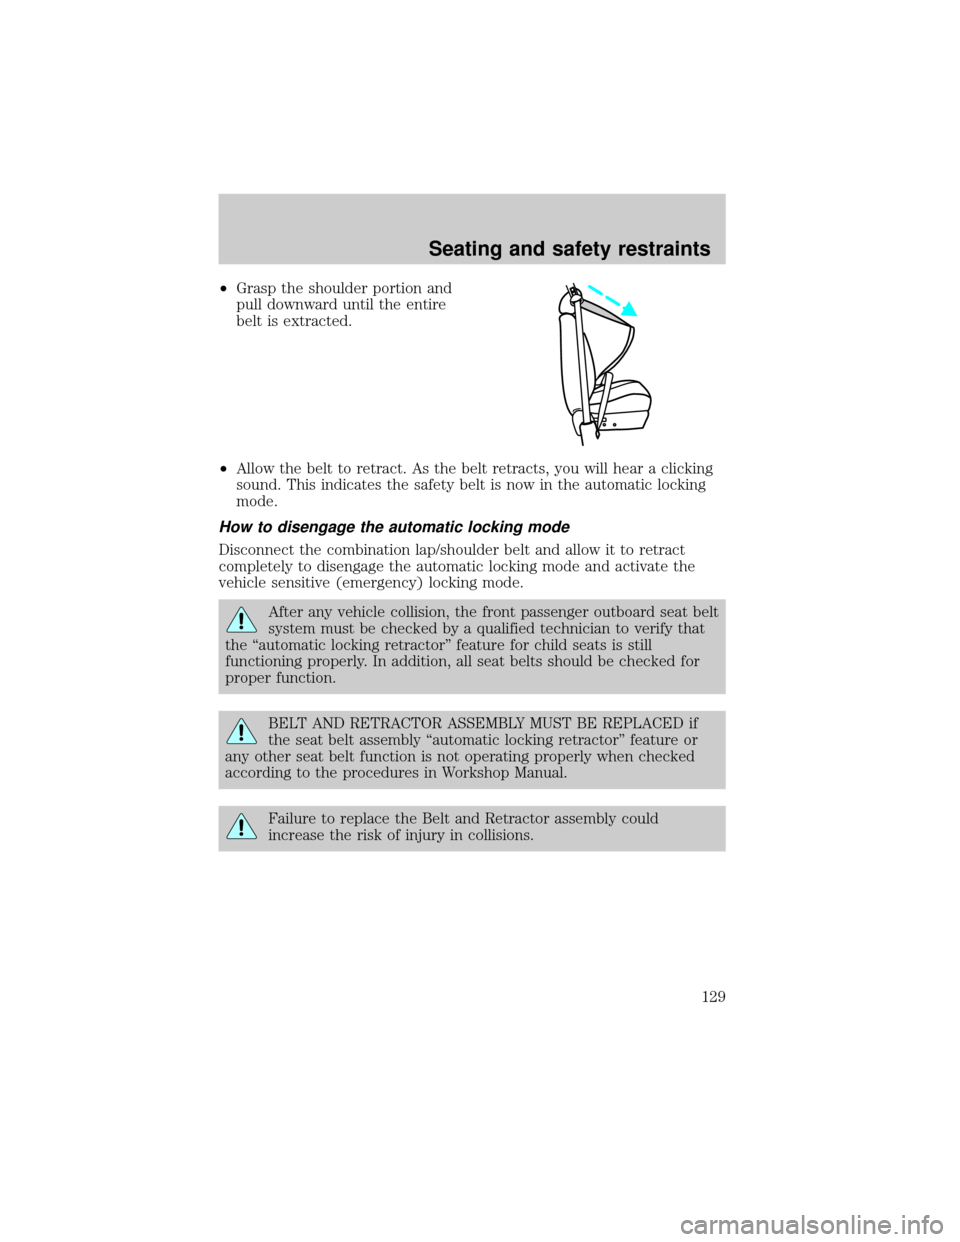
²Grasp the shoulder portion and
pull downward until the entire
belt is extracted.
²Allow the belt to retract. As the belt retracts, you will hear a clicking
sound. This indicates the safety belt is now in the automatic locking
mode.
How to disengage the automatic locking mode
Disconnect the combination lap/shoulder belt and allow it to retract
completely to disengage the automatic locking mode and activate the
vehicle sensitive (emergency) locking mode.
After any vehicle collision, the front passenger outboard seat belt
system must be checked by a qualified technician to verify that
the ªautomatic locking retractorº feature for child seats is still
functioning properly. In addition, all seat belts should be checked for
proper function.
BELT AND RETRACTOR ASSEMBLY MUST BE REPLACED if
the seat belt assembly ªautomatic locking retractorº feature or
any other seat belt function is not operating properly when checked
according to the procedures in Workshop Manual.
Failure to replace the Belt and Retractor assembly could
increase the risk of injury in collisions.
Seating and safety restraints
129
Page 130 of 296

Front safety belt height adjustment
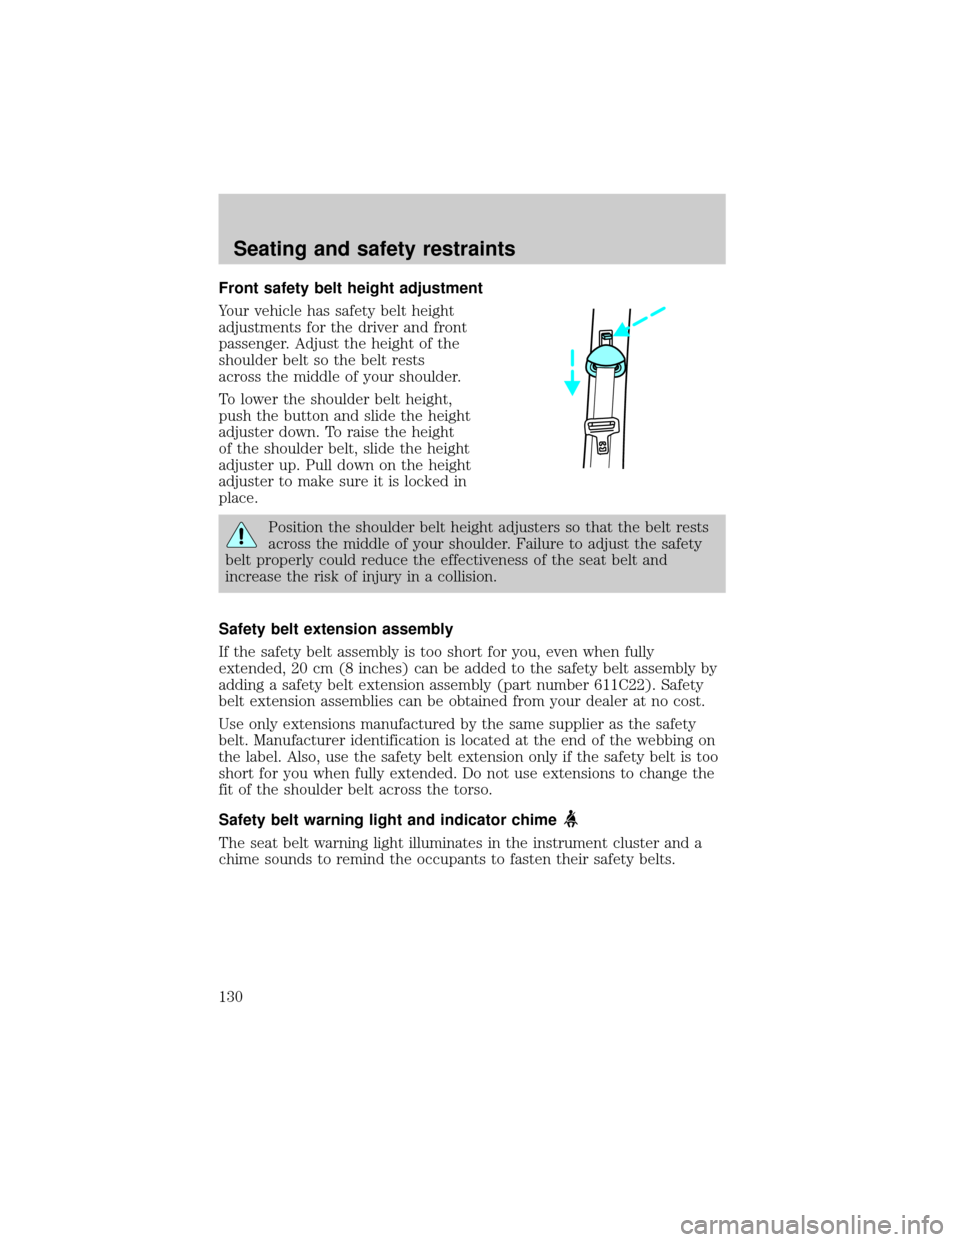
Your vehicle has safety belt height
adjustments for the driver and front
passenger. Adjust the height of the
shoulder belt so the belt rests
across the middle of your shoulder.
To lower the shoulder belt height,
push the button and slide the height
adjuster down. To raise the height
of the shoulder belt, slide the height
adjuster up. Pull down on the height
adjuster to make sure it is locked in
place.
Position the shoulder belt height adjusters so that the belt rests
across the middle of your shoulder. Failure to adjust the safety
belt properly could reduce the effectiveness of the seat belt and
increase the risk of injury in a collision.
Safety belt extension assembly
If the safety belt assembly is too short for you, even when fully
extended, 20 cm (8 inches) can be added to the safety belt assembly by
adding a safety belt extension assembly (part number 611C22). Safety
belt extension assemblies can be obtained from your dealer at no cost.
Use only extensions manufactured by the same supplier as the safety
belt. Manufacturer identification is located at the end of the webbing on
the label. Also, use the safety belt extension only if the safety belt is too
short for you when fully extended. Do not use extensions to change the
fit of the shoulder belt across the torso.
Safety belt warning light and indicator chime
The seat belt warning light illuminates in the instrument cluster and a
chime sounds to remind the occupants to fasten their safety belts.
Seating and safety restraints
130
Page 145 of 296

When installing a child safety seat:
²Review and follow the information
presented in theAir Bag
Supplemental Restraint System
section in this chapter.
²Use the correct safety belt buckle
for that seating position (the
buckle closest to the direction the
tongue is coming from).
²Insert the belt tongue into the
proper buckle until you hear a
snap and feel it latch. Make sure
the tongue is securely fastened in
the buckle.
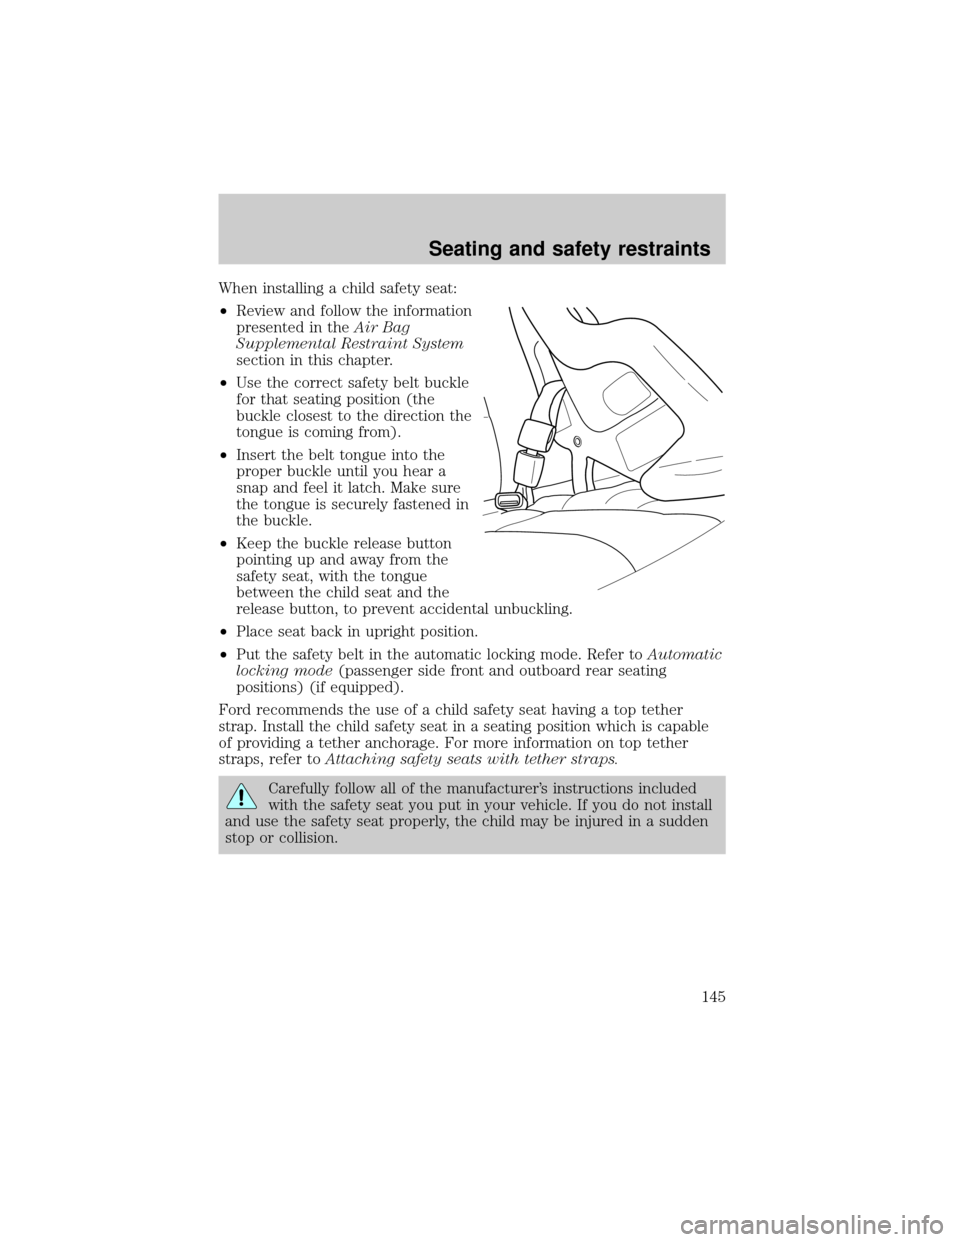
²Keep the buckle release button
pointing up and away from the
safety seat, with the tongue
between the child seat and the
release button, to prevent accidental unbuckling.
²Place seat back in upright position.
²Put the safety belt in the automatic locking mode. Refer toAutomatic
locking mode(passenger side front and outboard rear seating
positions) (if equipped).
Ford recommends the use of a child safety seat having a top tether
strap. Install the child safety seat in a seating position which is capable
of providing a tether anchorage. For more information on top tether
straps, refer toAttaching safety seats with tether straps.
Carefully follow all of the manufacturer's instructions included
with the safety seat you put in your vehicle. If you do not install
and use the safety seat properly, the child may be injured in a sudden
stop or collision.
Seating and safety restraints
145
Page 147 of 296
3. While holding the shoulder and
lap belt portions together, route the
tongue through the child seat
according to the child seat
manufacturer's instructions. Be sure
the belt webbing is not twisted.
4. Insert the belt tongue into the
proper buckle (the buckle closest to
the direction the tongue is coming
from) for that seating position until
you hear a snap and feel the latch
engage. Make sure the tongue is
latched securely by pulling on it.
5. To put the retractor in the
automatic locking mode, grasp the
shoulder portion of the belt and pull
downward until all of the belt is
extracted and a click is heard.
6. Allow the belt to retract. The belt will click as it retracts to indicate it
is in the automatic locking mode.
Seating and safety restraints
147