Page 18 of 296

For maximum accuracy of this display feature, the ignition should be in
the OFF position during fueling. The display FUEL LEVEL ERROR
indicates a problem with the fuel indication system. See your dealer or
qualified service technician for system maintenance.
Fuel status
Press once to display the
approximate amount of fuel
remaining in the fuel tank.
Press again to display the
approximate amount of fuel used
since the system was last reset.
Fuel economy
Press to display your vehicle's
average fuel economy in liters/
100 km or (miles/gallons).
Reset
Press the reset control to reset the
current feature being displayed.
Warnings, distance driven, average
fuel economy, fuel used and
personalized oil reset percentage are
the only features that respond to
reset.
ENGLISH/
METRICRANGESTATUS
ECONRESETSYSTEM
CHECKOIL
CHANGE
RESET
FUEL
ENGLISH/
METRICRANGESTATUS
ECONRESETSYSTEM
CHECKOIL
CHANGE
RESET
FUEL
ENGLISH/
METRICRANGESTATUS
ECONRESETSYSTEM
CHECKOIL
CHANGE
RESET
FUEL
Instrumentation
18
Page 21 of 296

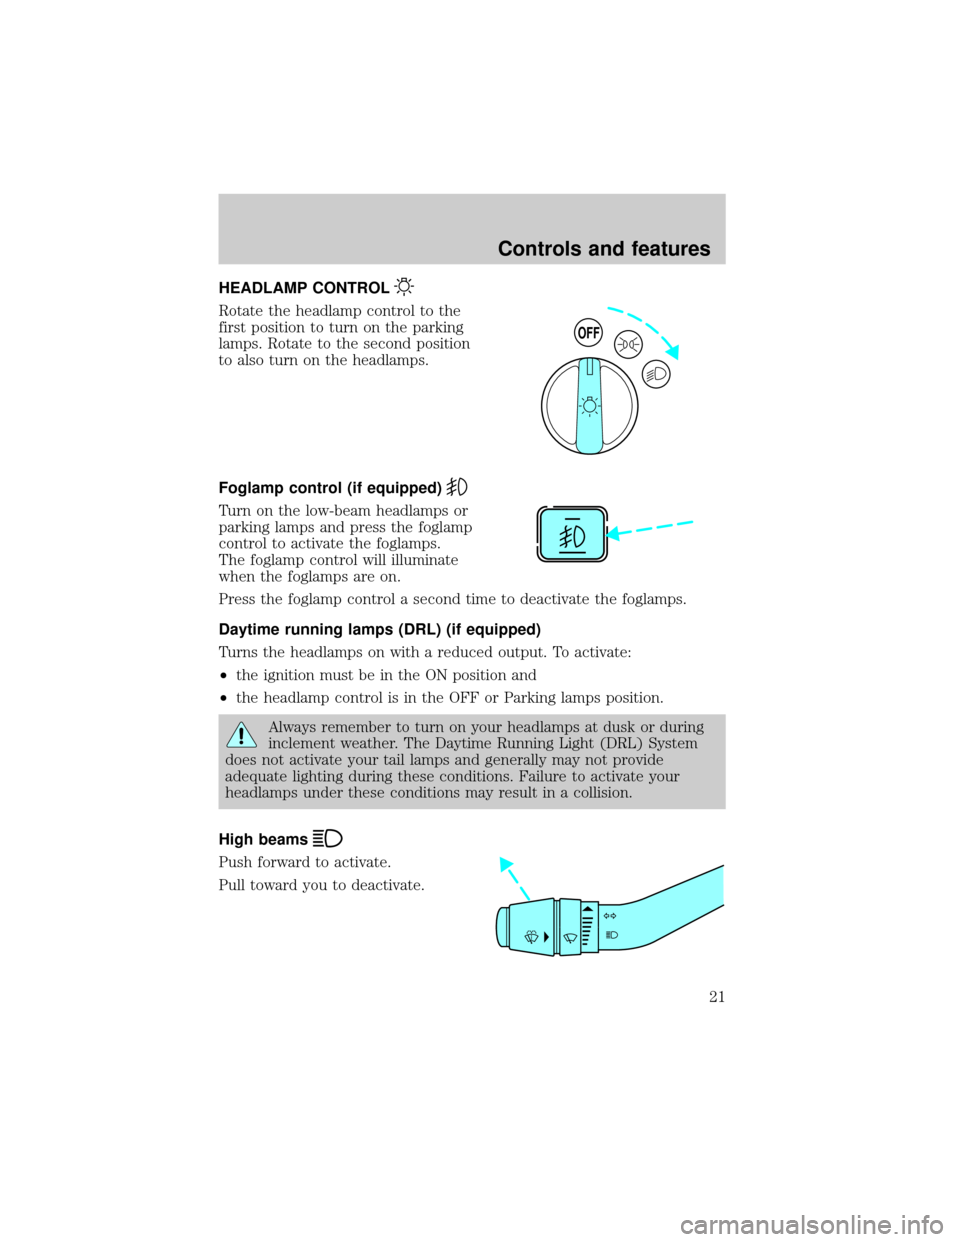
HEADLAMP CONTROL
Rotate the headlamp control to the
first position to turn on the parking
lamps. Rotate to the second position
to also turn on the headlamps.
Foglamp control (if equipped)
Turn on the low-beam headlamps or
parking lamps and press the foglamp
control to activate the foglamps.
The foglamp control will illuminate
when the foglamps are on.
Press the foglamp control a second time to deactivate the foglamps.
Daytime running lamps (DRL) (if equipped)
Turns the headlamps on with a reduced output. To activate:
²the ignition must be in the ON position and
²the headlamp control is in the OFF or Parking lamps position.
Always remember to turn on your headlamps at dusk or during
inclement weather. The Daytime Running Light (DRL) System
does not activate your tail lamps and generally may not provide
adequate lighting during these conditions. Failure to activate your
headlamps under these conditions may result in a collision.
High beams
Push forward to activate.
Pull toward you to deactivate.
OFF
Controls and features
21
Page 33 of 296

REAR WINDOW DEFROSTER
The rear defroster control is located
on the instrument panel.
Press the rear defroster control to
clear the rear window of thin ice
and fog.
²A small LED will illuminate when the rear defroster is activated.
The ignition must be in the ON position to operate the rear window
defroster.
The defroster turns off automatically after 10 minutes or when the
ignition is turned to the OFF position. To manually turn off the defroster
before 10 minutes have passed, push the control again.
4WD CONTROL (IF EQUIPPED)
This control operates the 4WD.
Refer to theDrivingchapter for
more information.
REVERSE SENSING SYSTEM (IF EQUIPPED)
The reverse sensing system (RSS) sounds a tone to warn the driver of
obstacles near the rear bumper when the reverse gear is selected.
To help avoid personal injury, please read and understand the
limitations on the reverse sensing system described below.
Reverse sensing is only an assist for some (generally large and fixed)
objects when moving in reverse on a flat surface at ªparking speedsº of
approximately 6 km/h (4 mph) or less. The weather may also affect the
function of RSS. RSS may have reduced performance, or be activated
in inclement weather. It is the driver's responsibility for ensuring that
their path is clear when operating the vehicle.
HIGH4x4
LOW AUTO
Controls and features
33
Page 35 of 296

The reverse sensing system is
automatically enabled when the gear
selector is placed in R (Reverse)
and the ignition is ON. A reverse
sensing control allows the driver to
disable the reverse sensing system
only when the ignition is ON, and
the gear selector is in R (Reverse).
The OFF indicator remains illuminated when the system is disabled. The
system defaults to ON every time the reverse gear is selected. Press the
control to disable or enable the system.
The indicator will remain illuminated to indicate a failure of the reverse
sensing system.
Always keep the sensors (located on the rear bumper/fascia) free
from dirt, snow and ice (do not clean the sensors with sharp
objects). These elements may cause the system to operate
inaccurately.
If the vehicle sustains damage to the rear bumper/fascia, leaving
it misaligned or bent, the sensing zone may be altered causing
inaccurate measurement of obstacles or false alarms.
USING YOUR AUDIO SYSTEM
AM/FM stereo cassetteOFF
SCAN
BASS TREB BAL FADE
SIDE
EJ
REW FF1 - 2TAPE
AMS
VOL - PUSH ON
SEEK
TUNE
AM
FMCLK
12 3456
FM1ST
Controls and features
35
Page 36 of 296
Volume/power control
Press the control to turn the audio
system on or off.
Turn the control to raise or lower
volume.
If the volume is set above a certain level and the ignition is turned off,
the volume will come back on at a ªnominalº listening level when the
ignition switch is turned back on.
AM/FM select
The AM/FM select control works in
radio and tape modes.
AM/FM select in radio mode
This control allows you to select AM or FM frequency bands. Press the
AM control to select from AM selections, and press the FM control to
select from FM1 or FM2 memory preset stations.
AM/FM select in tape mode
Press this control to stop tape play and begin radio play.
VOL - PUSH ON
VOL - PUSH ON
AM
FM
Controls and features
36
Page 43 of 296

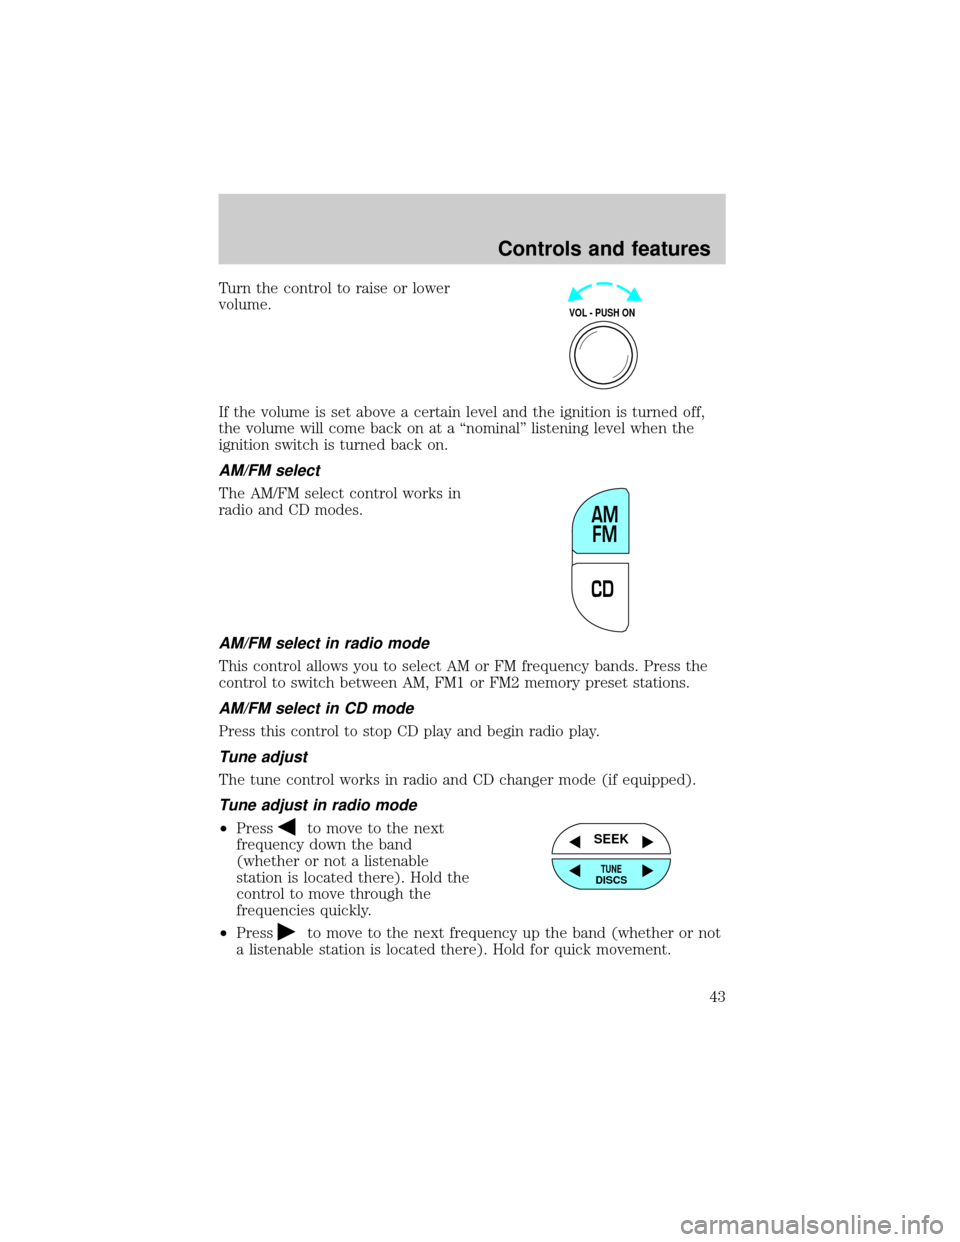
Turn the control to raise or lower
volume.
If the volume is set above a certain level and the ignition is turned off,
the volume will come back on at a ªnominalº listening level when the
ignition switch is turned back on.
AM/FM select
The AM/FM select control works in
radio and CD modes.
AM/FM select in radio mode
This control allows you to select AM or FM frequency bands. Press the
control to switch between AM, FM1 or FM2 memory preset stations.
AM/FM select in CD mode
Press this control to stop CD play and begin radio play.
Tune adjust
The tune control works in radio and CD changer mode (if equipped).
Tune adjust in radio mode
²Pressto move to the next
frequency down the band
(whether or not a listenable
station is located there). Hold the
control to move through the
frequencies quickly.
²Press
to move to the next frequency up the band (whether or not
a listenable station is located there). Hold for quick movement.
VOL - PUSH ON
CDAM
FM
SEEK
TUNEDISCS
Controls and features
43
Page 49 of 296
Volume/power control
Press the control to turn the audio
system on or off.
Audio power can also be turned on
by pressing the AM/FM select
control or the tape/CD select
control. Audio power is turned off
by using the volume/power control.
Turn control to raise or lower
volume.
If the volume is set above a certain level and the ignition is turned off,
the volume will come back on at a ªnominalº listening level when the
ignition switch is turned back on.
AM/FM select
The AM/FM select control works in
radio, tape and CD modes.
AM/FM select in radio mode
This control allows you to select AM or FM frequency bands. Press the
control to switch between AM, FM1 or FM2 memory preset stations.
AM/FM select in tape mode
Press this control to stop tape play and begin radio play.
AM/FM select in CD or CD changer mode (if equipped)
Press this control to stop CD play and begin radio play.
VOL - PUSH ON
VOL - PUSH ON
AM FM
Controls and features
49
Page 62 of 296
MACHTAudio System with AM/FM Stereo/Cassette/Single CD
Volume/power control
Press the control to turn the audio
system on or off.
Turn control to raise or lower
volume.
If the volume is set above a certain level and the ignition is turned off,
the volume will come back on at a ªnominalº listening level when the
ignition switch is turned back on. If you wish to maintain your preset
FM1ST
REW FFSCAN
BASS TREB SEL BALTAPE DISC
EJ CD
FADEAUTO
RDS
SIDE 1-2 COMP SHUFFLEEJ
MUTE
VOL - PUSH ON
SEEK
TUNE AM FM
12 3456
DOLBY B NR
VOL - PUSH ON
VOL - PUSH ON
Controls and features
62