2000 FORD EXPLORER change time
[x] Cancel search: change timePage 80 of 296

²Do not insert more than one disc into each slot of the CD changer
magazine.
Do not insert any promotional (odd shaped or sized) discs, or
discs with removable labels into the CD player as jamming may
occur.
Cleaning cassette player (if equipped)
Clean the tape player head with a cassette cleaning cartridge after 10 to
12 hours of play in order to maintain the best sound and operation.
Cassette and cassette player care
²Use only cassettes that are 90 minutes long or less.
²Do not expose tapes to direct sunlight, high humidity, extreme heat or
extreme cold. Allow tapes that may have been exposed to extreme
temperatures to reach a moderate temperature before playing.
²Tighten very loose tapes by inserting a finger or pencil into the hole
and turning the hub.
²Remove loose labels before inserting tapes.
²Do not leave tapes in the cassette player for a long time when not
being played.
Radio frequency information
The Federal Communications Commission (FCC) and the Canadian Radio
and Telecommunications Commission(CRTC) establish the frequencies
AM and FM stations may use for their broadcasts. Allowable frequencies
are:
AM 530, 540±1600, 1610 kHz
FM 87.7, 87.9±107.7, 107.9 MHz
Not all frequencies are used in a given area.
Radio reception factors
Three factors can affect radio reception:
²Distance/strength.The further an FM signal travels, the weaker it is.
The listenable range of the average FM station is approximately 40 km
(24 miles). This range can be affected by ªsignal modulation.º Signal
modulation is a process radio stations use to increase their
strength/volume relative to other stations.
Controls and features
80
Page 109 of 296

Changes or modifications not expressly approved by the party
responsible for compliance could void the user's authority to
operate the equipment.
Memory seat feature (if equipped)
The remote entry system can also
control the memory seat feature.
Press the control once to unlock the
driver's door and move the memory
seat feature to the corresponding
memory position, just as if you had
pressed the memory control in the
vehicle.
When your dealer programs new
transmitters:
²the first transmitter programmed will recall memory position one.
²the second transmitter programmed will recall memory position two.
²the third transmitter programmed will recall memory position three.
²the fourth transmitter programmed will not recall a memory position.
Memory positions can be changed at any time. The memory feature can
be deactivated or reactivated by performing the following:
1. Make sure the ignition is off and all doors and the liftgate window are
closed.
2. Turn the ignition key from OFF to ON.
3. Press the power door unlock control three times.
4. Turn the ignition key from ON to OFF.
5. Press the power door unlock control three times.
6. Turn the ignition back to ON. The horn will chirp.
7. Press the unlock control two times, then press the lock control. The
horn will chirp twice if the remote memory seat feature was deactivated
or will sound three times (two short chirps followed by one long chirp) if
the feature was activated.
8. Turn the ignition to OFF. The horn will chirp once to confirm that you
activated or deactivated the remote memory seat feature.
Controls and features
109
Page 115 of 296
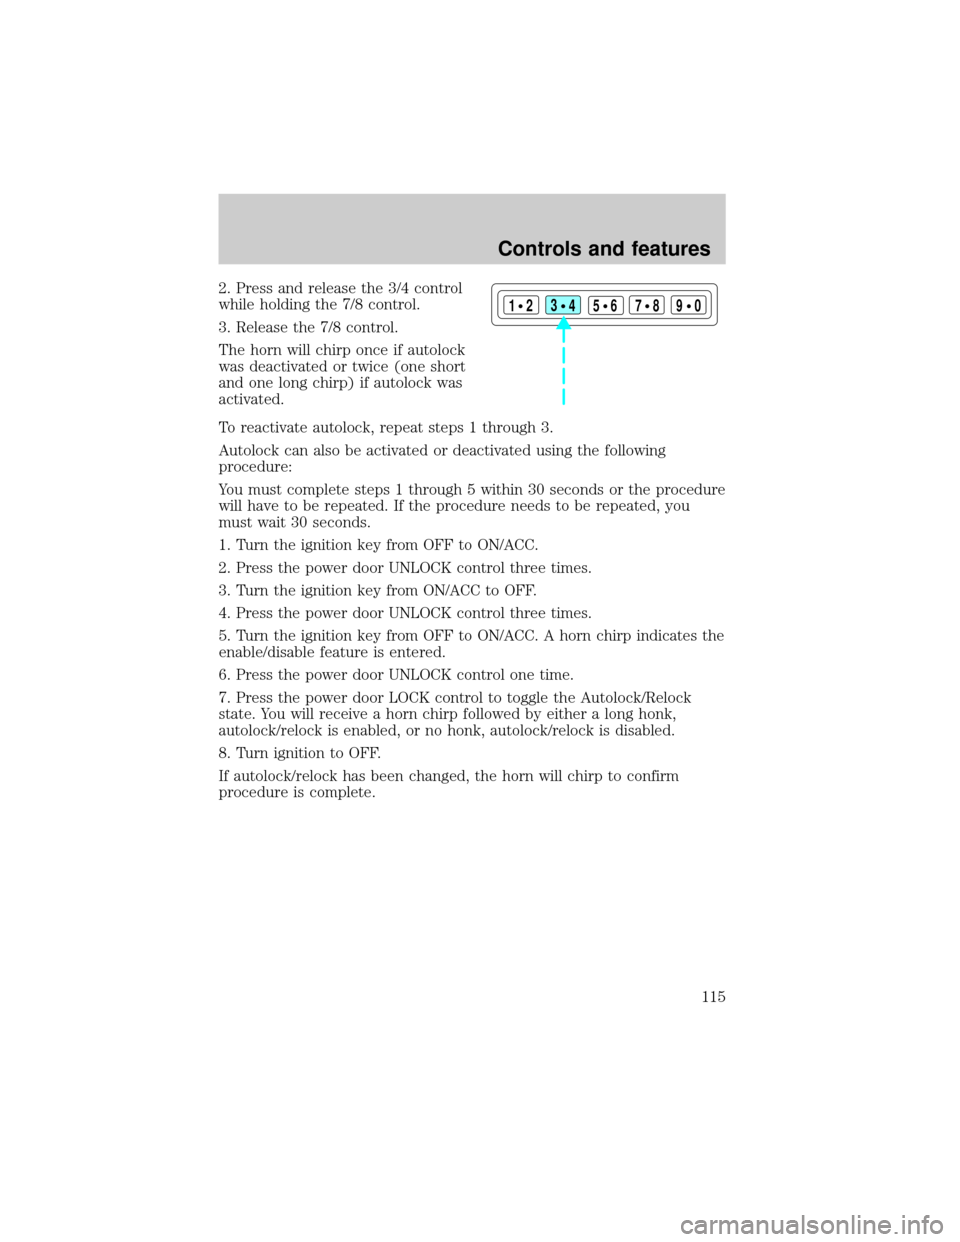
2. Press and release the 3/4 control
while holding the 7/8 control.
3. Release the 7/8 control.
The horn will chirp once if autolock
was deactivated or twice (one short
and one long chirp) if autolock was
activated.
To reactivate autolock, repeat steps 1 through 3.
Autolock can also be activated or deactivated using the following
procedure:
You must complete steps 1 through 5 within 30 seconds or the procedure
will have to be repeated. If the procedure needs to be repeated, you
must wait 30 seconds.
1. Turn the ignition key from OFF to ON/ACC.
2. Press the power door UNLOCK control three times.
3. Turn the ignition key from ON/ACC to OFF.
4. Press the power door UNLOCK control three times.
5. Turn the ignition key from OFF to ON/ACC. A horn chirp indicates the
enable/disable feature is entered.
6. Press the power door UNLOCK control one time.
7. Press the power door LOCK control to toggle the Autolock/Relock
state. You will receive a horn chirp followed by either a long honk,
autolock/relock is enabled, or no honk, autolock/relock is disabled.
8. Turn ignition to OFF.
If autolock/relock has been changed, the horn will chirp to confirm
procedure is complete.
123
45678
90
Controls and features
115
Page 171 of 296
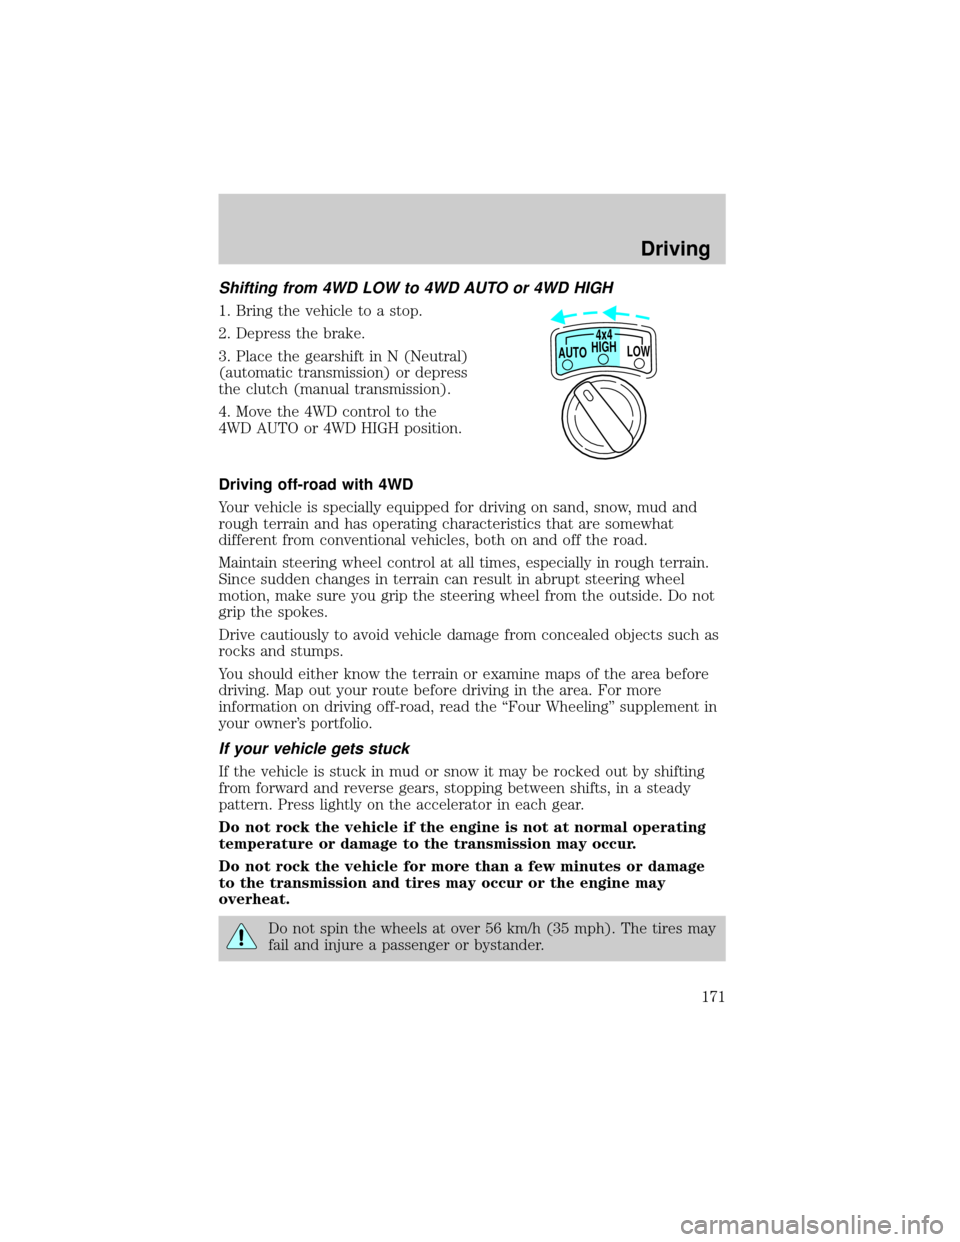
Shifting from 4WD LOW to 4WD AUTO or 4WD HIGH
1. Bring the vehicle to a stop.
2. Depress the brake.
3. Place the gearshift in N (Neutral)
(automatic transmission) or depress
the clutch (manual transmission).
4. Move the 4WD control to the
4WD AUTO or 4WD HIGH position.
Driving off-road with 4WD
Your vehicle is specially equipped for driving on sand, snow, mud and
rough terrain and has operating characteristics that are somewhat
different from conventional vehicles, both on and off the road.
Maintain steering wheel control at all times, especially in rough terrain.
Since sudden changes in terrain can result in abrupt steering wheel
motion, make sure you grip the steering wheel from the outside. Do not
grip the spokes.
Drive cautiously to avoid vehicle damage from concealed objects such as
rocks and stumps.
You should either know the terrain or examine maps of the area before
driving. Map out your route before driving in the area. For more
information on driving off-road, read the ªFour Wheelingº supplement in
your owner's portfolio.
If your vehicle gets stuck
If the vehicle is stuck in mud or snow it may be rocked out by shifting
from forward and reverse gears, stopping between shifts, in a steady
pattern. Press lightly on the accelerator in each gear.
Do not rock the vehicle if the engine is not at normal operating
temperature or damage to the transmission may occur.
Do not rock the vehicle for more than a few minutes or damage
to the transmission and tires may occur or the engine may
overheat.
Do not spin the wheels at over 56 km/h (35 mph). The tires may
fail and injure a passenger or bystander.
HIGH
LOW AUTO4x4
Driving
171
Page 173 of 296
When speed control is on and you are driving uphill, your vehicle speed
may drop considerably, especially if you are carrying a heavy load.
If vehicle speed drops more than 16 km/h (10 mph), the speed control
will cancel automatically. Resume speed with accelerator pedal.
If speed control cancels after climbing the hill, reset speed by pressing
and holding the SET ACCEL button (to resume speeds over 50 km/h
(30 mph).
Automatic transmissions may shift frequently while driving up steep
grades. Eliminate frequent shifting by shifting out of
(Overdrive)
into D (Drive).
Driving on snow and ice
A 4WD vehicle has advantages over 2WD vehicles in snow and ice but
can skid like any other vehicle.
Avoid sudden applications of power and quick changes of direction on
snow and ice. Apply the accelerator slowly and steadily when starting
from a full stop.
When braking, apply the brakes as you normally would. In order to allow
the anti-lock brake system (ABS) to operate properly, keep steady
pressure on the brake pedal.
Allow more stopping distance and drive slower than usual. Consider
using one of the lower gears.
ALL WHEEL DRIVE (AWD) SYSTEM (IF EQUIPPED)
(5.0L ENGINES ONLY)
Your vehicle is equipped with a full-time All Wheel Drive (AWD) transfer
case. Power is supplied to all four wheels all the time with no need to
shift between two-wheel drive and four-wheel drive.
For the lubricant specification and refill capacity of the AWD transfer
case refer toCapacities and specificationschapter.
Utility and four-wheel drive vehicles arenotdesigned for
cornering at speeds as high as passenger cars any more than
low-slung sports cars are designed to perform satisfactorily under
off-road conditions. Avoid sharp turns or abrupt maneuvers in these
vehicles.
Driving
173
Page 174 of 296
Driving off-road with AWD
Your vehicle is specially equipped for driving on sand, snow, mud and
rough terrain and has operating characteristics that are somewhat
different from conventional vehicles, both on and off the road.
Maintain steering wheel control at all times, especially in rough terrain.
Since sudden changes in terrain can result in abrupt steering wheel
motion, make sure you grip the steering wheel from the outside. Do not
grip the spokes.
Drive cautiously to avoid vehicle damage from concealed objects such as
rocks and stumps.
You should either know the terrain or examine maps of the area before
driving. Map out your route before driving in the area. For more
information on driving off-road, read the ªFour Wheelingº supplement in
your owner's portfolio.
If your vehicle gets stuck
If the vehicle is stuck in mud or snow it may be rocked out by shifting
from forward and reverse gears, stopping between shifts, in a steady
pattern. Press lightly on the accelerator in each gear.
Do not rock the vehicle if the engine is not at normal operating
temperature or damage to the transmission may occur.
Do not rock the vehicle for more than a few minutes or damage
to the transmission and tires may occur or the engine may
overheat.
Do not spin the wheels at over 56 km/h (35 mph). The tires may
fail and injure a passenger or bystander.
Sand
When driving over sand, try to keep all four wheels on the most solid
area of the trail. Do not reduce the tire pressures but shift to a lower
gear and drive steadily through the terrain. Apply the accelerator slowly
and avoid spinning the wheels.
Mud and water
If you must drive through high water, drive slowly. Traction or brake
capability may be limited.
Driving
174
Page 187 of 296

²Do not allow waves to break higher than 15 cm (6 inches) above the
bottom edge of the rear bumper.
Exceeding these limits may allow water to enter critical vehicle
components, adversely affecting driveability, emissions, reliability and
causing internal transmission damage.
Replace the rear axle lubricant anytime the axle has been submerged in
water. Rear axle lubricant quantities are not to be checked or changed
unless a leak is suspected or repair required.
Disconnect the wiring to the trailer before backing the trailer into the
water. Reconnect the wiring to the trailer after the trailer is removed
from the water.
Recreational towing (all wheels on the ground)
(Neutral tow kit accessory)
On vehicles equipped with a 4.0L engine, an accessory is available that
allows you to tow your vehicle, behind another vehicle, with all the
wheels on the ground. Contact your dealer for more details. Do not tow
your vehicle with all wheels on the ground unless you install the neutral
tow kit as vehicle damage may occur.
Follow these guidelines for your specific powertrain combination to tow
your vehicle with all four wheels on the ground (such as behind a
recreational vehicle).
These guidelines are designed to ensure that your transmission is not
damaged due to insufficient lubrication.
All Rear Wheel Drive (RWD) vehicles
This applies to all cars and 4x2 trucks/sport utilities with rear wheel
drive capability.
An example of recreational towing is towing your vehicle behind a
Motorhome. The following recreational towing guidelines are designed to
ensure that your transmission is not damaged.
²Place the transmission in N (Neutral).
²Maximum speed is 56 km/h (35 mph).
²Maximum distance is 80 km (50 miles).
If a distance of 80 km (50 miles) or a speed of 56 km/h (35 mph) must
be exceeded, you must disconnect the driveshaft. Ford recommends the
driveshaft be removed/installed only by a qualified technician. See your
local dealer for driveshaft removal/installation.
Driving
187
Page 229 of 296
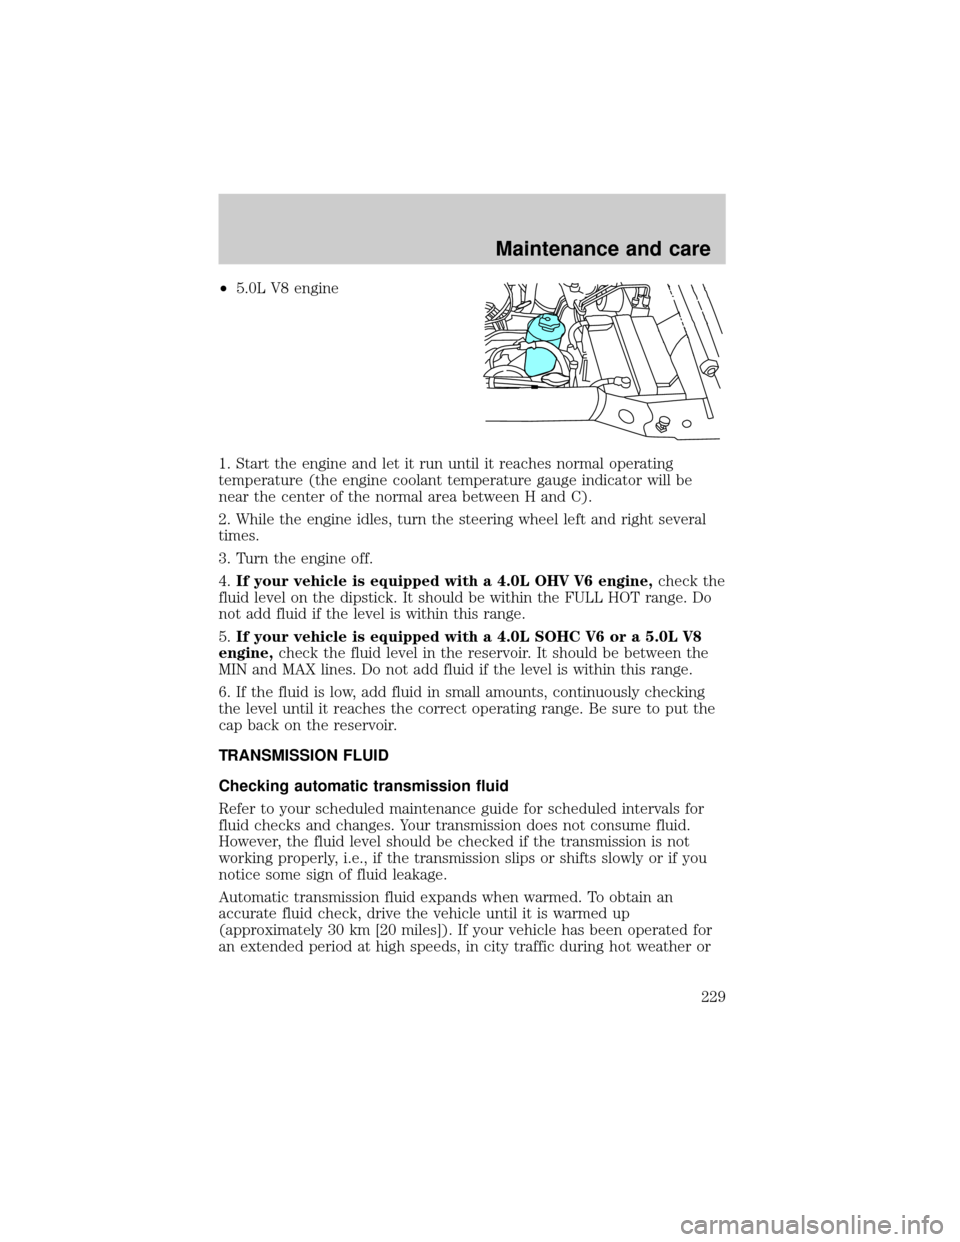
²5.0L V8 engine
1. Start the engine and let it run until it reaches normal operating
temperature (the engine coolant temperature gauge indicator will be
near the center of the normal area between H and C).
2. While the engine idles, turn the steering wheel left and right several
times.
3. Turn the engine off.
4.If your vehicle is equipped with a 4.0L OHV V6 engine,check the
fluid level on the dipstick. It should be within the FULL HOT range. Do
not add fluid if the level is within this range.
5.If your vehicle is equipped with a 4.0L SOHC V6 or a 5.0L V8
engine,check the fluid level in the reservoir. It should be between the
MIN and MAX lines. Do not add fluid if the level is within this range.
6. If the fluid is low, add fluid in small amounts, continuously checking
the level until it reaches the correct operating range. Be sure to put the
cap back on the reservoir.
TRANSMISSION FLUID
Checking automatic transmission fluid
Refer to your scheduled maintenance guide for scheduled intervals for
fluid checks and changes. Your transmission does not consume fluid.
However, the fluid level should be checked if the transmission is not
working properly, i.e., if the transmission slips or shifts slowly or if you
notice some sign of fluid leakage.
Automatic transmission fluid expands when warmed. To obtain an
accurate fluid check, drive the vehicle until it is warmed up
(approximately 30 km [20 miles]). If your vehicle has been operated for
an extended period at high speeds, in city traffic during hot weather or
Maintenance and care
229