Page 18 of 232
Flash to pass
Pull toward you to activate and
release to deactivate.
PANEL DIMMER CONTROL
To adjust the brightness of the
instrument panel:
²Rotate
clockwise/counterclockwise when
the headlamp control is in the
parking lamp or low-beam
position.
To turn on the courtesy lamp and
cargo lamps:
²Rotate fully counterclockwise.
The dome lamp will not illuminate if the panel dimmer/dome lamp
control is switched to OFF.
CLIMATE CONTROL SYSTEM
Heater only system (if equipped)
FAN
LOHI
COOLWARM
VENTFLROFF
MIX
Controls and features
18
ProCarManuals.com
Page 19 of 232

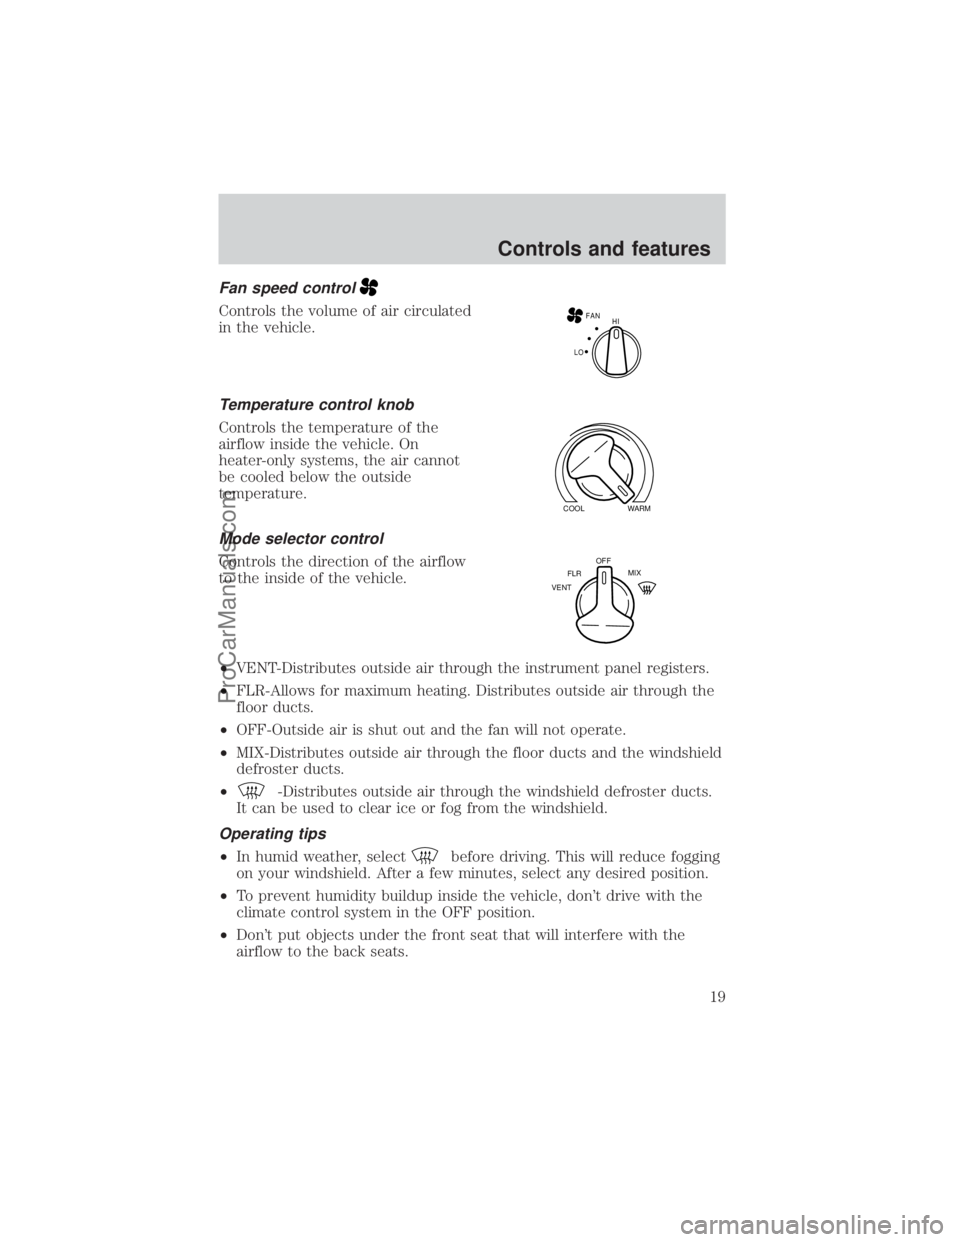
Fan speed control
Controls the volume of air circulated
in the vehicle.
Temperature control knob
Controls the temperature of the
airflow inside the vehicle. On
heater-only systems, the air cannot
be cooled below the outside
temperature.
Mode selector control
Controls the direction of the airflow
to the inside of the vehicle.
²VENT-Distributes outside air through the instrument panel registers.
²FLR-Allows for maximum heating. Distributes outside air through the
floor ducts.
²OFF-Outside air is shut out and the fan will not operate.
²MIX-Distributes outside air through the floor ducts and the windshield
defroster ducts.
²
-Distributes outside air through the windshield defroster ducts.
It can be used to clear ice or fog from the windshield.
Operating tips
²In humid weather, selectbefore driving. This will reduce fogging
on your windshield. After a few minutes, select any desired position.
²To prevent humidity buildup inside the vehicle, don't drive with the
climate control system in the OFF position.
²Don't put objects under the front seat that will interfere with the
airflow to the back seats.
FAN
LOHI
COOLWARM
VENTFLROFF
MIX
Controls and features
19
ProCarManuals.com
Page 23 of 232

drive for two or three minutes with the windows open. This will force
most of the hot, stale air out of the vehicle. Then operate your air
conditioner as you would normally.
²Do not place objects over the defroster outlets. These objects can
block airflow and reduce your ability to see through your windshield.
Also, avoid placing small objects on top of your instrument panel.
These objects can fall down into the defroster outlets and block
airflow and possibly damage your climate control system.
Do not place objects on top of the instrument panel, as these
objects may become projectiles in a collision or sudden stop.
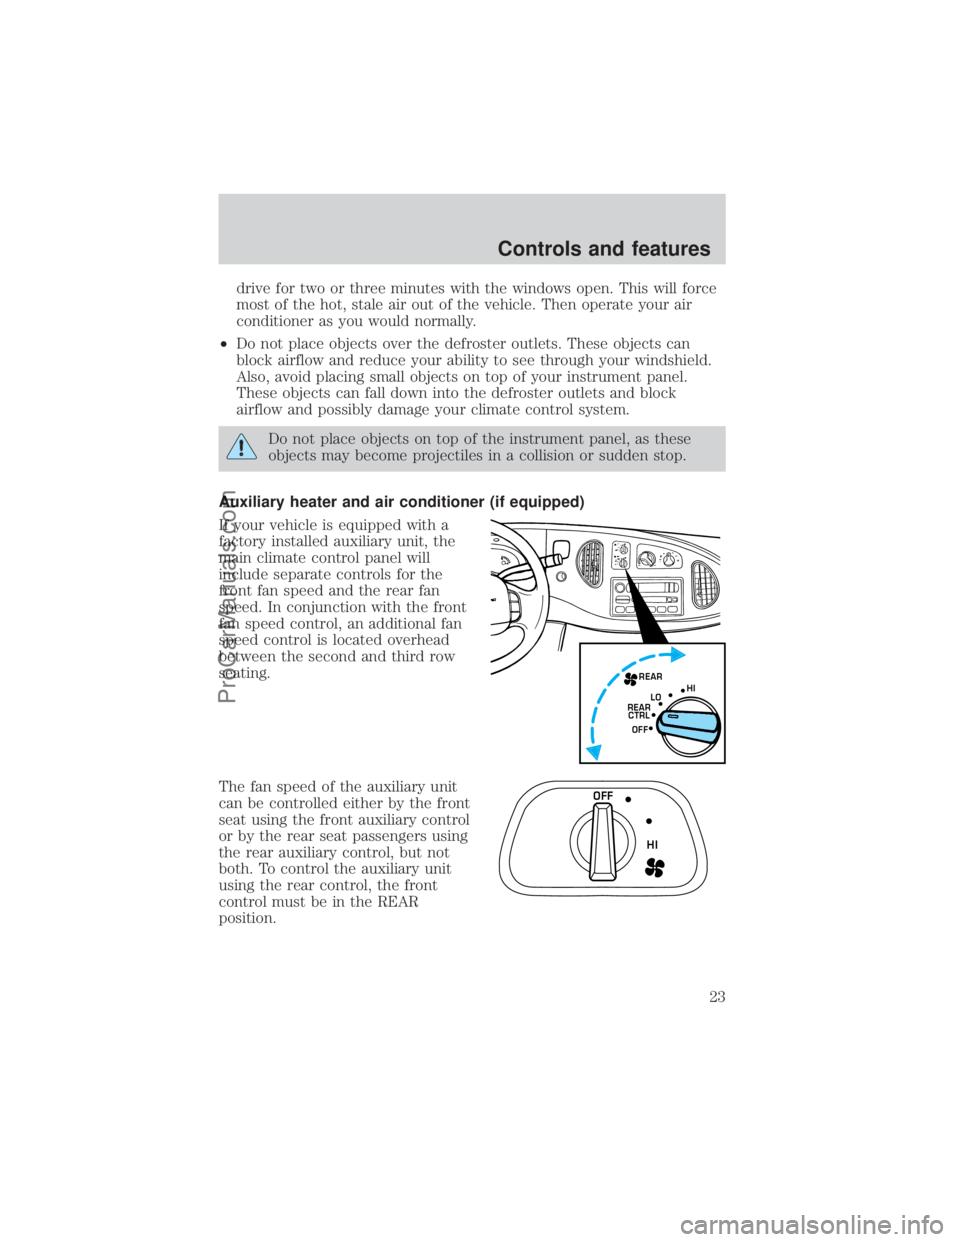
Auxiliary heater and air conditioner (if equipped)
If your vehicle is equipped with a
factory installed auxiliary unit, the
main climate control panel will
include separate controls for the
front fan speed and the rear fan
speed. In conjunction with the front
fan speed control, an additional fan
speed control is located overhead
between the second and third row
seating.
The fan speed of the auxiliary unit
can be controlled either by the front
seat using the front auxiliary control
or by the rear seat passengers using
the rear auxiliary control, but not
both. To control the auxiliary unit
using the rear control, the front
control must be in the REAR
position.
REAR
OFF HI
LO
REAR
CTRL
OFF
HI
Controls and features
23
ProCarManuals.com
Page 106 of 232

Make sure the corresponding lights illuminate briefly. If a light fails to
illuminate, have the vehicle serviced.
²If the driver's safety belt is fastened, the
light may not illuminate.
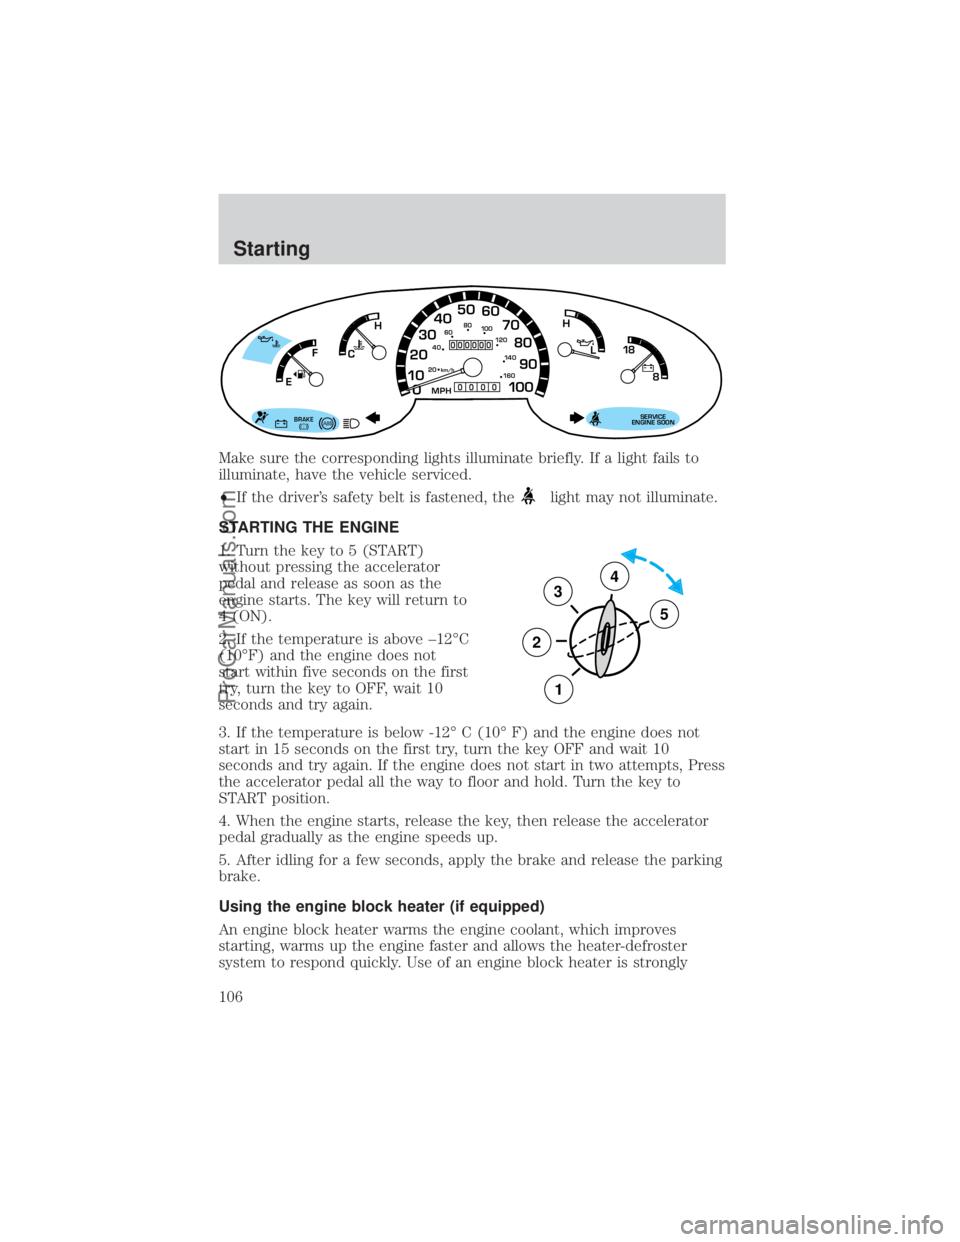
STARTING THE ENGINE
1. Turn the key to 5 (START)
without pressing the accelerator
pedal and release as soon as the
engine starts. The key will return to
4 (ON).
2. If the temperature is above ±12ÉC
(10ÉF) and the engine does not
start within five seconds on the first
try, turn the key to OFF, wait 10
seconds and try again.
3. If the temperature is below -12É C (10É F) and the engine does not
start in 15 seconds on the first try, turn the key OFF and wait 10
seconds and try again. If the engine does not start in two attempts, Press
the accelerator pedal all the way to floor and hold. Turn the key to
START position.
4. When the engine starts, release the key, then release the accelerator
pedal gradually as the engine speeds up.
5. After idling for a few seconds, apply the brake and release the parking
brake.
Using the engine block heater (if equipped)
An engine block heater warms the engine coolant, which improves
starting, warms up the engine faster and allows the heater-defroster
system to respond quickly. Use of an engine block heater is strongly
0 1020304050
60
70
80
90
10 0
20 km/h
406080
10 0
12 0
14 0
H
L
16 0
MPH
000000
0000
BRAKE
18
8
SERVICE
ENGINE SOON
FH
C
E
3
2
1
5
4
Starting
106
ProCarManuals.com
Page 107 of 232

recommended if you live in a region where temperatures reach -23ÉC
(-10ÉF) or below.
For best results, plug the heater in at least three hours before starting
the vehicle. Using the heater for longer than three hours will not harm
the engine, so the heater can be plugged in the night before starting the
vehicle.
To prevent electrical shock, do not use your heater with
ungrounded electrical systems or two-pronged (cheater)
adapters.
Guarding against exhaust fumes
Although odorless and colorless, carbon monoxide is present in exhaust
fumes. Take precautions to avoid its dangerous effects.
If you ever smell exhaust fumes of any kind inside your vehicle,
have your dealer inspect and fix your vehicle immediately. Do
not drive if you smell exhaust fumes. These fumes are harmful and
could kill you.
Have the exhaust and body ventilation systems checked whenever:
²the vehicle is raised for service.
²the sound of the exhaust system changes.
²the vehicle has been damaged in a collision.
Engine exhaust, some of its constituents, and certain vehicle
components contain or emit chemicals known to the State of
California to cause cancer, and birth defects or other reproductive
harm.
Starting
107
ProCarManuals.com
Page 133 of 232

Fuse/Relay
LocationFuse Amp
RatingPassenger Compartment
Fuse Panel Description
8 30A Radio Capacitor(s), Ignition Coil, PCM
Diode, PCM Power Relay, Fuel Heater,
Glow Plug Relay (Diesel Only)
9 30A Wiper Control Module, Windshield Wiper
Motor
10 20A Main Light Switch, (External Lamps)
Multi-Function Switch (Flash-to-pass)
11 15A Brake Pressure Switch, Multi-Function
Switch (Hazards), RABS, Brake Pedal
Position Switch
12 15A Transmission Range (TR) Sensor, Auxiliary
Battery Relay
13 15A Blend Door Actuator, Function Selector
Switch
14 5A Instrument Cluster (Air Bag and Charge
Indicator)
15 5A Trailer Battery Charge Relay
16 30A Power Seats
17 Ð Not Used
18 Ð Not Used
19 10A Air Bag Diagnostic Monitor
20 5A Overdrive Cancel Switch
21 30A Power Windows*
22 15A Memory Power Radio
23 20A Cigar Lighter, Data Link Connector (DLC)
24 Ð Not Used
25 10A Left Headlamp (Low Beam)
26 Ð Not Used
27 5A Radio
28 20A Power Plug
29 Ð Not Used
30 15A Headlamps (High Beam Indicator), DRL10A
31 10A Right Headlamp (Low Beam), DRL
Roadside emergencies
133
ProCarManuals.com
Page 145 of 232
5. Turn the heater fan on in both vehicles to protect any electrical
surges. Turn all other accessories off.
Connecting the jumper cables
1. Connect the positive (+) booster cable to the positive (+) terminal of
the discharged battery.
Note:In the illustrations,lightning boltsare used to designate the
assisting (boosting) battery.
2. Connect the other end of the positive (+) cable to the positive (+)
terminal of the assisting battery.
+–+–
+–+–
Roadside emergencies
145
ProCarManuals.com
Page 219 of 232
Comfort and convenience
Air conditioner
Engine block heaters
Tire step
Travel equipment
Console (Engine cover)
Daytime running lights
Heavy-duty battery
Inside mirror, electrochromic with compass (with and without
temperature display)
Removable luggage rack
Removable luggage rack adapters
Running boards
Soft luggage cover
Speed control
Trailer hitch
Trailer hitch bars and balls
Trailer hitch wiring adaptor
Protection and appearance equipment
Air bag anti-theft locks
Carpet floor mats
Cleaners, waxes and polishes
Flat splash guards
Front end covers (full)
Hood deflectors
Lubricants and oils
Side window air deflectors
Step bumpers
Touch-up paint
Customer assistance
219
ProCarManuals.com