Page 224 of 407

4-23
On a large hill, the incline may get steeper as you near
the top, but you may not see this because the crest of
the hill is hidden by bushes, grass or shrubs.
Here are some other things to consider as you
approach a hill.
�Is there a constant incline, or does the hill get
sharply steeper in places?
�Is there good traction on the hillside, or will the
surface cause tire slipping?
�Is there a straight path up or down the hill so you
won't have to make turning maneuvers?
�Are there obstructions on the hill that can block your
path (boulders, trees, logs or ruts)?
�What's beyond the hill? Is there a cliff, an
embankment, a drop
-off, a fence? Get out and
walk the hill if you don't know. It's the smart way
to find out.
�Is the hill simply too rough? Steep hills often have
ruts, gullies, troughs and exposed rocks because they
are more susceptible to the effects of erosion.
Driving Uphill
Once you decide you can safely drive up the hill,
you need to take some special steps.
�Use a low gear and get a firm grip on the
steering wheel.
�Get a smooth start up the hill and try to maintain
your speed. Don't use more power than you need,
because you don't want your wheels to start
spinning or sliding.
�Try to drive straight up the hill if at all possible.
If the path twists and turns, you might want to
find another route.
CAUTION:
Turning or driving across steep hills can be
dangerous. You could lose traction, slide
sideways, and possibly roll over. You could be
seriously injured or killed. When driving up hills,
always try to go straight up.
Page 300 of 407

6-
6-1
Section 6 Service and Appearance Care
Here you will find information about the care of your vehicle. This section begins with service and fuel information,
and then it shows how to check important fluid and lubricant levels. There is also technical information about your
vehicle, and a part devoted to its appearance care.
6
-2 Service
6
-3 Fuel
6
-5 Fuels in Foreign Countries
6
-5 Filling Your Tank
6
-7 Filling a Portable Fuel Container
6
-8 Checking Things Under the Hood
6
-10 Engine Oil
6
-14 Engine Air Cleaner/Filter
6
-16 Passenger Compartment Air Filter
(If Equipped)
6
-17 Automatic Transmission Fluid
6
-20 Rear Axle
6
-21 Four-Wheel Drive
6
-22 Engine Coolant
6
-25 Coolant Surge Tank Pressure Cap
6
-26 Power Steering Fluid6
-27 Windshield Washer Fluid
6
-28 Brakes
6
-32 Battery
6
-32 Bulb Replacement
6
-36 Windshield Wiper Blade Replacement
6
-36 Tires
6
-45 Appearance Care
6
-46 Cleaning the Inside of Your Vehicle
6
-49 Cleaning the Outside of Your Vehicle
6
-53 GM Vehicle Care/Appearance Materials
6
-54 Vehicle Identification Number (VIN)
6
-55 Electrical System
6
-63 Replacement Bulbs
6
-64 Capacities and Specifications
6
-67 Normal Maintenance Replacement Parts
Page 308 of 407
6-9
VORTEC 4800, 5300 and 6000 V8 Engine
VORTEC 5300 V8 engine shown, locations for other engines similar.
A. Engine Air Cleaner/Filter
B. Coolant Surge Tank
C. Air Filter Restriction Indicator
D. Engine Oil Dipstick
E. Automatic Transmission Dipstick
(If Equipped)F. Engine Oil Fill
G. Fan
H. Remote Negative Terminal (GND)
I. Power Steering Fluid Reservoir
J. Remote Positive TerminalK. Brake Fluid Reservoir
L. Underhood Electrical Center
M. Battery
N. Windshield Washer
Fluid Reservoir
Page 325 of 407
6-26
Power Steering Fluid
When to Check Power Steering Fluid
It is not necessary to regularly check power steering
fluid unless you suspect there is a leak in the system or
you hear an unusual noise. A fluid loss in this system
could indicate a problem. Have the system inspected
and repaired.
How to Check Power Steering Fluid
Turn the key off, let the engine compartment cool down,
wipe the cap and the top of the reservoir clean, then
unscrew the cap and wipe the dipstick with a clean rag.
Replace the cap and completely tighten it. Then remove
the cap again and look at the fluid level on the dipstick.
The level should be at the FULL COLD mark.
If necessary, add only enough fluid to bring the
level up to the mark.
What to Use
To determine what kind of fluid to use, see ªRecommended
Fluids and Lubricantsº in the Index. Always use the proper
fluid. Failure to use the proper fluid can cause leaks and
damage hoses and seals.
Page 357 of 407
6-58
Center Instrument Panel Utility Block
The center instrument panel utility block is located
underneath the instrument panel, to the left of the
steering column.Relay Name Usage
SEO Special Equipment Option
HTD ST Heated Seats
HDLNR Headliner
VANITY Headliner Wiring
TRAILER Trailer Brake Wiring
PWR ST Power Seats
YE9 Not Used
UPF Upfitter
PARK LAMP Parking Lamps
FRT PRK EXPT Not Used
SPARE 2 Not Used
PUDDLE LP Not Used
SL RIDE Not Used
SPARE 3 Not Used
INADV PWR Interior Lights Feed
CTSY LP Courtesy Lamps
CEL PHONE Cellular Telephone Wiring
Page 387 of 407

7-21
Part C: Periodic
Maintenance Inspections
Listed in this part are inspections and services which
should be performed at least twice a year (for instance,
each spring and fall). You should let your dealer's
service department or other qualified service center
do these jobs. Make sure any necessary repairs are
completed at once.
Proper procedures to perform these services may be
found in a service manual. See ªService and Owner
Publicationsº in the Index.
Steering and Suspension Inspection
Inspect the front and rear suspension and steering
system for damaged, loose or missing parts, signs of
wear or lack of lubrication. Inspect the power steering
lines and hoses for proper hook
-up, binding, leaks,
cracks, chafing, etc.
Exhaust System Inspection
Inspect the complete exhaust system. Inspect the body
near the exhaust system. Look for broken, damaged,
missing or out
-of-position parts as well as open seams,
holes, loose connections or other conditions which could
cause a heat build
-up in the floor pan or could let
exhaust fumes into the vehicle. See ªEngine Exhaustº
in the Index.
Engine Cooling System Inspection
Inspect the hoses and have them replaced if they are
cracked, swollen or deteriorated. Inspect all pipes,
fittings and clamps; replace as needed. Clean the
outside of the radiator and air conditioning condenser.
To help ensure proper operation, a pressure test of the
cooling system and pressure cap is recommended at
least once a year.
Page 389 of 407

7-23
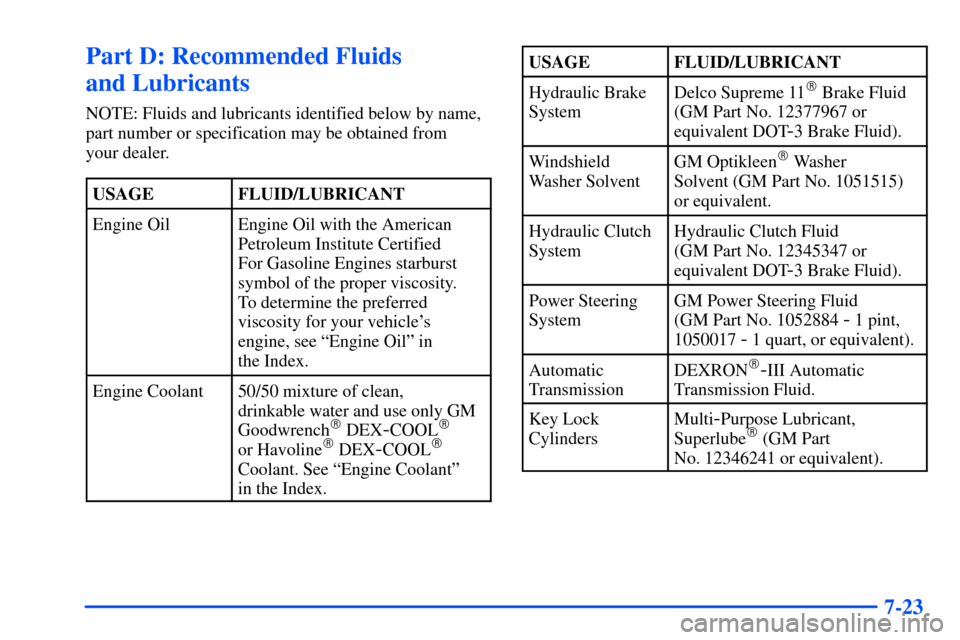
Part D: Recommended Fluids
and Lubricants
NOTE: Fluids and lubricants identified below by name,
part number or specification may be obtained from
your dealer.
USAGE
FLUID/LUBRICANT
Engine OilEngine Oil with the American
Petroleum Institute Certified
For Gasoline Engines starburst
symbol of the proper viscosity.
To determine the preferred
viscosity for your vehicle's
engine, see ªEngine Oilº in
the Index.
Engine Coolant50/50 mixture of clean,
drinkable water and use only GM
Goodwrench
� DEX-COOL�
or Havoline� DEX-COOL�
Coolant. See ªEngine Coolantº
in the Index.
USAGEFLUID/LUBRICANT
Hydraulic Brake
SystemDelco Supreme 11� Brake Fluid
(GM Part No. 12377967 or
equivalent DOT
-3 Brake Fluid).
Windshield
Washer SolventGM Optikleen� Washer
Solvent (GM Part No. 1051515)
or equivalent.
Hydraulic Clutch
SystemHydraulic Clutch Fluid
(GM Part No. 12345347 or
equivalent DOT
-3 Brake Fluid).
Power Steering
SystemGM Power Steering Fluid
(GM Part No. 1052884
- 1 pint,
1050017
- 1 quart, or equivalent).
Automatic
TransmissionDEXRON�-III Automatic
Transmission Fluid.
Key Lock
CylindersMulti-Purpose Lubricant,
Superlube� (GM Part
No. 12346241 or equivalent).