Page 373 of 421

yellowblue
6-70
Name Usage
TRL PRK Parking Lamps Trailer Wiring
RT HDLP Right Headlamps
DRL Daytime Running Lamps (Relay)
HTD MIR Heated Mirrors
LT HDLP Left Headlamps
A/C Air Conditioning
AUX PWR Cigarette Lighter, Auxiliary
Power Outlets
SEO 2 Special Equipment Option Power,
Power Seats, Aux Roof Mnt Lamp
SEO 1 Special Equipment Option Power,
Aux Roof Mnt Lamp, Cell Phone
DRL Daytime Running Lamps
A/C A/C (Relay)
FOG LP Fog Lamps
FOG LP Fog Lamps (Relay)
RADIO Audio System, Instrument Cluster,
Climate Control System
CIGAR Cigarette Lighter, Auxiliary
Power OutletsName Usage
RT TURN Right Turn Signals
BTSI Automatic Transmission Shift
Lock Control System
LT TURN Left Turn Signals
FR PRK Front Parking Lamps,
Sidemarker Lamps
W/W PMP Windshield Washer Pump
HORN Horn (Relay)
IGN C Ignition Switch, Fuel Pump,
PRND321 Display, Crank
RDO AMP Not Used
HAZ LP Exterior Lamps, Hazard Lamps
EXP LPS Not Used
HORN Horn
CTSY LP Interior Lamps
RR WPR Not Used
TBC Body Control Module, Remote
Keyless Entry, Headlamps
Page 384 of 421

Scheduled Maintenance
yellowblue
7-6Engine Oil and Chassis Lubrication
Scheduled Maintenance
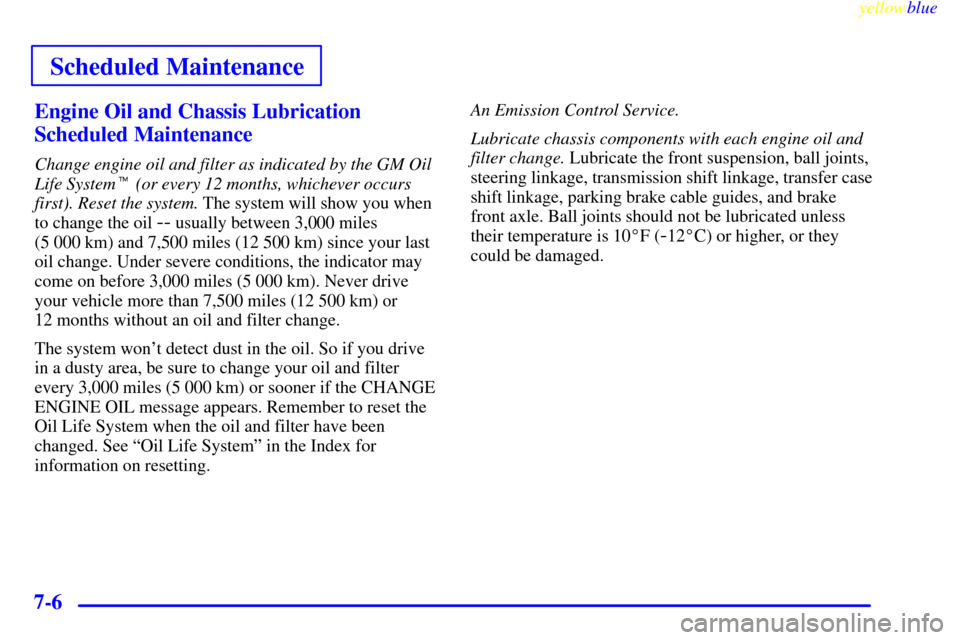
Change engine oil and filter as indicated by the GM Oil
Life System� (or every 12 months, whichever occurs
first). Reset the system. The system will show you when
to change the oil
-- usually between 3,000 miles
(5 000 km) and 7,500 miles (12 500 km) since your last
oil change. Under severe conditions, the indicator may
come on before 3,000 miles (5 000 km). Never drive
your vehicle more than 7,500 miles (12 500 km) or
12 months without an oil and filter change.
The system won't detect dust in the oil. So if you drive
in a dusty area, be sure to change your oil and filter
every 3,000 miles (5 000 km) or sooner if the CHANGE
ENGINE OIL message appears. Remember to reset the
Oil Life System when the oil and filter have been
changed. See ªOil Life Systemº in the Index for
information on resetting.An Emission Control Service.
Lubricate chassis components with each engine oil and
filter change. Lubricate the front suspension, ball joints,
steering linkage, transmission shift linkage, transfer case
shift linkage, parking brake cable guides, and brake
front axle. Ball joints should not be lubricated unless
their temperature is 10�F (-12�C) or higher, or they
could be damaged.
Page 399 of 421

yellowblue
7-21
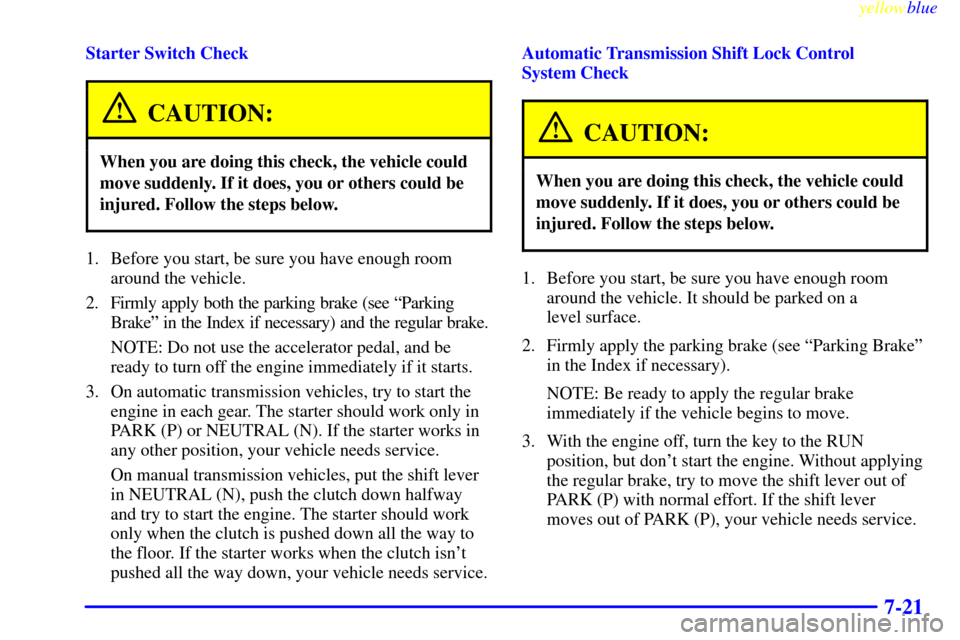
Starter Switch Check
CAUTION:
When you are doing this check, the vehicle could
move suddenly. If it does, you or others could be
injured. Follow the steps below.
1. Before you start, be sure you have enough room
around the vehicle.
2. Firmly apply both the parking brake (see ªParking
Brakeº in the Index if necessary) and the regular brake.
NOTE: Do not use the accelerator pedal, and be
ready to turn off the engine immediately if it starts.
3. On automatic transmission vehicles, try to start the
engine in each gear. The starter should work only in
PARK (P) or NEUTRAL (N). If the starter works in
any other position, your vehicle needs service.
On manual transmission vehicles, put the shift lever
in NEUTRAL (N), push the clutch down halfway
and try to start the engine. The starter should work
only when the clutch is pushed down all the way to
the floor. If the starter works when the clutch isn't
pushed all the way down, your vehicle needs service.Automatic Transmission Shift Lock Control
System Check
CAUTION:
When you are doing this check, the vehicle could
move suddenly. If it does, you or others could be
injured. Follow the steps below.
1. Before you start, be sure you have enough room
around the vehicle. It should be parked on a
level surface.
2. Firmly apply the parking brake (see ªParking Brakeº
in the Index if necessary).
NOTE: Be ready to apply the regular brake
immediately if the vehicle begins to move.
3. With the engine off, turn the key to the RUN
position, but don't start the engine. Without applying
the regular brake, try to move the shift lever out of
PARK (P) with normal effort. If the shift lever
moves out of PARK (P), your vehicle needs service.
Page 400 of 421

yellowblue
7-22
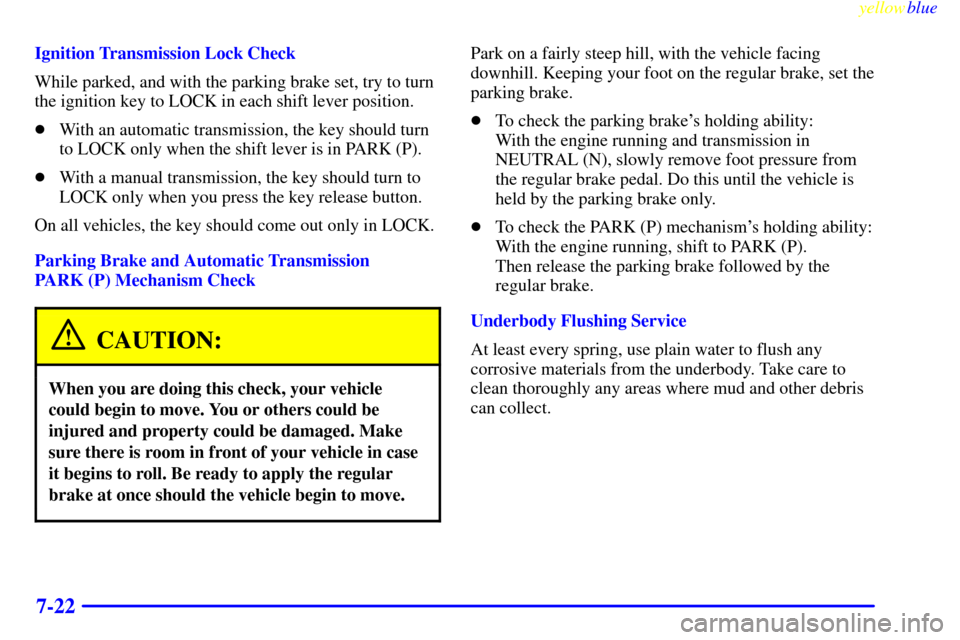
Ignition Transmission Lock Check
While parked, and with the parking brake set, try to turn
the ignition key to LOCK in each shift lever position.
�With an automatic transmission, the key should turn
to LOCK only when the shift lever is in PARK (P).
�With a manual transmission, the key should turn to
LOCK only when you press the key release button.
On all vehicles, the key should come out only in LOCK.
Parking Brake and Automatic Transmission
PARK (P) Mechanism Check
CAUTION:
When you are doing this check, your vehicle
could begin to move. You or others could be
injured and property could be damaged. Make
sure there is room in front of your vehicle in case
it begins to roll. Be ready to apply the regular
brake at once should the vehicle begin to move.
Park on a fairly steep hill, with the vehicle facing
downhill. Keeping your foot on the regular brake, set the
parking brake.
�To check the parking brake's holding ability:
With the engine running and transmission in
NEUTRAL (N), slowly remove foot pressure from
the regular brake pedal. Do this until the vehicle is
held by the parking brake only.
�To check the PARK (P) mechanism's holding ability:
With the engine running, shift to PARK (P).
Then release the parking brake followed by the
regular brake.
Underbody Flushing Service
At least every spring, use plain water to flush any
corrosive materials from the underbody. Take care to
clean thoroughly any areas where mud and other debris
can collect.
Page 402 of 421

yellowblue
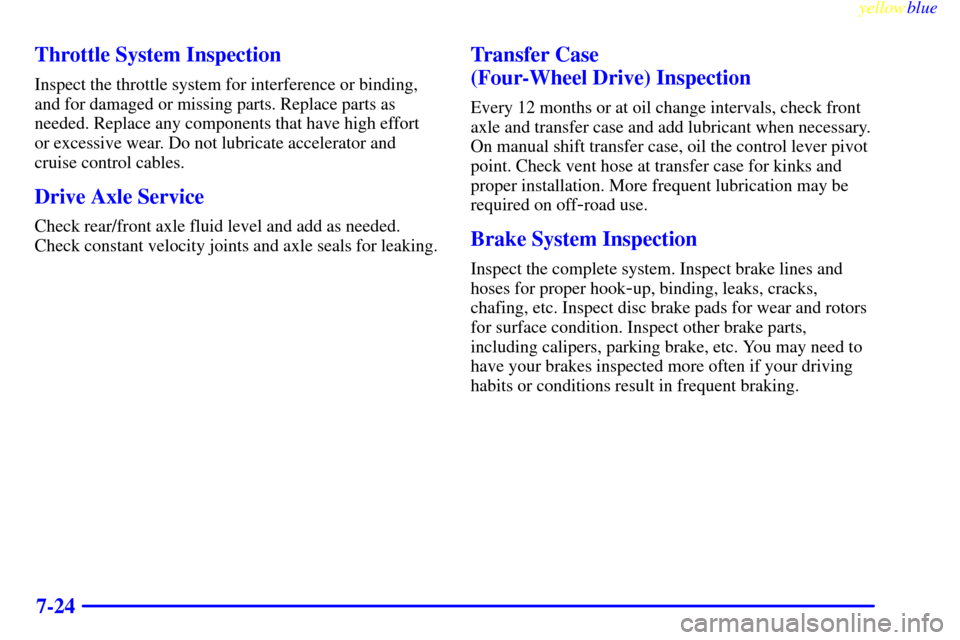
7-24 Throttle System Inspection
Inspect the throttle system for interference or binding,
and for damaged or missing parts. Replace parts as
needed. Replace any components that have high effort
or excessive wear. Do not lubricate accelerator and
cruise control cables.
Drive Axle Service
Check rear/front axle fluid level and add as needed.
Check constant velocity joints and axle seals for leaking.
Transfer Case
(Four-Wheel Drive) Inspection
Every 12 months or at oil change intervals, check front
axle and transfer case and add lubricant when necessary.
On manual shift transfer case, oil the control lever pivot
point. Check vent hose at transfer case for kinks and
proper installation. More frequent lubrication may be
required on off
-road use.
Brake System Inspection
Inspect the complete system. Inspect brake lines and
hoses for proper hook
-up, binding, leaks, cracks,
chafing, etc. Inspect disc brake pads for wear and rotors
for surface condition. Inspect other brake parts,
including calipers, parking brake, etc. You may need to
have your brakes inspected more often if your driving
habits or conditions result in frequent braking.
Page 404 of 421

yellowblue
7-26
USAGEFLUID/LUBRICANT
Manual
Transmission
(5
-Speed without
Low Gear,
RPO MG5)
Synchromesh Transmission Fluid
(GM Part No. 12345349
or equivalent).
Automatic
TransmissionDEXRON�-III Automatic
Transmission Fluid.
Key Lock
CylindersMulti-Purpose Lubricant,
Superlube� (GM Part
No. 12346241 or equivalent).
Floor
Shift LinkageLubriplate� Lubricant Aerosol
(GM Part No. 12346293 or
equivalent) or lubricant meeting
requirements of NLGI # 2
Category LB or GC
-LB.
Chassis
LubricationChassis Lubricant (GM Part
No. 12377985 or equivalent) or
lubricant meeting requirements
of NLGI # 2, Category LB
or GC
-LB.
USAGEFLUID/LUBRICANT
Front AxleSAE 80W-90 Axle Lubricant (GM
Part No. 1052271 or equivalent).
Rear AxleSAE 75W-90 Synthetic Axle
Lubricant (GM Part No. 12378261)
or equivalent meeting GM
Specification 9986115.
Manual
Transfer CaseDEXRON�-III Automatic
Transmission Fluid.
Automatic
Transfer CaseAutomatic Transfer Case Fluid
(GM Part No. 12378396).
Front Axle
Propshaft Spline
or One
-Piece
Propshaft Spline
(Two
-Wheel
Drive with
Auto. Trans.)
Spline Lubricant, Special
Lubricant (GM Part
No. 12345879) or lubricant
meeting requirements of
GM 9985830.
Rear Driveline
Center SplineChassis Lubricant (GM Part
No. 12377985 or equivalent) or
lubricant meeting requirements
of NLGI # 2, Category LB
or GC
-LB.