Page 268 of 421
5-
yellowblue
5-1
Section 5 Problems on the Road
Here you'll find what to do about some problems that can occur on the road.
5
-2 Hazard Warning Flashers
5
-2 Other Warning Devices
5
-3 Jump Starting
5
-8 Towing Your Vehicle
5
-9 Engine Overheating5
-12 Cooling System
5
-18 Engine Fan Noise
5
-18 If a Tire Goes Flat
5
-18 Changing a Flat Tire
5
-34 If You're Stuck: In Sand, Mud, Ice or Snow
Page 275 of 421
yellowblue
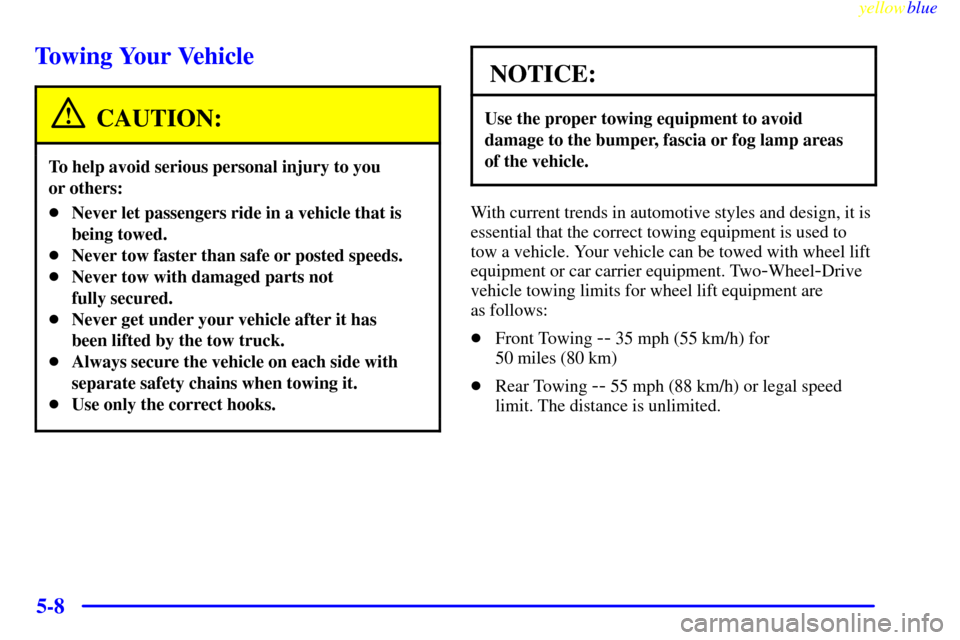
5-8
Towing Your Vehicle
CAUTION:
To help avoid serious personal injury to you
or others:
�Never let passengers ride in a vehicle that is
being towed.
�Never tow faster than safe or posted speeds.
�Never tow with damaged parts not
fully secured.
�Never get under your vehicle after it has
been lifted by the tow truck.
�Always secure the vehicle on each side with
separate safety chains when towing it.
�Use only the correct hooks.
NOTICE:
Use the proper towing equipment to avoid
damage to the bumper, fascia or fog lamp areas
of the vehicle.
With current trends in automotive styles and design, it is
essential that the correct towing equipment is used to
tow a vehicle. Your vehicle can be towed with wheel lift
equipment or car carrier equipment. Two
-Wheel-Drive
vehicle towing limits for wheel lift equipment are
as follows:
�Front Towing
-- 35 mph (55 km/h) for
50 miles (80 km)
�Rear Towing
-- 55 mph (88 km/h) or legal speed
limit. The distance is unlimited.
Page 276 of 421
. See ªFour
-Wheel Driveº in the
Index for the proper procedure to select the NEUTRAL
position for your vehicl")
yellowblue
5-9
Four-Wheel-Drive vehicles must have the transfer case
in NEUTRAL (N). See ªFour
-Wheel Driveº in the
Index for the proper procedure to select the NEUTRAL
position for your vehicle. The towing limits for
four
-wheel-drive vehicles with wheel lift equipment:
�Front Towing
-- 55 mph (88 km/h) or legal
speed limit and distance is unlimited
�Rear Towing
-- 55 mph (88 km/h) for
50 miles (80 km).
Consult your dealer or a professional towing service if
you need to have your vehicle towed. See ªRoadside
Assistanceº in the Index.
Engine Overheating
You will find a coolant temperature gage on your
vehicle's instrument panel. See ªEngine Coolant
Temperature Gageº in the Index. In addition, you will
find a LOW COOLANT, CHECK COOLANT TEMP,
ENGINE OVERHEATED and a REDUCED ENGINE
POWER message in the message center on the
instrument panel. See ªMessage Centerº in the Index.
Overheated Engine Protection Operating
Mode (V8 Engines Only)
Should an overheated engine condition exist and the
REDUCED ENGINE POWER message is displayed, an
overheat protection mode which alternates firing groups
of cylinders helps prevent engine damage. In this mode,
you will notice a loss in power and engine performance.
This operating mode allows your vehicle to be driven to
a safe place in an emergency. Towing a trailer in the
overheat protection mode should be avoided.
NOTICE:
After driving in the overheated engine protection
operating mode, to avoid engine damage, allow
the engine to cool before attempting any repair.
The engine oil will be severely degraded. Repair
the cause of coolant loss, change the oil and
reset the oil life monitor. See ªEngine Oilº in
the Index.
Page 285 of 421

yellowblue
5-18
Engine Fan Noise
Your vehicle has a clutched engine cooling fan. When
the clutch is engaged, the fan spins faster to provide
more air to cool the engine. In most everyday driving
conditions, the fan is spinning slower and the clutch is
not fully engaged. This improves fuel economy and
reduces fan noise. Under heavy vehicle loading, trailer
towing and/or high outside temperatures, the fan speed
increases as the clutch more fully engages. So you may
hear an increase in fan noise. This is normal and should
not be mistaken as the transmission slipping or making
extra shifts. It is merely the cooling system functioning
properly. The fan will slow down when additional
cooling is not required and the clutch disengages.
You may also hear this fan noise when you start
the engine. It will go away as the fan clutch
partially disengages.
If a Tire Goes Flat
It's unusual for a tire to ªblow outº while you're driving,
especially if you maintain your tires properly. If air goes
out of a tire, it's much more likely to leak out slowly.
But if you should ever have a ªblowout,º here are a few
tips about what to expect and what to do:If a front tire fails, the flat tire will create a drag that
pulls the vehicle toward that side. Take your foot off the
accelerator pedal and grip the steering wheel firmly.
Steer to maintain lane position, and then gently brake to
a stop well out of the traffic lane.
A rear blowout, particularly on a curve, acts much like a
skid and may require the same correction you'd use in a
skid. In any rear blowout, remove your foot from the
accelerator pedal. Get the vehicle under control by
steering the way you want the vehicle to go. It may be
very bumpy and noisy, but you can still steer. Gently
brake to a stop
-- well off the road if possible.
If a tire goes flat, the next part shows how to use your
jacking equipment to change a flat tire safely.
Changing a Flat Tire
If a tire goes flat, avoid further tire and wheel damage
by driving slowly to a level place. Turn on your hazard
warning flashers.
Page 302 of 421

yellowblue
5-35 Rocking Your Vehicle To Get It Out
First, turn your steering wheel left and right. That will
clear the area around your front wheels. If you have a
four
-wheel drive vehicle, shift into 4HI. Then shift back
and forth between REVERSE (R) and a forward gear
(or with a manual transmission, between FIRST (1) or
SECOND (2) and REVERSE (R)), spinning the wheels
as little as possible. Release the accelerator pedal while
you shift, and press lightly on the accelerator pedal
when the transmission is in gear. By slowly spinning
your wheels in the forward and reverse directions, you
will cause a rocking motion that may free your vehicle.
If that doesn't get you out after a few tries, you may
need to be towed out. Or, you can use your recovery
hooks if your vehicle has them. If you do need to be
towed out, see ªTowing Your Vehicleº in the Index.
Using the Recovery Hooks
Your vehicle may be equipped with recovery hooks.
The recovery hooks are provided at the front of your
vehicle. You may need to use them if you're stuck
off
-road and need to be pulled to some place where you
can continue driving.
Page 322 of 421

yellowblue
6-19
2. If your vehicle does not
have a panel under the
center of the instrument
panel, or when the panel
is removed, reach under
the instrument panel
towards the front of the
vehicle and pull
downward on the filter
retaining bracket.
3. Remove the air filter by pulling downward on the
element. Remove the second portion of the air filter
by sliding it towards the rear of the vehicle and then
pulling downward.
4. Install the new filter by reversing the steps listed
previously. Be sure to follow any instructions that
may be included in the replacement filter package.
Refer to the Maintenance Schedule to determine when to
replace the passenger compartment air filter. See
ªScheduled Maintenanceº in the Index.Automatic Transmission Fluid
When to Check and Change
A good time to check your automatic transmission fluid
level is when the engine oil is changed.
Change both the fluid and filter every 50,000 miles
(83 000 km) if the vehicle is mainly driven under one or
more of these conditions:
�In heavy city traffic where the outside temperature
regularly reaches 90�F (32�C) or higher.
�In hilly or mountainous terrain.
�When doing frequent trailer towing.
�Uses such as found in taxi, police or delivery service.
If you do not use your vehicle under any of these
conditions, change the fluid and filter every
100,000 miles (166 000 km).
See ªScheduled Maintenance Servicesº in the Index.
Page 390 of 421
Scheduled Maintenance
yellowblue
7-12
50,000 Miles (83 000 km)
�Change automatic transmission fluid and filter if the vehicle is mainly driven
under one or more of these conditions:
± In heavy city traffic where the outside temperature regularly reaches
90�F (32�C) or higher.
± In hilly or mountainous terrain.
± When doing frequent trailer towing.
± Uses such as found in taxi, police or delivery service.
If you do not use your vehicle under any of these conditions, change the fluid
and filter at 100,000 miles (166 000 km).
52,500 Miles (87 500 km)
�Lubricate chassis components (or every 12 months, whichever occurs first).
(See footnote #.)
�Check rear/front axle fluid level and add fluid as needed. Check constant
velocity joints and axle seals for leaking.
�Rotate tires. See ªTire Inspection and Rotationº in the Index for proper
rotation pattern and additional information. (See footnote +.)
ACTUAL
SERVICED BY:MILEAGE
DATE
ACTUAL
SERVICED BY:MILEAGE
DATE
Page 394 of 421
Scheduled Maintenance
yellowblue
7-16
97,500 Miles (162 500 km)
�Lubricate chassis components (or every 12 months, whichever occurs first).
(See footnote #.)
�Check rear/front axle fluid level and add fluid as needed. Check constant
velocity joints and axle seals for leaking.
�Rotate tires. See ªTire Inspection and Rotationº in the Index for proper
rotation pattern and additional information. (See footnote +.)
100,000 Miles (166 000 km)
�Inspect spark plug wires.
An Emission Control Service.
�Replace spark plugs.
An Emission Control Service.
�Change automatic transmission fluid and filter if the vehicle is mainly driven
under one or more of these conditions:
± In heavy city traffic where the outside temperature regularly reaches
90�F (32�C) or higher.
± In hilly or mountainous terrain.
± When doing frequent trailer towing.
± Uses such as found in taxi, police or delivery service.
ACTUAL
SERVICED BY:MILEAGE
DATE
ACTUAL
SERVICED BY:MILEAGE
DATE