Page 58 of 326

1-46
To remove the child restraint, just unbuckle the vehicle's
safety belt. It will be ready to work for an adult or larger
child passenger.
Securing a Child Restraint in the
Right Front Seat Position
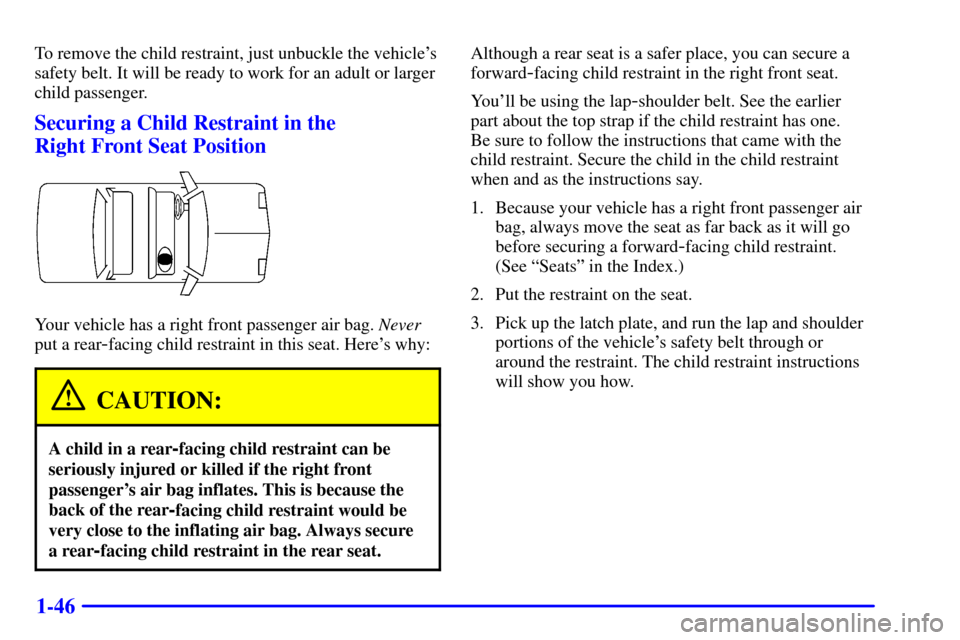
Your vehicle has a right front passenger air bag. Never
put a rear
-facing child restraint in this seat. Here's why:
CAUTION:
A child in a rear-facing child restraint can be
seriously injured or killed if the right front
passenger's air bag inflates. This is because the
back of the rear
-facing child restraint would be
very close to the inflating air bag. Always secure
a rear
-facing child restraint in the rear seat.
Although a rear seat is a safer place, you can secure a
forward
-facing child restraint in the right front seat.
You'll be using the lap
-shoulder belt. See the earlier
part about the top strap if the child restraint has one.
Be sure to follow the instructions that came with the
child restraint. Secure the child in the child restraint
when and as the instructions say.
1. Because your vehicle has a right front passenger air
bag, always move the seat as far back as it will go
before securing a forward
-facing child restraint.
(See ªSeatsº in the Index.)
2. Put the restraint on the seat.
3. Pick up the latch plate, and run the lap and shoulder
portions of the vehicle's safety belt through or
around the restraint. The child restraint instructions
will show you how.
Page 104 of 326

2-41 Convenience Net (If Equipped)
Your vehicle may have a convenience net. You'll see it
just inside the back wall of the trunk.
Put small loads, like grocery bags, behind the net. It can
help keep them from falling over during sharp turns or
quick starts and stops.
The net isn't for larger, heavier loads. Store them in the
trunk as far forward as you can.
You can unhook the net so that it will lie flat when
you're not using it.
Ashtray and Lighter
The ashtray is located at the lower part of the center of
the instrument panel. To remove the ashtray for cleaning,
pull up on the metal tab and pull the bin out.
NOTICE:
Don't put papers and other things that burn
into your ashtrays. If you do, cigarettes or
other smoking materials could set them on fire,
causing damage.
The lighter is located above the ashtray. To use it, just
push it in all the way and let go. When it's ready, it will
pop back by itself.
NOTICE:
Don't hold a cigarette lighter in with your hand
while it is heating. If you do, it won't be able to
back away from the heating element when it's
ready. That can make it overheat, damaging the
lighter and the heating element.
Page 113 of 326

2-50
CAUTION:
If the air bag readiness light stays on after you
start your vehicle, it means the air bag system
may not be working properly. The air bags in
your vehicle may not inflate in a crash, or they
could even inflate without a crash. To help avoid
injury to yourself or others, have your vehicle
serviced right away if the air bag readiness light
stays on after you start your vehicle.
The air bag readiness light should flash for a few
seconds when you turn the ignition key to ON. If the
light doesn't come on then, have it fixed so it will be
ready to warn you if there is a problem.
Charging System Indicator Light
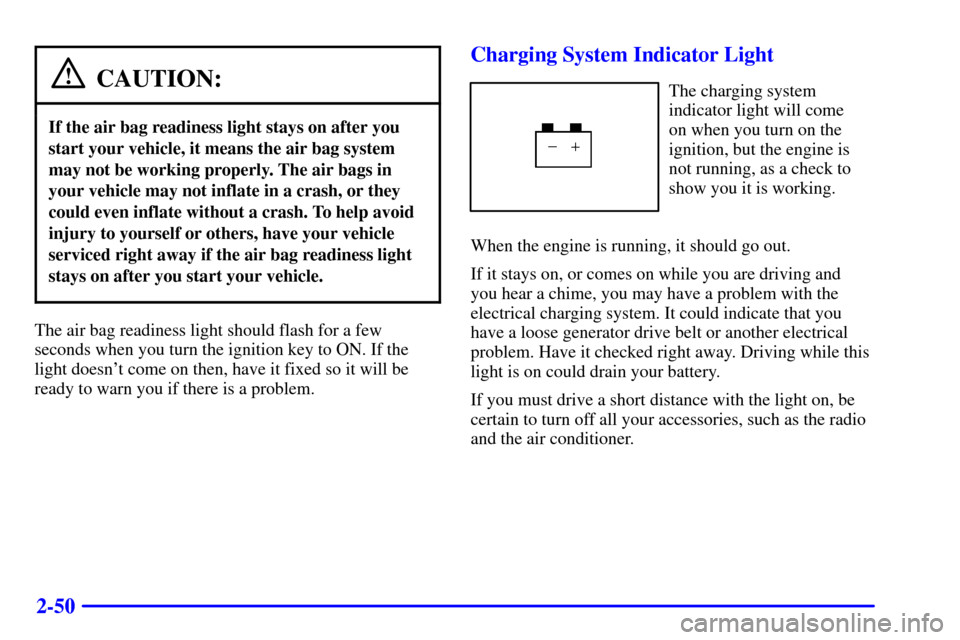
The charging system
indicator light will come
on when you turn on the
ignition, but the engine is
not running, as a check to
show you it is working.
When the engine is running, it should go out.
If it stays on, or comes on while you are driving and
you hear a chime, you may have a problem with the
electrical charging system. It could indicate that you
have a loose generator drive belt or another electrical
problem. Have it checked right away. Driving while this
light is on could drain your battery.
If you must drive a short distance with the light on, be
certain to turn off all your accessories, such as the radio
and the air conditioner.
Page 177 of 326

4-30
Loading Your Vehicle
Two labels on your vehicle show how much weight it
may properly carry. The Tire
-Loading Information
label found on the rear edge of the driver's side rear
passenger door tells you the proper size, speed rating
and recommended inflation pressures for the tires on your
vehicle. It also gives you important information about
the number of people that can be in your vehicle and the
total weight that you can carry. This weight is called the
Vehicle Capacity Weight, and includes the weight of all
occupants, cargo and all nonfactory
-installed options.
The other label is the Certification label, found on
the rear edge of the driver's side door. It tells you the
gross weight capacity of your vehicle, called the Gross
Vehicle Weight Rating (GVWR). The GVWR includes
the weight of the vehicle, all occupants, fuel and cargo.
Never exceed the GVWR for your vehicle, or the Gross
Axle Weight Rating (GAWR) for either the front or
rear axle.
And, if you do have a heavy load, you should spread
it out. Don't carry more than 132 lbs. (60 kg) in
your trunk.
Page 211 of 326
5-25
12. Tighten the wheel nuts firmly in a criss cross
sequence, as shown.
CAUTION:
Incorrect wheel nuts or improperly tightened
wheel nuts can cause the wheel to become loose
and even come off. This could lead to an accident.
Be sure to use the correct wheel nuts. If you have
to replace them, be sure to get new GM original
equipment wheel nuts.
CAUTION: (Continued)
CAUTION: (Continued)
Stop somewhere as soon as you can and have
the nuts tightened with a torque wrench to
100 lb
-ft (140 N´m).
NOTICE:
Improperly tightened wheel nuts can lead to
brake pulsation and rotor damage. To avoid
expensive brake repairs, evenly tighten the wheel
nuts in the proper sequence and to the proper
torque specification.
Don't try to put a wheel cover on your compact spare tire.
It won't fit. Store the wheel cover and wheel nut caps in
the trunk until you have the flat tire repaired or replaced.
Page 248 of 326
6-34
5. Carefully remove the backplate by gently pulling up
on the two upper and two lower tabs.
6. Gently wiggle the bulbs to remove them from the
socket. Replace the bulb.7. Reverse the steps to reassemble the backplate and
attach the taillamp assembly to the vehicle.
Make sure that all four tabs of the backplate are
securely fastened to the taillamp assembly before
installing it on the vehicle.
8. When securing the lamp assembly back into place,
align the assembly so that the trunk lid doesn't
contact it.
Dome Lamp
To change your dome lamp bulb, grasp the center front
and center rear portion of the housing and squeeze
firmly but gently. The housing should come off.
If this doesn't work, you may need to use a small
flathead screwdriver under the side of the housing to
help pry it off.