Page 145 of 365

yellowblue
3-2
Comfort Controls
Manual Single Zone Climate Control
With this system, you can control the heating, cooling
and ventilation in your vehicle. The system works best if
you keep your windows closed while using it.
Fan Knob
The knob on the left side of the climate control panel controls
the fan speed. To turn the fan off, turn the knob to OFF.
If airflow seems very low when the fan knob is turned to
the highest setting, regardless of the mode setting, your
passenger compartment air filter (if equipped) may need
to be replaced. See ªMaintenance Scheduleº in the Index.Temperature Knob
The center knob on the control panel changes the
temperature of the air coming through the system. Turn
this knob toward red (clockwise) for warmer air. Turn it
toward blue (counterclockwise) for cooler air.
Mode Knob
The right knob on the control panel has several settings
to control the direction of airflow:
UPPER: This setting directs air through the
instrument panel outlets.
BI-LEVEL: This setting directs air two ways.
Half of the air is directed through the instrument panel
outlets. Most of the remaining air is directed through the
floor vents and a little to the windshield defroster and
side window outlets.
LOWER: This setting sends most of the air
through the ducts near the floor. The remaining air
comes out of the defroster and side window outlets.
Page 147 of 365

yellowblue
3-4 Dual ComforTemp Climate Control
(If Equipped)
With this system, you can control the heating, cooling
and ventilation in your vehicle. The system works best if
you keep your windows closed while using it.Fan Knob
The knob on the left side of the climate control panel
controls the fan speed. To turn the fan off, turn the knob
to OFF.
If the airflow seems very low when the fan is adjusted to
the highest setting regardless of the mode setting, your
passenger compartment air filter may need to be
replaced. See ªMaintenance Scheduleº in the Index.
Driver's Temperature Lever
The lever on the left adjusts the air temperature on the
driver's side independent of the temperature set by the
passenger. Slide the lever upward to raise the temperature.
Slide the lever downward to lower the temperature.
Passenger's Temperature Lever
The lever on the right adjusts the air temperature on the
passenger's side independent of the temperature set by the
driver. Slide the lever upward to raise the temperature.
Slide the lever downward to lower the temperature.
Page 151 of 365

yellowblue
3-8 Ventilation System
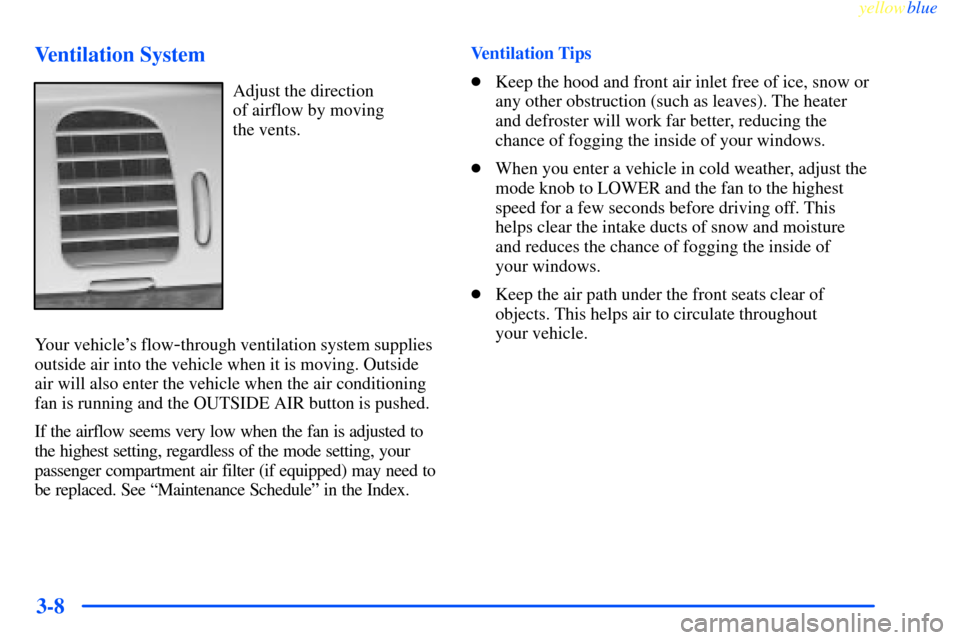
Adjust the direction
of airflow by moving
the vents.
Your vehicle's flow
-through ventilation system supplies
outside air into the vehicle when it is moving. Outside
air will also enter the vehicle when the air conditioning
fan is running and the OUTSIDE AIR button is pushed.
If the airflow seems very low when the fan is adjusted to
the highest setting, regardless of the mode setting, your
passenger compartment air filter (if equipped) may need to
be replaced. See ªMaintenance Scheduleº in the Index.Ventilation Tips
�Keep the hood and front air inlet free of ice, snow or
any other obstruction (such as leaves). The heater
and defroster will work far better, reducing the
chance of fogging the inside of your windows.
�When you enter a vehicle in cold weather, adjust the
mode knob to LOWER and the fan to the highest
speed for a few seconds before driving off. This
helps clear the intake ducts of snow and moisture
and reduces the chance of fogging the inside of
your windows.
�Keep the air path under the front seats clear of
objects. This helps air to circulate throughout
your vehicle.
Page 258 of 365

6-
yellowblue
6-1
Section 6 Service and Appearance Care
Here you will find information about the care of your vehicle. This section begins with service and fuel information,
and then it shows how to check important fluid and lubricant levels. There is also technical information about your
vehicle, and a part devoted to its appearance care.
6
-2 Service
6
-3 Fuel
6
-5 Fuels in Foreign Countries
6
-6 Filling Your Tank
6
-8 Filling a Portable Fuel Container
6
-8 Checking Things Under the Hood
6
-12 Engine Oil
6
-18 Engine Air Cleaner/Filter
6
-20 Automatic Transaxle Fluid
6
-23 Engine Coolant
6
-27 Radiator Pressure Cap
6
-27 Power Steering Fluid
6
-28 Windshield Washer Fluid
6
-30 Brakes
6
-33 Battery6
-34 Bulb Replacement
6
-42 Windshield Wiper Blade Replacement
6
-43 Tires
6
-52 Appearance Care
6
-53 Cleaning the Inside of Your Vehicle
6
-55 Care of Safety Belts
6
-56 Cleaning the Outside of Your Vehicle
6
-58 Finish Damage
6
-59 GM Vehicle Care/Appearance Materials
6
-60 Vehicle Identification Number (VIN)
6
-60 Service Parts Identification Label
6
-60 Electrical System
6
-68 Replacement Bulbs
6
-68 Capacities and Specifications
6
-69 Normal Maintenance Replacement Parts
Page 267 of 365
yellowblue
6-10
When you open the hood on the 3400 V6 (Code E) engine, you'll see:
A. Windshield Washer Fluid Reservoir
B. Underhood Fuse Block
C. Engine Coolant Reservoir
D. Power Steering Fluid Reservoir
E. Transmission Fluid DipstickF. Brake Fluid Reservoir
G. Engine Air Cleaner/Filter
H. Engine Oil Fill Cap
A. Engine Oil Dipstick
Page 268 of 365
yellowblue
6-11
When you open the hood on the 3800 (Code K) V6 engine, you'll see:
A. Windshield Washer Fluid Reservoir
B. Underhood Fuse Block
C. Engine Coolant Reservoir
D. Power Steering Fluid Reservoir
(low in engine compartment)E. Transmission Fluid Dipstick
F. Brake Fluid Reservoir
G. Engine Air Cleaner/Filter
H. Engine Oil Fill Cap
I. Engine Oil Dipstick
Page 275 of 365

yellowblue
6-18 What to Do with Used Oil
Did you know that used engine oil contains certain
elements that may be unhealthy for your skin and could
even cause cancer? Don't let used oil stay on your skin
for very long. Clean your skin and nails with soap and
water, or a good hand cleaner. Wash or properly throw
away clothing or rags containing used engine oil.
(See the manufacturer's warnings about the use and
disposal of oil products.)
Used oil can be a real threat to the environment. If you
change your own oil, be sure to drain all free
-flowing oil
from the filter before disposal. Don't ever dispose of oil
by putting it in the trash, pouring it on the ground, into
sewers, or into streams or bodies of water. Instead,
recycle it by taking it to a place that collects used oil.
If you have a problem properly disposing of your used
oil, ask your dealer, a service station or a local recycling
center for help.
Engine Air Cleaner/Filter
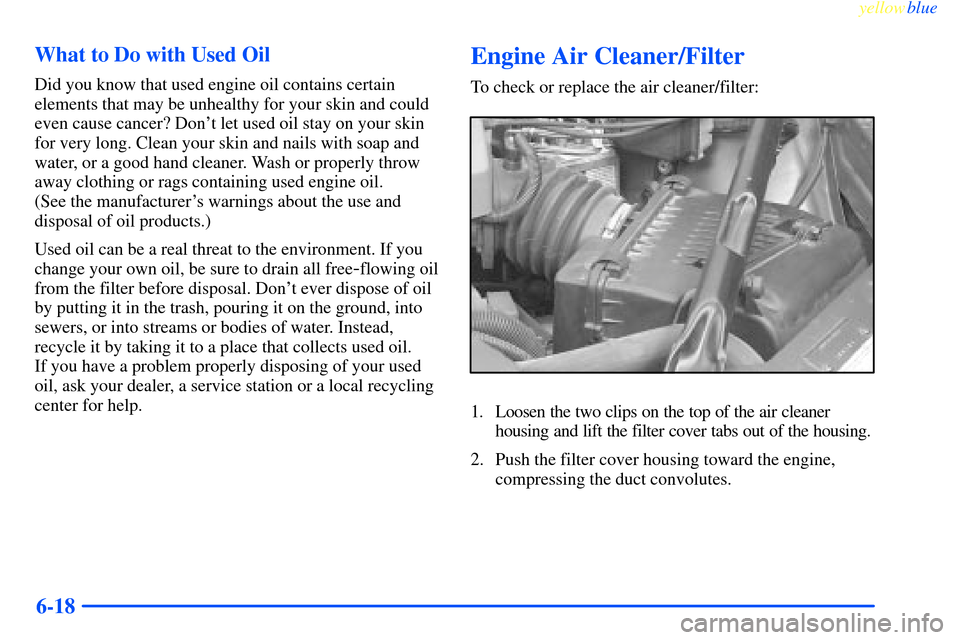
To check or replace the air cleaner/filter:
1. Loosen the two clips on the top of the air cleaner
housing and lift the filter cover tabs out of the housing.
2. Push the filter cover housing toward the engine,
compressing the duct convolutes.
Page 276 of 365

yellowblue
6-19
3. Pull out the filter.
4. Install the air filter and make sure the filter cover
tabs position through the slots in the housing.
See ªNormal Maintenance Replacement Partsº in
the Index.
5. A notch on the sides of the filter cover will indicate
the correct engagement. Re
-clip the two clips on
the top of the housing when you are finished.
Refer to the Maintenance Schedule to determine when to
replace the air filter.
See ªScheduled Maintenance Servicesº in the Index.
CAUTION:
Operating the engine with the air cleaner/filter
off can cause you or others to be burned. The air
cleaner not only cleans the air, it stops flame if
the engine backfires. If it isn't there, and the
engine backfires, you could be burned. Don't
drive with it off, and be careful working on the
engine with the air cleaner/filter off.
NOTICE:
If the air cleaner/filter is off, a backfire can
cause a damaging engine fire. And, dirt can easily
get into your engine, which will damage it.
Always have the air cleaner/filter in place when
you're driving.