Page 121 of 430

2-53 Dome Lamps
The dome lamps will come on when you open a door.
You can also turn the dome lamps on by rotating the
thumbwheel, located next to the parking/headlamps
knob, all the way up to the top detent position. In this
position, the dome lamps will remain on until they are
turned off.
You can use the DOME OVERRIDE button, located
below the parking/headlamp knob, to set the dome
lamps to come on automatically when a door is opened,
or to remain off. To turn the lamps off, press the button
into the ªinº position. With the button in this position,
the dome lamps will remain off when a door is open.
To return the lamps to automatic operation, press the
button again and return it to the ªoutº position.
With the button in this position, the dome lamps will
come on when you open a door. This will override the
illuminated entry feature, unless you use your remote
keyless entry transmitter to unlock the vehicle.
Battery Run-Down Protection
This feature shuts off the dome, courtesy, vanity,
reading, glove box and underhood lamps if they are left
on for more than 20 minutes when the ignition is off.
This will keep your battery from running down.If the battery run
-down protection shuts off the interior
lamps, it may be necessary to do one of the following to
return to normal operation:
�Shut off all lamps and close all doors, or
�turn the ignition key to RUN.
Mirrors
Inside Day/Night Rearview Mirror
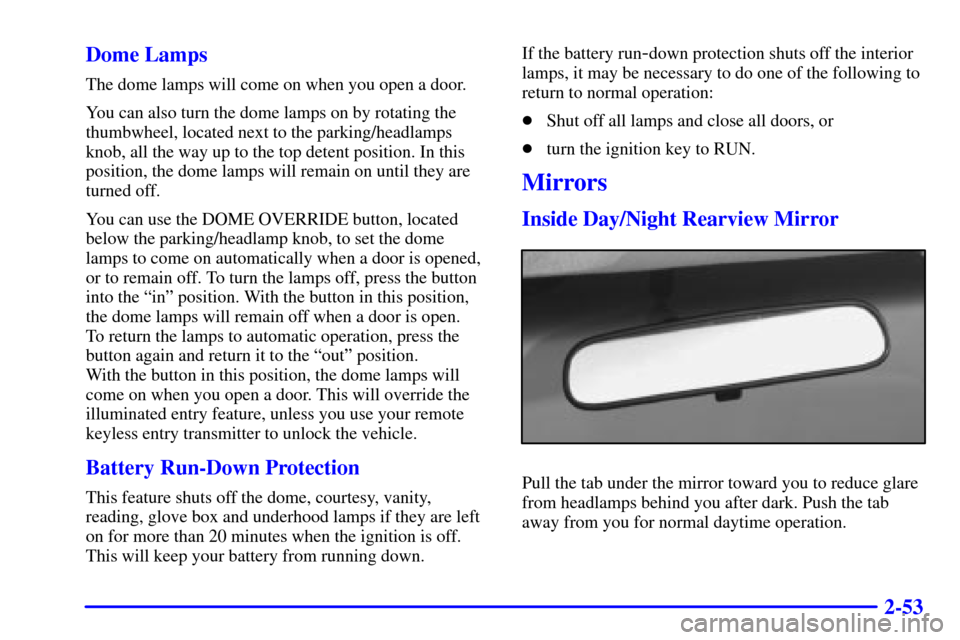
Pull the tab under the mirror toward you to reduce glare
from headlamps behind you after dark. Push the tab
away from you for normal daytime operation.
Page 136 of 430

2-68
OnStar� System (If Equipped)
OnStar is a vehicle communications service. The
following services are available through a subscription
with OnStar and are available 24 hours a day:
Emergency Services
�Automatic Notification of Air Bag Deployment
�Theft Notification and Stolen
-Vehicle Tracking
�Roadside Assistance with Location
�Remote Diagnostics
�OnStar MED
-NET
�Accident Assist
Convenience Services
�Remote Door Unlock
�Route Support
�Concierge Services
�Ride Assist
A complete user's guide is provided with the OnStar
System. For more information contact OnStar
at 1
-888-ONSTAR7.
Sunroof (If Equipped)
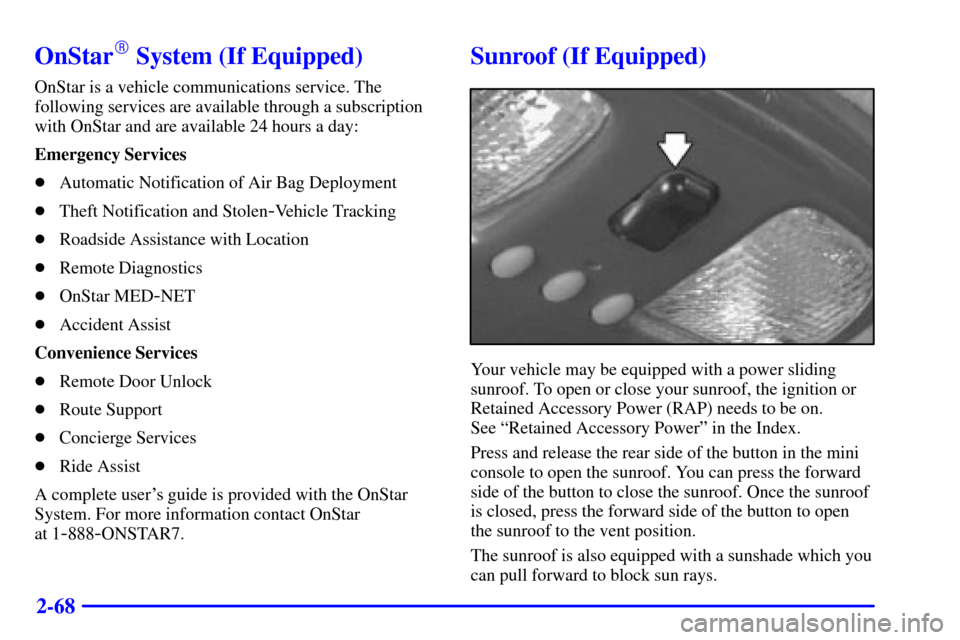
Your vehicle may be equipped with a power sliding
sunroof. To open or close your sunroof, the ignition or
Retained Accessory Power (RAP) needs to be on.
See ªRetained Accessory Powerº in the Index.
Press and release the rear side of the button in the mini
console to open the sunroof. You can press the forward
side of the button to close the sunroof. Once the sunroof
is closed, press the forward side of the button to open
the sunroof to the vent position.
The sunroof is also equipped with a sunshade which you
can pull forward to block sun rays.
Page 260 of 430

4-59 Trailer Wiring Harness
The light-duty trailer wiring is a six-wire harness
assembly. The optional heavy
-duty trailer wiring is an
eight
-wire harness assembly. The harnesses are stored
under the vehicle, along the passenger
-side frame
crossmember on two
-door vehicles or on the driver's
side corner frame rear crossmember on four
-door
vehicles. The heavy
-duty trailer wiring is fused in the
engine compartment fuse block. See ªFuses and Circuit
Breakersº in the Index. Both harnesses have no
connector and should be wired by a qualified electrical
technician. The technician can use the following color
code chart when connecting the wiring harness to
your trailer.�Dark Blue: Use for electric trailer brakes or auxiliary
wiring (eight
-wire harness only).
�Red: Use for battery charging; it connects to the
starter solenoid (eight
-wire harness only).
�Light Green: Back
-up lamps.
�Brown: Taillamps and parking lamps.
�Yellow: Left stoplamp and turn signal.
�Dark Green: Right stoplamp and turn signal.
�White: Ground wire.
�Light Blue: Auxiliary stoplamp.
Securely attach the harness to the trailer, then tape or
strap it to your vehicle's frame rail. Be sure you leave it
loose enough so the wiring doesn't bend or break, but
not so loose that it drags on the ground. Store the
harness in its original place. Wrap the harness together
and tie it neatly so it won't be damaged.
Page 300 of 430
6-6
The fuel cap is behind a hinged door on driver's side of
your vehicle.While refueling, hang the cap by the tether from the
hook on the filler door.
To remove the cap, turn it slowly to the left
(counterclockwise). The cap has a spring in it; if you
let go of the cap too soon, it will spring back
to the right.
Page 309 of 430

6-15
If none of them is true, use the long trip/highway
maintenance schedule. Change the oil and filter every
7,500 miles (12 500 km) or 12 months
-- whichever
occurs first. Driving a vehicle with a fully warmed
engine under highway conditions causes engine oil to
break down slower.
Remote Oil Filter (Four
-Wheel Drive)
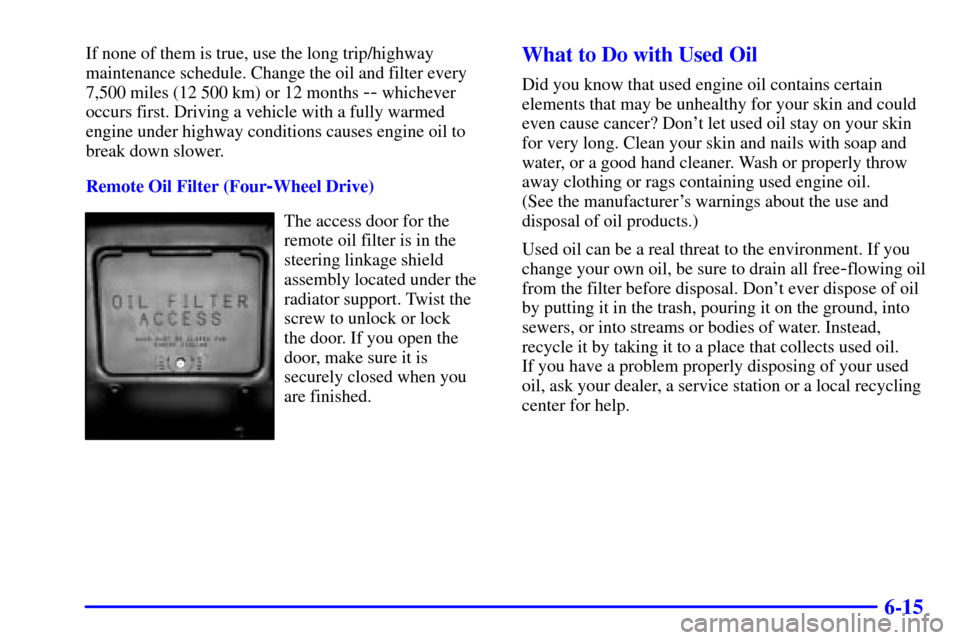
The access door for the
remote oil filter is in the
steering linkage shield
assembly located under the
radiator support. Twist the
screw to unlock or lock
the door. If you open the
door, make sure it is
securely closed when you
are finished.
What to Do with Used Oil
Did you know that used engine oil contains certain
elements that may be unhealthy for your skin and could
even cause cancer? Don't let used oil stay on your skin
for very long. Clean your skin and nails with soap and
water, or a good hand cleaner. Wash or properly throw
away clothing or rags containing used engine oil.
(See the manufacturer's warnings about the use and
disposal of oil products.)
Used oil can be a real threat to the environment. If you
change your own oil, be sure to drain all free
-flowing oil
from the filter before disposal. Don't ever dispose of oil
by putting it in the trash, pouring it on the ground, into
sewers, or into streams or bodies of water. Instead,
recycle it by taking it to a place that collects used oil.
If you have a problem properly disposing of your used
oil, ask your dealer, a service station or a local recycling
center for help.
Page 358 of 430
6-64
Name Usage
LD LEV Not Used
OXYSEN Oxygen Sensor
IGN E Engine
MIR/LKS Mirrors, Door Locks
FOG LP Fog Lamps
IGN A Starting and Charging IGN 1
STUD #2 Accessory Feeds, Electric Brake
PARKLP Parking Lamps
LR PRK Left Rear Parking Lamps
IGN C Starter Solenoid, Fuel
Pump, PRNDL
HTDSEAT Heated Seat
HVAC HVAC SystemName Usage
TRCHMSL Trailer Center High Mount
Stop Light
RRDFOG Rear Defogger
TBC Truck Body Computer
CRANK Clutch Switch, NSBU Switch
HAZLP Hazard Lamps
VECHMSL Vehicle Center High
-Mounted
Stop Lamp
HTDMIR Heated Mirror
ATC Transfer Case (Four
-Wheel Drive)
STOPLP Stop Lamps
RR W/W Rear Window Wiper
Page 405 of 430

7-44 At Least Once a Year
Key Lock Cylinders Service
Lubricate the key lock cylinders with the lubricant
specified in Part D.
Body Lubrication Service
Lubricate all hood hinges, hood latch assembly,
secondary latch, pivots, spring anchor, release pawl,
door hinges, fuel door hinge, endgate hinges, outer
tailgate handle pivot points, tailgate hinges, tailgate
mounted spare tire (if equipped), glove box, console
doors, moving seat hardware and folding seat hardware.
Part D tells you what to use. More frequent
lubrication may be required when exposed to a
corrosive environment.
Starter Switch Check
CAUTION:
When you are doing this check, the vehicle could
move suddenly. If it does, you or others could be
injured. Follow the steps below.
1. Before you start, be sure you have enough room
around the vehicle.
2. Firmly apply both the parking brake (see ªParking
Brakeº in the Index if necessary) and the regular brake.
NOTE: Do not use the accelerator pedal, and be
ready to turn off the engine immediately if it starts.
3. On automatic transmission vehicles, try to start the
engine in each gear. The starter should work only in
PARK (P) or NEUTRAL (N). If the starter works in
any other position, your vehicle needs service.
On manual transmission vehicles, put the shift lever
in NEUTRAL (N), push the clutch down halfway
and try to start the engine. The starter should work
only when the clutch is pushed down all the way to
the floor. If the starter works when the clutch isn't
pushed all the way down, your vehicle needs service.