Page 111 of 392

2-46 Parade Dimming
This feature prohibits the dimming of your instrument
panel displays during daylight while your headlamps are
on. This feature operates with the light sensor for the
Twilight Sentinel
� and is fully automatic. When the
light sensor reads darkness outside, you will be able to
dim your instrument panel displays once again.
Perimeter Lighting
When the button with the unlock symbol on the remote
keyless entry transmitter is pressed, the daytime running
lamps, parking lamps and back
-up lamps will come on
if it is dark enough outside.
This feature will only be activated when the security
feedback feature is programmed to be in Modes 1, 3 or 5
on the transmitter. Modes 0, 2 and 4 do not respond with
exterior lights flashing when unlocking the vehicle so
perimeter lighting will not be active.
This feature can be programmed on or off for
each transmitter.
To turn the feature off:
1. Press and hold LOCK on the door lock switch on the
door throughout this procedure. All doors will lock.2. Press the instant alarm button on the transmitter to enter
the programming mode. Perimeter lighting remains on
at this time and the horn will chirp two times.
3. Press the instant alarm button on the key transmitter
again. Perimeter lighting is disabled and the horn
will chirp one time.
4. Release the door lock switch. The perimeter lighting
feature is now off.
To turn the feature on:
1. Press and hold LOCK on the door lock switch on the
door throughout this procedure. All doors will lock.
2. Press the instant alarm button on the key transmitter to
enter the programming mode. Perimeter lighting
remains off at this time and the horn will chirp one time.
3. Press the instant alarm button on the transmitter
again. Perimeter lighting is now enabled and the
horn will chirp two times.
4. Release the door lock switch. The perimeter lighting
feature is now on.
Perimeter lighting can also be activated through the
optional Driver Information Center (DIC). See
ªPersonal Choice Featuresº or ªDriver Information
Centerº in the Index.
Page 113 of 392

2-48 Battery Rundown Protection
This feature shuts off all lamps that are left on for more
than 10 minutes when the ignition is off. This will keep
your battery from running down.
Mirrors
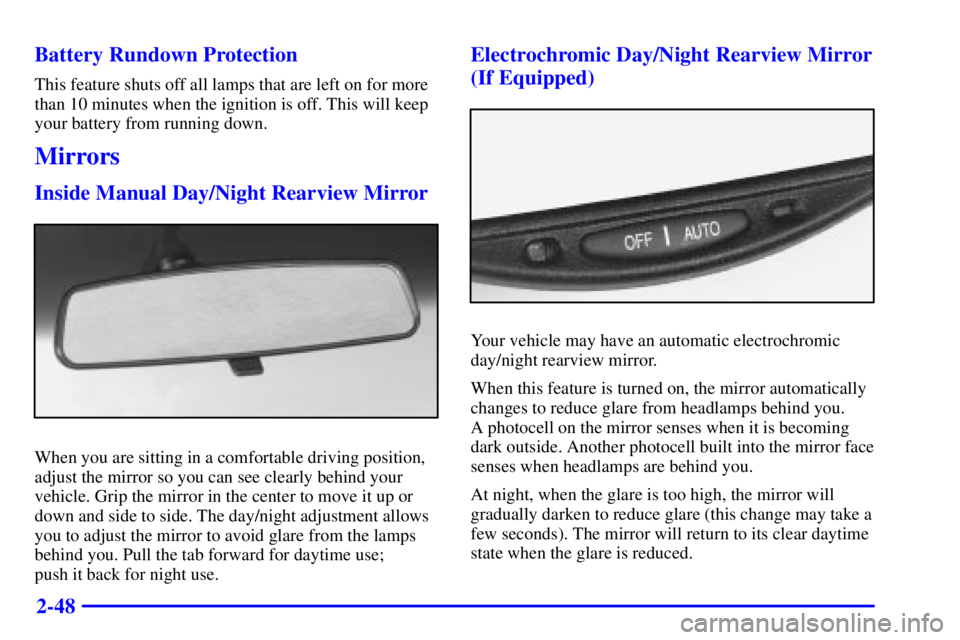
Inside Manual Day/Night Rearview Mirror
When you are sitting in a comfortable driving position,
adjust the mirror so you can see clearly behind your
vehicle. Grip the mirror in the center to move it up or
down and side to side. The day/night adjustment allows
you to adjust the mirror to avoid glare from the lamps
behind you. Pull the tab forward for daytime use;
push it back for night use.
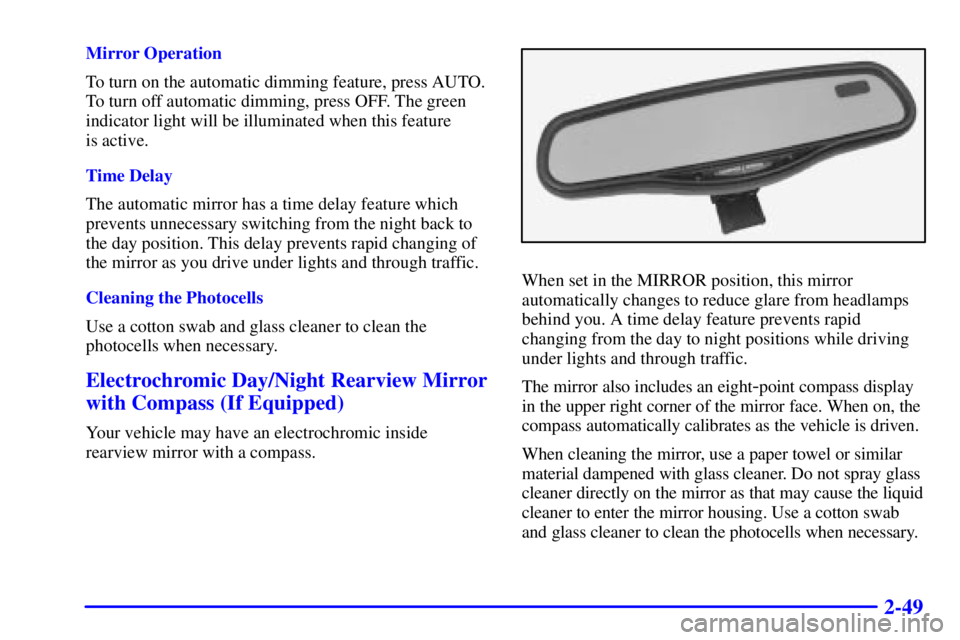
Electrochromic Day/Night Rearview Mirror
(If Equipped)
Your vehicle may have an automatic electrochromic
day/night rearview mirror.
When this feature is turned on, the mirror automatically
changes to reduce glare from headlamps behind you.
A photocell on the mirror senses when it is becoming
dark outside. Another photocell built into the mirror face
senses when headlamps are behind you.
At night, when the glare is too high, the mirror will
gradually darken to reduce glare (this change may take a
few seconds). The mirror will return to its clear daytime
state when the glare is reduced.
Page 114 of 392

2-49
Mirror Operation
To turn on the automatic dimming feature, press AUTO.
To turn off automatic dimming, press OFF. The green
indicator light will be illuminated when this feature
is active.
Time Delay
The automatic mirror has a time delay feature which
prevents unnecessary switching from the night back to
the day position. This delay prevents rapid changing of
the mirror as you drive under lights and through traffic.
Cleaning the Photocells
Use a cotton swab and glass cleaner to clean the
photocells when necessary.
Electrochromic Day/Night Rearview Mirror
with Compass (If Equipped)
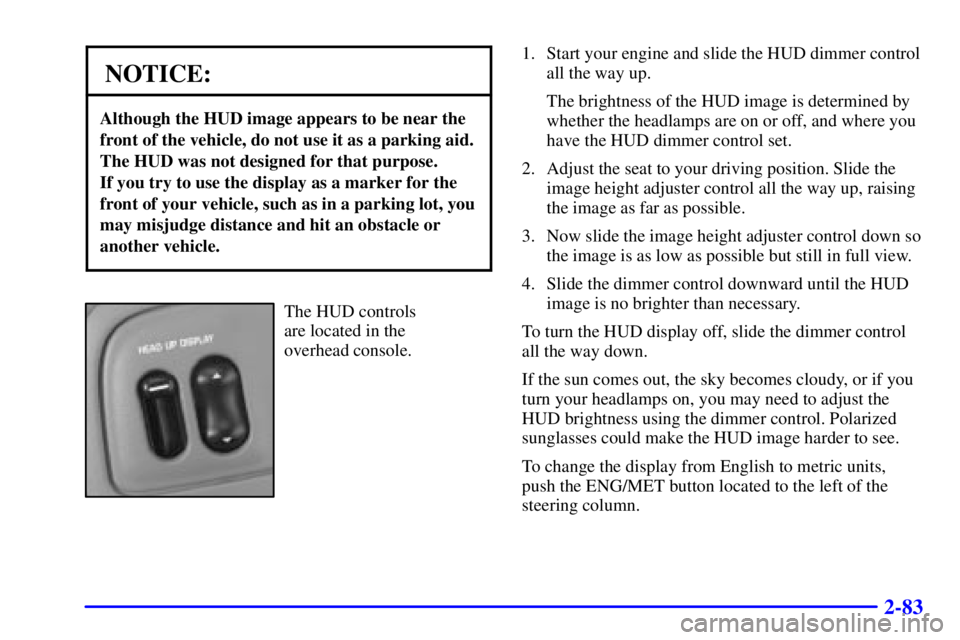
Your vehicle may have an electrochromic inside
rearview mirror with a compass.
When set in the MIRROR position, this mirror
automatically changes to reduce glare from headlamps
behind you. A time delay feature prevents rapid
changing from the day to night positions while driving
under lights and through traffic.
The mirror also includes an eight
-point compass display
in the upper right corner of the mirror face. When on, the
compass automatically calibrates as the vehicle is driven.
When cleaning the mirror, use a paper towel or similar
material dampened with glass cleaner. Do not spray glass
cleaner directly on the mirror as that may cause the liquid
cleaner to enter the mirror housing. Use a cotton swab
and glass cleaner to clean the photocells when necessary.
Page 118 of 392

2-53 Convex Outside Mirror
Your passenger's side mirror is convex. A convex
mirror's surface is curved so you can see more from the
driver's seat.
CAUTION:
A convex mirror can make things (like other
vehicles) look farther away than they really are.
If you cut too sharply into the right lane, you
could hit a vehicle on your right. Check your
inside mirror or glance over your shoulder before
changing lanes.
Automatic Dimming/Heated Outside
Rearview Mirror (If Equipped)
If you have this feature, the driver's side outside mirror
will adjust for the glare of headlamps behind you.
This feature is controlled by the on and off settings on
the automatic electrochromic day/night rearview mirror.
See ªAutomatic Electrochromic Day/Night Rearview
Mirrorº earlier in this section.
If you have this feature, the left and right outside mirrors
are also heated when you activate the rear window
defogger. See ªRear Window Defoggerº in the Index.
Both outside mirrors can be folded forward or rearward.
In the rearward position, they will fold flush with the
vehicle. This feature is particularly useful in automatic
car washes.
Storage Compartments
Glove Box
The glove box is directly in front of the front
passenger's seat. Use the door key to lock and unlock
the glove box. To open the glove box, pull the handle
upward until the latch opens.
Page 132 of 392
2-67
The main components of your instrument panel are:
A. Air Outlet
B. Headlamps/Parking Lamps Switch
C. Turn Signal/Multifunction Lever
D. Instrument Cluster/Gages
E. Hazard Warning Flasher Switch
F. Climate Control System and Audio Steering
Wheel Controls
G. Gearshift Lever
H. Audio System
I. Air OutletJ. Fuel Door Release Button
K. Trunk Release and Lockout Button
L. Hood Release
M. Audio System Steering Wheel Controls
N. Ignition Switch
O. Traction Control Button
P. Ashtray and Cigarette Lighter
Q. Climate Control System
R. Glove Box
S. Passenger Climate Control
Page 147 of 392
2-82
Head-Up Display (HUD)
(If Equipped)
CAUTION:
If the HUD image is too bright, or too high in
your field of view, it may take you more time to
see things you need to see when it's dark outside.
Be sure to keep the HUD image dim and placed
low in your field of view.
If your vehicle is equipped with the Head-Up Display
(HUD), you can see some of the driver information that
appears on your instrument panel cluster.
The information may be displayed in English or metric
units and appears as a reflection in the windshield.
The HUD consists of the following information:
�Speedometer Reading
�Turn Signal Indicators
�High
-Beam Headlamp Indicator
�CHECK GAGES Message
The HUD shows these images when they are lighted on
the instrument panel cluster.
Be sure to continue scanning your displays, controls and
driving environment just as you would in a vehicle
without HUD. If you never look at your instrument
panel, you may not see something important, such as a
warning light.
Page 148 of 392

2-83
NOTICE:
Although the HUD image appears to be near the
front of the vehicle, do not use it as a parking aid.
The HUD was not designed for that purpose.
If you try to use the display as a marker for the
front of your vehicle, such as in a parking lot, you
may misjudge distance and hit an obstacle or
another vehicle.
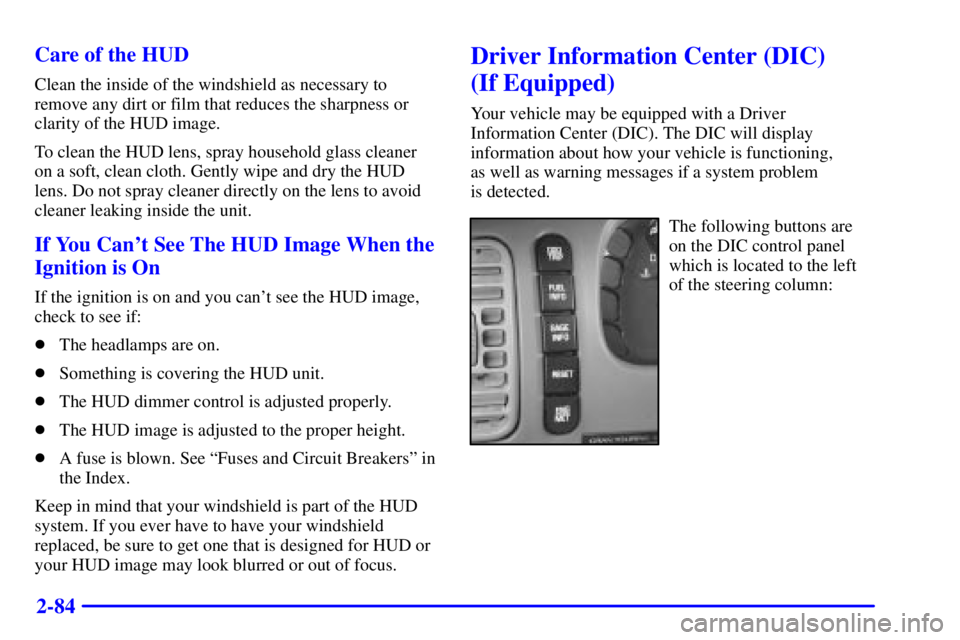
The HUD controls
are located in the
overhead console.1. Start your engine and slide the HUD dimmer control
all the way up.
The brightness of the HUD image is determined by
whether the headlamps are on or off, and where you
have the HUD dimmer control set.
2. Adjust the seat to your driving position. Slide the
image height adjuster control all the way up, raising
the image as far as possible.
3. Now slide the image height adjuster control down so
the image is as low as possible but still in full view.
4. Slide the dimmer control downward until the HUD
image is no brighter than necessary.
To turn the HUD display off, slide the dimmer control
all the way down.
If the sun comes out, the sky becomes cloudy, or if you
turn your headlamps on, you may need to adjust the
HUD brightness using the dimmer control. Polarized
sunglasses could make the HUD image harder to see.
To change the display from English to metric units,
push the ENG/MET button located to the left of the
steering column.
Page 149 of 392

2-84 Care of the HUD
Clean the inside of the windshield as necessary to
remove any dirt or film that reduces the sharpness or
clarity of the HUD image.
To clean the HUD lens, spray household glass cleaner
on a soft, clean cloth. Gently wipe and dry the HUD
lens. Do not spray cleaner directly on the lens to avoid
cleaner leaking inside the unit.
If You Can't See The HUD Image When the
Ignition is On
If the ignition is on and you can't see the HUD image,
check to see if:
�The headlamps are on.
�Something is covering the HUD unit.
�The HUD dimmer control is adjusted properly.
�The HUD image is adjusted to the proper height.
�A fuse is blown. See ªFuses and Circuit Breakersº in
the Index.
Keep in mind that your windshield is part of the HUD
system. If you ever have to have your windshield
replaced, be sure to get one that is designed for HUD or
your HUD image may look blurred or out of focus.
Driver Information Center (DIC)
(If Equipped)
Your vehicle may be equipped with a Driver
Information Center (DIC). The DIC will display
information about how your vehicle is functioning,
as well as warning messages if a system problem
is detected.
The following buttons are
on the DIC control panel
which is located to the left
of the steering column: