Page 516 of 1002

Downloaded from www.Manualslib.com manuals search engine
.," --
Radiator and Cooling System --- 1
insert two M6 screws (arrows) in tapped bores and tighten
uniformly until pump is free from timing chain cover (thermo-
stat and hoses have been removed for purposes of visual
clarity).
Installation is reverse of removal, noting the following:
Be sure to replace sealing O-ring and gaskets.
Coat O-ring with water-based lubricant during installation.
Refill with coolant. See Coolant, draining and filling
(6-
cylinder models).
Tightening torques
-
Coolant pump to timing chain 10 Nm (89 in-lb)
cover
Coolant pump pulley to coolant
10 Nm (89 in-lb
pump
Engine block drain plug to block 25 Nm (1 8 It-lb)
Radiator drain plug to radiator 2 - 3 Nm (I8 - 27 in-lb)
Coolant pump, replacing (V-8 models)
I 1 < The engine coolant pump is mounted in the front of the en-
gine in ;he timing chain cover.
1. Thermostat housing
2. Thermostat
3. Thermostat sealing O-ring
4. Water pump
5. Water pump gasket
- Drain cooling system. See Coolant, draining and filling (V-
8 models).
- Remove cooling fan and fan shroud. See Mechanical (vis-
cous clutch) cooling fan, removing and installing.
- Remove engine drive belts: See 020 Maintenance.
NOTE-
Mark direction of drive belt rotation if reusing belt,
- Remove vibration dampener. See 117 Camshaft and Tim-
ing Chain.
- Disconnect mass air flow (MAF) sensor electrical harness
connector. Remove air intake duct together with
MAF sensor.
- Disconnect coolant hoses from thermostat housing and cool-
ant pump housing.
Page 517 of 1002
Downloaded from www.Manualslib.com manuals search engine
Radiator and Coolina ~vsteml
- Disconnect thermostat and cooling system temperature sen-
sor plug connectors.
4 Remove thermostat housing fasteners and remove housing.
- Remove coolant pump pulley bolts and remove pulley from
pump.
Remove fasteners A and B (arrows).
NOTE-
* The coolant pump is retained to the block using different
length bolts.
0 Bolts A: M6 X 105 mm
0 Bolts 8: M6 X 35 mm
Slide coolant pump away from coolant pipes (arrows) while
being careful not to dislodge pipes from fittings at rear of en-
gine.
- Installation is reverse of removal, noting the following:
Replace all sealing O-rings and washers.
Coat O-rings with water-based lubricant during installation.
Fill system with coolant. See Coolant, draining and fill-
ing (6-cylinder models) or Coolant, draining and filling
(V-8 models).
Page 1002 of 1002

Downloaded from www.Manualslib.com manuals search engine
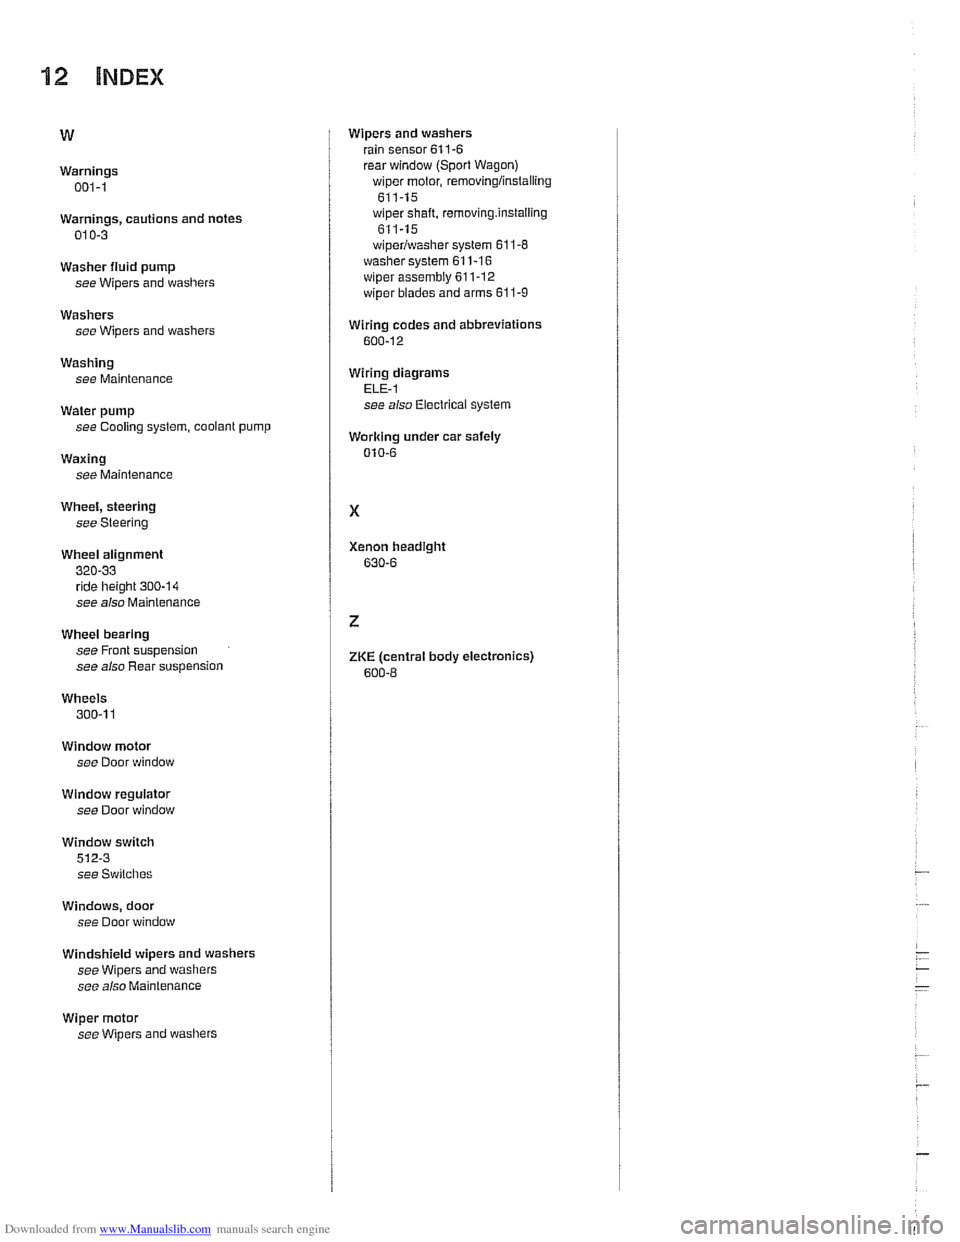
112 INDEX
Warnings 001-1
Warnings, cautions and notes
01
0-3
Washer fluid pump
see Wipers and washers
Washers see Wipers and washers
Washing see Maintenance
Water pump
see Cooling system, coolant
pump
Waxing
see Mainienance
Wheel, steering
see Steering
Wheel alignment
320-33 ride [height 300-14
see also Maintenance
Wheel bearing
see Front suspension
see also Rear suspension
Wheels
300-1 1
Window motor see Door window
Window regulator
see Door window
Window switch
512-3
see Switches
Windows, door
see Door window
Windshield wipers and washers
see Wipers and washers
see also Maintenance
Wiper motor
see Wipers and washers Wipers and
washers
rain sensor 61
1-6 rear window (Sport Wagon) wiper motor, removingiinstaiiing
611-15 wiper shaft, removing.instaiiing
611-15
wiperiwasher system 61
1-8 washer system 611-16
wiper
assembly 611-12
wiper blades and arms 61 1-9
Wiring codes and abbreviations
600-12
Wirinq diaarams ELF-I -
see also Electrical system
Working under car safely
010-6
Xenon headlght
630-6
ZKE (central body electronics)
600-8