2000 BMW 540I SEDAN warning
[x] Cancel search: warningPage 27 of 217
27n
RepairsIndexOverview Controls Car care Technology Data
Hazard warning flashers Warning triangle
*
First-aid kit
*
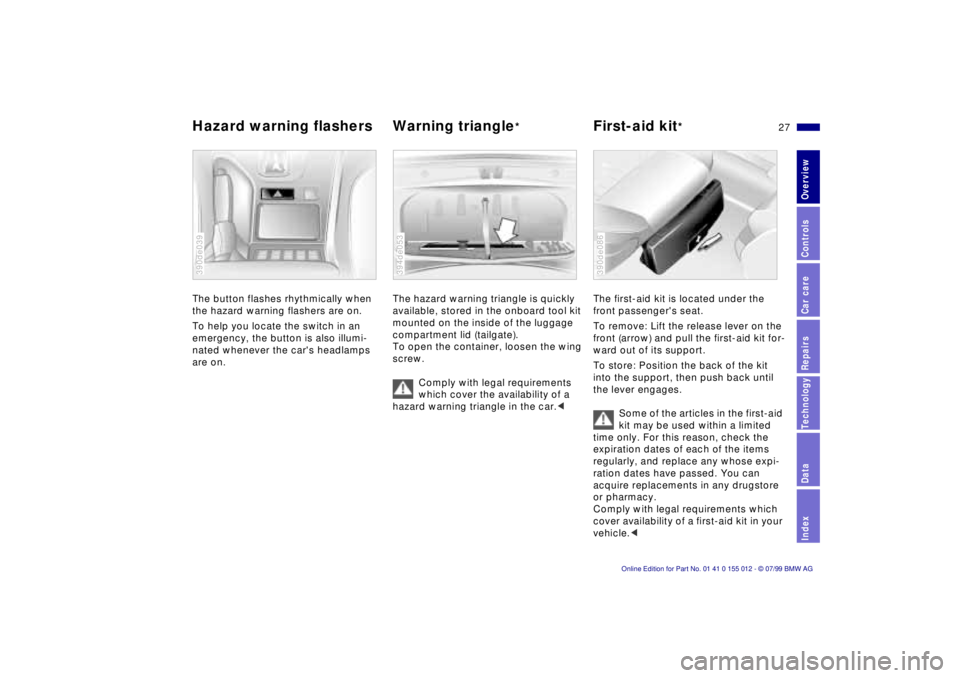
The button flashes rhythmically when
the hazard warning flashers are on.
To help you locate the switch in an
emergency, the button is also illumi-
nated whenever the car's headlamps
are on.390de039
The hazard warning triangle is quickly
available, stored in the onboard tool kit
mounted on the inside of the luggage
compartment lid (tailgate).
To open the container, loosen the wing
screw.
Comply with legal requirements
which cover the availability of a
hazard warning triangle in the car.< 394de053
The first-aid kit is located under the
front passenger's seat.
To remove: Lift the release lever on the
front (arrow) and pull the first-aid kit for-
ward out of its support.
To store: Position the back of the kit
into the support, then push back until
the lever engages.
Some of the articles in the first-aid
kit may be used within a limited
time only. For this reason, check the
expiration dates of each of the items
regularly, and replace any whose expi-
ration dates have passed. You can
acquire replacements in any drugstore
or pharmacy.
Comply with legal requirements which
cover availability of a first-aid kit in your
vehicle.< 390de086
Page 45 of 217
45n
RepairsIndexOverview Controls Car care Technology Data
Alarm systemThe conceptThe vehicle alarm system responds:
>When a door, the hood or the lug-
gage compartment lid/tailgate is
opened
>To movement inside the vehicle
(interior motion sensor)
>To variations in the vehicle tilt sensor
such as occur during attempts to
steal the wheels or tow the vehicle
>To interruption of battery voltage.
The system responds to unauthorized
vehicle entry and attempted theft by
simultaneously activating the following:
>Sounding an acoustical alarm for
30 seconds
>The hazard warning flashers are
activated for approx. five minutes
>The high beams flash on and off in
the same rhythm.
To activate and deactivate the
alarm systemWhen the vehicle is locked or unlocked
with the key or the remote control, the
alarm system is also simultaneously
armed or disarmed.
The interior motion sensor is activated
approx. 30 seconds after you have fin-
ished locking the car.
The system indicates that it has been
correctly armed by switching on the
hazard flashers for a single cycle and by
emitting an acoustical signal.
You can have different acknowl-
edgment messages set to confirm
arming and disarming (not released at
this time).<
When the system is active, you can still
gain access to the luggage compart-
ment by pressing button 3 on the
remote control transmitter (refer to
page 39). When you close the luggage
compartment lid/tailgate, it locks again.
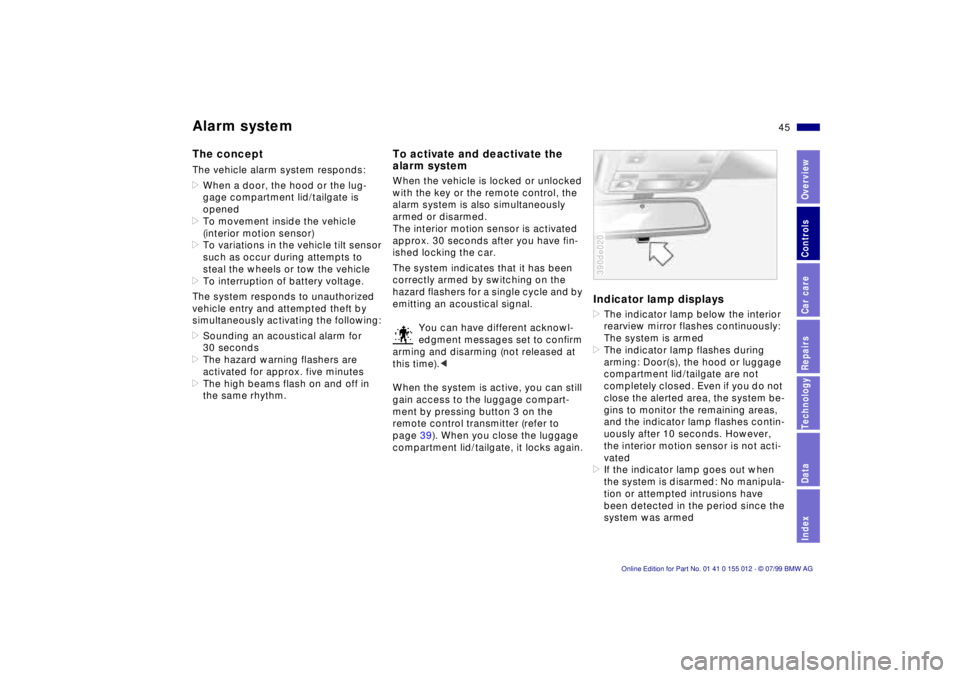
Indicator lamp displays>The indicator lamp below the interior
rearview mirror flashes continuously:
The system is armed
>The indicator lamp flashes during
arming: Door(s), the hood or luggage
compartment lid/tailgate are not
completely closed. Even if you do not
close the alerted area, the system be-
gins to monitor the remaining areas,
and the indicator lamp flashes contin-
uously after 10 seconds. However,
the interior motion sensor is not acti-
vated
>If the indicator lamp goes out when
the system is disarmed: No manipula-
tion or attempted intrusions have
been detected in the period since the
system was armed390de020
Page 62 of 217

62n
AirbagsAt all times, occupants should sit
upright and be properly restrained (in-
fants and small children in appropriate
child restraint systems; larger children
and adults using the safety belts). Never
let an occupant's head rest near or on a
side airbag because the inflating airbag
could cause a serious or fatal injury.
Please note that the word "Airbag" im-
printed on the door trim panel indicates
the airbag's location.
Accident research shows that the
safest place for children in an automo-
bile is in the rear seat. However, a child
sitting in the rear seat and not properly
restrained may place his or her head on
or near the side airbag, if so equipped.
For example, a child Ð even though
belted Ð may fall asleep with his or her
head against the side airbag. It may be
difficult for a driver to ensure that chil-
dren in the rear seat will remain prop-
erly positioned at all times and not
place their heads on or near the side
airbag.Therefore, we recommend that the rear
seat side airbags, if provided, be deac-
tivated if you plan to transport children
in the rear seat.
The rear seat side airbags may already
have been deactivated, either at the
time of manufacture or by a BMW cen-
ter. Labels in the rear door opening
should indicate the status of your rear
seat side airbags. If your are uncertain
of their status, or wish to have the air-
bags activated or deactivated, please
contact your BMW center.Even when all these guidelines are
followed, there is still a small residual
risk of injuries to the face, hands and
arms occurring from airbag deploy-
ment in isolated instances. The ignition
and inflation noise may provoke a mild
temporary hearing loss in extremely
sensitive individuals.
Airbag warning information is also
provided on the sun visors.
For additional information concerning
the airbag system, refer to pages 160
and 188.
Page 67 of 217
67n
RepairsIndexOverview Controls Car care Technology Data
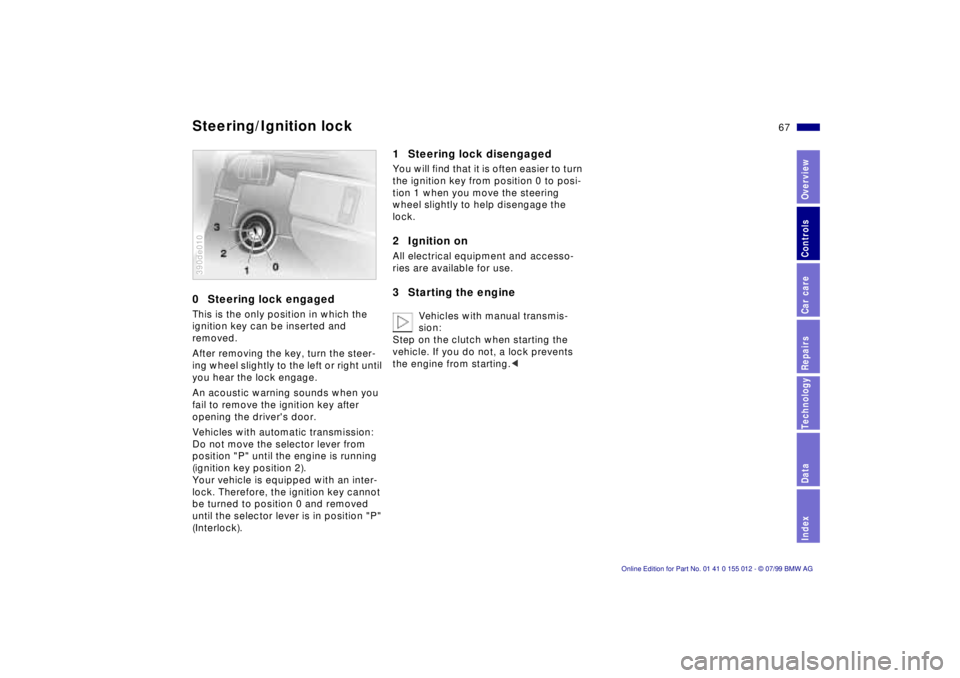
0 Steering lock engagedThis is the only position in which the
ignition key can be inserted and
removed.
After removing the key, turn the steer-
ing wheel slightly to the left or right until
you hear the lock engage.
An acoustic warning sounds when you
fail to remove the ignition key after
opening the driver's door.
Vehicles with automatic transmission:
Do not move the selector lever from
position "P" until the engine is running
(ignition key position 2).
Your vehicle is equipped with an inter-
lock. Therefore, the ignition key cannot
be turned to position 0 and removed
until the selector lever is in position "P"
(Interlock).390de010
1 Steering lock disengagedYou will find that it is often easier to turn
the ignition key from position 0 to posi-
tion 1 when you move the steering
wheel slightly to help disengage the
lock.2 Ignition onAll electrical equipment and accesso-
ries are available for use.3 Starting the engine
Vehicles with manual transmis-
sion:
Step on the clutch when starting the
vehicle. If you do not, a lock prevents
the engine from starting.<
Steering/Ignition lock
Page 82 of 217
82n
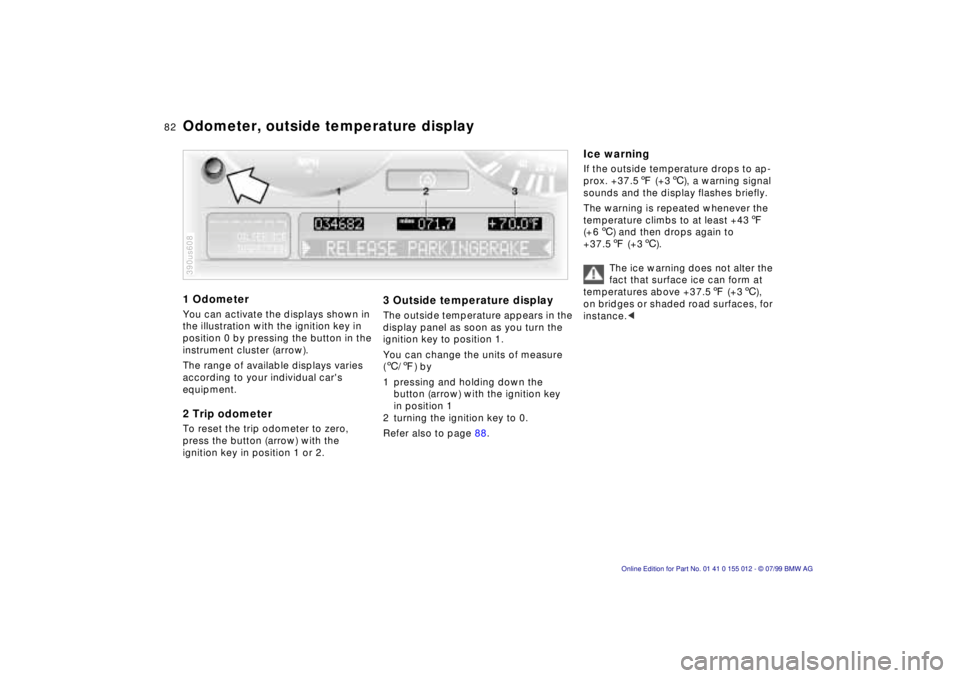
1 OdometerYou can activate the displays shown in
the illustration with the ignition key in
position 0 by pressing the button in the
instrument cluster (arrow).
The range of available displays varies
according to your individual car's
equipment.2 Trip odometerTo reset the trip odometer to zero,
press the button (arrow) with the
ignition key in position 1 or 2.390us608
3 Outside temperature displayThe outside temperature appears in the
display panel as soon as you turn the
ignition key to position 1.
You can change the units of measure
(6/7) by
1 pressing and holding down the
button (arrow) with the ignition key
in position 1
2 turning the ignition key to 0.
Refer also to page 88.
Ice warningIf the outside temperature drops to ap-
prox. +37.57 (+36), a warning signal
sounds and the display flashes briefly.
The warning is repeated whenever the
temperature climbs to at least +437
(+66) and then drops again to
+37.57 (+36).
The ice warning does not alter the
fact that surface ice can form at
temperatures above +37.57 (+36),
on bridges or shaded road surfaces, for
instance.<
Odometer, outside temperature display
Page 84 of 217
84n
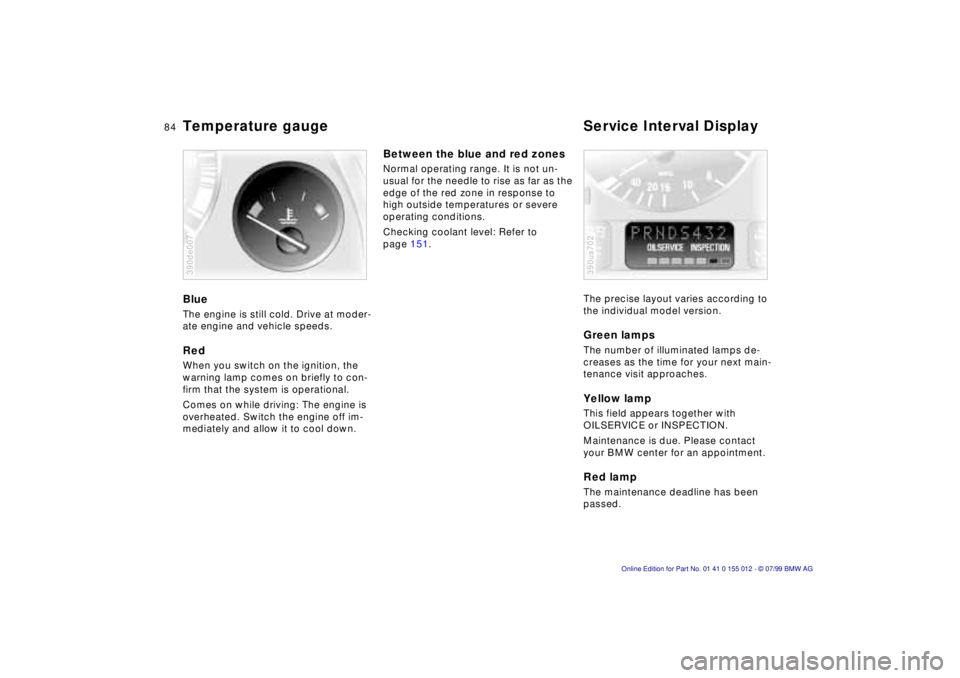
Temperature gauge Service Interval DisplayBlueThe engine is still cold. Drive at moder-
ate engine and vehicle speeds.RedWhen you switch on the ignition, the
warning lamp comes on briefly to con-
firm that the system is operational.
Comes on while driving: The engine is
overheated. Switch the engine off im-
mediately and allow it to cool down.390de007
Between the blue and red zonesNormal operating range. It is not un-
usual for the needle to rise as far as the
edge of the red zone in response to
high outside temperatures or severe
operating conditions.
Checking coolant level: Refer to
page 151.
The precise layout varies according to
the individual model version.
Green lampsThe number of illuminated lamps de-
creases as the time for your next main-
tenance visit approaches.Yellow lampThis field appears together with
OILSERVICE or INSPECTION.
Maintenance is due. Please contact
your BMW center for an appointment.Red lampThe maintenance deadline has been
passed.390us702
Page 85 of 217
85n
RepairsIndexOverview Controls Car care Technology Data
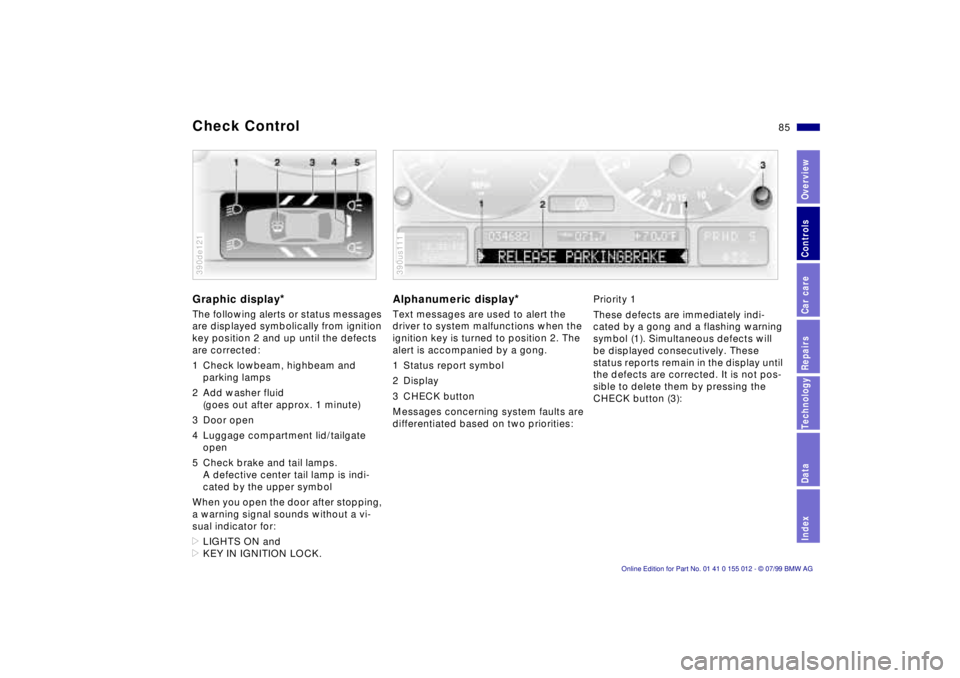
Check ControlGraphic display
*
The following alerts or status messages
are displayed symbolically from ignition
key position 2 and up until the defects
are corrected:
1 Check lowbeam, highbeam and
parking lamps
2 Add washer fluid
(goes out after approx. 1 minute)
3 Door open
4 Luggage compartment lid/tailgate
open
5 Check brake and tail lamps.
A defective center tail lamp is indi-
cated by the upper symbol
When you open the door after stopping,
a warning signal sounds without a vi-
sual indicator for:
>LIGHTS ON and
>KEY IN IGNITION LOCK.390de121
Alphanumeric display
*
Text messages are used to alert the
driver to system malfunctions when the
ignition key is turned to position 2. The
alert is accompanied by a gong.
1 Status report symbol
2 Display
3 CHECK button
Messages concerning system faults are
differentiated based on two priorities:390us111
Priority 1
These defects are immediately indi-
cated by a gong and a flashing warning
symbol (1). Simultaneous defects will
be displayed consecutively. These
status reports remain in the display until
the defects are corrected. It is not pos-
sible to delete them by pressing the
CHECK button (3):
Page 86 of 217

86n
Check Control>RELEASE PARKINGBRAKE
>COOLANT TEMPERATURE
The coolant is overheated. Stop the
vehicle and switch off the engine im-
mediately. Refer to pages 84
and 15 1.
>STOP! ENGINE OILPRESS
The oil pressure is too low. Stop the
vehicle and switch off the engine im-
mediately. Refer to page 22.
>CHECK BRAKE FLUID
Indicates that brake fluid is down to
roughly minimum level. Top up the
brake fluid at the next opportunity.
Refer to page 152. Have the source
of the brake fluid loss diagnosed and
corrected by your BMW center.
>FLAT TIRE
*
Reduce vehicle speed immediately
and stop the vehicle. Avoid hard
brake applications. Do not oversteer.
Refer to page 93.
>LOAD LEVEL INACTIVE
Please consult the nearest authorized
BMW center. Refer to page 132.
>SPEED LIMIT
*
Display if the programmed speed
limit has been exceeded.Priority 2
These displays appear for 20 seconds
when the ignition key is turned to posi-
tion 2. The warning symbols remain
after the message disappears. You can
display the messages again by pressing
the CHECK button (3):
>TRUNKLID OPEN
Message appears only when the
vehicle is initially set in motion.
>DOOR OPEN
This message appears after a minimal
defined road speed has been ex-
ceeded.
>FASTEN SEAT BELTS
*
In addition to this message, a
warning lamp with the safety belt icon
appears and an acoustical signal
sounds.
>WASHER FLUID LOW
Too low; top up fluid at the next
opportunity. Refer to page 148.
>CHECK ENGINE OIL LEV
Add engine oil as soon as possible.
Refer to page 149.
>OUTSIDE TEMP. +207 (Ð56)
This display is only an example. The
current temperature is displayed at
outside temperatures of +37.57
(+36) and below. Refer also to
page 82.>TIRE PRESSURE SET
*
The RDC has imported the current in-
flation pressure in the tires as the tar-
get values which the system will
monitor.
Refer to page 92.
>CHECK TIRE PRESSURE
*
Check and correct the tire inflation
pressure to specifications at the earli-
est opportunity (next stop for fuel).
Refer to page 92.
>TIRE CHECK INACTIVE
*
A temporary interference of the RDC
or a system fault. Refer to page 93.
>CHECK BRAKE LAMPS
A lamp has failed or the electrical cir-
cuit has a fault. Refer to pages 169
and 170 or consult an authorized
BMW center.
>CHECK LOWBEAM LAMPS
CHECK SIDE LAMPS
CHECK REAR LAMPS
CHECK FRONT FOGLAMPS
CHECK LICPLATE LAMP
CHECK HIGHBEAM LAMP
CHECK BACK UP LAMPS
Defective bulb or circuit. Refer to
page 167 or consult an authorized
BMW center.