2000 BMW 540I SEDAN door lock
[x] Cancel search: door lockPage 45 of 217
45n
RepairsIndexOverview Controls Car care Technology Data
Alarm systemThe conceptThe vehicle alarm system responds:
>When a door, the hood or the lug-
gage compartment lid/tailgate is
opened
>To movement inside the vehicle
(interior motion sensor)
>To variations in the vehicle tilt sensor
such as occur during attempts to
steal the wheels or tow the vehicle
>To interruption of battery voltage.
The system responds to unauthorized
vehicle entry and attempted theft by
simultaneously activating the following:
>Sounding an acoustical alarm for
30 seconds
>The hazard warning flashers are
activated for approx. five minutes
>The high beams flash on and off in
the same rhythm.
To activate and deactivate the
alarm systemWhen the vehicle is locked or unlocked
with the key or the remote control, the
alarm system is also simultaneously
armed or disarmed.
The interior motion sensor is activated
approx. 30 seconds after you have fin-
ished locking the car.
The system indicates that it has been
correctly armed by switching on the
hazard flashers for a single cycle and by
emitting an acoustical signal.
You can have different acknowl-
edgment messages set to confirm
arming and disarming (not released at
this time).<
When the system is active, you can still
gain access to the luggage compart-
ment by pressing button 3 on the
remote control transmitter (refer to
page 39). When you close the luggage
compartment lid/tailgate, it locks again.
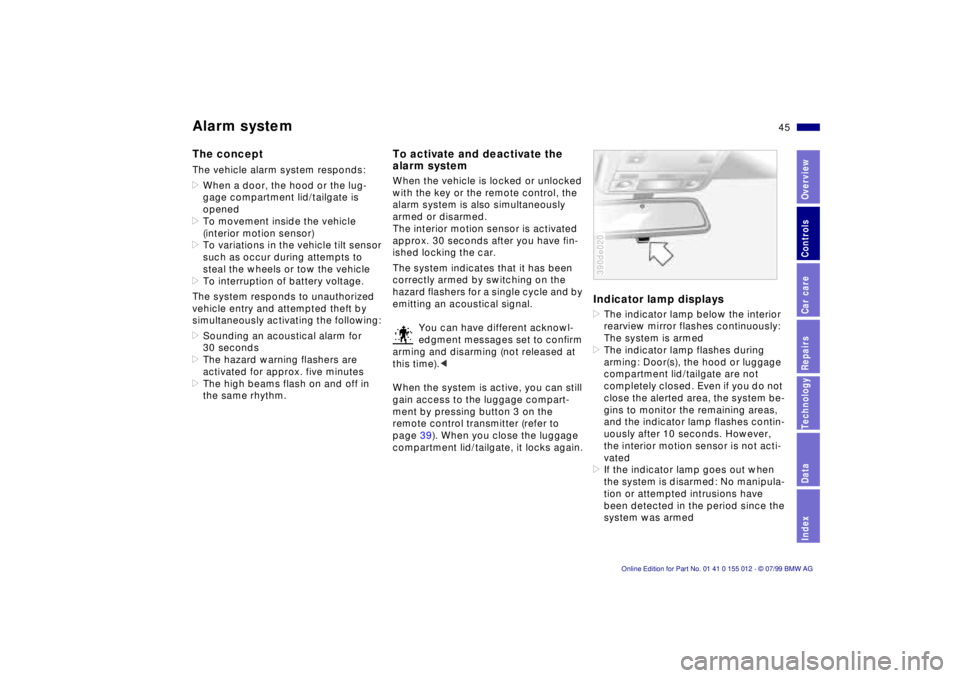
Indicator lamp displays>The indicator lamp below the interior
rearview mirror flashes continuously:
The system is armed
>The indicator lamp flashes during
arming: Door(s), the hood or luggage
compartment lid/tailgate are not
completely closed. Even if you do not
close the alerted area, the system be-
gins to monitor the remaining areas,
and the indicator lamp flashes contin-
uously after 10 seconds. However,
the interior motion sensor is not acti-
vated
>If the indicator lamp goes out when
the system is disarmed: No manipula-
tion or attempted intrusions have
been detected in the period since the
system was armed390de020
Page 46 of 217
46n
Alarm system>If the indicator lamp flashes for
10 seconds when the system is
disarmed: An attempted entry has
been detected in the period since the
system was armed.
Following triggering of an alarm, the
indicator lamp will flash continuously.Avoiding unintentional alarmsThe tilt alarm sensor and interior motion
sensor may be switched off at the same
time to prevent a false alarm from being
triggered (in garages with elevator
ramps, for instance), or when the
vehicle is transported by trailer or train:
Lock the vehicle (arm the alarm system)
twice in succession: Press button 2 on
the remote-control transmitter twice
(refer to page 38), or turn the key in the
door lock to the right (lock) twice in
succession (refer to page 36).
The indicator lamp lights up briefly and
then flashes continuously. The tilt alarm
sensor and the interior motion sensor
are deactivated for as long as the
system remains armed.
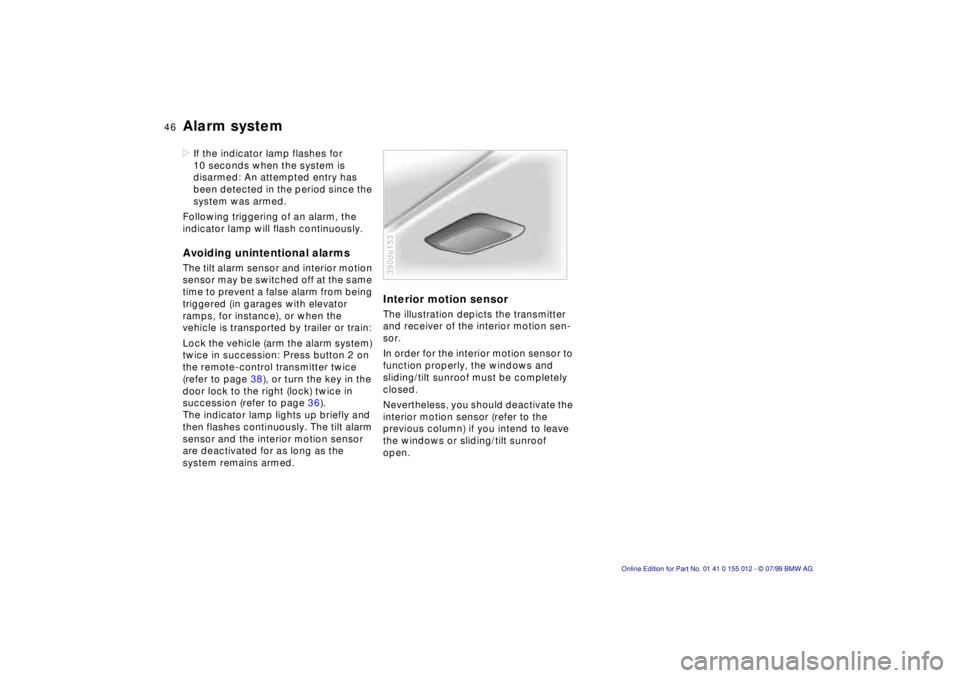
Interior motion sensorThe illustration depicts the transmitter
and receiver of the interior motion sen-
sor.
In order for the interior motion sensor to
function properly, the windows and
sliding/tilt sunroof must be completely
closed.
Nevertheless, you should deactivate the
interior motion sensor (refer to the
previous column) if you intend to leave
the windows or sliding/tilt sunroof
open.390de153
Page 47 of 217
47n
RepairsIndexOverview Controls Car care Technology Data
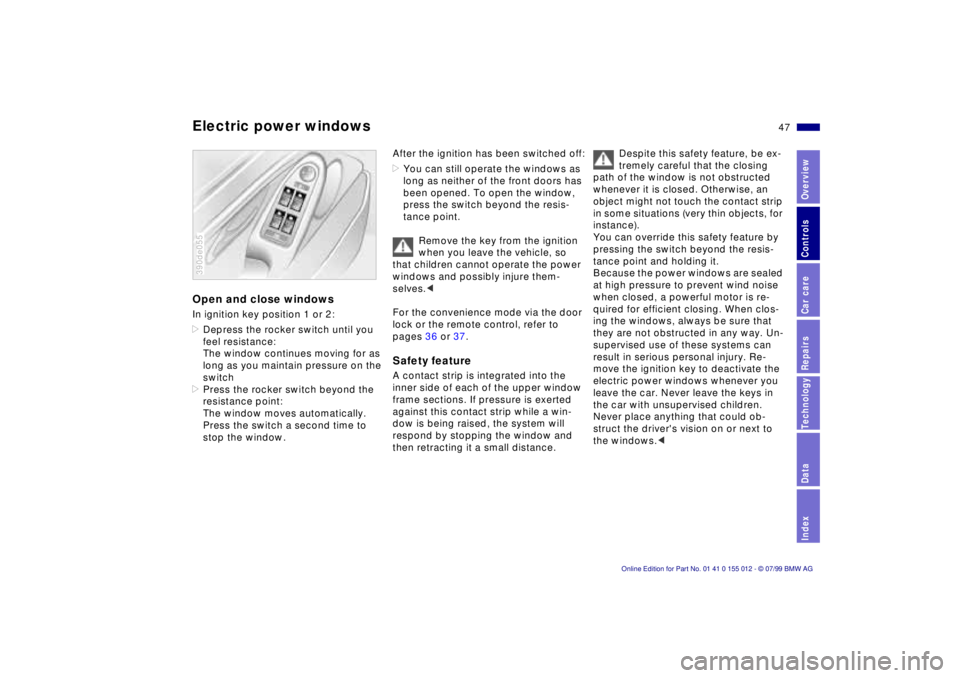
Electric power windowsOpen and close windowsIn ignition key position 1 or 2:
>Depress the rocker switch until you
feel resistance:
The window continues moving for as
long as you maintain pressure on the
switch
>Press the rocker switch beyond the
resistance point:
The window moves automatically.
Press the switch a second time to
stop the window.390de055
After the ignition has been switched off:
>You can still operate the windows as
long as neither of the front doors has
been opened. To open the window,
press the switch beyond the resis-
tance point.
Remove the key from the ignition
when you leave the vehicle, so
that children cannot operate the power
windows and possibly injure them-
selves.<
For the convenience mode via the door
lock or the remote control, refer to
pages 36 or 37.Safety featureA contact strip is integrated into the
inner side of each of the upper window
frame sections. If pressure is exerted
against this contact strip while a win-
dow is being raised, the system will
respond by stopping the window and
then retracting it a small distance.
Despite this safety feature, be ex-
tremely careful that the closing
path of the window is not obstructed
whenever it is closed. Otherwise, an
object might not touch the contact strip
in some situations (very thin objects, for
instance).
You can override this safety feature by
pressing the switch beyond the resis-
tance point and holding it.
Because the power windows are sealed
at high pressure to prevent wind noise
when closed, a powerful motor is re-
quired for efficient closing. When clos-
ing the windows, always be sure that
they are not obstructed in any way. Un-
supervised use of these systems can
result in serious personal injury. Re-
move the ignition key to deactivate the
electric power windows whenever you
leave the car. Never leave the keys in
the car with unsupervised children.
Never place anything that could ob-
struct the driver's vision on or next to
the windows.<
Page 48 of 217
48n
Electric power windows Sliding/Tilt sunroof
*
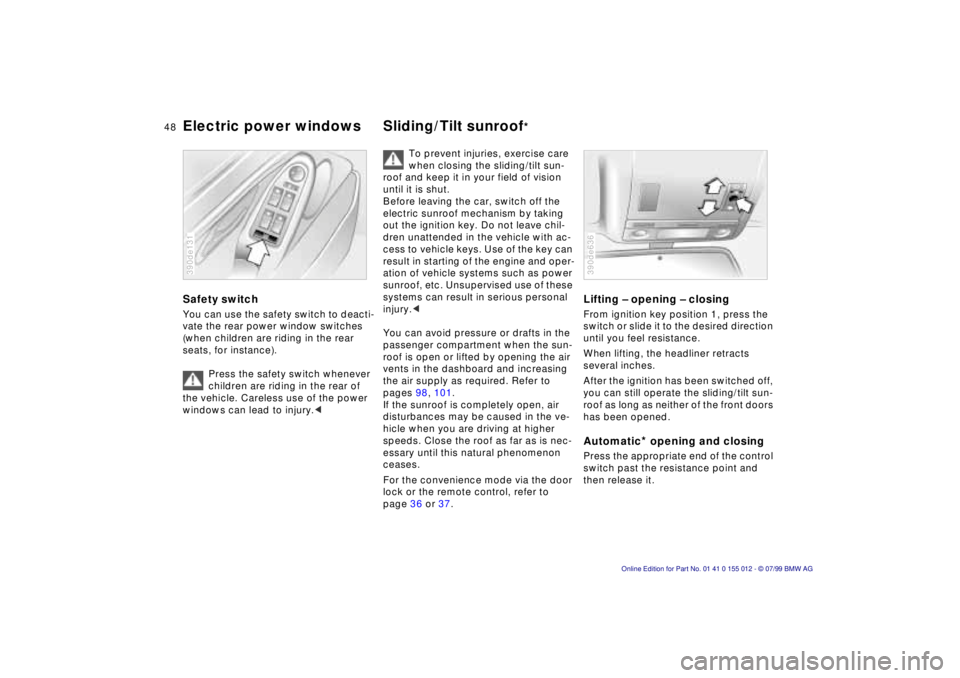
Safety switchYou can use the safety switch to deacti-
vate the rear power window switches
(when children are riding in the rear
seats, for instance).
Press the safety switch whenever
children are riding in the rear of
the vehicle. Careless use of the power
windows can lead to injury.< 390de131
To prevent injuries, exercise care
when closing the sliding/tilt sun-
roof and keep it in your field of vision
until it is shut.
Before leaving the car, switch off the
electric sunroof mechanism by taking
out the ignition key. Do not leave chil-
dren unattended in the vehicle with ac-
cess to vehicle keys. Use of the key can
result in starting of the engine and oper-
ation of vehicle systems such as power
sunroof, etc. Unsupervised use of these
systems can result in serious personal
injury.<
You can avoid pressure or drafts in the
passenger compartment when the sun-
roof is open or lifted by opening the air
vents in the dashboard and increasing
the air supply as required. Refer to
pages 98, 101.
If the sunroof is completely open, air
disturbances may be caused in the ve-
hicle when you are driving at higher
speeds. Close the roof as far as is nec-
essary until this natural phenomenon
ceases.
For the convenience mode via the door
lock or the remote control, refer to
page 36 or 37.
Lifting Ð opening Ð closingFrom ignition key position 1, press the
switch or slide it to the desired direction
until you feel resistance.
When lifting, the headliner retracts
several inches.
After the ignition has been switched off,
you can still operate the sliding/tilt sun-
roof as long as neither of the front doors
has been opened.Automatic
* opening and closing
Press the appropriate end of the control
switch past the resistance point and
then release it. 390de636
Page 56 of 217
56n
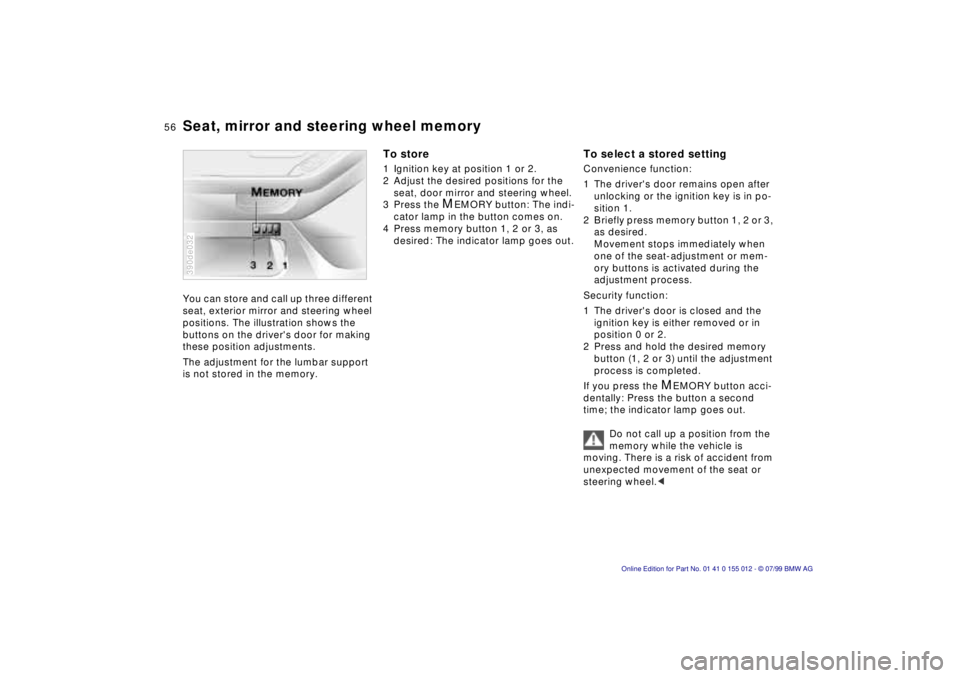
Seat, mirror and steering wheel memoryYou can store and call up three different
seat, exterior mirror and steering wheel
positions. The illustration shows the
buttons on the driver's door for making
these position adjustments.
The adjustment for the lumbar support
is not stored in the memory.390de032
To store1 Ignition key at position 1 or 2.
2 Adjust the desired positions for the
seat, door mirror and steering wheel.
3 Press the
M
EMORY button: The indi-
cator lamp in the button comes on.
4 Press memory button 1, 2 or 3, as
desired: The indicator lamp goes out.
To select a stored settingConvenience function:
1 The driver's door remains open after
unlocking or the ignition key is in po-
sition 1.
2 Briefly press memory button 1, 2 or 3,
as desired.
Movement stops immediately when
one of the seat-adjustment or mem-
ory buttons is activated during the
adjustment process.
Security function:
1 The driver's door is closed and the
ignition key is either removed or in
position 0 or 2.
2 Press and hold the desired memory
button (1, 2 or 3) until the adjustment
process is completed.
If you press the
M
EMORY button acci-
dentally: Press the button a second
time; the indicator lamp goes out.
Do not call up a position from the
memory while the vehicle is
moving. There is a risk of accident from
unexpected movement of the seat or
steering wheel.<
Page 61 of 217
61n
RepairsIndexOverview Controls Car care Technology Data
AirbagsIndicator lamp
The indicator lamp displays the
operational status of the airbag
system in ignition key posi-
tions 1 and 2.
System operational:
>The indicator lamp comes on briefly
then goes out.
System malfunction:
>The indicator lamp fails to come on
>The indicator lamp comes on briefly
before going out and then lighting up
again.
A system malfunction could prevent the
system from responding to an impact
occurring within its normal response
range.
Please have your authorized BMW cen-
ter inspect and repair the system as
soon as possible.
Sitting correctly with airbags
For your safety, comply with the
following instructions for the air-
bags. If you do not, the airbags may not
be able to provide their maximum pro-
tection. All passengers in the vehicle
should be aware of and comply with
this information:
The airbags are supplemental restraint
devices designed to provide extra pro-
tection; they are not a substitute for
safety belts. Wear your safety belt at all
times. The airbags will not be triggered
in the event of a minor accident, a vehi-
cle roll-over, or collisions from the rear.
In these instances, the safety belt pro-
vides optimal protection.
Airbags are located under cover panels
in the steering wheel, in the dashboard,
in the side trim panels in the front and
rear*, and in the windshield pillars and
the sides of the headliner.
Adjust your seat to a position that pro-
vides maximum distance between you
and the steering wheel, the instrument
panel and the door while still allowing
comfortable and safe access to all
vehicle controls.
To avoid sustaining hand and arm inju-
ries: Always grasp the steering wheel
on the rim with the hands at the 9 and
3 o'clock positions: Do not place your
hands on the center pad.
Never allow any objects to obstruct the
area between the airbag and an occu-
pant.
Do not use the cover panel above the
passenger-side airbag as a storage
area.
Do not apply adhesive materials to the
cover panels of the airbags, cover them
or modify them in any other way.
Do not install a rear-facing child re-
straint system in the front passenger
seat of this car.
Children under 13 years of age and
children less than 5 feet (150 cm) tall
should ride only in the rear seat.
Infants or small children should never
be held on the lap of a passenger.
If your car is equipped with side airbags
in the rear passenger area, be sure that
child restraints are mounted correctly
and provided with the greatest-possible
distance between the airbags in the
side trim panels. Do not allow children
to lean out of the child's seat in the di-
rection of the side trim panels. If they
do so, serious injuries can occur if the
airbag is triggered.<
Page 66 of 217
66n
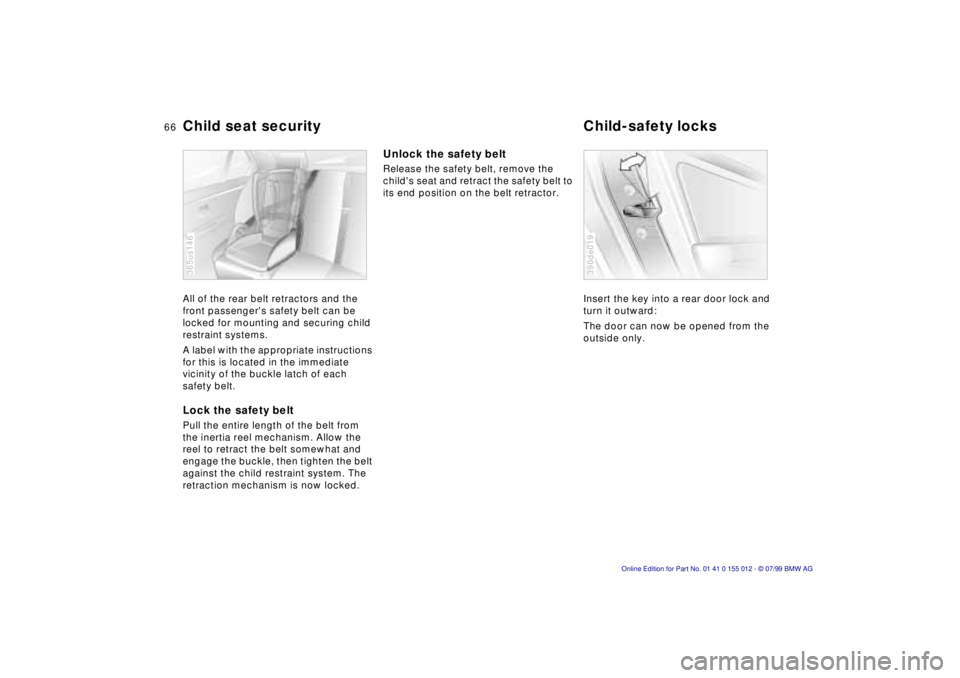
Child seat security Child-safety locks All of the rear belt retractors and the
front passenger's safety belt can be
locked for mounting and securing child
restraint systems.
A label with the appropriate instructions
for this is located in the immediate
vicinity of the buckle latch of each
safety belt.Lock the safety beltPull the entire length of the belt from
the inertia reel mechanism. Allow the
reel to retract the belt somewhat and
engage the buckle, then tighten the belt
against the child restraint system. The
retraction mechanism is now locked.365us146
Unlock the safety beltRelease the safety belt, remove the
child's seat and retract the safety belt to
its end position on the belt retractor.
Insert the key into a rear door lock and
turn it outward:
The door can now be opened from the
outside only.
390de019
Page 67 of 217
67n
RepairsIndexOverview Controls Car care Technology Data
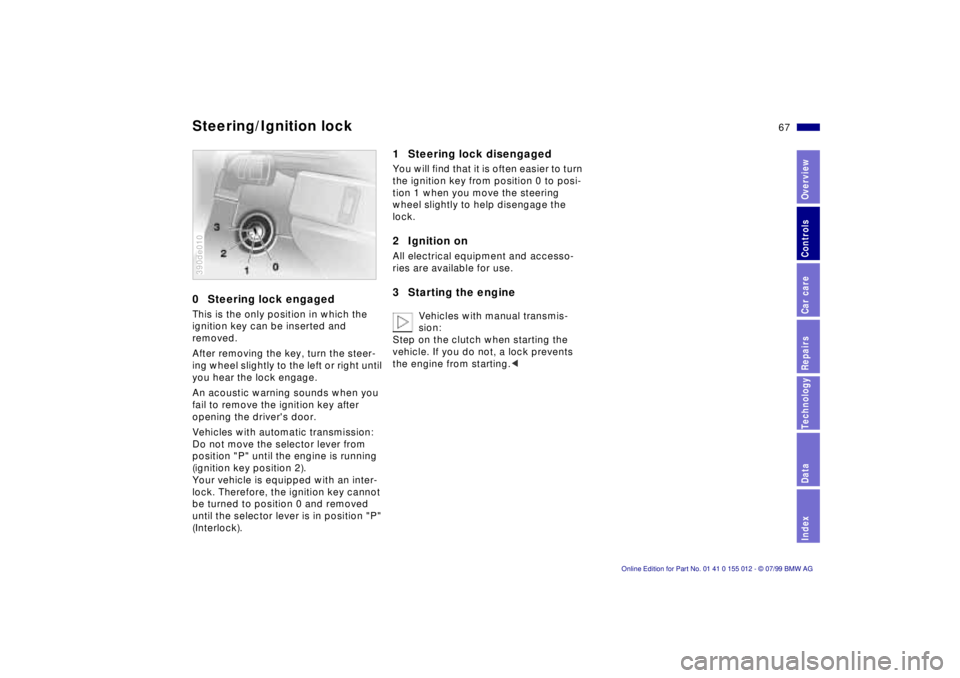
0 Steering lock engagedThis is the only position in which the
ignition key can be inserted and
removed.
After removing the key, turn the steer-
ing wheel slightly to the left or right until
you hear the lock engage.
An acoustic warning sounds when you
fail to remove the ignition key after
opening the driver's door.
Vehicles with automatic transmission:
Do not move the selector lever from
position "P" until the engine is running
(ignition key position 2).
Your vehicle is equipped with an inter-
lock. Therefore, the ignition key cannot
be turned to position 0 and removed
until the selector lever is in position "P"
(Interlock).390de010
1 Steering lock disengagedYou will find that it is often easier to turn
the ignition key from position 0 to posi-
tion 1 when you move the steering
wheel slightly to help disengage the
lock.2 Ignition onAll electrical equipment and accesso-
ries are available for use.3 Starting the engine
Vehicles with manual transmis-
sion:
Step on the clutch when starting the
vehicle. If you do not, a lock prevents
the engine from starting.<
Steering/Ignition lock