Page 77 of 199
77n
IndexDataTechnologyRepairsCar careControlsOverview
Turn signal indicator/Headlamp flasher Washer/Wiper system 1 High beam
(blue indicator lamp)
2 Headlamp flasher
(blue indicator lamp)
3 Turn signal indicator (green indicator
lamp accompanied by periodic click-
ing sound from the relay).
If the indicator lamp and the clicking
from the relay are both faster than nor-
mal, one of the turn signal indicators
has failed.46cde094
To signal brieflyPress the lever up to but not beyond
the detent. It then returns to the center
position when released.
0 Wipers retracted
1 Intermittent wipe or rain sensor
*
2 Normal wipe
3 Fast wipe
4 Brief wipe
5 Automatic windshield washer
6 Rotary dial for control of the wipe
interval or the sensitivity of the rain
sensor
*
46cde095
Page 84 of 199

84n
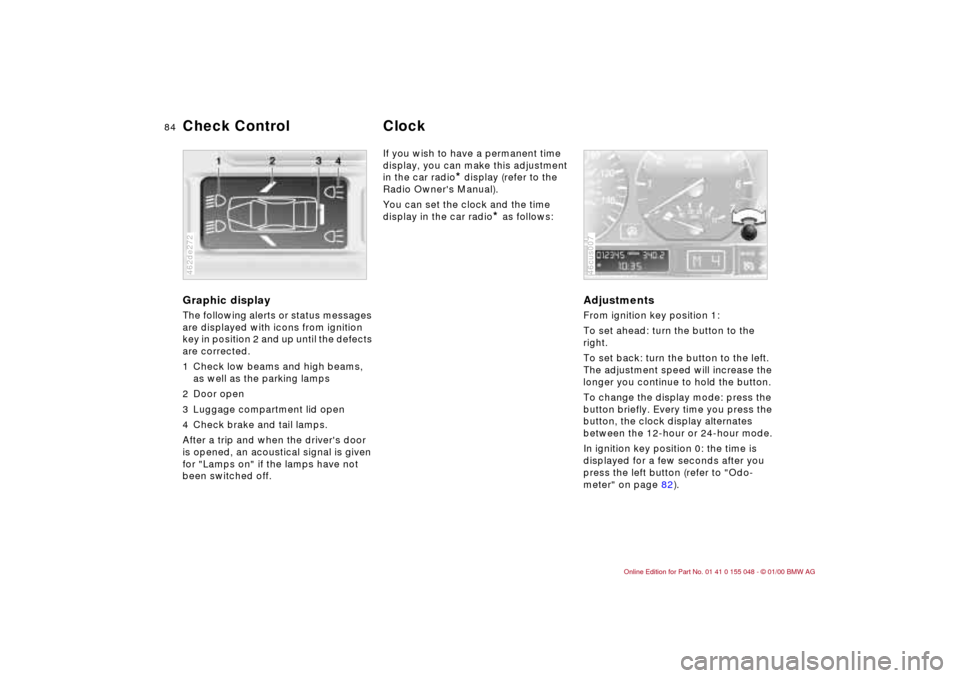
Graphic display
The following alerts or status messages
are displayed with icons from ignition
key in position 2 and up until the defects
are corrected.
1 Check low beams and high beams,
as well as the parking lamps
2 Door open
3 Luggage compartment lid open
4 Check brake and tail lamps.
After a trip and when the driver's door
is opened, an acoustical signal is given
for "Lamps on" if the lamps have not
been switched off.462de272
If you wish to have a permanent time
display, you can make this adjustment
in the car radio
* display (refer to the
Radio Owner's Manual).
You can set the clock and the time
display in the car radio
* as follows:
Adjustments From ignition key position 1:
To set ahead: turn the button to the
right.
To set back: turn the button to the left.
The adjustment speed will increase the
longer you continue to hold the button.
To change the display mode: press the
button briefly. Every time you press the
button, the clock display alternates
between the 12-hour or 24-hour mode.
In ignition key position 0: the time is
displayed for a few seconds after you
press the left button (refer to "Odo-
meter" on page 82).46cus007
Check Control
Clock
Page 85 of 199

85n
IndexDataTechnologyRepairsCar careControlsOverview
Onboard computer
*
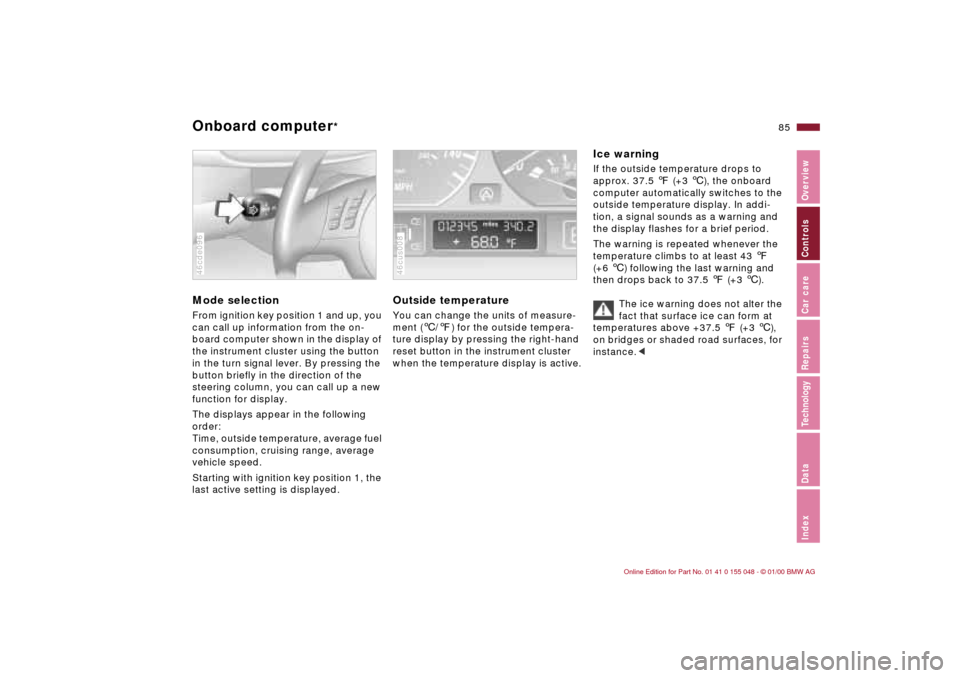
Mode selectionFrom ignition key position 1 and up, you
can call up information from the on-
board computer shown in the display of
the instrument cluster using the button
in the turn signal lever. By pressing the
button briefly in the direction of the
steering column, you can call up a new
function for display.
The displays appear in the following
order:
Time, outside temperature, average fuel
consumption, cruising range, average
vehicle speed.
Starting with ignition key position 1, the
last active setting is displayed.46cde096
Outside temperature You can change the units of measure-
ment (6/7) for the outside tempera-
ture display by pressing the right-hand
reset button in the instrument cluster
when the temperature display is active. 46cus008
Ice warning If the outside temperature drops to
approx. 37.5 7 (+3 6), the onboard
computer automatically switches to the
outside temperature display. In addi-
tion, a signal sounds as a warning and
the display flashes for a brief period.
The warning is repeated whenever the
temperature climbs to at least 43 7
(+6 6) following the last warning and
then drops back to 37.5 7 (+3 6).
The ice warning does not alter the
fact that surface ice can form at
temperatures above +37.5 7 (+3 6),
on bridges or shaded road surfaces, for
instance.<
Page 86 of 199
86n
Onboard computer
*
Average fuel consumption If you continue to press down on the
button on the turn signal indicator lever,
the average fuel consumption display
will reset itself and will begin calculat-
ing average fuel consumption from that
point onward.46cus009
Range The computer bases its calculations
for the cruising range on the rate of fuel
consumption in the period immediately
preceding your data request.46cus010
Average speed If you continue to press down on the
button on the turn signal indicator lever,
the average speed display will reset
itself and will begin calculating average
speed from that point onward.
Any time spent when the vehicle is
stationary and the engine is shut off is
ignored for the calculation.46cus011
Page 91 of 199

91n
IndexDataTechnologyRepairsCar careControlsOverview
Parking lamps
With the switch in this position,
the front, rear and side vehicle
lighting comes on. For lighting
on one side for parking, refer to page 92.
Low beams
When the ignition is switched off
and the low beams are on, only
the parking lamps will remain on.
"Follow-Me-Home" lamps:
If you actuate the headlamp
flasher after you have parked the vehi-
cle and shut off the engine, the low
beams will remain on for a brief period.
You may also have this function deacti-
vated if you wish.<
460us035
"LAMPS ON" warningWhen you open the driver's door after
turning the ignition key to position 0, an
acoustic signal will go off for a few sec-
onds to remind you that the headlamps
have not been switched off
.
Daytime running lamps
*
If you desire, the lamp switch can be
left in the second position. When the
ignition is switched off, the external
lighting is also switched off.
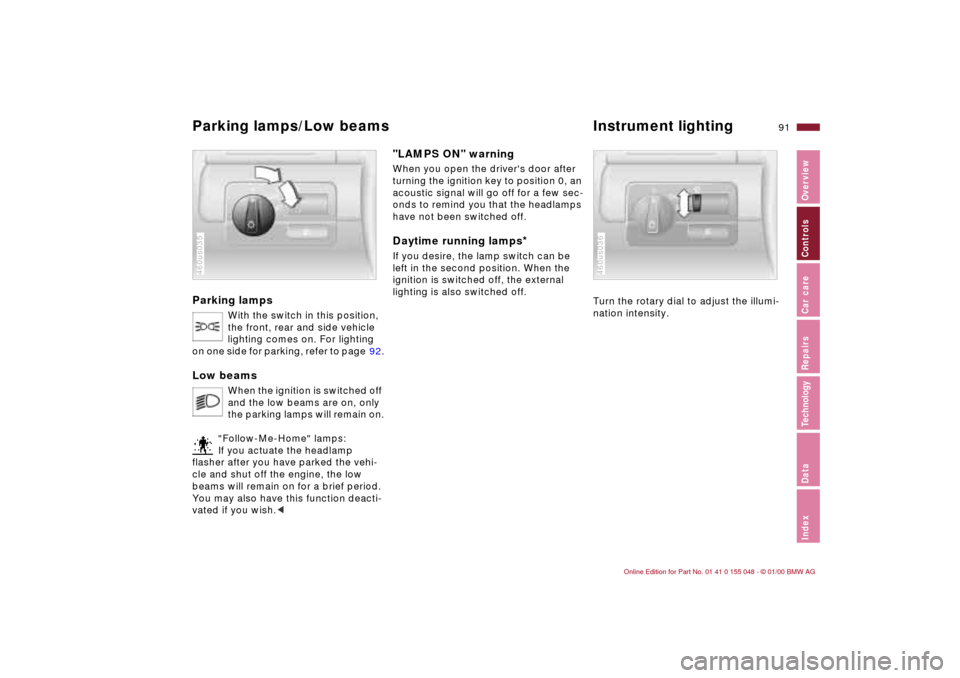
Turn the rotary dial to adjust the illumi-
nation intensity.
460us036
Parking lamps/Low beams Instrument lighting
Page 92 of 199
92n
High beams/Parking lamps
Fog lamps Interior lamps
1 High beam
(blue indicator lamp)
2 Headlamp flasher
(blue indicator lamp)
3 Parking lampsParking lamp, left or rightWith the ignition key in position 0,
engage the lever in the appropriate
turnsignal position.46cde094
Front fog lamps
A green indicator lamp appears
in the instrument cluster to indi-
cate that the front fog lamps
are on.
460us038
The interior lamps are controlled
automatically.To switch the interior lamps on
and off manuallyPress the button briefly.
If you want the interior lamps to remain
off all the time, press and hold the
button for approximately 3 seconds.
To revert to normal operation, press the
button briefly.Footwell lampsThe footwell lamps operate in the same
way as the interior lamps.46cde026
Page 101 of 199

101n
IndexDataTechnologyRepairsCar careControlsOverview
BMW Universal Transmitter
*
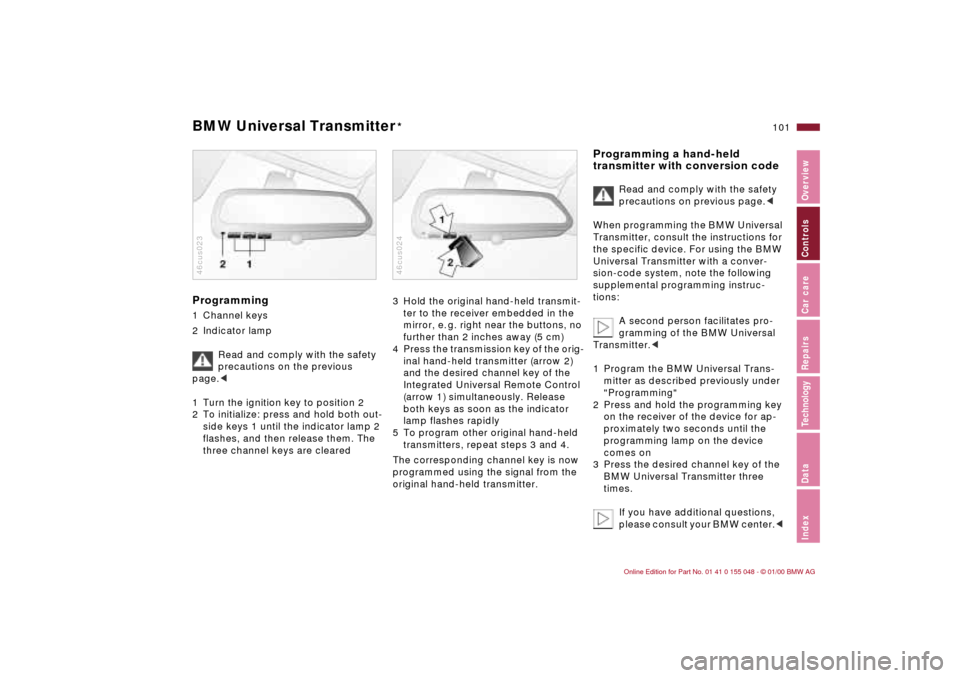
Programming 1 Channel keys
2 Indicator lamp
Read and comply with the safety
precautions on the previous
page.<
1 Turn the ignition key to position 2
2 To initialize: press and hold both out-
side keys 1 until the indicator lamp 2
flashes, and then release them. The
three channel keys are cleared46cus023
3 Hold the original hand-held transmit-
ter to the receiver embedded in the
mirror, e. g. right near the buttons, no
further than 2 inches away (5 cm)
4 Press the transmission key of the orig-
inal hand-held transmitter (arrow 2)
and the desired channel key of the
Integrated Universal Remote Control
(arrow 1) simultaneously. Release
both keys as soon as the indicator
lamp flashes rapidly
5 To program other original hand-held
transmitters, repeat steps 3 and 4.
The corresponding channel key is now
programmed using the signal from the
original hand-held transmitter. 46cus024
Programming a hand-held
transmitter with conversion code
Read and comply with the safety
precautions on previous page.<
When programming the BMW Universal
Transmitter, consult the instructions for
the specific device. For using the BMW
Universal Transmitter with a conver-
sion-code system, note the following
supplemental programming instruc-
tions:
A second person facilitates pro-
gramming of the BMW Universal
Transmitter.<
1 Program the BMW Universal Trans-
mitter as described previously under
"Programming"
2 Press and hold the programming key
on the receiver of the device for ap-
proximately two seconds until the
programming lamp on the device
comes on
3 Press the desired channel key of the
BMW Universal Transmitter three
times.
If you have additional questions,
please consult your BMW center.<
Page 154 of 199
154n
Lamps and bulbsThe illustration shows the left-hand side
of the engine compartment.Parking lamps5 watt bulb
1 Turn the bulb holder to the left (arrow)
and remove it
2 Remove and replace the bulb.460de171
Front turn signal indicator 21 watt bulb
1 Using a screwdriver, release the inner
hook by going through the upper
opening
2 Remove the lamp by pulling it toward
the front
3 Applying light pressure, turn the bulb
to the left. Remove and exchange the
bulb462de261
4 Insert the 2 pins on the lamp into the
guides on the vehicle
5 Push the lamp in. Carefully apply
pressure until you hear it engage.462de262