2000 BMW 323i SEDAN display
[x] Cancel search: displayPage 74 of 189

74n
Fuel gauge Temperature gauge Service Interval Display When you switch on the ignition, the in-
dicator lamp comes on briefly to con-
firm that the system is stationary.
Once the indicator lamp begins to light
up continuously, there are still approx.
2.1 gallons (8 liters) of fuel in the fuel
tank.
Tank capacity: page 175.
If the tilt of the vehicle varies (extended
driving in mountainous areas, for exam-
ple), there may be slight fluctuations of
the needle.
Fill the fuel tank well before it is
empty. Driving to the last drop of
fuel can result in damage to the engine
and/or the catalytic converter.<460us081
BlueThe engine is still cold. Drive at moder-
ate engine and vehicle speeds.RedWhen you switch on the ignition, the
indicator lamp comes on briefly to con-
firm that the system is operational.
If the lamp comes on while operating
the vehicle: The engine is overheated.
Stop and switch the engine off immedi-
ately and allow it to cool down.Between the blue and red zonesNormal operating range. It is not un-
usual for the needle to rise as far as the
edge of the red zone in response to
high outside temperatures or severe
operating conditions.
Checking coolant level: page 128.460de082
Remaining distance for serviceThe displays shown in the illustration
appear for a few seconds when the
ignition key is in positions 1 and 2 or
after the engine is started.
The next service due appears with the
message OILSERVICE or INSPECTION,
together with the remaining distance
before scheduled service.
The computer bases its calculations of
the remaining distance on the rate of
fuel consumption in the period immedi-
ately preceding your data request.
A flashing message and a "Ð" in front of
the number mean that the service inter-
val has already been exceeded by the
distance shown on the display. Please
contact your BMW center for an
appointment.460de112
Page 75 of 189
75n
IndexDataTechnologyRepairsCar careControlsOverview
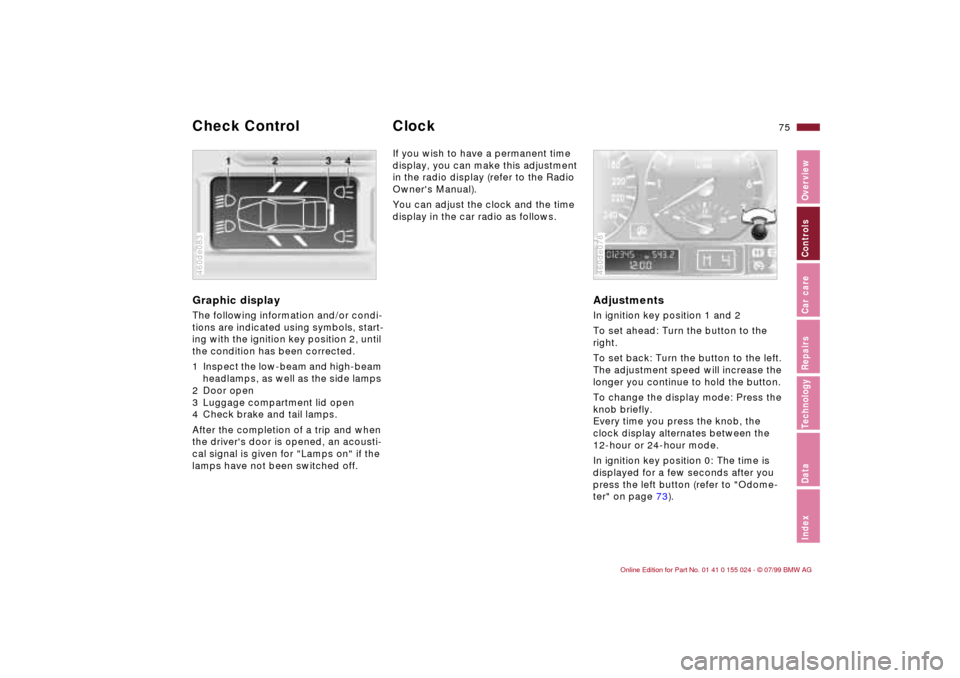
Graphic display The following information and/or condi-
tions are indicated using symbols, start-
ing with the ignition key position 2, until
the condition has been corrected.
1 Inspect the low-beam and high-beam
headlamps, as well as the side lamps
2 Door open
3 Luggage compartment lid open
4 Check brake and tail lamps.
After the completion of a trip and when
the driver's door is opened, an acousti-
cal signal is given for "Lamps on" if the
lamps have not been switched off.460de083
If you wish to have a permanent time
display, you can make this adjustment
in the radio display (refer to the Radio
Owner's Manual).
You can adjust the clock and the time
display in the car radio as follows.
AdjustmentsIn ignition key position 1 and 2
To set ahead: Turn the button to the
right.
To set back: Turn the button to the left.
The adjustment speed will increase the
longer you continue to hold the button.
To change the display mode: Press the
knob briefly.
Every time you press the knob, the
clock display alternates between the
12-hour or 24-hour mode.
In ignition key position 0: The time is
displayed for a few seconds after you
press the left button (refer to "Odome-
ter" on page 73).460de078
Check Control Clock
Page 76 of 189
76n
Onboard computer
*
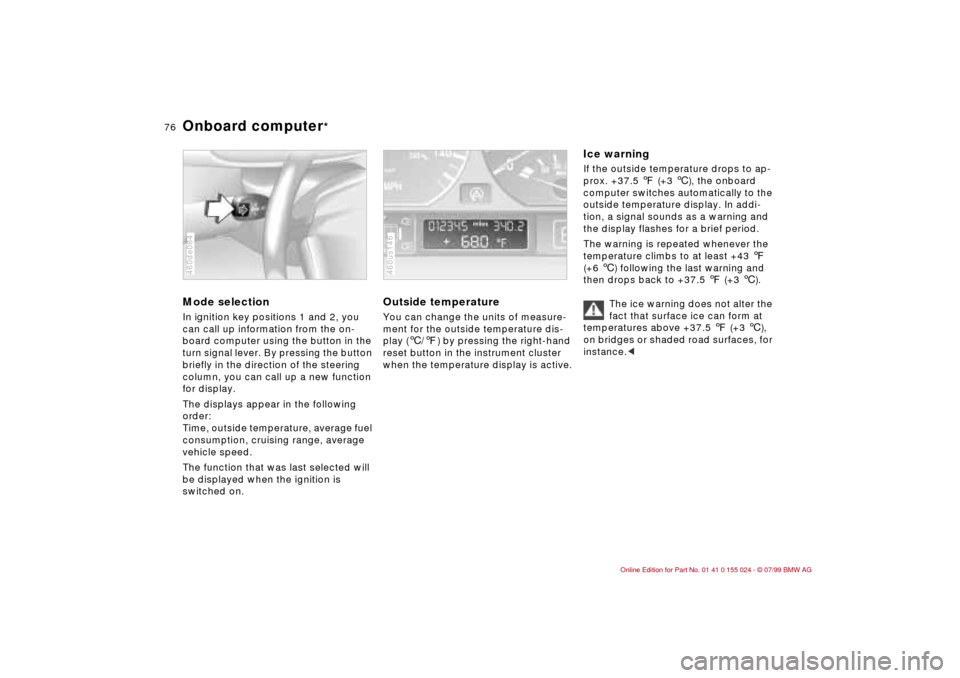
Mode selectionIn ignition key positions 1 and 2, you
can call up information from the on-
board computer using the button in the
turn signal lever. By pressing the button
briefly in the direction of the steering
column, you can call up a new function
for display.
The displays appear in the following
order:
Time, outside temperature, average fuel
consumption, cruising range, average
vehicle speed.
The function that was last selected will
be displayed when the ignition is
switched on.460de084
Outside temperature You can change the units of measure-
ment for the outside temperature dis-
play (6/7) by pressing the right-hand
reset button in the instrument cluster
when the temperature display is active.460us146
Ice warning If the outside temperature drops to ap-
prox. +37.5 7 (+3 6), the onboard
computer switches automatically to the
outside temperature display. In addi-
tion, a signal sounds as a warning and
the display flashes for a brief period.
The warning is repeated whenever the
temperature climbs to at least +43 7
(+6 6) following the last warning and
then drops back to +37.5 7 (+3 6).
The ice warning does not alter the
fact that surface ice can form at
temperatures above +37.5 7 (+3 6),
on bridges or shaded road surfaces, for
instance.<
Page 77 of 189
77n
IndexDataTechnologyRepairsCar careControlsOverview
Onboard computer
*
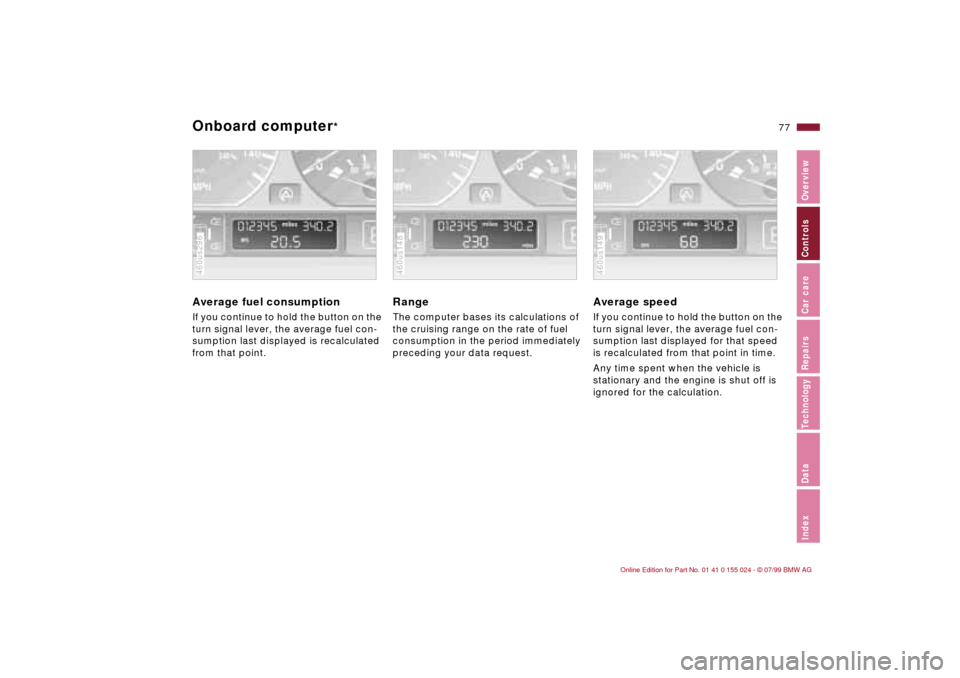
Average fuel consumption If you continue to hold the button on the
turn signal lever, the average fuel con-
sumption last displayed is recalculated
from that point.460us296
Range The computer bases its calculations of
the cruising range on the rate of fuel
consumption in the period immediately
preceding your data request.460us148
Average speed If you continue to hold the button on the
turn signal lever, the average fuel con-
sumption last displayed for that speed
is recalculated from that point in time.
Any time spent when the vehicle is
stationary and the engine is shut off is
ignored for the calculation.460us149
Page 87 of 189
87n
IndexDataTechnologyRepairsCar careControlsOverview
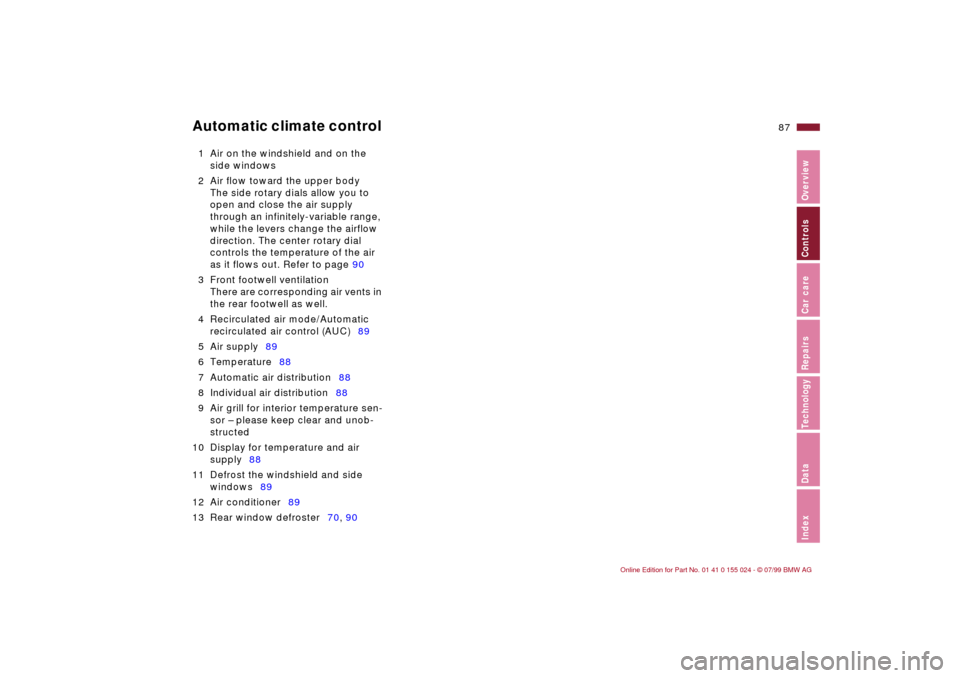
Automatic climate control 1 Air on the windshield and on the
side windows
2 Air flow toward the upper body
The side rotary dials allow you to
open and close the air supply
through an infinitely-variable range,
while the levers change the airflow
direction. The center rotary dial
controls the temperature of the air
as it flows out. Refer to page 90
3 Front footwell ventilation
There are corresponding air vents in
the rear footwell as well.
4 Recirculated air mode/Automatic
recirculated air control (AUC)89
5 Air supply89
6 Temperature88
7 Automatic air distribution88
8 Individual air distribution88
9 Air grill for interior temperature sen-
sor Ð please keep clear and unob-
structed
10 Display for temperature and air
supply88
11 Defrost the windshield and side
windows89
12 Air conditioner89
13 Rear window defroster70, 90
Page 88 of 189
88n
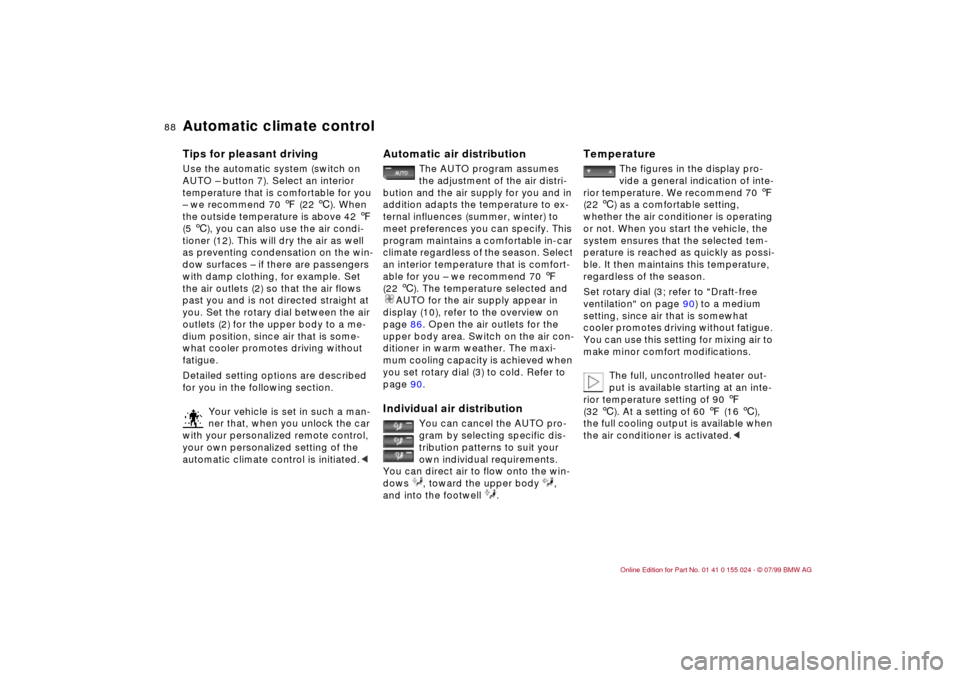
Automatic climate controlTips for pleasant drivingUse the automatic system (switch on
AUTO Ð button 7). Select an interior
temperature that is comfortable for you
Ð we recommend 70 7 (22 6). When
the outside temperature is above 42 7
(5 6), you can also use the air condi-
tioner (12). This will dry the air as well
as preventing condensation on the win-
dow surfaces Ð if there are passengers
with damp clothing, for example. Set
the air outlets (2) so that the air flows
past you and is not directed straight at
you. Set the rotary dial between the air
outlets (2) for the upper body to a me-
dium position, since air that is some-
what cooler promotes driving without
fatigue.
Detailed setting options are described
for you in the following section.
Your vehicle is set in such a man-
ner that, when you unlock the car
with your personalized remote control,
your own personalized setting of the
automatic climate control is initiated.<
Automatic air distribution
The AUTO program assumes
the adjustment of the air distri-
bution and the air supply for you and in
addition adapts the temperature to ex-
ternal influences (summer, winter) to
meet preferences you can specify. This
program maintains a comfortable in-car
climate regardless of the season. Select
an interior temperature that is comfort-
able for you Ð we recommend 70 7
(22 6). The temperature selected and
AUTO for the air supply appear in
display (10), refer to the overview on
page 86. Open the air outlets for the
upper body area. Switch on the air con-
ditioner in warm weather. The maxi-
mum cooling capacity is achieved when
you set rotary dial (3) to cold. Refer to
page 90.
Individual air distribution
You can cancel the AUTO pro-
gram by selecting specific dis-
tribution patterns to suit your
own individual requirements.
You can direct air to flow onto the win-
dows , toward the upper body ,
and into the footwell .
Temperature
The figures in the display pro-
vide a general indication of inte-
rior temperature. We recommend 70 7
(22 6) as a comfortable setting,
whether the air conditioner is operating
or not. When you start the vehicle, the
system ensures that the selected tem-
perature is reached as quickly as possi-
ble. It then maintains this temperature,
regardless of the season.
Set rotary dial (3; refer to "Draft-free
ventilation" on page 90) to a medium
setting, since air that is somewhat
cooler promotes driving without fatigue.
You can use this setting for mixing air to
make minor comfort modifications.
The full, uncontrolled heater out-
put is available starting at an inte-
rior temperature setting of 90 7
(32 6). At a setting of 60 7 (16 6),
the full cooling output is available when
the air conditioner is activated.<
Page 89 of 189

89n
IndexDataTechnologyRepairsCar careControlsOverview
Automatic climate control Air supply
By pressing the left or right half
of the button, you can vary the
air supply. By doing this, you switch off
the automatic control of the air supply.
Nevertheless, the automatic air distri-
bution remains unchanged.
When you set the lowest blower speed
by pressing the left half of the button,
all of the displays are canceled: The
blower, heating and air conditioner are
switched off, and the air supply is
stopped. You can reactivate the system
by pressing any button of the automatic
climate control.
To defrost the windshield and
side windows
This program quickly removes
ice and condensation from the
windshield and side windows.
Air conditioner
The air is cooled and dehumidi-
fied and Ð depending on the
temperature setting Ð rewarmed when
the air conditioner system is switched
on.
Depending on the weather, the wind-
shield may fog over briefly when the
engine is started.
Switch off the air conditioner at outside
temperatures below approx. 42 7
(5 6). This will help to prevent the win-
dows from fogging up.
If the windows fog over after switching
the air conditioner off, switch it back
on.
Condensation forms in the air
conditioner system during opera-
tion, which then exits under the vehicle.
Traces of condensed water of this kind
are thus normal.<
Automatic recirculated air control
(AUC)
You can respond to unpleasant
external odors by temporarily
blocking the outside air. The system
then recirculates the air already within
the vehicle. By repeated actuation of
the button, you can select one of three
different operation modes.
>Indicator lamps off: Fresh air flows
into the vehicle
>Left-hand indicator lamp on Ð AUC
mode: The system detects pollutants
in the outside air and responds by
deactivating the outside air flow as
required. The system then recircu-
lates the air already within the
vehicle.
Depending on air quality require-
ments, the system automatically
switches between outside air supply
and recirculation of the air already
within the vehicle.
>Right-hand indicator lamp on: The
flow of outside air is permanently
blocked. The system recirculates the
air already within the vehicle.
If the windows fog over in the
recirculated air mode, switch this
mode off and increase the air supply as
required.<
Page 117 of 189

117n
IndexDataTechnologyRepairsCar careControlsOverview
Winter tiresChoosing the right tireBMW recommends winter tires (M+S
radial tires) for driving in adverse winter
road conditions. Although all-season
M+S tires provide better winter traction
than standard summer tires with H, V,
W, Y and ZR speed ratings, they gener-
ally fail to provide the same levels of
performance as standard snow tires in
winter driving.
In the interest of safe tracking and
steering response, install winter tires
made by the same manufacturer having
the same tread configuration on all four
wheels.
Mount only winter tires approved by
BMW. Any BMW center will be glad to
provide you with information on the
best winter tires for your particular driv-
ing conditions.Never exceed the maximum speed
for which the tires are rated.
Unprofessional attempts by laymen to
service tires can lead to damage and
accidents.
Have this work performed by skilled
professionals only. Any BMW center
has the required technical knowledge
and the proper equipment and will be
happy to assist you.<
Tire condition, tire pressureWinter tires display a perceptible loss in
their ability to cope with winter driving
conditions once the tread wears to
below 0.16 inches (4 mm), and should
thus be replaced.
Comply with the specified tire inflation
pressures Ð and be sure to have the
wheel and tire assemblies balanced
every time you change the tires.
StorageAlways store tires in a cool, dry place.
Store them away from light whenever
possible. Protect the tires against con-
tact with oil, grease and fuel.Snow chains
*
The use of narrow-link BMW snow
chains on summer or winter tires is
approved only in pairs and only on the
rear wheels. Comply with all manufac-
turer's safety precautions when mount-
ing the chains.