2000 BMW 323i SEDAN battery
[x] Cancel search: batteryPage 141 of 189
Overview
Controls and features
Operation, care
and maintenance
Owner service procedures
Technical data
Index Advanced technology
141n
IndexDataTechnologyRepairsCar careControlsOverview
Replacement procedures:
Onboard tool kit142
Windshield wiper blades142
Lamps and bulbs142
Changing a wheel149
Battery152
Fuses154
Microfilter155
In case of electrical
malfunction:
Fuel filler door156
Sliding/Tilt sunroof156
Assistance, giving and
receiving:
Jump-starting157
Towing the vehicle158
Repairs
Page 142 of 189
142n
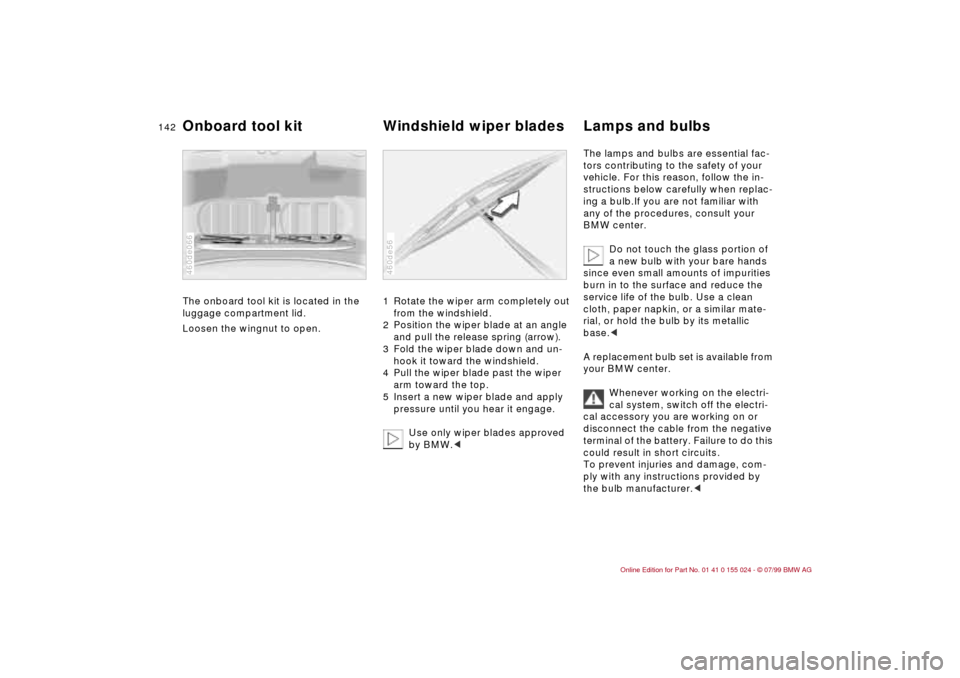
The onboard tool kit is located in the
luggage compartment lid.
Loosen the wingnut to open.
460de066
1 Rotate the wiper arm completely out
from the windshield.
2 Position the wiper blade at an angle
and pull the release spring (arrow).
3 Fold the wiper blade down and un-
hook it toward the windshield.
4 Pull the wiper blade past the wiper
arm toward the top.
5 Insert a new wiper blade and apply
pressure until you hear it engage.
Use only wiper blades approved
by BMW.<460de56
The lamps and bulbs are essential fac-
tors contributing to the safety of your
vehicle. For this reason, follow the in-
structions below carefully when replac-
ing a bulb.If you are not familiar with
any of the procedures, consult your
BMW center.
Do not touch the glass portion of
a new bulb with your bare hands
since even small amounts of impurities
burn in to the surface and reduce the
service life of the bulb. Use a clean
cloth, paper napkin, or a similar mate-
rial, or hold the bulb by its metallic
base.<
A replacement bulb set is available from
your BMW center.
Whenever working on the electri-
cal system, switch off the electri-
cal accessory you are working on or
disconnect the cable from the negative
terminal of the battery. Failure to do this
could result in short circuits.
To prevent injuries and damage, com-
ply with any instructions provided by
the bulb manufacturer.<
Onboard tool kit Windshield wiper blades Lamps and bulbs
Page 152 of 189
152n
Changing a wheel Battery Driving with the space-saver
spare tire
*
Drive cautiously and do not exceed a
speed of 45 mph (80 km/h).
Be aware that vehicle handling will be
altered. Slower brake response time,
longer braking distances and changed
steering characteristics may be antici-
pated when approaching limit condi-
tions.
The changes in handling characteristics
will be even more pronounced in con-
junction with winter tires.
Only one space-saver spare tire
may be mounted at one time.
Mount a wheel and tire with the same
size and specifications as the others at
the earliest possible opportunity. Main-
tain correct tire pressures. Refer to
page 28.<
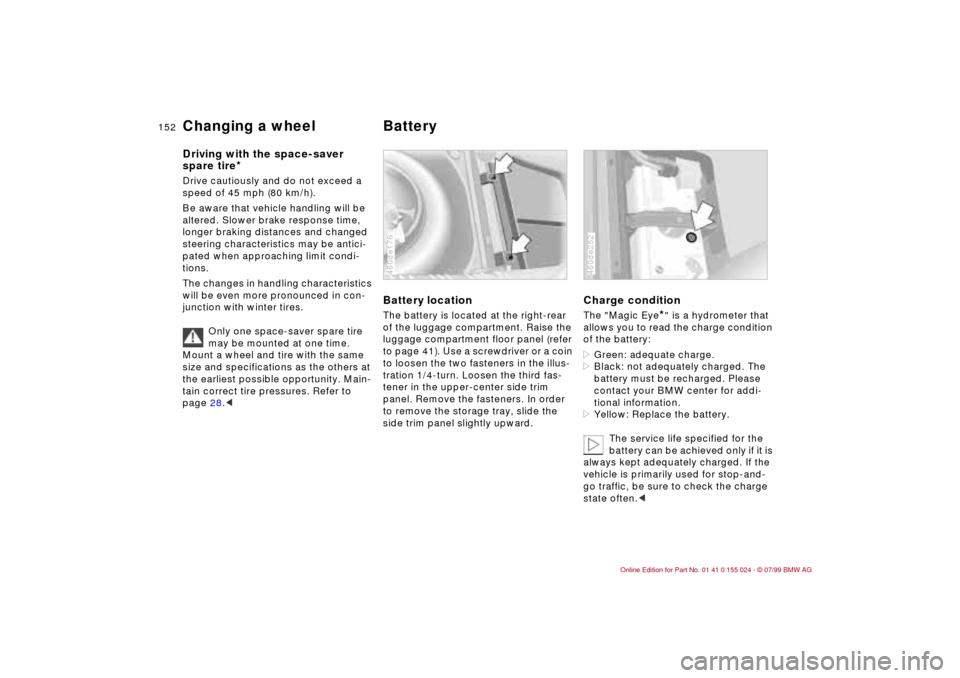
Battery locationThe battery is located at the right-rear
of the luggage compartment. Raise the
luggage compartment floor panel (refer
to page 41). Use a screwdriver or a coin
to loosen the two fasteners in the illus-
tration 1/4-turn. Loosen the third fas-
tener in the upper-center side trim
panel. Remove the fasteners. In order
to remove the storage tray, slide the
side trim panel slightly upward.460de176
Charge conditionThe "Magic Eye
*" is a hydrometer that
allows you to read the charge condition
of the battery:
>Green: adequate charge.
>Black: not adequately charged. The
battery must be recharged. Please
contact your BMW center for addi-
tional information.
>Yellow: Replace the battery.
The service life specified for the
battery can be achieved only if it is
always kept adequately charged. If the
vehicle is primarily used for stop-and-
go traffic, be sure to check the charge
state often.<
460de252
Page 153 of 189

153n
IndexDataTechnologyRepairsCar careControlsOverview
BatteryBattery careThe battery is absolutely maintenance-
free, that is, the original electrolyte will
normally last for the service life of the
battery under moderate climatic condi-
tions.
For all questions that regard the
battery, please consult your BMW
center. Since the battery is mainte-
nance-free, the following is for your
information only.
comply with the corresponding precau-
tions whenever you work with or near
the battery.
Before handling the battery,
please read the following infor-
mation.
Wear eye protection. Do not
allow particles containing bat-
tery acid or lead to come into
contact with your eyes, your skin, or
your clothing.
Battery acid is extremely corro-
sive. Wear eye protection and
protective gloves. Do not tip the
battery. Battery acid can leak from the
ventilation openings.
Do not allow children access to
batteries and battery acid.
Never allow sparks or open
flame in the vicinity of the bat-
tery. Avoid sparks from electri-
cal cables or electrical equipment. Turn
the key to position 0 in the steering lock
when disconnecting or connecting the
battery. Do not short-circuit the battery
terminals. This creates a risk of injury
from high-energy sparks.
A highly-explosive gas is gener-
ated when the battery is charged.
If battery acid is splashed into
your eyes, rinse them thor-
oughly with clear water for at
least 15 minutes. Consult a physician
immediately. If your skin or clothing are
splashed by acid, rinse immediately
with ample clear water. If electrolyte is
accidentally swallowed, consult a phy-
sician immediately.
In order to protect the battery
case from ultraviolet radiation,
do not place it in direct sunlight.
A discharged battery can freeze. Store
the battery in areas where temperature
remains above freezing.
Removal and installation
Do not disconnect the battery
when the engine is running. If you
do so, the ensuing voltage surge will
damage the vehicle's onboard electron-
ics.
Do not make any modifications in the
wires to the positive terminal. If you do
so, the protective function of the safety
battery terminal is no longer ensured.
Repair and disposal must be performed
by trained technicians only.<
When removing the battery, disconnect
the cable on the negative terminal first,
then the cable on the positive terminal.
Loosen the center adjusting screw on
the battery retaining strap (use the
screwdriver included with the onboard
tool kit) and disconnect the strap.
When installing a battery, connect the
positive terminal first, then connect the
negative terminal.
When installing a battery, be sure
that it is mounted properly and
that the retaining bracket is installed
with the center adjustment screw. If this
is not done, the battery will not be ade-
quately secured in case of an acci-
dent.<
Page 154 of 189
154n
Battery FusesCharging the battery Charge the battery in the vehicle only
when the engine is not running.
Before doing any work on the elec-
trical system, be sure to unclamp
the cable from the battery's negative
terminal. Failure to do so can result in
short-circuits, a fire or personal injury.<
If the vehicle is to be parked longer than
four weeks, disconnect the battery from
the vehicle's electrical system by dis-
connecting the negative terminal cable
and then recharge using a suitable
charging device.
If you intend to store your car for longer
than twelve weeks: Remove the battery,
charge it and store it in a cool (but frost-
and dust-free) room. Every three months
and before reinstalling the battery, have
it recharged. If it is not recharged, it will
not be serviceable. Every time the bat-
tery is discharged, especially over ex-
tended periods, its service life is re-
duced.
Return used batteries to a recy-
cling center or your BMW center.
Maintain the battery in an upright posi-
tion for transport and storage. Secure
the battery to prevent it from tilting dur-
ing transport.<
Storage periods during which the
battery is disconnected are not
taken into consideration by the Service
Interval Display for changing the brake
fluid.
For this reason, be sure that the brake
fluid is changed every two years, re-
gardless of the information displayed.
Read and comply with the information
on page 129 covering this subject.<
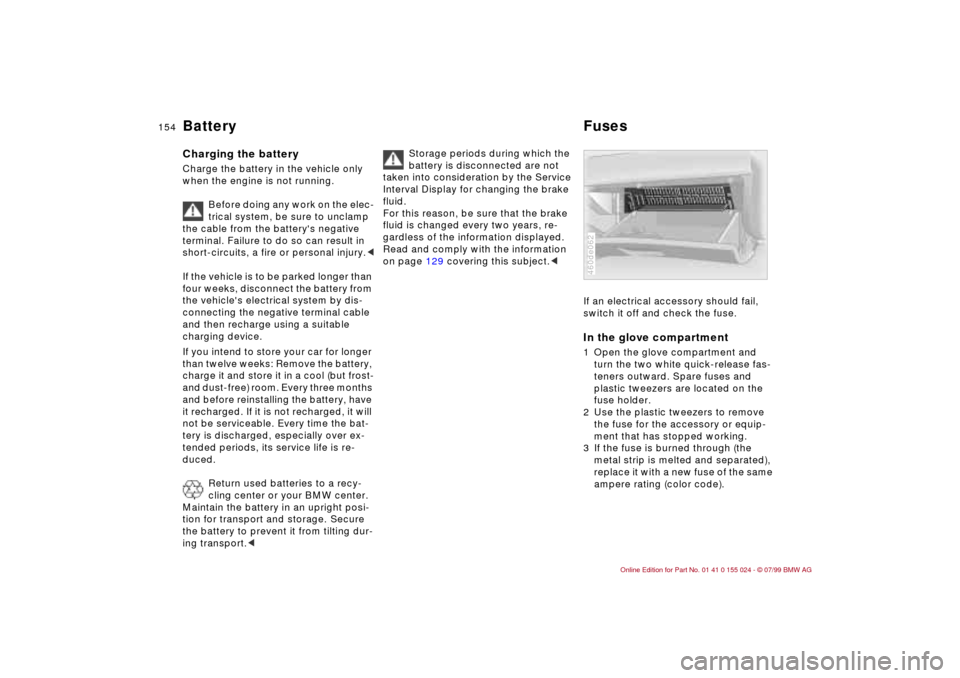
If an electrical accessory should fail,
switch it off and check the fuse. In the glove compartment1 Open the glove compartment and
turn the two white quick-release fas-
teners outward. Spare fuses and
plastic tweezers are located on the
fuse holder.
2 Use the plastic tweezers to remove
the fuse for the accessory or equip-
ment that has stopped working.
3 If the fuse is burned through (the
metal strip is melted and separated),
replace it with a new fuse of the same
ampere rating (color code).460de062
Page 157 of 189
157n
IndexDataTechnologyRepairsCar careControlsOverview
Do not use spray starter fluids.
If the battery is discharged, the engine
can be started with the use of two
jumper cables and the battery of an-
other vehicle. Use only jumper cables
with fully insulated grips on the terminal
clamps.
Do not touch the parts conducting
electrical current while the engine
is running. Failure to comply with this
creates a risk of fatal injury.<
Carefully comply with the following in-
structions to avoid personal injury or
damage to one or both vehicles:
1 Be sure that the battery on the sup-
port vehicle is also rated at 12 volts,
and that the capacities of the two
batteries (Ah) are roughly comparable
(printed on casing).
2 Leave the discharged battery con-
nected to the vehicle's electrical sys-
tem.
3 Make sure that there is no contact
between the bodywork of the two ve-
hicles Ð this creates a risk of short cir-
cuits.
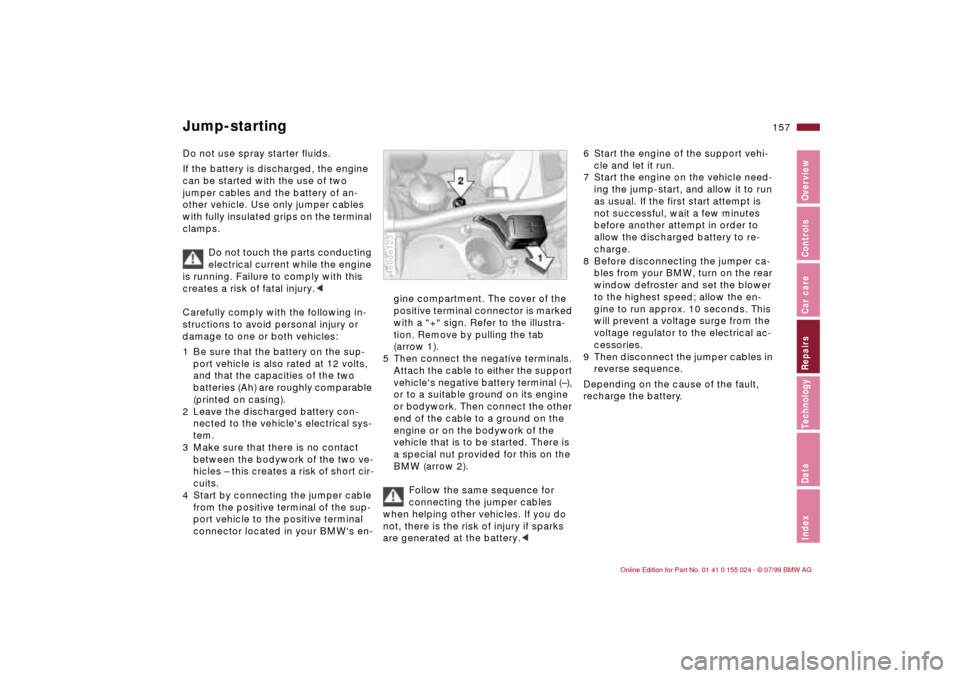
4 Start by connecting the jumper cable
from the positive terminal of the sup-
port vehicle to the positive terminal
connector located in your BMW's en-
gine compartment. The cover of the
positive terminal connector is marked
with a "+" sign. Refer to the illustra-
tion. Remove by pulling the tab
(arrow 1).
5 Then connect the negative terminals.
Attach the cable to either the support
vehicle's negative battery terminal (Ð),
or to a suitable ground on its engine
or bodywork. Then connect the other
end of the cable to a ground on the
engine or on the bodywork of the
vehicle that is to be started. There is
a special nut provided for this on the
BMW (arrow 2).
Follow the same sequence for
connecting the jumper cables
when helping other vehicles. If you do
not, there is the risk of injury if sparks
are generated at the battery.<460de123
6 Start the engine of the support vehi-
cle and let it run.
7 Start the engine on the vehicle need-
ing the jump-start, and allow it to run
as usual. If the first start attempt is
not successful, wait a few minutes
before another attempt in order to
allow the discharged battery to re-
charge.
8 Before disconnecting the jumper ca-
bles from your BMW, turn on the rear
window defroster and set the blower
to the highest speed; allow the en-
gine to run approx. 10 seconds. This
will prevent a voltage surge from the
voltage regulator to the electrical ac-
cessories.
9 Then disconnect the jumper cables in
reverse sequence.
Depending on the cause of the fault,
recharge the battery.
Jump-starting
Page 167 of 189
167n
IndexDataTechnologyRepairsCar careControlsOverview
Tire Pressure Control (RDC)
*
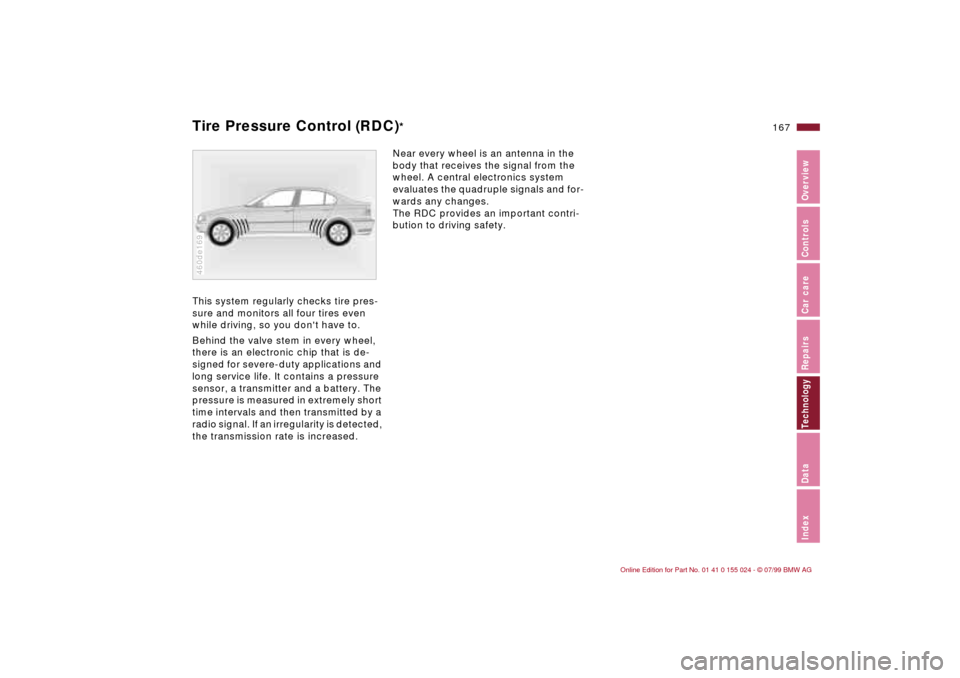
This system regularly checks tire pres-
sure and monitors all four tires even
while driving, so you don't have to.
Behind the valve stem in every wheel,
there is an electronic chip that is de-
signed for severe-duty applications and
long service life. It contains a pressure
sensor, a transmitter and a battery. The
pressure is measured in extremely short
time intervals and then transmitted by a
radio signal. If an irregularity is detected,
the transmission rate is increased. 460de169
Near every wheel is an antenna in the
body that receives the signal from the
wheel. A central electronics system
evaluates the quadruple signals and for-
wards any changes.
The RDC provides an important contri-
bution to driving safety.
Page 176 of 189
176n
Electrical system Ribbed V-beltBattery 12 V, 80 AhSpark plugs NGK BKR 6 EQUP
Bosch FGR 7 DQP (not released at this
time)Water pump Ð AC alternator Ð Power
steering
Ribbed V-belt 6 PK x 1538
A/C compressor
Ribbed V-belt 5 PK x 863You can obtain Original BMW
Parts and Accessories, as well as
professional advice from your BMW
center.<