2000 BMW 323Ci brake
[x] Cancel search: brakePage 147 of 189
145n
RepairsIndexOverview Controls Car care Technology Data
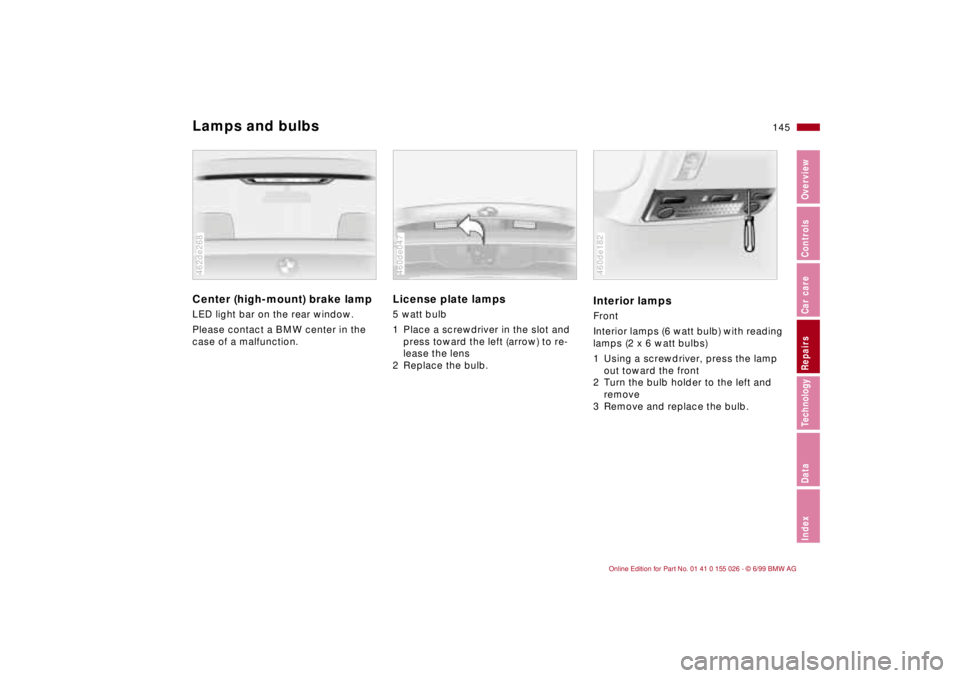
Lamps and bulbsCenter (high-mount) brake lamp
LED light bar on the rear window.
Please contact a BMW center in the
case of a malfunction.462de268
License plate lamps5 watt bulb
1 Place a screwdriver in the slot and
press toward the left (arrow) to re-
lease the lens
2 Replace the bulb.460de047
Interior lamps Front
Interior lamps (6 watt bulb) with reading
lamps (2 x 6 watt bulbs)
1 Using a screwdriver, press the lamp
out toward the front
2 Turn the bulb holder to the left and
remove
3 Remove and replace the bulb.460de182
Page 150 of 189
148n
Changing tires
Take these precautionary mea-
sures if you have either a flat tire
or are changing the tire:
Park the vehicle as far from the flow of
traffic as possible and on firm ground.
Switch on the hazard flashers. Turn the
steering wheel to the straight-ahead
position, remove the key and engage
the steering lock. Shift into 1st or re-
verse (selector lever in "Park" with auto-
matic) and engage the parking brake.
All passengers should be outside the
car and well away from your immediate
working area (behind the guardrail, for
instance).
If a warning triangle or portable hazard
warning lamp is available, set it up on
the roadside at an appropriate distance
from the rear of the vehicle. Comply
with all safety guidelines and regula-
tions.
Change the wheel only on a level, firm
surface that is not slippery. Avoid jack-
ing the car on a soft or slippery support
surface (snow, ice, loose gravel, etc.),
as it could slide sideways.
Ensure that the jack is positioned on a
solid support surface.
Do not place wooden blocks or similar
objects under the jack. If this done, the
jack might not be able to reach its full
support capacity because of the limited
height.
Do not lie under the vehicle or start the
engine when the vehicle is supported
by the jack – risk of fatal injury.<
Your BMW has either a spare
* or
space-saver tire
* for temporary use and
to ensure your mobility.
Take the luggage compartment
floor panel completely out to
remove the spare tire
* (refer to
page 41).<
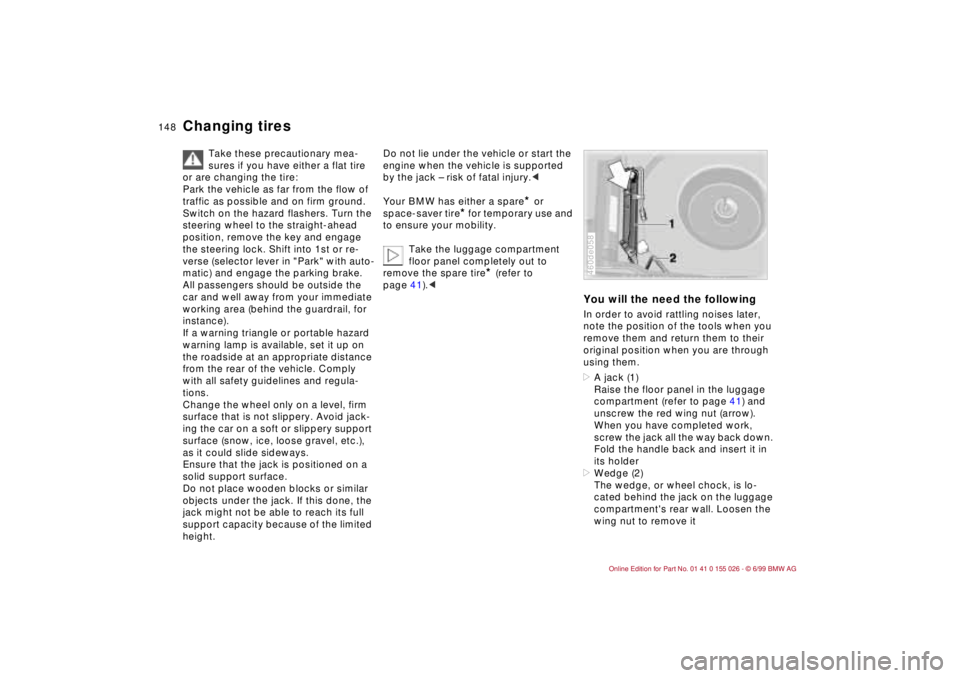
You will the need the followingIn order to avoid rattling noises later,
note the position of the tools when you
remove them and return them to their
original position when you are through
using them.
>A jack (1)
Raise the floor panel in the luggage
compartment (refer to page 41) and
unscrew the red wing nut (arrow).
When you have completed work,
screw the jack all the way back down.
Fold the handle back and insert it in
its holder
>Wedge (2)
The wedge, or wheel chock, is lo-
cated behind the jack on the luggage
compartment's rear wall. Loosen the
wing nut to remove it460de058
Page 153 of 189
151n
RepairsIndexOverview Controls Car care Technology Data
Changing tires Battery Driving with the space-saver
spare tire
*
Drive cautiously and do not exceed a
speed of 45 mph (80 km/h).
Be aware that vehicle handling will be
altered. Slower brake response time,
longer braking distances and changed
steering characteristics may be antici-
pated when approaching limit condi-
tions.
The changes in handling characteristics
will be even more pronounced in con-
junction with winter tires.
Only one space-saver spare tire
may be mounted. Mount a wheel
and tire with the same size and specifi-
cations as the others at the earliest
possible opportunity. Maintain correct
tire pressures. Refer to page 28.<
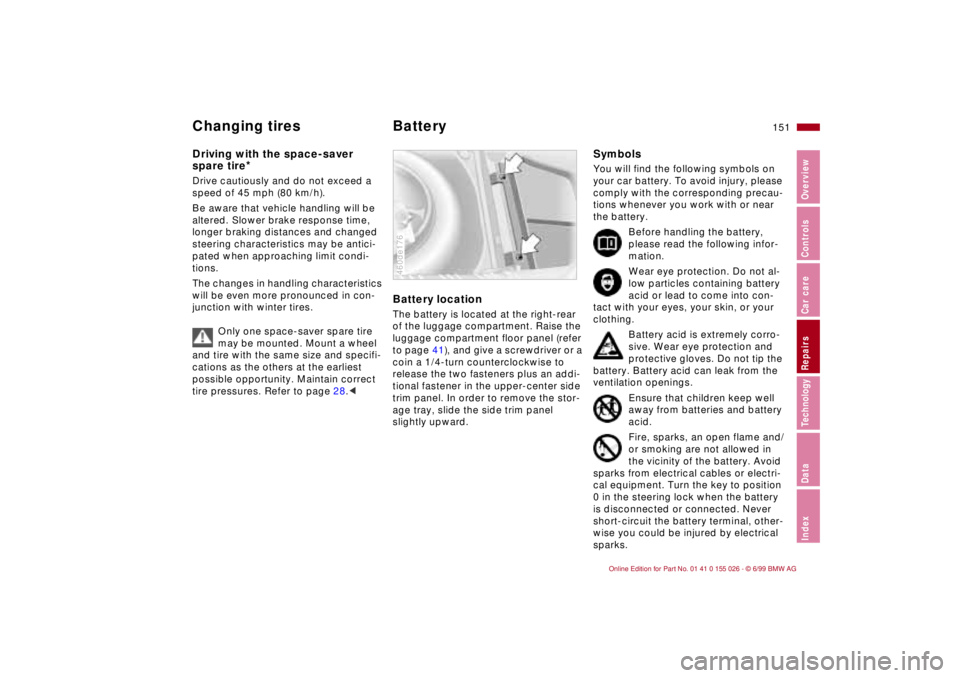
Battery location The battery is located at the right-rear
of the luggage compartment. Raise the
luggage compartment floor panel (refer
to page 41), and give a screwdriver or a
coin a 1/4-turn counterclockwise to
release the two fasteners plus an addi-
tional fastener in the upper-center side
trim panel. In order to remove the stor-
age tray, slide the side trim panel
slightly upward.460de176
SymbolsYou will find the following symbols on
your car battery. To avoid injury, please
comply with the corresponding precau-
tions whenever you work with or near
the battery.
Before handling the battery,
please read the following infor-
mation.
Wear eye protection. Do not al-
low particles containing battery
acid or lead to come into con-
tact with your eyes, your skin, or your
clothing.
Battery acid is extremely corro-
sive. Wear eye protection and
protective gloves. Do not tip the
battery. Battery acid can leak from the
ventilation openings.
Ensure that children keep well
away from batteries and battery
acid.
Fire, sparks, an open flame and/
or smoking are not allowed in
the vicinity of the battery. Avoid
sparks from electrical cables or electri-
cal equipment. Turn the key to position
0 in the steering lock when the battery
is disconnected or connected. Never
short-circuit the battery terminal, other-
wise you could be injured by electrical
sparks.
Page 155 of 189
153n
RepairsIndexOverview Controls Car care Technology Data
Battery FusesCharging the battery Charge the battery in the vehicle only
when the engine is not running.
Before doing any work on the
electrical system, be sure to
unclamp the cable from the battery's
negative terminal, or it could cause
short-circuiting, a fire or personal
injury.<
If the vehicle is to be parked longer than
4 weeks, disconnect the battery from
the vehicle's electrical system by dis-
connecting the negative terminal cable.
If you intend to store your car for longer
than six weeks: Remove the battery,
charge it and store it in a cool (but frost-
free) room. Recharge the battery every
6 months at the latest, at the very least
before each installation, or else it will be
unusable. Every time the battery is dis-
charged, especially over extended peri-
ods, its service life is reduced.
Return used batteries to a recy-
cling point or your authorized
BMW center. Maintain the battery in an
upright position for transport and stor-
age. Secure the battery against tilting in
transit.<
Storage periods during which the
battery is disconnected are not
taken into consideration by the Service
Interval Display for changing the brake
fluid.
Therefore, make sure that the brake
fluid is changed every two years at the
latest, regardless of the display. Com-
ply with the information provided on
page 127.<
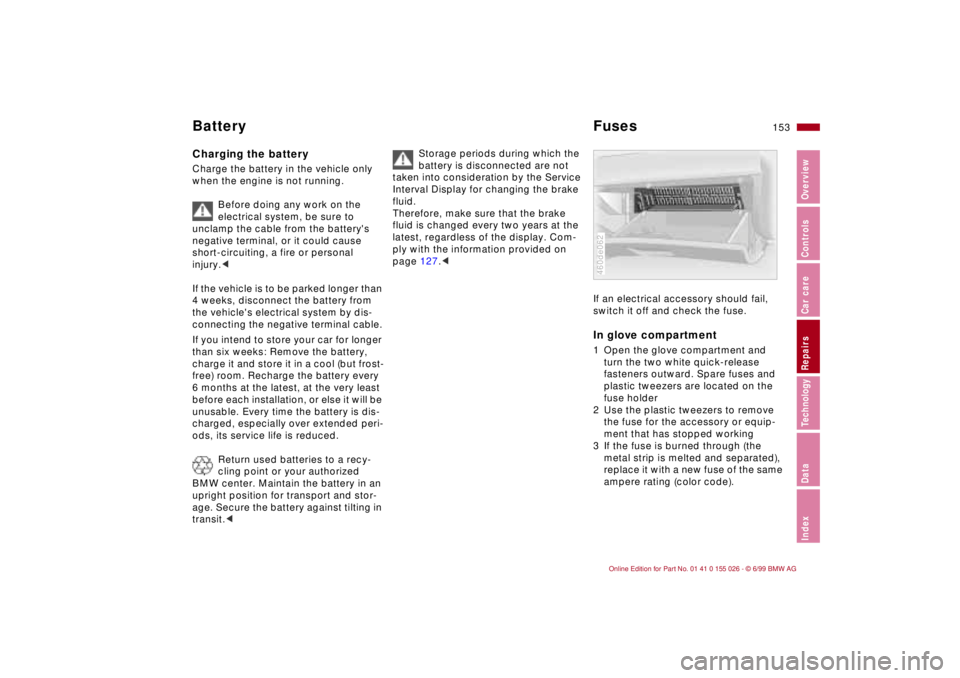
If an electrical accessory should fail,
switch it off and check the fuse. In glove compartment1 Open the glove compartment and
turn the two white quick-release
fasteners outward. Spare fuses and
plastic tweezers are located on the
fuse holder
2 Use the plastic tweezers to remove
the fuse for the accessory or equip-
ment that has stopped working
3 If the fuse is burned through (the
metal strip is melted and separated),
replace it with a new fuse of the same
ampere rating (color code).460de062
Page 162 of 189
160n
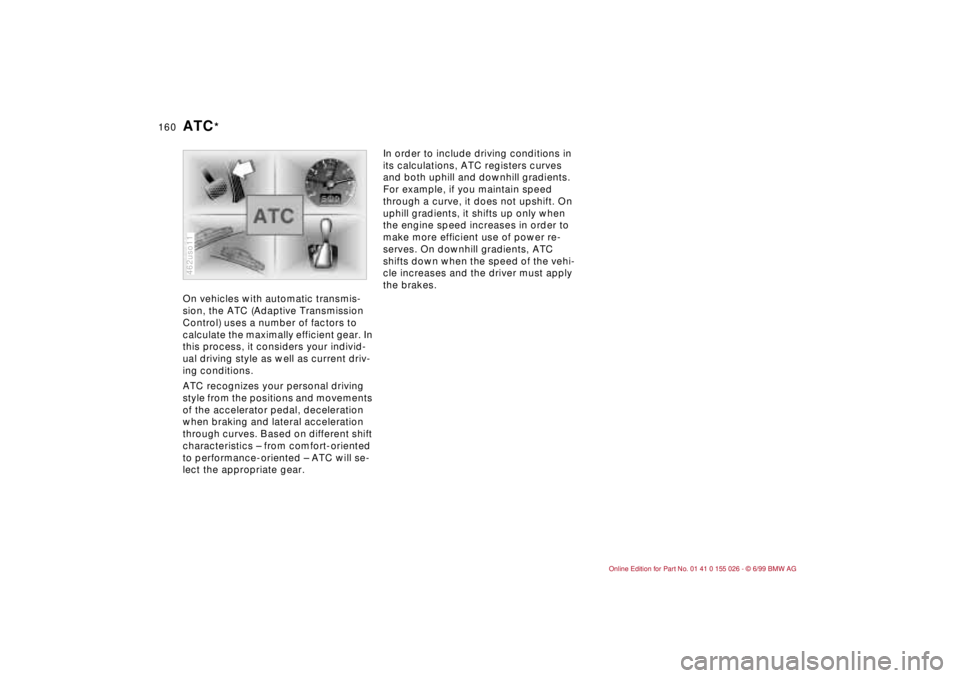
On vehicles with automatic transmis-
sion, the ATC (Adaptive Transmission
Control) uses a number of factors to
calculate the maximally efficient gear. In
this process, it considers your individ-
ual driving style as well as current driv-
ing conditions.
ATC recognizes your personal driving
style from the positions and movements
of the accelerator pedal, deceleration
when braking and lateral acceleration
through curves. Based on different shift
characteristics – from comfort-oriented
to performance-oriented – ATC will se-
lect the appropriate gear.
462uso11
In order to include driving conditions in
its calculations, ATC registers curves
and both uphill and downhill gradients.
For example, if you maintain speed
through a curve, it does not upshift. On
uphill gradients, it shifts up only when
the engine speed increases in order to
make more efficient use of power re-
serves. On downhill gradients, ATC
shifts down when the speed of the vehi-
cle increases and the driver must apply
the brakes.
ATC
*
Page 163 of 189
161n
RepairsIndexOverview Controls Car care Technology Data
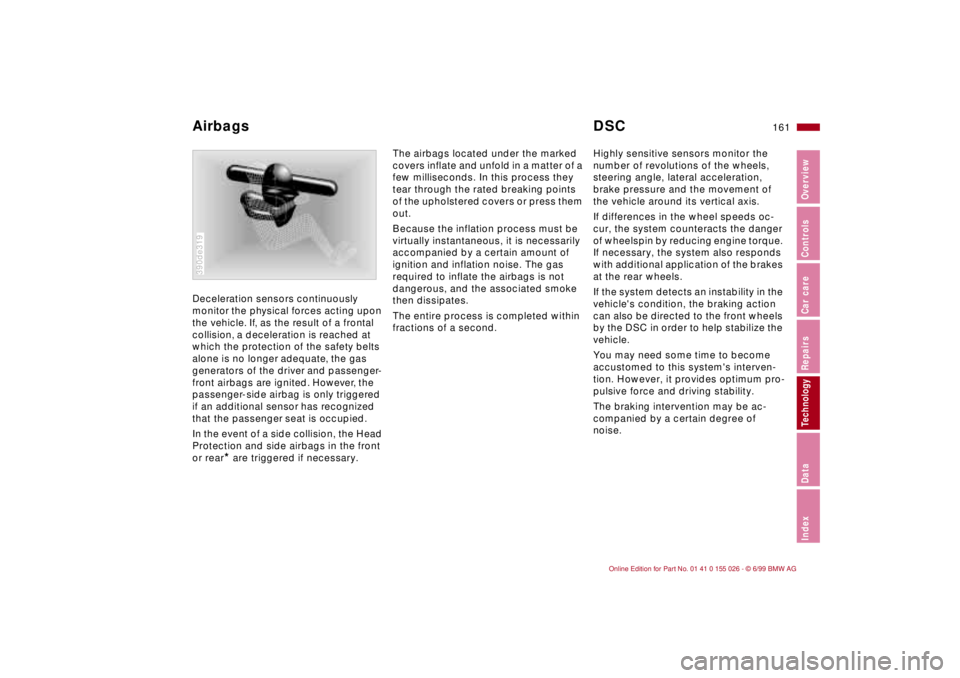
Deceleration sensors continuously
monitor the physical forces acting upon
the vehicle. If, as the result of a frontal
collision, a deceleration is reached at
which the protection of the safety belts
alone is no longer adequate, the gas
generators of the driver and passenger-
front airbags are ignited. However, the
passenger-side airbag is only triggered
if an additional sensor has recognized
that the passenger seat is occupied.
In the event of a side collision, the Head
Protection and side airbags in the front
or rear
* are triggered if necessary.
390de319
The airbags located under the marked
covers inflate and unfold in a matter of a
few milliseconds. In this process they
tear through the rated breaking points
of the upholstered covers or press them
out.
Because the inflation process must be
virtually instantaneous, it is necessarily
accompanied by a certain amount of
ignition and inflation noise. The gas
required to inflate the airbags is not
dangerous, and the associated smoke
then dissipates.
The entire process is completed within
fractions of a second.Highly sensitive sensors monitor the
number of revolutions of the wheels,
steering angle, lateral acceleration,
brake pressure and the movement of
the vehicle around its vertical axis.
If differences in the wheel speeds oc-
cur, the system counteracts the danger
of wheelspin by reducing engine torque.
If necessary, the system also responds
with additional application of the brakes
at the rear wheels.
If the system detects an instability in the
vehicle's condition, the braking action
can also be directed to the front wheels
by the DSC in order to help stabilize the
vehicle.
You may need some time to become
accustomed to this system's interven-
tion. However, it provides optimum pro-
pulsive force and driving stability.
The braking intervention may be ac-
companied by a certain degree of
noise.
Airbags DSC
Page 180 of 189

Everything from A to ZAABS (Antilock Brake
System) 22, 106
Accessories 6
Activated charcoal
filter 93, 154
Adaptive Transmission
Control (ATC) 66, 160
Adding engine oil 123
Adding washer fluid 173
Adjust the backrest 47
Adjust the temperature 90
Adjust the thigh support
area 49
Adjusting steering wheel 51
Air distribution 90
Air outlets 88
Air pressure 113
Air supply 91
Airbags 21, 57, 135, 161
Alarm system 42
Antenna 112
Antenna, Diversity 162
Antifreeze 126
Antifreeze, radiator 110
Antilock Brake System
(ABS) 22, 106
Anti-theft alarm system 42
Aquaplaning 104, 113
Armrest 95
Ashtray 96
Assisted rear entry 49AUC (Automatic
recirculated-air
control) 91
Automatic car washes 130
Automatic climate
control 88
remove window
condensation 91
Automatic recirculated-air
control (AUC) 91
Automatic speed control 72
Automatic transmission with
Steptronic 22, 66
Average consumption 78
Average speed 79
Avoiding unwanted
alarm 43
Axle loads 172
BBackrest
release 49
Backup lamps 65
bulb replacement 143
Battery 151, 174
capacity 174
charge 153
discharged 156
removal and
installation 152
Battery charge current 20
Belts 55Blower 91
BMW High Performance
Synthetic Oil 124
BMW Sports Seat 49
Bore 170
Brake fluid 127
Brake hydraulic system 20
Brake lamps
bulb replacement 143
Brake pads 22
Brake-in procedure 104
Brakes 108
Brakes, brake faults 109
Breaking in the vehicle 104
Bulb replacement 140
CCar Memory 54
Car phone, please refer to
the manufacturer's
operating instructions
Car radio 112
reception 112, 162
refer also to the car radio
operating instructions
Car vacuum cleaner,
connecting 96
Car wash 130
Care
exterior 131
interior 132
Care of upholstery 133Care of wool velour 133
Cargo loading 100
Caring for the vehicle
finish 131
Cassette operation, refer to
the radio operating
instructions
Catalytic converter 105
CBC (Cornering Brake
Control) 21, 107
CD mode, refer to the radio
operating instructions
Cellular phones 95, 112
Center (high-mount) brake
lamp 145
Center armrest 95
Central locking system 34
key 38
Changing tires 148
Check air pressure 27
Check Control 77
Child restraint
systems 56, 60
Child seat 56, 60
Cigarette lighter 96
Clock 77
refer also to the onboard
computer operating
instructions
Clothes hooks 97
Cockpit 16
Page 181 of 189
Everything from A to Z
179n
RepairsIndexOverview Controls Car care Technology Data
Code, refer to the radio
operating instructions
Coin holder, cup holder 95
Combination switch 69
Compression 170
Computer 77
Configure settings 54
Consumption 78
Consumption display 75
Coolant 110, 126, 173
Coolant thermometer 75
Coolant, antifreeze 110
Cooling system 173
Cornering Brake Control
(CBC) 21, 107
Cruise control 72
Cruising range 79
Curb weight 172
Current check indicator 20DDashboard 16
Data
dimensions 171
engine 170
technical 170
weights 172
Daytime-driving light
switch 84
Defrost setting 91
Defrost windows 91
Defroster, rear window 92Digital clock 77
Dimensions 171
Dipstick 123
Disc brakes 108
Displacement 170
Display lighting 84
Displays 18
Distance warning 80
Diversity, antenna 162
Divided rear backrest 98
Door key 32
Door locks, care 110
Doors
emergency actuation 34
remote control 35
unlocking and locking 34
Drawbar load 172
Drive belts 174
Driving hints 104
Driving lamps 84
DSC (Dynamic Stability
Control) 22, 81, 161
Dynamic Stability Control
(DSC) 22, 81, 161
EElectric power seat 50
Electric power windows 44
Electrical accessories,
failure 153
Electrical system 174Electronic vehicle
immobilizer 33
Elements of operation 16
Emergency actuation
doors 34
tank cover 155
Energy Control 74
Engage 62
Engine
engage 62
Engine compartment 120
Engine coolant 126, 173
Engine data 170
Engine oil
filling capacity 173
quality 124
viscosity 124
Engine oil consumption 123
Engine oil level 21
check 123
Engine oil pressure 20
Engine oil
specifications 124
Engine speed 170
Entry from the rear 49
Exterior mirrors 52
FFailure messages 77
Fault
ABS 107
Fault displays 77Filler cap cover 26
Filling capacities 173
Filling the washer
reservoir 173
First aid 25
First aid kit 25
Fittings, towing 157
Flashlight 94
Flat tire 113, 148
Fog lamps 85
bulb replacement 143
Fog lights 85
Folding rear backrest 98
Follow-Me-Home lamps 84
Footbrake 108
Footwell lamps 85
bulb replacement 146
Front seat adjustment 47
Frost protection,
radiator 126
Fuel 26
preparation 170
Fuel consumption 78
Fuel consumption
display 75
Fuel gauge 75
Fuel quality 26
Fuel tank capacity 173
Fuel tank gauge 75
Functional status 166
Fuses 153