2000 BMW 323Ci COUPE spare tire
[x] Cancel search: spare tirePage 151 of 189

149n
RepairsIndexOverview Controls Car care Technology Data
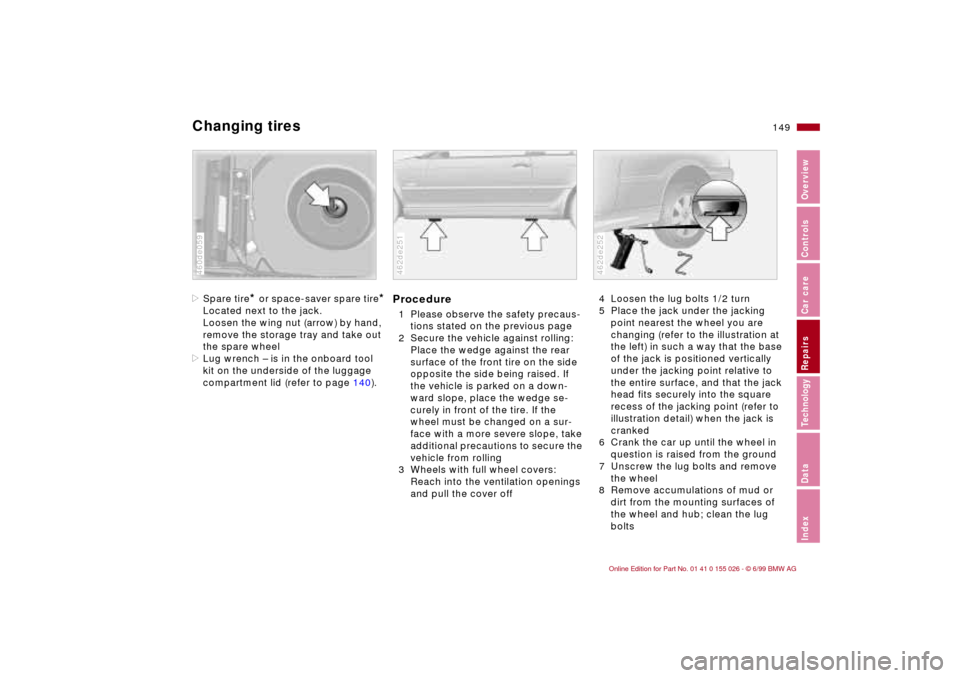
Changing tires>Spare tire
* or space-saver spare tire
*
Located next to the jack.
Loosen the wing nut (arrow) by hand,
remove the storage tray and take out
the spare wheel
>Lug wrench – is in the onboard tool
kit on the underside of the luggage
compartment lid (refer to page 140).460de059
Procedure1 Please observe the safety precaus-
tions stated on the previous page
2 Secure the vehicle against rolling:
Place the wedge against the rear
surface of the front tire on the side
opposite the side being raised. If
the vehicle is parked on a down-
ward slope, place the wedge se-
curely in front of the tire. If the
wheel must be changed on a sur-
face with a more severe slope, take
additional precautions to secure the
vehicle from rolling
3 Wheels with full wheel covers:
Reach into the ventilation openings
and pull the cover off462de251
4 Loosen the lug bolts 1/2 turn
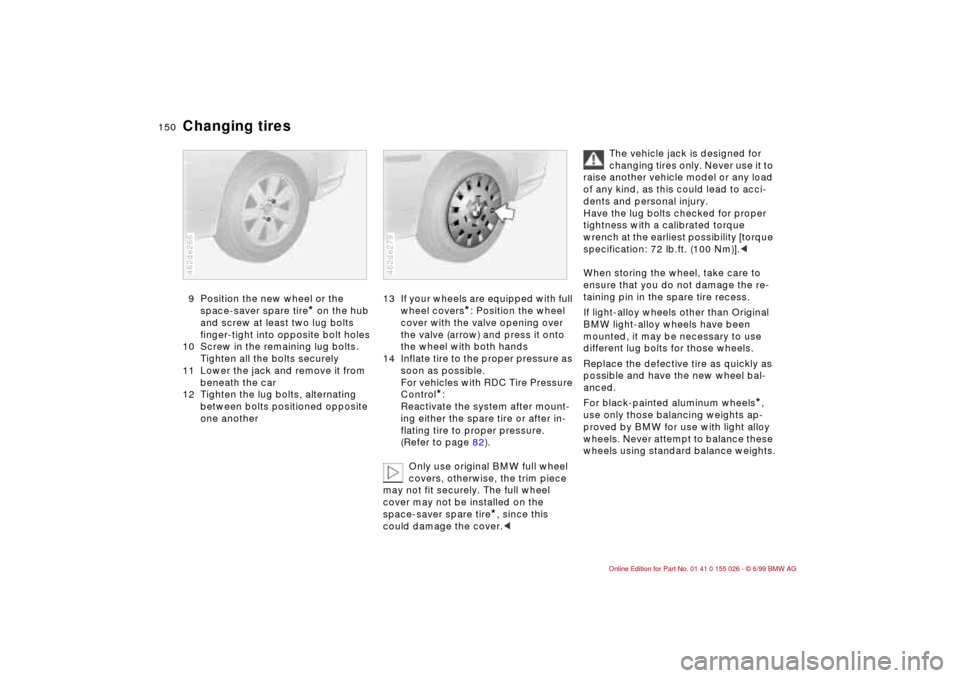
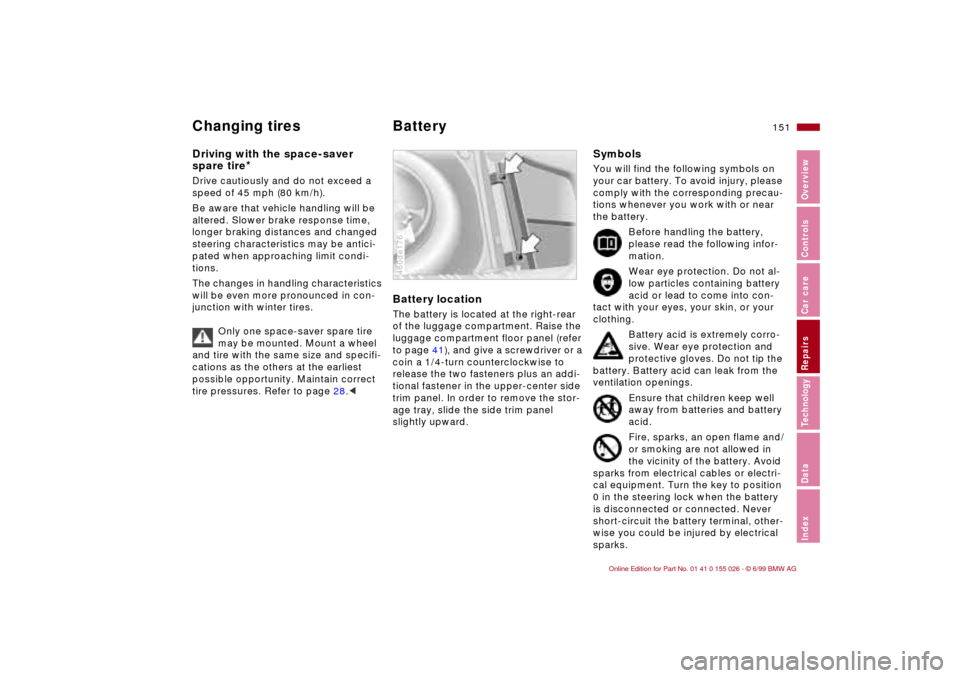
5 Place the jack under the jacking
point nearest the wheel you are
changing (refer to the illustration at
the left) in such a way that the base
of the jack is positioned vertically
under the jacking point relative to
the entire surface, and that the jack
head fits securely into the square
recess of the jacking point (refer to
illustration detail) when the jack is
cranked
6 Crank the car up until the wheel in
question is raised from the ground
7 Unscrew the lug bolts and remove
the wheel
8 Remove accumulations of mud or
dirt from the mounting surfaces of
the wheel and hub; clean the lug
bolts462de252
Page 152 of 189

150n
Changing tires9 Position the new wheel or the
space-saver spare tire
* on the hub
and screw at least two lug bolts
finger-tight into opposite bolt holes
10 Screw in the remaining lug bolts.
Tighten all the bolts securely
11 Lower the jack and remove it from
beneath the car
12 Tighten the lug bolts, alternating
between bolts positioned opposite
one another
462de266
13 If your wheels are equipped with full
wheel covers
*: Position the wheel
cover with the valve opening over
the valve (arrow) and press it onto
the wheel with both hands
14 Inflate tire to the proper pressure as
soon as possible.
For vehicles with RDC Tire Pressure
Control
*:
Reactivate the system after mount-
ing either the spare tire or after in-
flating tire to proper pressure.
(Refer to page 82).
Only use original BMW full wheel
covers, otherwise, the trim piece
may not fit securely. The full wheel
cover may not be installed on the
space-saver spare tire
*, since this
could damage the cover.<
462de279
The vehicle jack is designed for
changing tires only. Never use it to
raise another vehicle model or any load
of any kind, as this could lead to acci-
dents and personal injury.
Have the lug bolts checked for proper
tightness with a calibrated torque
wrench at the earliest possibility [torque
specification: 72 lb.ft. (100 Nm)].<
When storing the wheel, take care to
ensure that you do not damage the re-
taining pin in the spare tire recess.
If light-alloy wheels other than Original
BMW light-alloy wheels have been
mounted, it may be necessary to use
different lug bolts for those wheels.
Replace the defective tire as quickly as
possible and have the new wheel bal-
anced.
For black-painted aluminum wheels
*,
use only those balancing weights ap-
proved by BMW for use with light alloy
wheels. Never attempt to balance these
wheels using standard balance weights.
Page 153 of 189

151n
RepairsIndexOverview Controls Car care Technology Data
Changing tires Battery Driving with the space-saver
spare tire
*
Drive cautiously and do not exceed a
speed of 45 mph (80 km/h).
Be aware that vehicle handling will be
altered. Slower brake response time,
longer braking distances and changed
steering characteristics may be antici-
pated when approaching limit condi-
tions.
The changes in handling characteristics
will be even more pronounced in con-
junction with winter tires.
Only one space-saver spare tire
may be mounted. Mount a wheel
and tire with the same size and specifi-
cations as the others at the earliest
possible opportunity. Maintain correct
tire pressures. Refer to page 28.<
Battery location The battery is located at the right-rear
of the luggage compartment. Raise the
luggage compartment floor panel (refer
to page 41), and give a screwdriver or a
coin a 1/4-turn counterclockwise to
release the two fasteners plus an addi-
tional fastener in the upper-center side
trim panel. In order to remove the stor-
age tray, slide the side trim panel
slightly upward.460de176
SymbolsYou will find the following symbols on
your car battery. To avoid injury, please
comply with the corresponding precau-
tions whenever you work with or near
the battery.
Before handling the battery,
please read the following infor-
mation.
Wear eye protection. Do not al-
low particles containing battery
acid or lead to come into con-
tact with your eyes, your skin, or your
clothing.
Battery acid is extremely corro-
sive. Wear eye protection and
protective gloves. Do not tip the
battery. Battery acid can leak from the
ventilation openings.
Ensure that children keep well
away from batteries and battery
acid.
Fire, sparks, an open flame and/
or smoking are not allowed in
the vicinity of the battery. Avoid
sparks from electrical cables or electri-
cal equipment. Turn the key to position
0 in the steering lock when the battery
is disconnected or connected. Never
short-circuit the battery terminal, other-
wise you could be injured by electrical
sparks.
Page 184 of 189

Everything from A to ZService and Warranty
Information Booklet 129
Service Interval
Display 76, 129
Shiftlock 66
Side airbags 57
Side impact Head Protection
System 57
Ski bag 99
Sliding 111
Sliding/tilt sunroof 45
closing after electrical
fault 155
ease of use actuation 34
remote control 35
Slippery roads 110
Snow chains 110, 117
Space-saver spare tire 148
Spare key 32
Spare key with radio remote
control 32
Spare tire 148
Spark plugs 174
Special oils 124
Speed control 72
Speedometer 18
Sports Seat 49
Start 62
Starting problems 105, 156
Steel wheels 117
Steering 112
Steering wheel lock 62Steptronic 66
Stopping the vehicle 63
Storage shelf 95
Stroke 170
Summer tires 115
Sun roller blind 93
Sun visors 52
Switching off the engine 63
Symbols 4, 151
TTachometer 74
Tail lamps 143
bulb replacement 143
Tank capacity 173
Tank cover
unlock in case of electrical
fault 155
Technical data 170
Technical
modifications 6, 136
Telephone prep 95
Telephone, please refer to
the manufacturer's
operating instructions
Temperature display
outside temperature 78
Temperature gauge
engine coolant 75
Temperature
stratification 92
Third brake lamp 145Through-loading facility 98
Tilt alarm 36
Tilt sensor alarm
system 36, 43
Tire codes 115
Tire damages 113
Tire inflation
pressure 27, 113
Tire Pressure Control
(RDC) 82, 164
Tire pressure
monitoring 82, 164
Tire replacement 114
Tire specifications 117
Tire tread 113
Tools 140
Top off washer fluid
reservoir 122
Top off windshield washer
fluid reservoir 122
Torque 170
Tow fittings 157
Tow starting 157
Towing 157
Track 171
Trailer loads 172
Transmission 65
Tread depth, tires 113
Trip odometer 74
Trunk 39
capacity 172
locking separately 39Trunk lamps
bulb replacement 146
Trunk lid, refer to luggage
compartment lid 39
Turn signal 23
bulb replacement 142
Turn signals 69
Turning radius 171
Two-way radios 112
UUsed batteries 153VVacuum cleaner,
connecting 96
Vanity mirror 52
bulb replacement 146
Vehicle
engage 62
Vehicle battery 151, 174
Vehicle care
exterior 131
interior 132
Vehicle identification 128
Vehicle Identification
Number (VIN) 128
Vehicle immobilizer 33
Vehicle painting 131
Vehicle removal from
service 136
Vehicle weight 172
Page 187 of 189

Owner service procedures from A to Z
185n
RepairsIndexOverview Controls Car care Technology Data
PParking lamps
bulb replacement 142
Pressure, tires 27RRadio remote control
new transmitter 147
Release the hood 119
Remove condensation from
windshields 91
Replace bulbs 140
Replace windshield wiper
blades 140
Replenish washer
reservoir 122
Replenish windshield
washer 122
Return used batteries 153SSliding/tilt sunroof
closing after electrical
fault 155
Space-saver tire 148
Spare tire 148
Starting problems 63, 105
Switching off the interior
motion sensor 43
Switching off the tilt sensor
alarm system 43
TTail lamps
bulb replacement 143
Tire damage 113
Tools 140
Tow fittings 157
Tow starting 157
Towing 157
Turn signal
bulb replacement 142UUse anti-freeze 126
radiator 126VVanity mirror
bulb replacement 146WWarning lamps 20
Warning messages 77
Washer fluid
replenish 122
Wheel lug wrench 148
Working in the engine
compartment 119