2000 BMW 323Ci COUPE remote control
[x] Cancel search: remote controlPage 40 of 189

38n
Door locks – from inside Use this button to operate the central
locking system when the doors are
closed. The doors and luggage com-
partment lid are unlocked or locked
only. The anti-theft alarm system is not
activated.
After opening the driver's door by acti-
vating the remote control once, the
front passenger door can also be
opened by pressing the button. When
the driver's door is closed, it is auto-
matically locked.
If you desire, the central locking
system will secure the locks as
soon as you start to drive. This can be
adjusted to be key-specific.<460us007
To unlock and open the doors>Either unlock the doors together with
the button for the central locking sys-
tem and then pull each of the release
handles above the armrests or
>pull the release handle for each door
twice: The first pull unlocks the door,
and the second one opens it.
Doors locked from outside can be
opened from inside by first press-
ing the button and then pulling a re-
lease handle twice.<
To engage locks>Either use the central locking button
to lock all doors at once, or
>press down the individual door lock
buttons. The fuel filler door then re-
mains unlocked. As an added design
feature to prevent the driver from be-
ing inadvertently locked out of the ve-
hicle, the driver's door lock button
will not engage as long as the door
is open.
Children might be able to lock the
doors from the inside. For this rea-
son, take the vehicle's keys with you so
that the vehicle can be opened again
from the outside at any time.<
Page 45 of 189

43n
RepairsIndexOverview Controls Car care Technology Data
Alarm system
*
>If the indicator lamp flashes for
10 seconds when the system is dis-
armed: An attempted entry has been
detected in the period since the sys-
tem was armed.
Following triggering of an alarm, the
indicator lamp will flash continuously.Avoiding unwanted alarm The tilt alarm sensor and interior motion
sensor may be switched off at the same
time. You can prevent triggering false
alarms in high-rise garages or if the
vehicle is transported on a car-carrier
train, for instance, by doing the
following:
Lock the vehicle twice (= arm the sys-
tem). Press button 2 on the remote con-
trol twice in succession or lock the vehi-
cle twice with the key (refer to page 36).
The indicator lamp lights up briefly and
then flashes continuously. The tilt alarm
sensor and the interior motion sensor
are deactivated as long as the system is
armed.
Interior motion sensorThe transmitter and receiver of the inte-
rior motion sensor are located in a trim
panel in the vehicle's headliner.
In order for the interior motion sensor to
function properly, the windows and
sliding/tilt sunroof must be completely
closed.
But make sure to turn off the interior
motion sensor (see previous column),
if
>children or animals are left in the
vehicle
>the windows and/or sunroof are left
open.460de159
The tilt sensor and interior motion
sensor are deactivated if the con-
venience closing mode for the windows
and the sliding/tilt sunroof is interrupted
within the first 10 seconds and then
reinitiated. If this happens, you must
disarm the system and then re-arm it.<
Page 47 of 189

45n
RepairsIndexOverview Controls Car care Technology Data
Sliding/tilt sunroof
*
To prevent injuries, exercise care
when closing the sliding/tilt sun-
roof and keep it in your field of vision
until it is completely closed.
Remove the key from the ignition and
close the doors when you leave the
vehicle, so that children cannot operate
the sunroof and possibly injure them-
selves.<
To avoid pressure or drafts in the pas-
senger compartment when the sunroof
is open or raised, keep the air vents in
the dashboard open and increase the air
supply if necessary. Refer to page 91.
When competely opened, the sunroof
may cause unpleasant vibrations in the
vehicle interior. To eliminate these
vibrations, close the sunroof until this
natural effect disappears.
For the convenience operating mode
with the door lock or the remote con-
trol, refer to page 34 or 35.
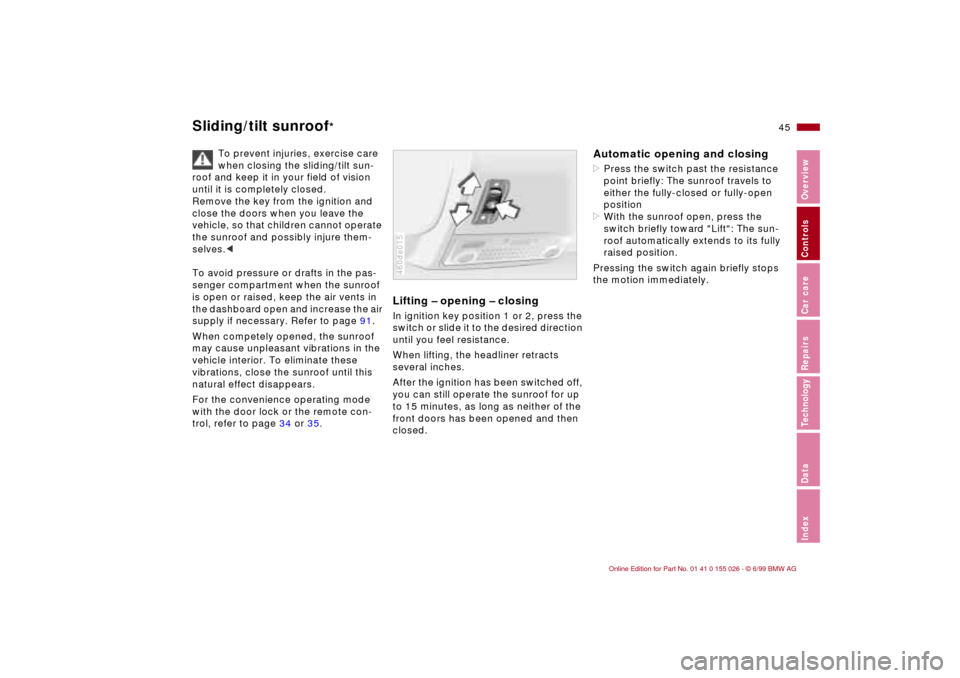
Lifting – opening – closingIn ignition key position 1 or 2, press the
switch or slide it to the desired direction
until you feel resistance.
When lifting, the headliner retracts
several inches.
After the ignition has been switched off,
you can still operate the sunroof for up
to 15 minutes, as long as neither of the
front doors has been opened and then
closed.460de015
Automatic opening and closing>Press the switch past the resistance
point briefly: The sunroof travels to
either the fully-closed or fully-open
position
>With the sunroof open, press the
switch briefly toward "Lift": The sun-
roof automatically extends to its fully
raised position.
Pressing the switch again briefly stops
the motion immediately.
Page 53 of 189

51n
RepairsIndexOverview Controls Car care Technology Data
Seat and mirror memory
*
Adjusting steering wheel
To select a stored setting:Automatic:
1 Open driver's door after unlocking or
ignition key in position 1
2 Briefly press memory button 1, 2 or 3
as desired.
The adjustment cycle is canceled im-
mediately if you press a seat adjust-
ment switch or one of the memory
buttons.
Manual:
1 With driver's door closed and ignition
key either removed or in position
0 or 2
2 Maintain pressure on desired mem-
ory button 1, 2 or 3 until the adjust-
ment process is completed.
If you press the
M
EMORY button acci-
dentally: Press the button a second
time, the indicator lamp goes out.
Do not select a memory position
while the vehicle is moving. There
is a risk of accident from unexpected
seat movement.<
You can adapt the vehicle settings
so that your own personalized
seat setting is initiated when you unlock
the car using your personalized remote
control key.<
When this setting is used, be sure
that the footwell behind the driver's
seat is clear before unlocking the vehi-
cle. Otherwise, persons or objects could
be injured or damaged should the seat
move backward.<
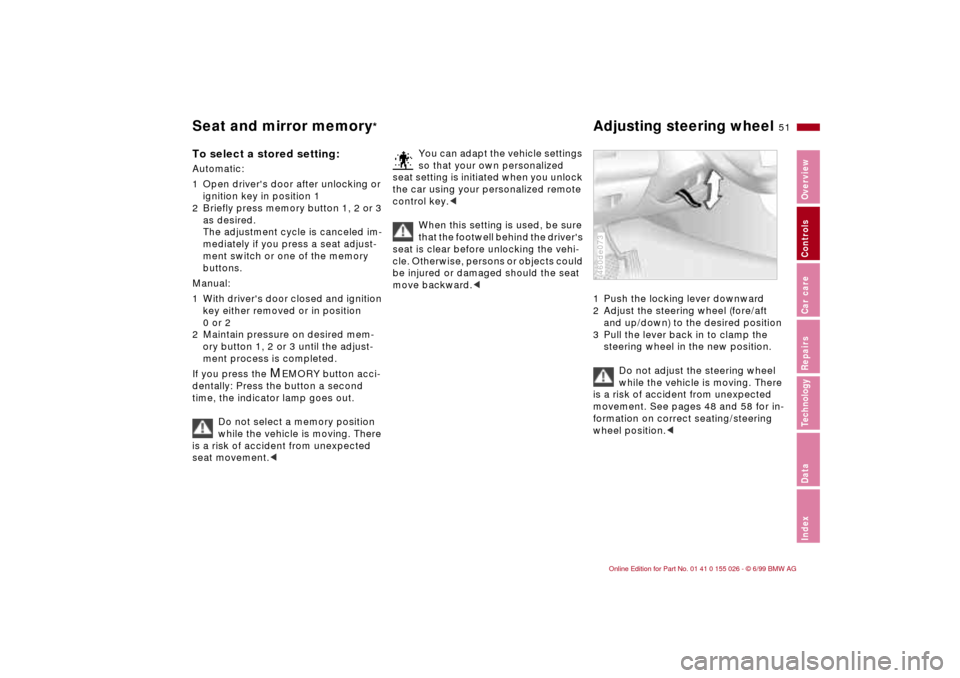
1 Push the locking lever downward
2 Adjust the steering wheel (fore/aft
and up/down) to the desired position
3 Pull the lever back in to clamp the
steering wheel in the new position.
Do not adjust the steering wheel
while the vehicle is moving. There
is a risk of accident from unexpected
movement. See pages 48 and 58 for in-
formation on correct seating/steering
wheel position.<460de073
Page 56 of 189

54n
Car Memory, Key Memory How the system functionsYou have probably frequently wished
that you could configure individual
functions of your vehicles to reflect your
own personal requirements. BMW has
included several user-defined func-
tions in the vehicle's design. Your BMW
center can make these settings for you
in accordance with your wishes.
There are settings related to the vehicle
("Car Memory") and settings related to
individuals ("Key Memory"). You can
have up to four different basic settings
adjusted for four different persons. The
only requirement is that each person
uses his or her own remote control key. 463de029
When your vehicle is unlocked with the
remote control, the vehicle recognizes
the individual user by means of a data
exchange with the key, and makes ad-
justments accordingly.
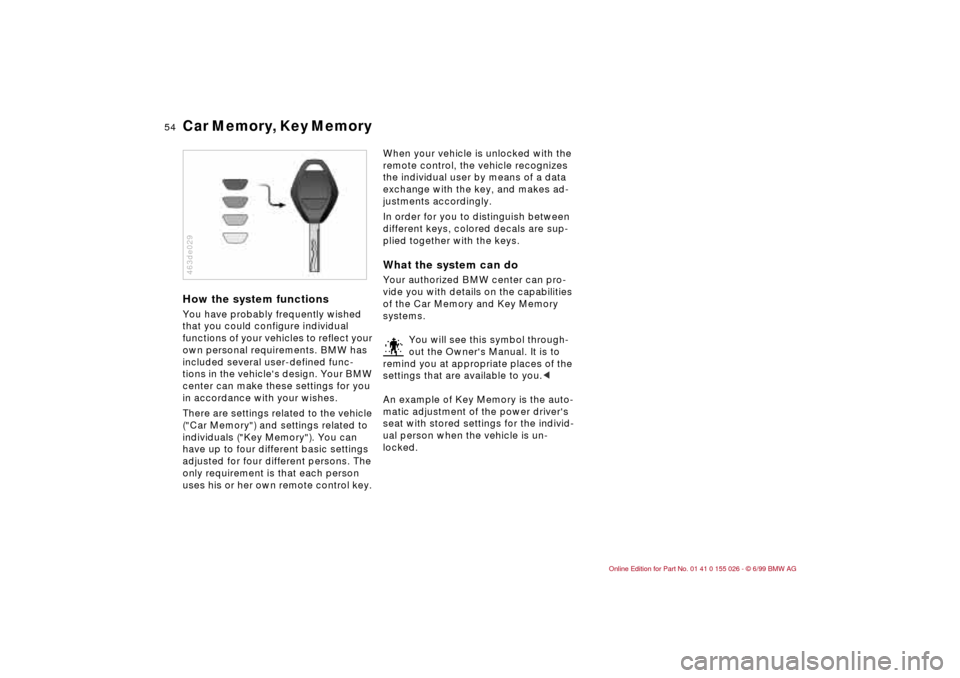
In order for you to distinguish between
different keys, colored decals are sup-
plied together with the keys.What the system can doYour authorized BMW center can pro-
vide you with details on the capabilities
of the Car Memory and Key Memory
systems.
You will see this symbol through-
out the Owner's Manual. It is to
remind you at appropriate places of the
settings that are available to you.<
An example of Key Memory is the auto-
matic adjustment of the power driver's
seat with stored settings for the individ-
ual person when the vehicle is un-
locked.
Page 92 of 189

90n
Automatic climate controlTips for pleasant drivingUse the automatic system; switch on
AUTO-button 7. Select an interior tem-
perature that is comfortable for you
– we recommend 707 (226) as a
comfortable setting. When the outside
temperature is above 407 (+ 56), you
can also use the air conditioning system
(12). This system dries the air and pre-
vents condensation on the windows
(e.g. if persons are wearing damp cloth-
ing). Set the outlets (2) so that the air
flows past you and is not directed
straight at you. Set the rotary dial be-
tween the air outlets (2) for the upper
body to a medium position, since air
that is somewhat cooler promotes driv-
ing without fatigue.
Detailed setting options are described
for you in the following section.
You can make the settings of your
vehicle in such a manner that,
when you unlock the car with your per-
sonalized remote control, your own per-
sonalized setting of the automatic cli-
mate control is initiated.<
Automatic air distribution
The AUTO program assumes
the adjustment of the air distri-
bution and the air supply for you and in
addition adapts the temperature to
external influences (summer, winter) to
meet preferences you can specify. This
program maintains a comfortable in-car
climate regardless of the season. Select
an interior temperature that is comfort-
able for you – we recommend 707
(226). The temperature selected and
the word AUTO for the air supply
appear in display (10) (refer to the over-
view on page 88). Open the air outlets
for the upper body area. Switch on the
air conditioner in warm weather. The
maximum cooling capacity is achieved
when you set rotary dial (3) (refer to
page 92) to cold.
Individual air distribution
You can cancel the AUTO pro-
gram by selecting specific distri-
bution patterns to suit your own
individual requirements. You
can direct air to flow onto the windows
, toward the upper body , and into
the footwell .
Temperature
The figures in the display provide
a general indication of interior
temperature. We recommend 707
(226) as a comfortable setting, whether
the air conditioner is operating or not.
When you start the vehicle, the system
ensures that the selected temperature is
reached as quickly as possible. It then
maintains this temperature, regardless
of the season.
Set rotary dial 3 (refer to "Draft-free
ventilation" on page 92) to a medium
setting, since air that is somewhat
cooler promotes driving without fatigue.
You can use this setting for mixing air to
make minor comfort modifications.
The full, uncontrolled heater out-
put is available starting at an inte-
rior temperature setting of 907 (326).
At a setting of 607 (166), the full cool-
ing output is available when the air con-
ditioner is activated.<
Page 141 of 189

Overview
Controls and features
Operation, care
and maintenance
Owner service procedures
Technical data
Index Advanced technology
139n
RepairsIndexOverview Controls Car care Technology Data
Replacement procedures:
Onboard tool kit140
Windshield wiper blades140
Lamps and bulbs140
Remote control147
Changing tires148
Battery151
Fuses153
Microfilter154
In case of electrical
malfunction:
Fuel filler door155
Sliding/tilt sunroof155
Assistance, giving and
receiving:
Jump-starting156
Towing the vehicle157
Page 149 of 189

147n
RepairsIndexOverview Controls Car care Technology Data
Remote controlNew transmitter If you place a new transmitter into ser-
vice (either a replacement or an addi-
tional transmitter), it must be initialized:
1 Enter the vehicle and close the doors
2 Turn the ignition key briefly (max.
5 seconds) to position 1 in the steer-
ing lock and then turn it back to posi-
tion 0. Remove the key
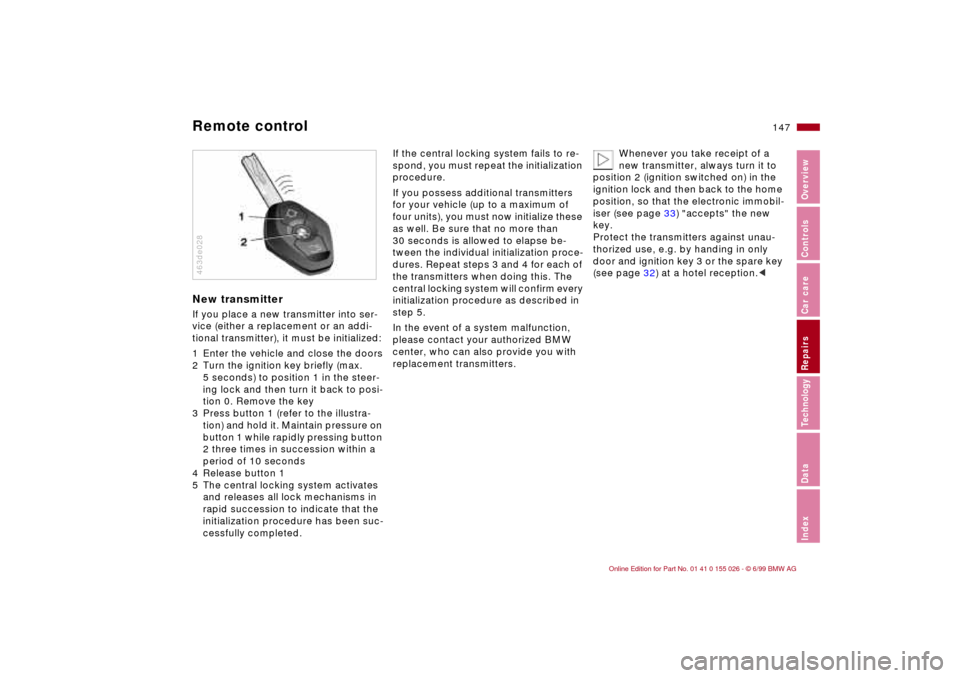
3 Press button 1 (refer to the illustra-
tion) and hold it. Maintain pressure on
button 1 while rapidly pressing button
2 three times in succession within a
period of 10 seconds
4 Release button 1
5 The central locking system activates
and releases all lock mechanisms in
rapid succession to indicate that the
initialization procedure has been suc-
cessfully completed.463de028
If the central locking system fails to re-
spond, you must repeat the initialization
procedure.
If you possess additional transmitters
for your vehicle (up to a maximum of
four units), you must now initialize these
as well. Be sure that no more than
30 seconds is allowed to elapse be-
tween the individual initialization proce-
dures. Repeat steps 3 and 4 for each of
the transmitters when doing this. The
central locking system will confirm every
initialization procedure as described in
step 5.
In the event of a system malfunction,
please contact your authorized BMW
center, who can also provide you with
replacement transmitters.Whenever you take receipt of a
new transmitter, always turn it to
position 2 (ignition switched on) in the
ignition lock and then back to the home
position, so that the electronic immobil-
iser (see page 33) "accepts" the new
key.
Protect the transmitters against unau-
thorized use, e.g. by handing in only
door and ignition key 3 or the spare key
(see page 32) at a hotel reception.<