Page 141 of 247
6 In case of emergency
Flat tire ...................................................................6-2
Pantograph type jack .............................................6-5
Jump starting ..........................................................6-8
Push starting...........................................................6-9
If your vehicle overheats ......................................6-10Tow truck towing .................................................. 6-11
Two-wheel drive models ......................................6-12
Four-wheel drive models ......................................6-12
Vehicle recovery (freeing a stuck vehicle) ...........6-13
ZX
Page 142 of 247

If you have a flat tire, follow the instructions
below:
Stopping the vehicle
1. Safely move the vehicle off the road and
away from traffic.
2. Turn on the hazard warning flashers.
3. Park on a level surface and apply the
parking brake. Shift the manual transmis-
sion into R (Reverse), or the automatic
transmission into P (Park).
WARNING
I
The transfer control lever
must be in the 2H, 4H or 4L position.
I
Never place the transfer control lever
in the N (Neutral) position. Other-
wise, the vehicle could roll unexpect-
edly even if the manual transmission
is in gear or the automatic transmis-
sion is in the P (Park) position. This
could result in serious personal in-
jury or property damage.
4. Turn off the engine.
5. Raise the hood to warn other traffic and
to signal professional road assistancepersonnel that you require assistance.
6. Have all passengers get out of the ve-
hicle and stand in a safe place away from
traffic and clear of the vehicle.
WARNING
I
Make sure that the parking brake is
securely applied and the manual
transmission is shifted into R (Re-
verse), or the automatic transmis-
sion into P (Park).
I
Never change tires when the vehicle
is on a slope, ice or a slippery area.
This is hazardous.
I
Never change tires if oncoming traf-
fic is close to your vehicle. Wait for
professional road assistance.
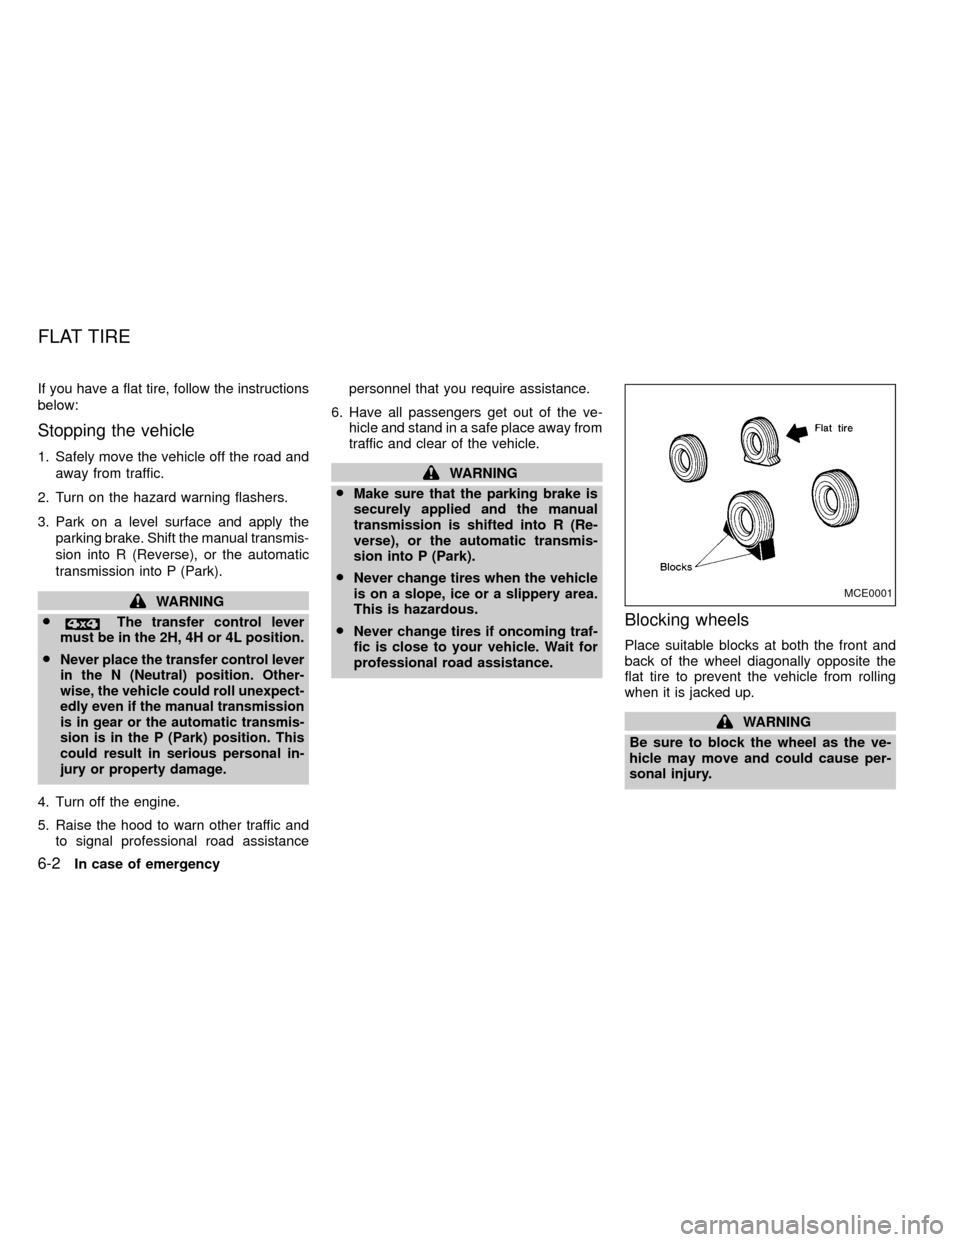
Blocking wheels
Place suitable blocks at both the front and
back of the wheel diagonally opposite the
flat tire to prevent the vehicle from rolling
when it is jacked up.
WARNING
Be sure to block the wheel as the ve-
hicle may move and could cause per-
sonal injury.
MCE0001
FLAT TIRE
6-2In case of emergency
ZX
Page 143 of 247

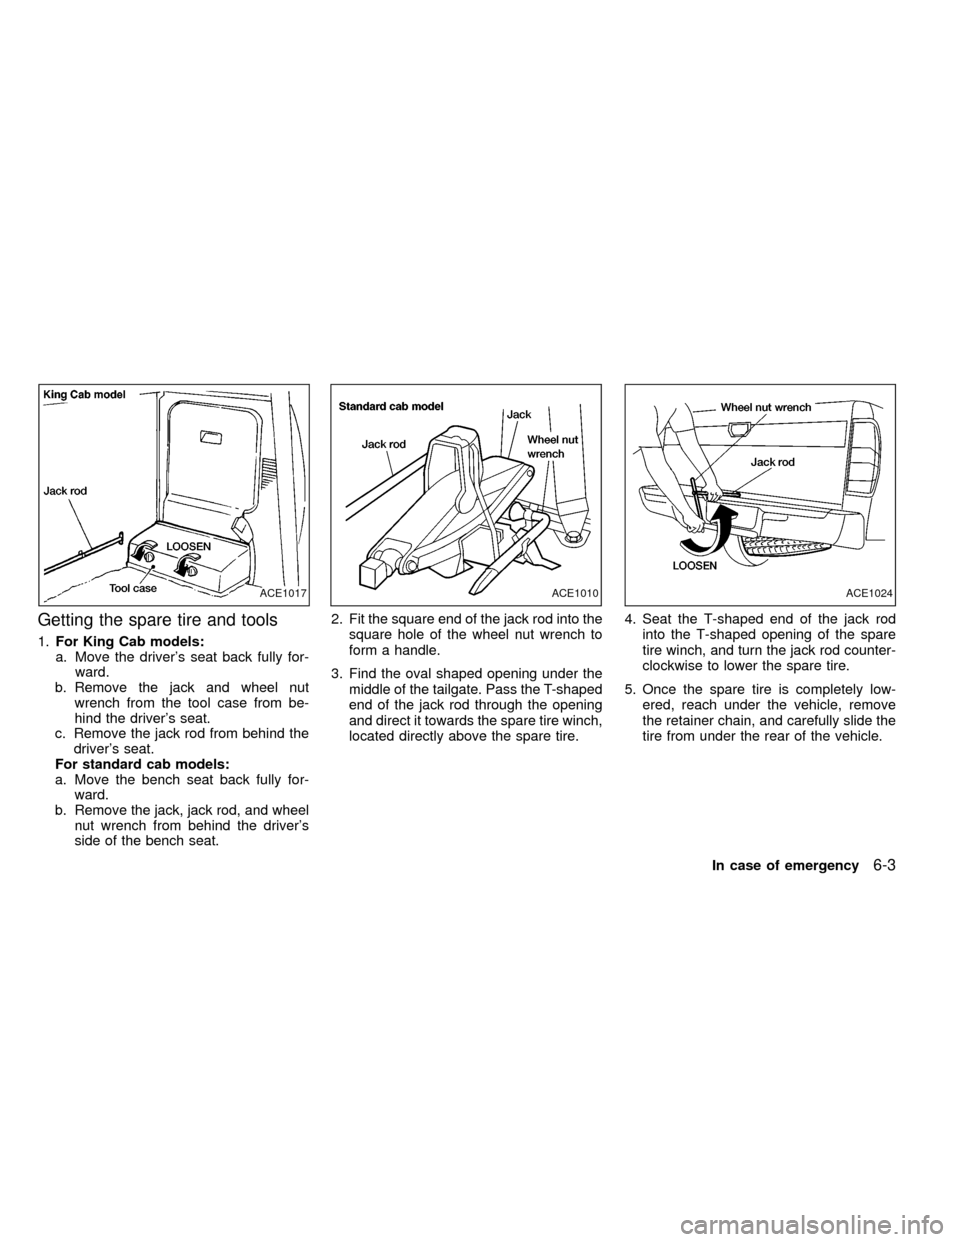
Getting the spare tire and tools
1.For King Cab models:
a. Move the driver's seat back fully for-
ward.
b. Remove the jack and wheel nut
wrench from the tool case from be-
hind the driver's seat.
c. Remove the jack rod from behind the
driver's seat.
For standard cab models:
a. Move the bench seat back fully for-
ward.
b. Remove the jack, jack rod, and wheel
nut wrench from behind the driver's
side of the bench seat.2. Fit the square end of the jack rod into the
square hole of the wheel nut wrench to
form a handle.
3. Find the oval shaped opening under the
middle of the tailgate. Pass the T-shaped
end of the jack rod through the opening
and direct it towards the spare tire winch,
located directly above the spare tire.4. Seat the T-shaped end of the jack rod
into the T-shaped opening of the spare
tire winch, and turn the jack rod counter-
clockwise to lower the spare tire.
5. Once the spare tire is completely low-
ered, reach under the vehicle, remove
the retainer chain, and carefully slide the
tire from under the rear of the vehicle.
ACE1017ACE1010ACE1024
In case of emergency6-3
ZX
Page 144 of 247
Removing wheel cover
CAUTION
Do not use your hands to pry off wheel
covers. Doing so could result in per-
sonal injury.
Use caution not to scratch the wheel cover
or wheel surface.
CE0047MACE1011
6-4In case of emergency
ZX
Page 145 of 247
Jacking up the vehicle and remov-
ing the wheel
Always refer to the proper illustrations for
the correct placement and jack-up points for
your specific vehicle model and jack type.
WARNING
INever get under the vehicle while it
is supported only by the jack.
IUse the jack provided with your ve-
hicle. Do not use the jack provided
with your vehicle on other vehicles.
IThe jack is designed only for lifting
your vehicle during a tire change.
IUse the correct jack up points; never
use any other part of the vehicle for
jack support.INever jack up the vehicle more than
necessary.
INever use blocks on or under the
jack.
IDo not allow passengers to stay in
the vehicle while it is on the jack.
INever run the engine with the wheels
off the ground. It may cause the
vehicle to move. This is especially
true for vehicles with limited slip
differential carriers.
ACE1028
PANTOGRAPH TYPE JACK
In case of emergency6-5
ZX
Page 146 of 247
WARNING
IIncorrect wheel nuts or improperly
tightened wheel nuts can cause the
wheel to become loose or come off.
This could cause an accident.
IDo not use oil or grease on the wheel
studs or nuts. This could cause the
nuts to become loose.
Installing the spare tire
The spare tire is designed for emergency
use. See specific instructions under the
heading ``Wheels and tires'' in the ``Do-
ACE1027CE0116
6-6In case of emergency
ZX
Page 147 of 247

it-yourself'' section of this owner's
manual.
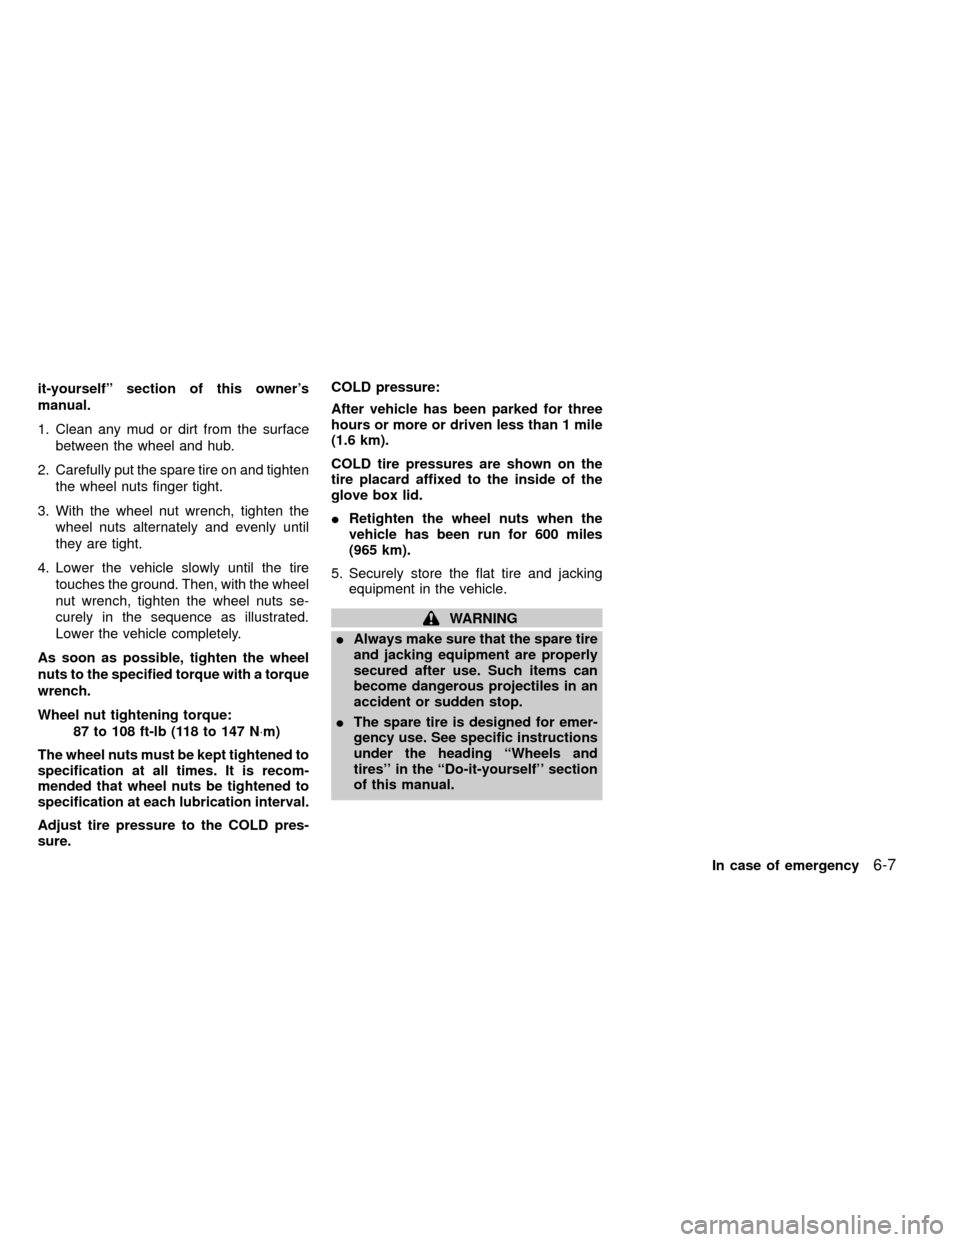
1. Clean any mud or dirt from the surface
between the wheel and hub.
2. Carefully put the spare tire on and tighten
the wheel nuts finger tight.
3. With the wheel nut wrench, tighten the
wheel nuts alternately and evenly until
they are tight.
4. Lower the vehicle slowly until the tire
touches the ground. Then, with the wheel
nut wrench, tighten the wheel nuts se-
curely in the sequence as illustrated.
Lower the vehicle completely.
As soon as possible, tighten the wheel
nuts to the specified torque with a torque
wrench.
Wheel nut tightening torque:
87 to 108 ft-lb (118 to 147 N×m)
The wheel nuts must be kept tightened to
specification at all times. It is recom-
mended that wheel nuts be tightened to
specification at each lubrication interval.
Adjust tire pressure to the COLD pres-
sure.COLD pressure:
After vehicle has been parked for three
hours or more or driven less than 1 mile
(1.6 km).
COLD tire pressures are shown on the
tire placard affixed to the inside of the
glove box lid.
IRetighten the wheel nuts when the
vehicle has been run for 600 miles
(965 km).
5. Securely store the flat tire and jacking
equipment in the vehicle.
WARNING
IAlways make sure that the spare tire
and jacking equipment are properly
secured after use. Such items can
become dangerous projectiles in an
accident or sudden stop.
IThe spare tire is designed for emer-
gency use. See specific instructions
under the heading ``Wheels and
tires'' in the ``Do-it-yourself'' section
of this manual.
In case of emergency
6-7
ZX
Page 151 of 247

When towing your vehicle, U.S. States, Ca-
nadian provinces and local regulations for
towing must be followed. Incorrect towing
equipment could damage your vehicle. Tow-
ing instructions are available from an autho-
rized NISSAN dealer. Local service operators
are generally familiar with the applicable laws
and procedures for towing. To assure proper
towing and to prevent accidental damage to
your vehicle, NISSAN recommends having a
service operator tow your vehicle. It is advis-
able to have the service operator carefully
read the following precautions:
WARNING
INever ride in a vehicle that is being
towed.
INever get under your vehicle after it
has been lifted by a tow truck.
CAUTION
IWhen towing, make sure that the
transmission, axles, steering system
and powertrain are in working con-
dition. If any unit is damaged, a dolly
must be used.IWhen towing with the front wheels
on the ground:
Turn the ignition key to the OFF
position and secure the steering
wheel in a straight-ahead position
with a rope or similar device. Never
place the ignition key in the LOCK
position. This will result in damage
to the steering lock mechanism.
IWhen towing with the rear wheels on
the ground:
Release the parking brake and move
the gearshift lever to the N (Neutral)
position.
On automatic transmission models,
to move the shift lever to N (Neutral),
turn the ignition key to the ACC po-
sition. After moving the shift lever to
N (neutral), be sure to turn the igni-
tion key to the OFF position.
IFor four-wheel drive models:
Set the free-running hubs to the free
position. See ``
Auto-lock free-
running hubsº or ``Manual-lock
free-running hubsº as appropriate in
the ``Starting and driving'' section.Move the transfer case shift lever
into the 2H position and the trans-
mission shift lever into the N (Neu-
tral) position.
IAttach safety chains for all towing.
TOW TRUCK TOWING
In case of emergency6-11
ZX