1999 LINCOLN TOWN CAR set clock
[x] Cancel search: set clockPage 5 of 208
TAPESEEK
TUNE
REW
FFSIDE 1 2
COMP
SHUFF
EJ
RDS
SCAN AUTO
123
4
56
BASS
TREBSELBAL
FADE
MAX
A/CAUTO
FRONT
REAR
SELECTRESET
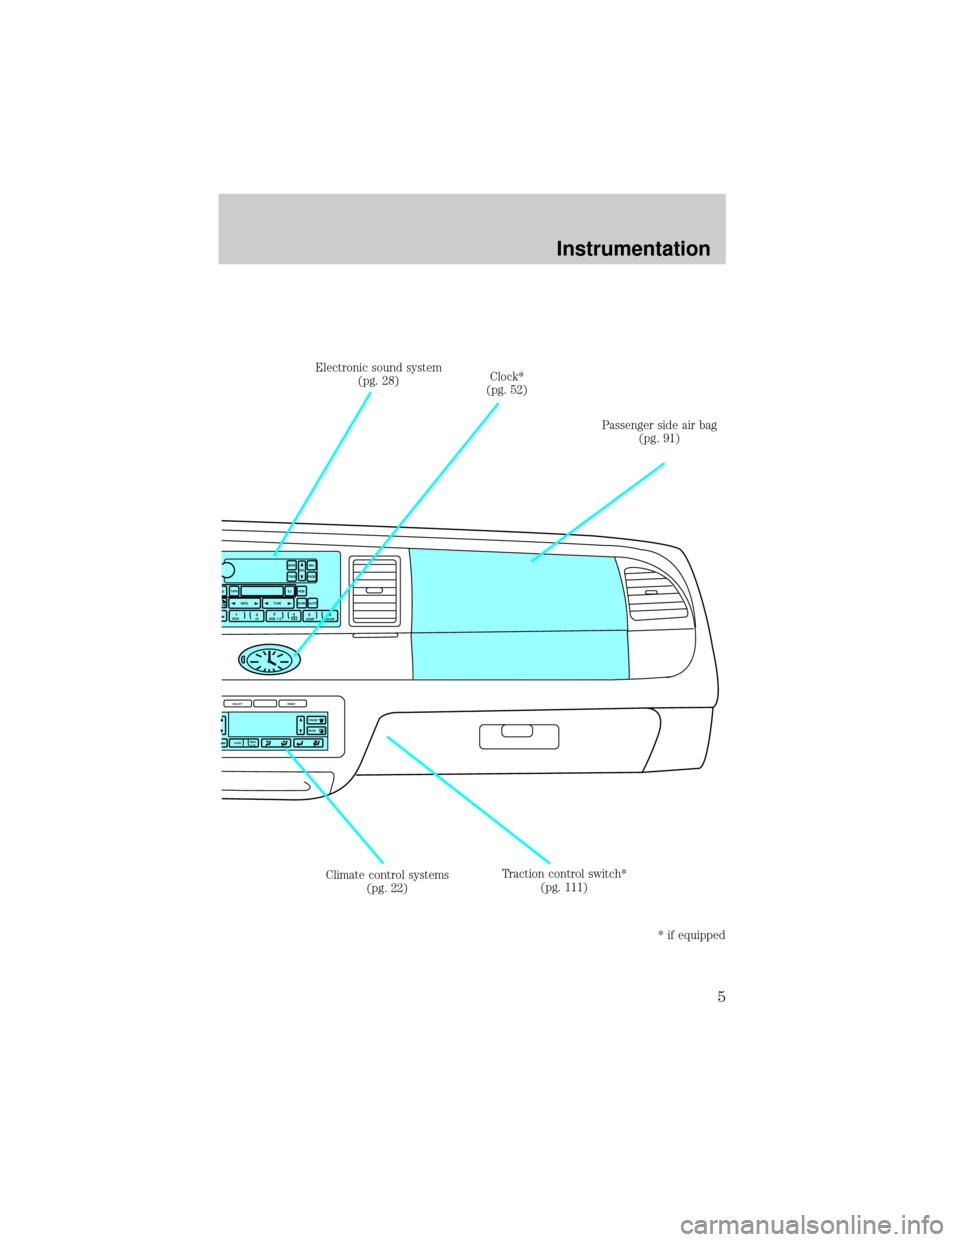
Climate control systems
(pg. 22)Clock*
(pg. 52) Electronic sound system
(pg. 28)
Passenger side air bag
(pg. 91)
Traction control switch*
(pg. 111)
* if equipped
Instrumentation
5
Page 34 of 208
The noise reduction system is manufactured under license from Dolby
Laboratories Licensing Corporation.
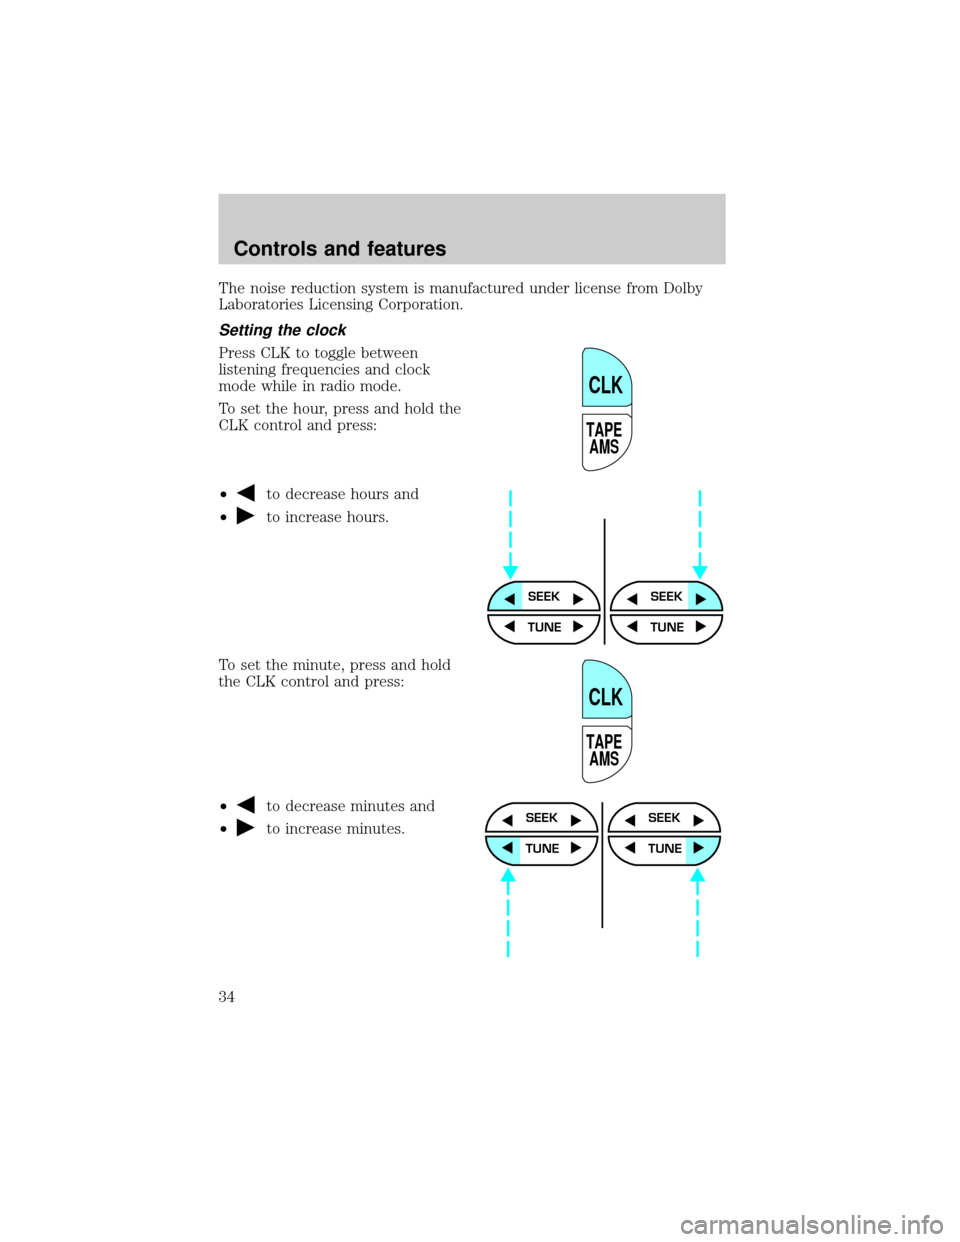
Setting the clock
Press CLK to toggle between
listening frequencies and clock
mode while in radio mode.
To set the hour, press and hold the
CLK control and press:
²
to decrease hours and
²
to increase hours.
To set the minute, press and hold
the CLK control and press:
²
to decrease minutes and
²
to increase minutes.
TAPE
AMS
CLK
SEEKSEEK
TUNE TUNE
TAPE
AMS
CLK
SEEK
TUNE
SEEK
TUNE
Controls and features
34
Page 35 of 208
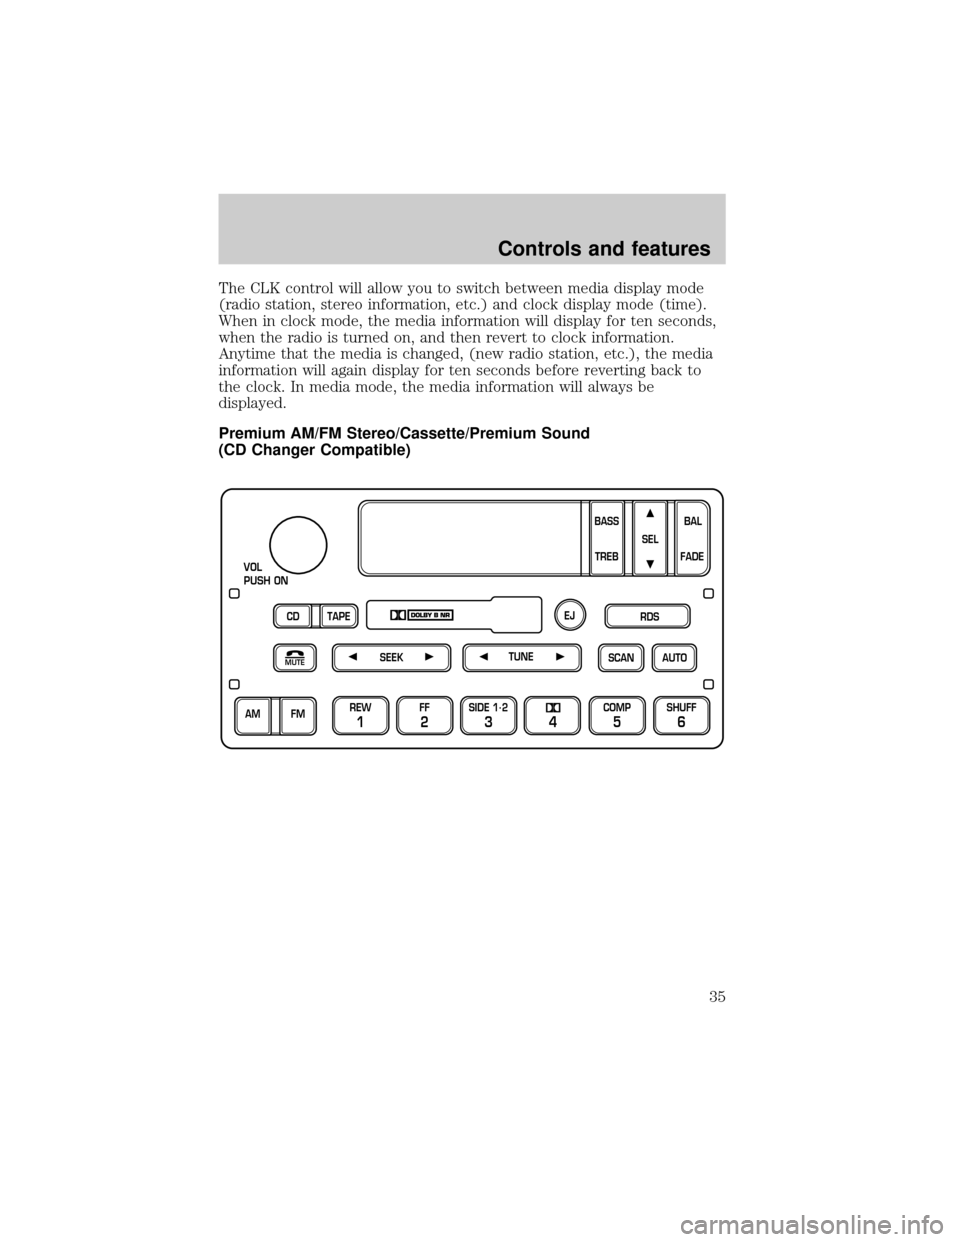
The CLK control will allow you to switch between media display mode
(radio station, stereo information, etc.) and clock display mode (time).
When in clock mode, the media information will display for ten seconds,
when the radio is turned on, and then revert to clock information.
Anytime that the media is changed, (new radio station, etc.), the media
information will again display for ten seconds before reverting back to
the clock. In media mode, the media information will always be
displayed.
Premium AM/FM Stereo/Cassette/Premium Sound
(CD Changer Compatible)
SCAN
VOL
PUSH ON
REW
1
FF
2
SIDE 1.
2
34
COMP
5
SHUFF
6
AUTO TUNE
SEEK
SEL
BAL
FADE
MUTE
FM AM
EJ
BASS
TREB
CD TAPERDS
Controls and features
35
Page 46 of 208
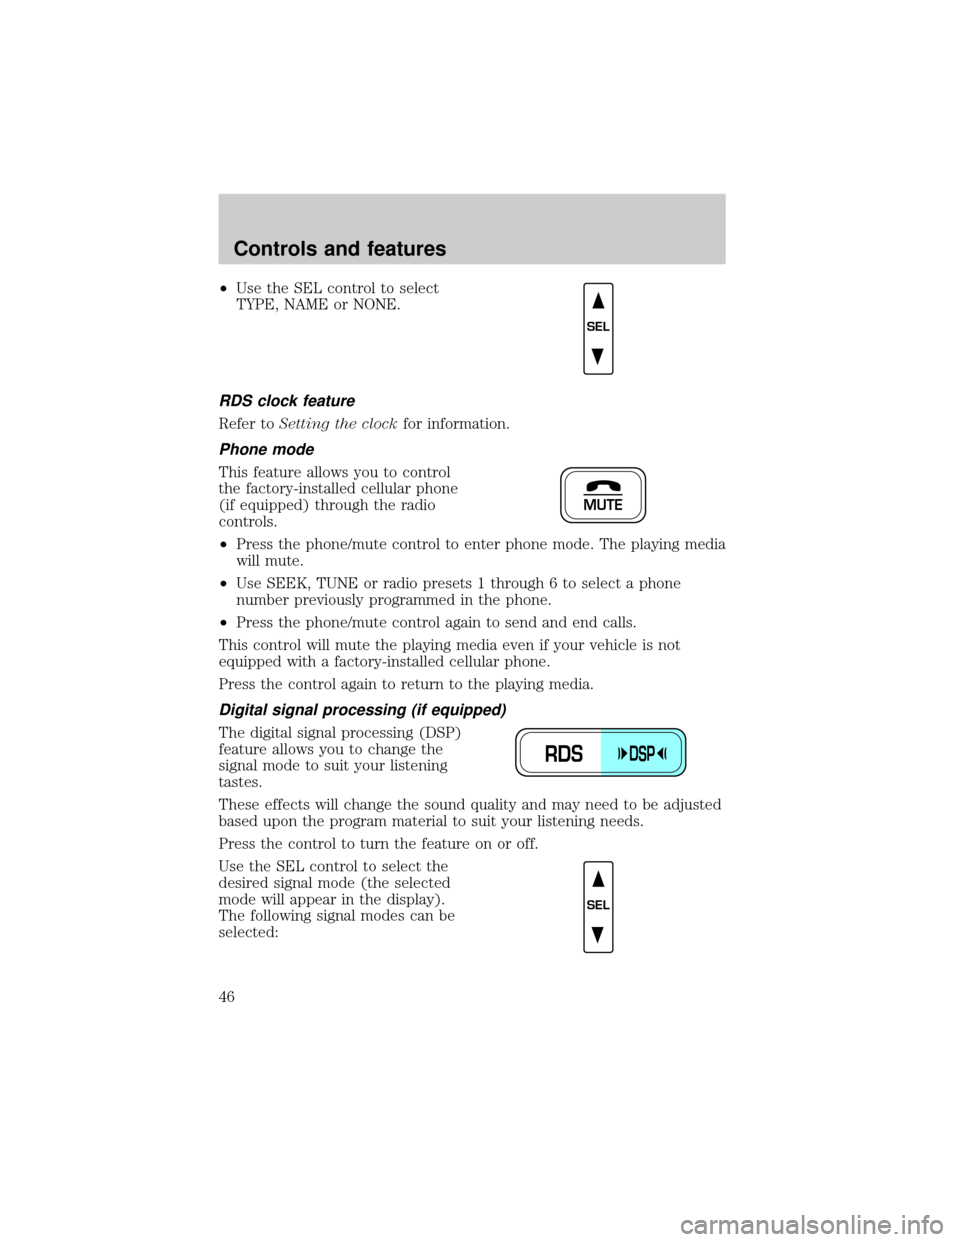
²Use the SEL control to select
TYPE, NAME or NONE.
RDS clock feature
Refer toSetting the clockfor information.
Phone mode
This feature allows you to control
the factory-installed cellular phone
(if equipped) through the radio
controls.
²Press the phone/mute control to enter phone mode. The playing media
will mute.
²Use SEEK, TUNE or radio presets 1 through 6 to select a phone
number previously programmed in the phone.
²Press the phone/mute control again to send and end calls.
This control will mute the playing media even if your vehicle is not
equipped with a factory-installed cellular phone.
Press the control again to return to the playing media.
Digital signal processing (if equipped)
The digital signal processing (DSP)
feature allows you to change the
signal mode to suit your listening
tastes.
These effects will change the sound quality and may need to be adjusted
based upon the program material to suit your listening needs.
Press the control to turn the feature on or off.
Use the SEL control to select the
desired signal mode (the selected
mode will appear in the display).
The following signal modes can be
selected:
SEL
MUTE
RDSDSP
SEL
Controls and features
46
Page 47 of 208
²JAZZ CLUBÐjazz club with clearly reflected sounds.
²HALLÐrectangular concert hall capacity of about 2 000
²CHURCHÐchurch with a high vault.
²STADIUMÐoutdoor stadium with a capacity of about 30 000.
²NEWSЪvoice-onlyº type of sound with a limited audio band.
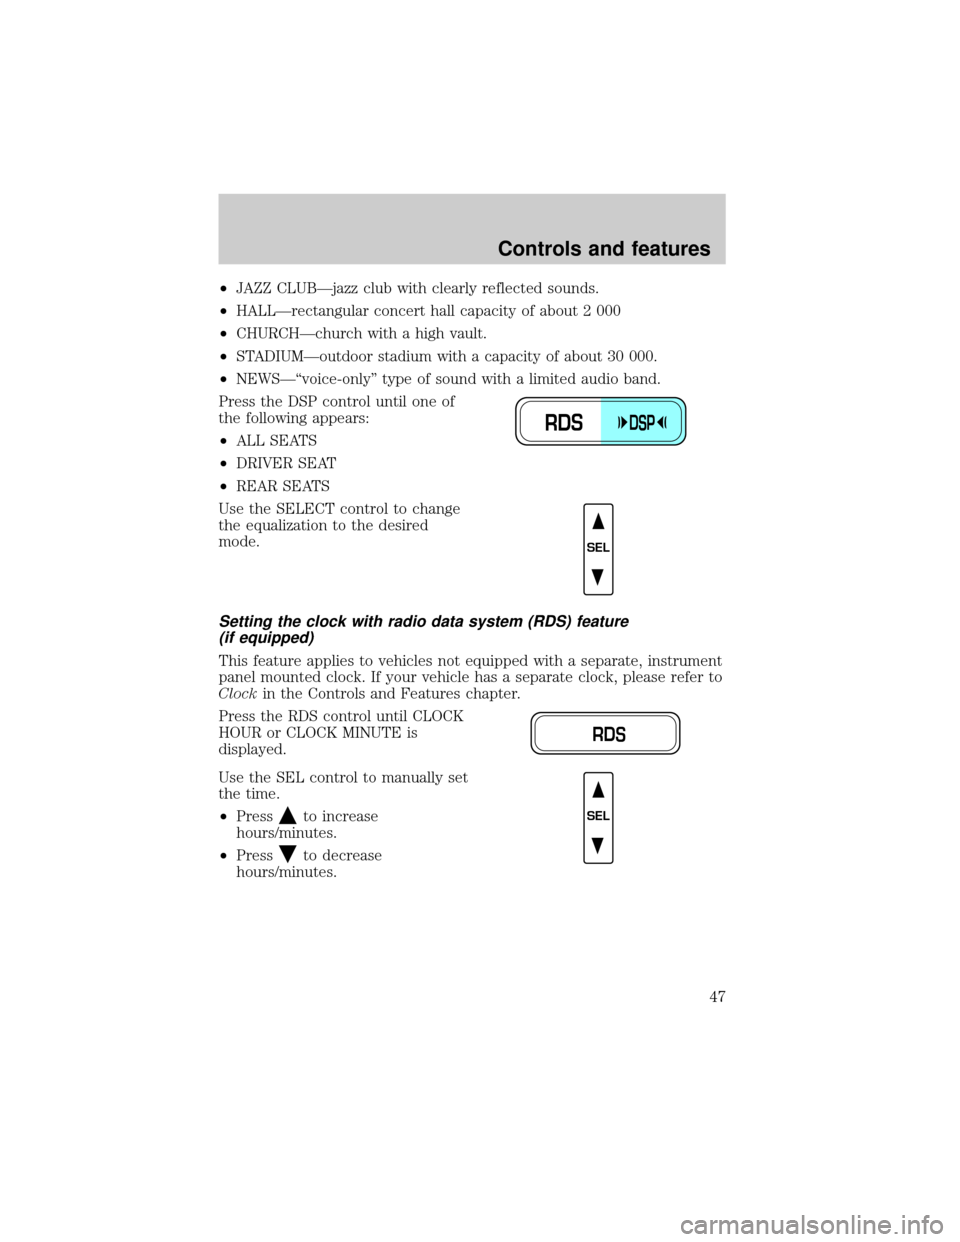
Press the DSP control until one of
the following appears:
²ALL SEATS
²DRIVER SEAT
²REAR SEATS
Use the SELECT control to change
the equalization to the desired
mode.
Setting the clock with radio data system (RDS) feature
(if equipped)
This feature applies to vehicles not equipped with a separate, instrument
panel mounted clock. If your vehicle has a separate clock, please refer to
Clockin the Controls and Features chapter.
Press the RDS control until CLOCK
HOUR or CLOCK MINUTE is
displayed.
Use the SEL control to manually set
the time.
²Press
to increase
hours/minutes.
²Press
to decrease
hours/minutes.
RDSDSP
SEL
RDS
SEL
Controls and features
47
Page 134 of 208
9. Lower the wheel by turning the jack handle counterclockwise.
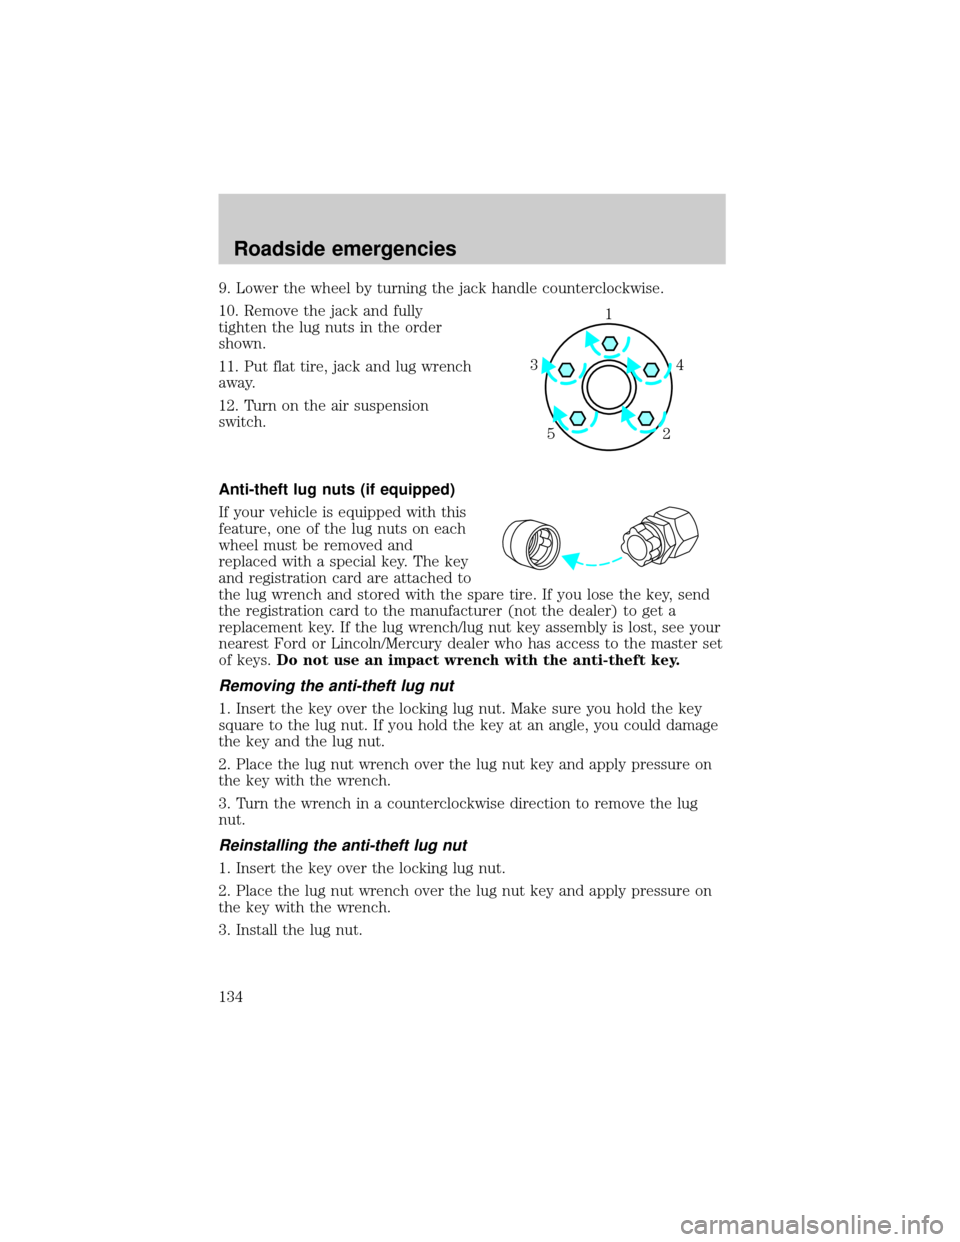
10. Remove the jack and fully
tighten the lug nuts in the order
shown.
11. Put flat tire, jack and lug wrench
away.
12. Turn on the air suspension
switch.
Anti-theft lug nuts (if equipped)
If your vehicle is equipped with this
feature, one of the lug nuts on each
wheel must be removed and
replaced with a special key. The key
and registration card are attached to
the lug wrench and stored with the spare tire. If you lose the key, send
the registration card to the manufacturer (not the dealer) to get a
replacement key. If the lug wrench/lug nut key assembly is lost, see your
nearest Ford or Lincoln/Mercury dealer who has access to the master set
of keys.Do not use an impact wrench with the anti-theft key.
Removing the anti-theft lug nut
1. Insert the key over the locking lug nut. Make sure you hold the key
square to the lug nut. If you hold the key at an angle, you could damage
the key and the lug nut.
2. Place the lug nut wrench over the lug nut key and apply pressure on
the key with the wrench.
3. Turn the wrench in a counterclockwise direction to remove the lug
nut.
Reinstalling the anti-theft lug nut
1. Insert the key over the locking lug nut.
2. Place the lug nut wrench over the lug nut key and apply pressure on
the key with the wrench.
3. Install the lug nut.
1
4 3
52
Roadside emergencies
134
Page 156 of 208
4. The relearning process will automatically complete as you drive the
vehicle.
²The vehicle may need to be driven 16 km (10 miles) or more to
relearn the idle and fuel trim strategy.
²If you do not allow the engine to relearn its idle trim, the idle quality
of your vehicle may be adversely affected until the idle trim is
eventually relearned.
If the battery has been disconnected or a new battery has been installed,
the clock and the preset radio stations must be reset once the battery is
reconnected.
²Always dispose of automotive
batteries in a responsible manner.
Follow your local authorized
standards for disposal. Call your
local authorized recycling center
to find out more about recycling
automotive batteries.
WINDSHIELD WIPER BLADES
Check the wiper blades at least twice a year or when they seem less
effective. Substances such as tree sap and some hot wax treatments used
by commercial car washes reduce the effectiveness of wiper blades.
Checking the wiper blades
If the wiper blades do not wipe properly, clean both the windshield and
wiper blades using undiluted windshield wiper solution or a mild
detergent. Rinse thoroughly with clean water. To avoid damaging the
blades, do not use fuel, kerosene, paint thinner or other solvents.
LEAD
RETURN
RECYCLE
Maintenance and care
156
Page 200 of 208

Accessory delay ..........................67
Air bag supplemental
restraint system .....................91,95
and child safety seats ..............92
description ...........................91,95
disposal ......................................98
driver air bag .......................93,96
indicator light ...................7,94,97
operation ..............................93,96
passenger air bag ................93,96
Air cleaner filter .......................181
Air conditioning ..........................22
automatic temperature
control system ..........................22
Air suspension ...........................113
air leveling disabled warning,
message center .......................113
air ride switch off warning,
message center .......................113
check air ride system
warning, message center .......113
check air suspension warning,
message center .......................113
description ..............................113
warning light ...........................113
Anti-theft system ..............77,78,79
Automatic transmission
driving an automatic
overdrive .................................115
fluid, refill capacities ..............181
fluid, specification ..................184
Axle
lubricant specifications ..........184
refill capacities ........................181
traction lok ..............................117
Battery .......................................154
acid, treating emergencies .....154
jumping a disabled battery ....135
maintenance-free ....................154
replacement, specifications ...181
servicing ..................................154
Brakes ........................................109anti-lock ............................109,110
anti-lock brake system
(ABS) warning light ............8,110
brake warning light ....................8
fluid, checking and adding ....146
fluid, refill capacities ..............181
fluid, specifications ..........182,184
lubricant specifications ...182,184
shift interlock ..........................114
Break-in period .............................2
Capacities for refilling fluids ....181
CD changer .................................48
Child safety restraints ................98
child safety belts ......................98
child safety seats ......................99
Child safety seats ........................99
attaching with tether straps ..103
built-in child seat .....................99
in front seat ............................101
in rear seat ..............................101
tether anchorage hardware ...104
Cleaning your vehicle ...............176
engine compartment ..............178
exterior .............................177,180
exterior lamps .........................179
instrument panel ....................179
interior ..............................179,180
mirrors .....................................180
plastic parts ............................178
safety belts ..............................180
washing ....................................176
waxing .....................................177
wheels ......................................177
windows ..................................180
wiper blades ............................179
Clock ............................................52
Compass, electronic
calibration .................................17
set zone adjustment .................16
Controls ........................60,61,62,63
power seat ............................80,82
steering column ........................59
Index
200