1999 LINCOLN TOWN CAR Engine
[x] Cancel search: EnginePage 150 of 208
What you should know about fail-safe cooling
If the engine coolant supply is depleted, this feature allows the vehicle to
be driven temporarily before incremental component damage is incurred.
The ªfail-safeº distance depends on ambient temperatures, vehicle load
and terrain.
How fail-safe cooling works
If the engine begins to overheat:
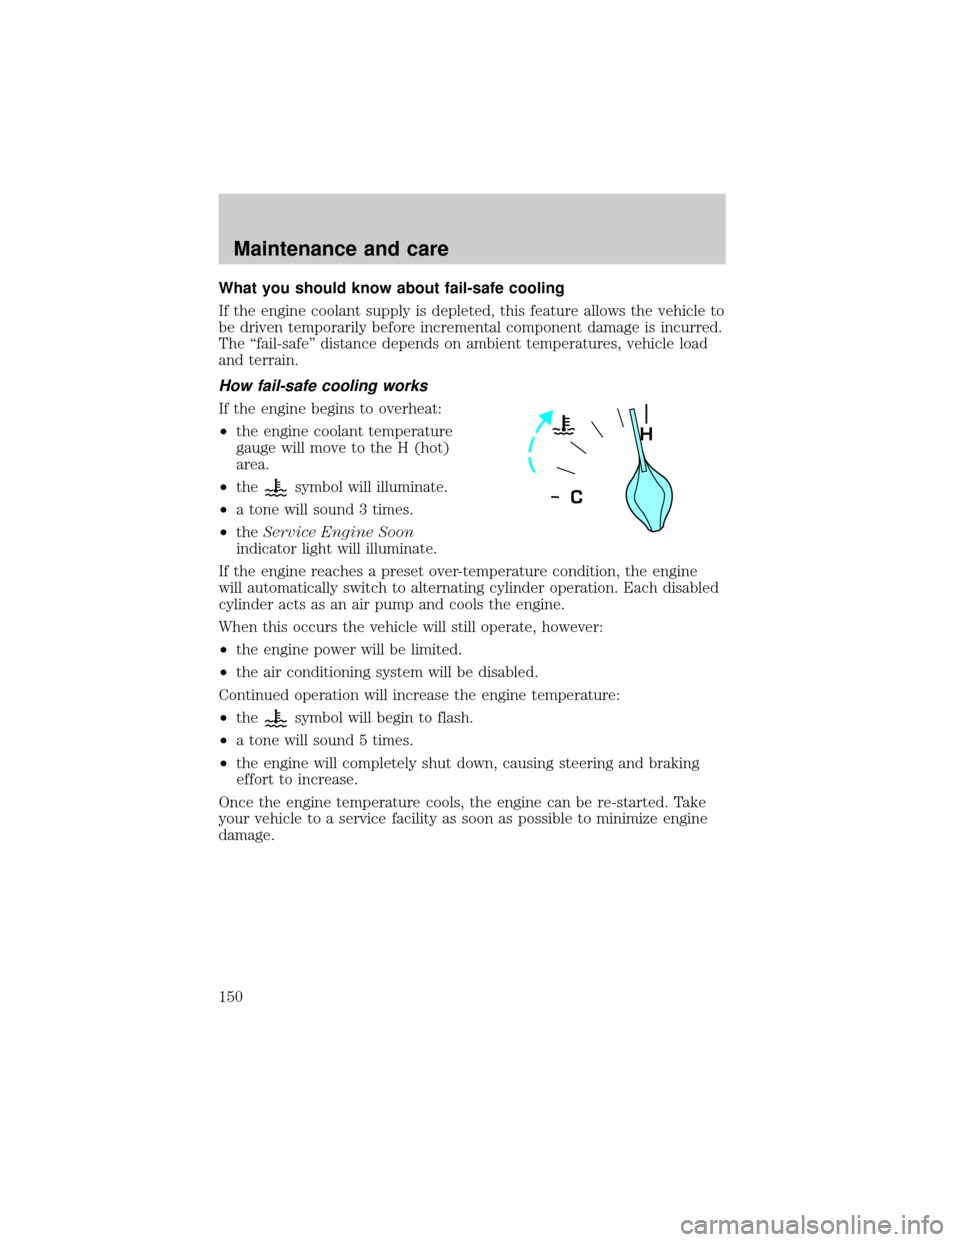
²the engine coolant temperature
gauge will move to the H (hot)
area.
²the
symbol will illuminate.
²a tone will sound 3 times.
²theService Engine Soon
indicator light will illuminate.
If the engine reaches a preset over-temperature condition, the engine
will automatically switch to alternating cylinder operation. Each disabled
cylinder acts as an air pump and cools the engine.
When this occurs the vehicle will still operate, however:
²the engine power will be limited.
²the air conditioning system will be disabled.
Continued operation will increase the engine temperature:
²the
symbol will begin to flash.
²a tone will sound 5 times.
²the engine will completely shut down, causing steering and braking
effort to increase.
Once the engine temperature cools, the engine can be re-started. Take
your vehicle to a service facility as soon as possible to minimize engine
damage.
H
Maintenance and care
150
Page 151 of 208
When fail-safe mode is activated
You have limited engine power when in the fail-safe mode, so drive the
vehicle with caution. The vehicle will not be able to maintain high-speed
operation and the engine will run rough. Remember that the engine is
capable of completely shutting down automatically to prevent engine
damage, therefore:
1. Pull off the road as soon as safely possible and turn off the engine.
2. Arrange for the vehicle to be taken to a service facility.
3. If this is not possible, wait a short period for the engine to cool.
4. Check the coolant level and replenish if low.
Never remove the coolant reservoir cap while the engine is
running or hot.
5. Re-start the engine and take your vehicle to a service facility.
Driving the vehicle without repairing the engine problem
increases the chance of engine damage. Take your vehicle to a
service facility as soon as possible.
CHECKING AND ADDING POWER STEERING FLUID
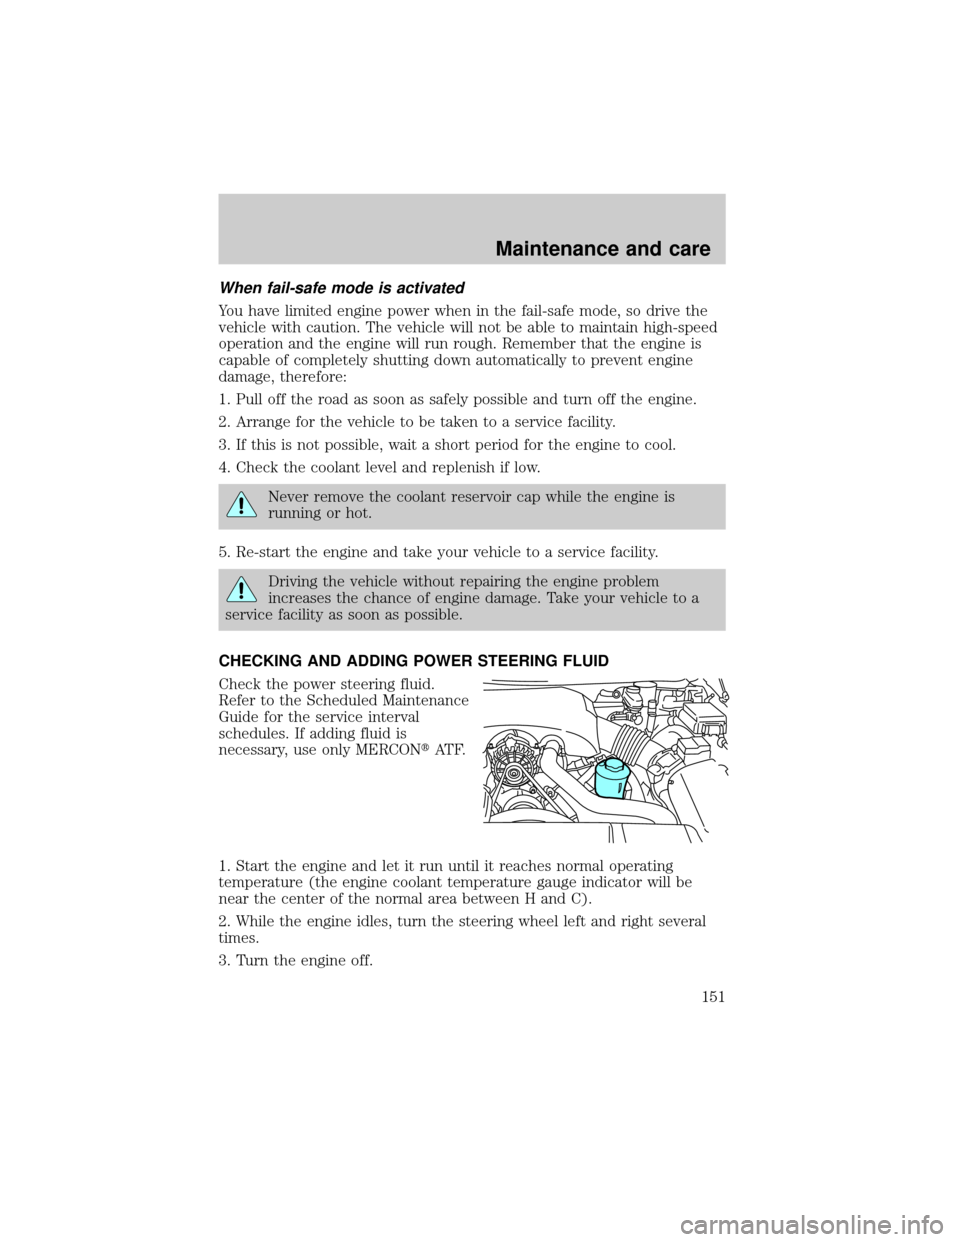
Check the power steering fluid.
Refer to the Scheduled Maintenance
Guide for the service interval
schedules. If adding fluid is
necessary, use only MERCONtAT F.
1. Start the engine and let it run until it reaches normal operating
temperature (the engine coolant temperature gauge indicator will be
near the center of the normal area between H and C).
2. While the engine idles, turn the steering wheel left and right several
times.
3. Turn the engine off.
Maintenance and care
151
Page 152 of 208
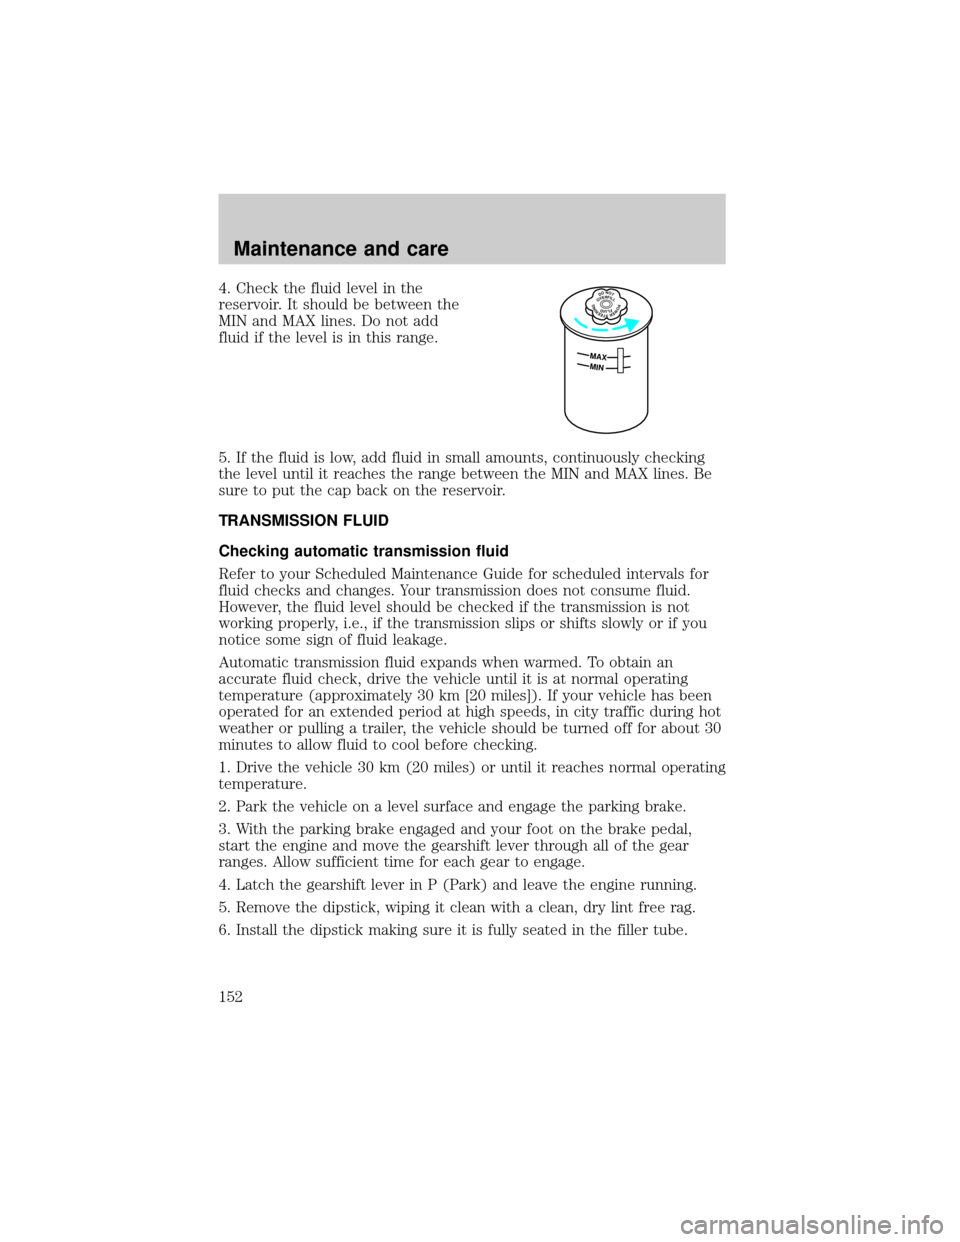
4. Check the fluid level in the
reservoir. It should be between the
MIN and MAX lines. Do not add
fluid if the level is in this range.
5. If the fluid is low, add fluid in small amounts, continuously checking
the level until it reaches the range between the MIN and MAX lines. Be
sure to put the cap back on the reservoir.
TRANSMISSION FLUID
Checking automatic transmission fluid
Refer to your Scheduled Maintenance Guide for scheduled intervals for
fluid checks and changes. Your transmission does not consume fluid.
However, the fluid level should be checked if the transmission is not
working properly, i.e., if the transmission slips or shifts slowly or if you
notice some sign of fluid leakage.
Automatic transmission fluid expands when warmed. To obtain an
accurate fluid check, drive the vehicle until it is at normal operating
temperature (approximately 30 km [20 miles]). If your vehicle has been
operated for an extended period at high speeds, in city traffic during hot
weather or pulling a trailer, the vehicle should be turned off for about 30
minutes to allow fluid to cool before checking.
1. Drive the vehicle 30 km (20 miles) or until it reaches normal operating
temperature.
2. Park the vehicle on a level surface and engage the parking brake.
3. With the parking brake engaged and your foot on the brake pedal,
start the engine and move the gearshift lever through all of the gear
ranges. Allow sufficient time for each gear to engage.
4. Latch the gearshift lever in P (Park) and leave the engine running.
5. Remove the dipstick, wiping it clean with a clean, dry lint free rag.
6. Install the dipstick making sure it is fully seated in the filler tube.DONOTOVERFILLPOWERSTEERINGFLUID
MAX
MIN
Maintenance and care
152
Page 155 of 208
If your battery has a cover/shield, make sure it is reinstalled
after the battery has been cleaned or replaced.
For longer, trouble-free operation, keep the top of the battery clean and
dry. Also, make certain the battery cables are always tightly fastened to
the battery terminals.
If you see any corrosion on the battery or terminals, remove the cables
from the terminals and clean with a wire brush. You can neutralize the
acid with a solution of baking soda and water.
Batteries normally produce explosive gases which can cause
personal injury. Therefore, do not allow flames, sparks or lighted
substances to come near the battery. When working near the battery,
always shield your face and protect your eyes. Always provide proper
ventilation.
When lifting a plastic-cased battery, excessive pressure on the
end walls could cause acid to flow through the vent caps,
resulting in personal injury and/or damage to the vehicle or battery.
Lift the battery with a battery carrier or with your hands on opposite
corners.
Keep batteries out of reach of children. Batteries contain sulfuric
acid. Avoid contact with skin, eyes or clothing. Shield your eyes
when working near the battery to protect against possible splashing of
acid solution. In case of acid contact with skin or eyes, flush
immediately with water for a minimum of 15 minutes and get prompt
medical attention. If acid is swallowed, call a physician immediately.
Because your vehicle's engine is electronically controlled by a computer,
some control conditions are maintained by power from the battery. When
the battery is disconnected or a new battery is installed, the engine must
relearn its idle and fuel trim strategy for optimum driveability and
performance. To begin this process:
1. Set your parking brake.
2. Put the gearshift in P (Park), turn off all accessories and start the
engine.
3. Let the engine idle for at least one minute.
Maintenance and care
155
Page 156 of 208
4. The relearning process will automatically complete as you drive the
vehicle.
²The vehicle may need to be driven 16 km (10 miles) or more to
relearn the idle and fuel trim strategy.
²If you do not allow the engine to relearn its idle trim, the idle quality
of your vehicle may be adversely affected until the idle trim is
eventually relearned.
If the battery has been disconnected or a new battery has been installed,
the clock and the preset radio stations must be reset once the battery is
reconnected.
²Always dispose of automotive
batteries in a responsible manner.
Follow your local authorized
standards for disposal. Call your
local authorized recycling center
to find out more about recycling
automotive batteries.
WINDSHIELD WIPER BLADES
Check the wiper blades at least twice a year or when they seem less
effective. Substances such as tree sap and some hot wax treatments used
by commercial car washes reduce the effectiveness of wiper blades.
Checking the wiper blades
If the wiper blades do not wipe properly, clean both the windshield and
wiper blades using undiluted windshield wiper solution or a mild
detergent. Rinse thoroughly with clean water. To avoid damaging the
blades, do not use fuel, kerosene, paint thinner or other solvents.
LEAD
RETURN
RECYCLE
Maintenance and care
156
Page 163 of 208
Fuel Filler Cap
Your fuel tank filler cap has an indexed design with a 1/8 turn on/off
feature.
When fueling your vehicle:
1. Turn the engine off.
2. Carefully turn the filler cap counterclockwise 1/8 of a turn until it
stops.
3. Pull to remove the cap from the fuel filler pipe.
4. To install the cap, align the tabs on the cap with the notches on the
filler pipe.
5. Turn the filler cap clockwise 1/8 of a turn until it stops.
If the ªService Engine Soon/Check Engineº indicator comes on and stays
on when you start the engine, the fuel filler cap may not be properly
installed. Turn off the engine, remove the fuel filler cap and reinstall it
being careful to align the cap properly.
If you must replace the fuel filler cap, replace it with a fuel filler
cap that is designed for your vehicle. The customer warranty may
be void for any damage to the fuel tank or fuel system if the
correct genuine Ford or Motorcraft fuel filler cap is not used.
The fuel system may be under pressure. If the fuel filler cap is
venting vapor or if you hear a hissing sound, wait until it stops
before completely removing the fuel filler cap. Otherwise, fuel may
spray out and injure you or others.
If you do not use the proper fuel filler cap, excessive pressure or
vacuum in the fuel tank may damage the fuel system or cause
the fuel system to work improperly in a collision, which may result in
possible personal injury.
Choosing the right fuel
Use only UNLEADED FUEL. The use of leaded fuel is prohibited by law
and could damage your vehicle.
Do not use gasolines containing methanol. It can damage critical fuel
systems components.
Maintenance and care
163
Page 164 of 208
Vehicles certified to meet California emission standards (indicated on the
underhood Vehicle Emissions Control Information label) are designed to
operate on California cleaner-burning, low-sulfur gasolines. If you have a
California-certified vehicle and California cleaner-burning gasoline is not
available when you refuel, your engine should perform adequately.
However, the performance of the emission control devices and systems
may be adversely affected. In New York and Massachusetts, which have
adopted California's emission standards without requiring the sale of
California cleaner-burning gasoline, repairs to correct the effects of using
non-California fuel may not be covered by the emissions warranty.
Your vehicle was not designed to use fuel or fuel additives with metallic
compounds, including manganese-based compounds containing (MMT).
Repairs to correct the effects of using a fuel for which your vehicle was
not designed may not be covered by your warranty.
Octane recommendations
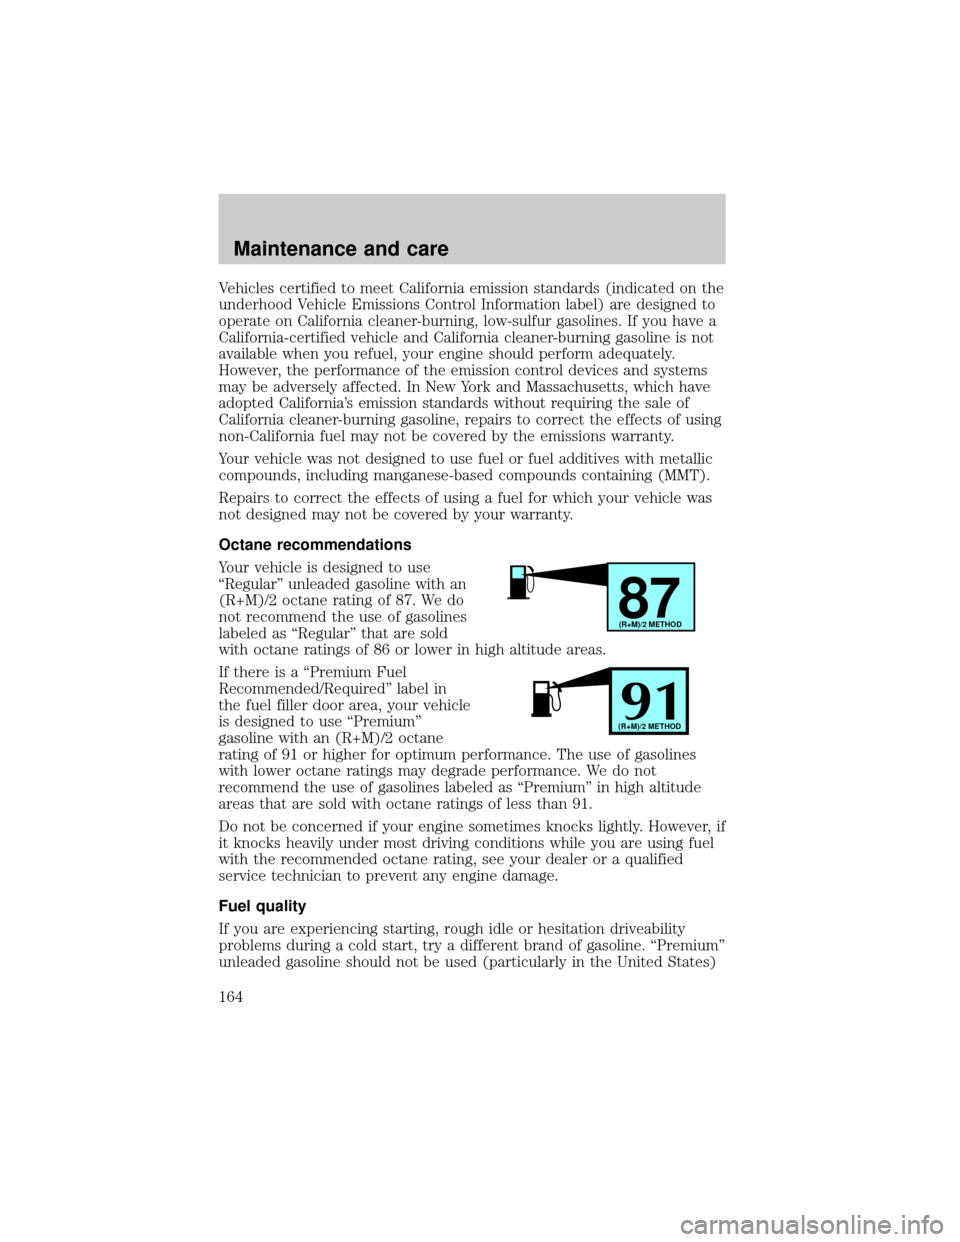
Your vehicle is designed to use
ªRegularº unleaded gasoline with an
(R+M)/2 octane rating of 87. We do
not recommend the use of gasolines
labeled as ªRegularº that are sold
with octane ratings of 86 or lower in high altitude areas.
If there is a ªPremium Fuel
Recommended/Requiredº label in
the fuel filler door area, your vehicle
is designed to use ªPremiumº
gasoline with an (R+M)/2 octane
rating of 91 or higher for optimum performance. The use of gasolines
with lower octane ratings may degrade performance. We do not
recommend the use of gasolines labeled as ªPremiumº in high altitude
areas that are sold with octane ratings of less than 91.
Do not be concerned if your engine sometimes knocks lightly. However, if
it knocks heavily under most driving conditions while you are using fuel
with the recommended octane rating, see your dealer or a qualified
service technician to prevent any engine damage.
Fuel quality
If you are experiencing starting, rough idle or hesitation driveability
problems during a cold start, try a different brand of gasoline. ªPremiumº
unleaded gasoline should not be used (particularly in the United States)
87(R+M)/2 METHOD
91(R+M)/2 METHOD
Maintenance and care
164
Page 165 of 208

if ªRegularº unleaded gasoline is recommended because it may cause
these problems to become more pronounced. If the problems persist, see
your dealer or a qualified service technician.
It should not be necessary to add any aftermarket products to your fuel
tank if you continue to use a high-quality fuel.
Cleaner air
Ford approves the use of gasolines to improve air quality, including
reformulated gasolines that contain oxygenates up to 10% ethanol or
15% MTBE.
Running out of fuel
Avoid running out fuel because this situation may have an adverse affect
on modern powertrain components.
If you have run out of fuel:
²You may need to crank the engine several times before the system
starts to pump fuel from the tank to the engine.
²Your ªService Engine Soonº indicator may come on. For more
information on the ªService Engine Soonº indicator, refer to the
Instrumentationchapter.
Fuel Filter
Your vehicle is equipped with a fuel filter that is mounted on the
underbody.
For fuel filter replacement, see your dealer or a qualified service
technician. Refer to the Scheduled Maintenance Guide for the
appropriate intervals for changing the fuel filter.
If you replace the fuel filter, replace it with an authorized
Motorcraft part. The customer warranty may be void for any
damage to the fuel system if an authorized Motorcraft fuel filter
is not used.
ESSENTIALS OF GOOD FUEL ECONOMY
Measuring techniques
Your best source of information about actual fuel economy is you, the
driver. You must gather information as accurately and consistently as
possible. Fuel expense, frequency of fillups or fuel gauge readings are
NOT accurate as a measure of fuel economy. We do not recommend
Maintenance and care
165