Page 154 of 208
Adjusting automatic transmission fluid levels
Before adding any fluid, make sure the correct type is used. The type of
fluid used is normally indicated on the dipstick and/or dipstick handle
and also in theLubricant specificationssection in theCapacities and
specificationschapter.
Use of a non-approved automatic transmission fluid may cause
internal transmission component damage.
If necessary, add fluid in 250 mL (1/2 pint) increments through the filler
tube until the level is correct.
If an overfill occurs, excess fluid
should be removed by a qualified
technician.
An overfill condition of
transmission fluid may cause shift and/or engagement concerns
and/or possible damage.
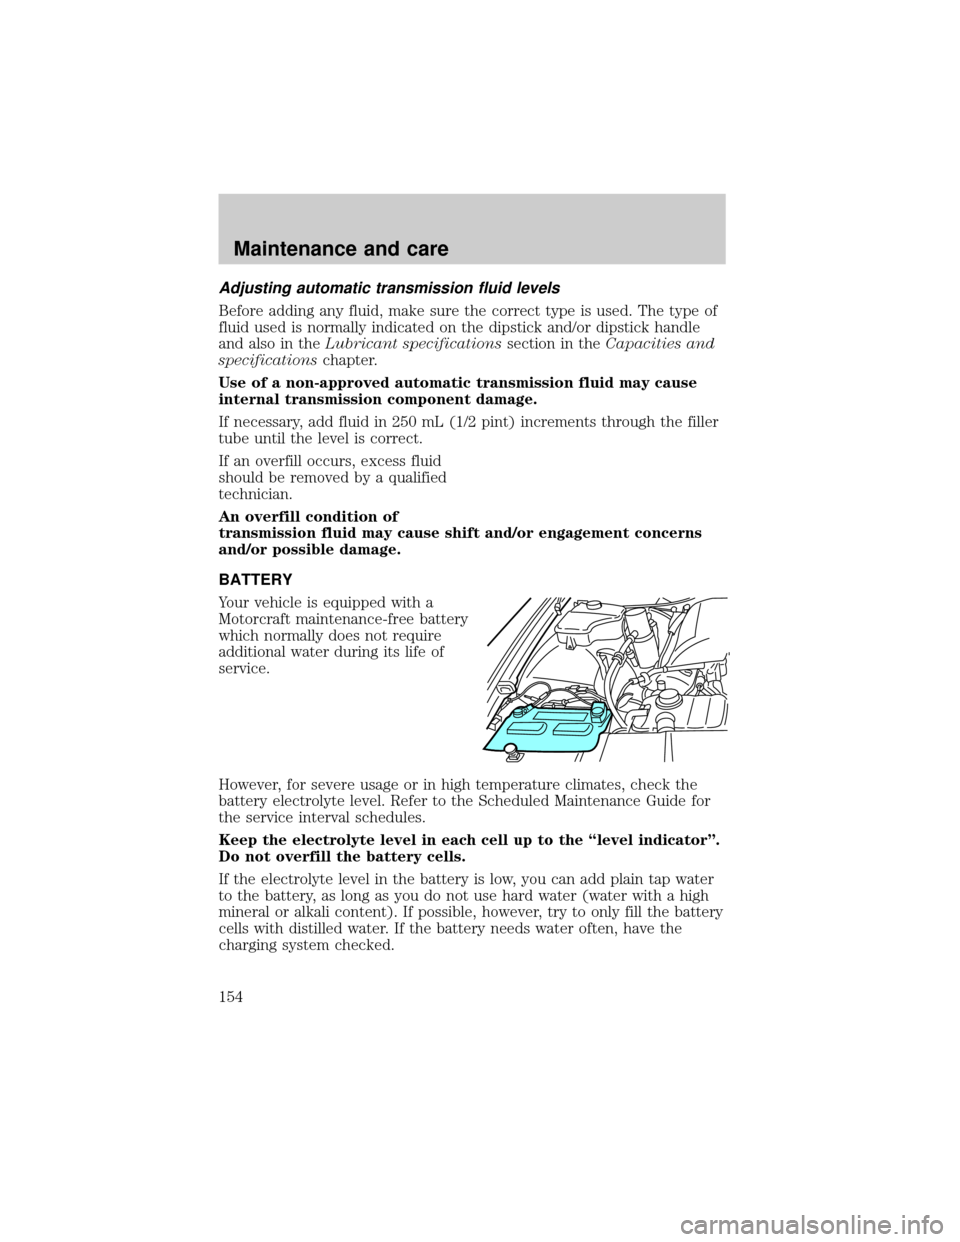
BATTERY
Your vehicle is equipped with a
Motorcraft maintenance-free battery
which normally does not require
additional water during its life of
service.
However, for severe usage or in high temperature climates, check the
battery electrolyte level. Refer to the Scheduled Maintenance Guide for
the service interval schedules.
Keep the electrolyte level in each cell up to the ªlevel indicatorº.
Do not overfill the battery cells.
If the electrolyte level in the battery is low, you can add plain tap water
to the battery, as long as you do not use hard water (water with a high
mineral or alkali content). If possible, however, try to only fill the battery
cells with distilled water. If the battery needs water often, have the
charging system checked.
Maintenance and care
154
Page 163 of 208
Fuel Filler Cap
Your fuel tank filler cap has an indexed design with a 1/8 turn on/off
feature.
When fueling your vehicle:
1. Turn the engine off.
2. Carefully turn the filler cap counterclockwise 1/8 of a turn until it
stops.
3. Pull to remove the cap from the fuel filler pipe.
4. To install the cap, align the tabs on the cap with the notches on the
filler pipe.
5. Turn the filler cap clockwise 1/8 of a turn until it stops.
If the ªService Engine Soon/Check Engineº indicator comes on and stays
on when you start the engine, the fuel filler cap may not be properly
installed. Turn off the engine, remove the fuel filler cap and reinstall it
being careful to align the cap properly.
If you must replace the fuel filler cap, replace it with a fuel filler
cap that is designed for your vehicle. The customer warranty may
be void for any damage to the fuel tank or fuel system if the
correct genuine Ford or Motorcraft fuel filler cap is not used.
The fuel system may be under pressure. If the fuel filler cap is
venting vapor or if you hear a hissing sound, wait until it stops
before completely removing the fuel filler cap. Otherwise, fuel may
spray out and injure you or others.
If you do not use the proper fuel filler cap, excessive pressure or
vacuum in the fuel tank may damage the fuel system or cause
the fuel system to work improperly in a collision, which may result in
possible personal injury.
Choosing the right fuel
Use only UNLEADED FUEL. The use of leaded fuel is prohibited by law
and could damage your vehicle.
Do not use gasolines containing methanol. It can damage critical fuel
systems components.
Maintenance and care
163
Page 165 of 208

if ªRegularº unleaded gasoline is recommended because it may cause
these problems to become more pronounced. If the problems persist, see
your dealer or a qualified service technician.
It should not be necessary to add any aftermarket products to your fuel
tank if you continue to use a high-quality fuel.
Cleaner air
Ford approves the use of gasolines to improve air quality, including
reformulated gasolines that contain oxygenates up to 10% ethanol or
15% MTBE.
Running out of fuel
Avoid running out fuel because this situation may have an adverse affect
on modern powertrain components.
If you have run out of fuel:
²You may need to crank the engine several times before the system
starts to pump fuel from the tank to the engine.
²Your ªService Engine Soonº indicator may come on. For more
information on the ªService Engine Soonº indicator, refer to the
Instrumentationchapter.
Fuel Filter
Your vehicle is equipped with a fuel filter that is mounted on the
underbody.
For fuel filter replacement, see your dealer or a qualified service
technician. Refer to the Scheduled Maintenance Guide for the
appropriate intervals for changing the fuel filter.
If you replace the fuel filter, replace it with an authorized
Motorcraft part. The customer warranty may be void for any
damage to the fuel system if an authorized Motorcraft fuel filter
is not used.
ESSENTIALS OF GOOD FUEL ECONOMY
Measuring techniques
Your best source of information about actual fuel economy is you, the
driver. You must gather information as accurately and consistently as
possible. Fuel expense, frequency of fillups or fuel gauge readings are
NOT accurate as a measure of fuel economy. We do not recommend
Maintenance and care
165
Page 202 of 208

GAWR
(Gross Axle Weight Rating) .....118
definition .................................118
driving with a heavy load ......118
location ....................................118
GVWR (Gross
Vehicle Weight Rating) .............118
calculating ...............................118
definition .................................118
driving with a heavy load ......118
location ....................................118
Hazard flashers .........................123
Head restraints ...........................80
Headlamps ...................................21
aiming ........................174,175,176
autolamp system .......................21
bulb specifications ..................174
daytime running lights .............21
flash to pass ..............................22
high beam ..............................8,22
turning on and off ....................21
warning chime ..........................12
Heating ........................................22
Hood ..........................................142
Ignition .......................................184
positions of the ignition ...........53
Infant seats
(see Safety seats) .......................99
Inspection/maintenance
(I/M) testing ..............................170
Instrument panel
cleaning ...................................179
lighting up panel
and interior ...............................21
location of components ..............6
Jump-starting your vehicle ......135
Keyless entry system .................75
autolock .....................................73
keypad .......................................75
programming entry code .........75
Keys .............................................54
key in ignition chime ...............12positions of the ignition ...........53
Lamps
autolamp system .......................21
cargo lamps ...............................21
daytime running light ...............21
headlamps .................................21
headlamps, flash to pass ..........22
instrument panel, dimming .....21
interior lamps ....................64,174
replacing bulbs ..170,171,173,174
Lane change indicator
(see Turn signal) ........................54
Lights, warning and indicator ......6
air bag ..........................................7
air suspension ...........................10
anti-lock brakes (ABS) .......8,110
brake ............................................8
charging system ..........................9
cruise indicator .........................11
door ajar ....................................10
high beam ...................................8
liftgate ajar ................................10
low coolant ..................................9
low washer fluid .......................11
oil pressure .................................9
safety belt ...................................7
service engine soon ....................6
speed control ............................58
traction control system .........9,11
turn signal indicator ...................8
Load limits .................................118
GAWR ......................................118
GVWR ......................................118
trailer towing ..........................118
Locks
childproof ..................................68
doors ..........................................67
Lubricant specifications ....182,184
Lumbar support, seats ...............83
Message center ...........................14
reset button ..............................15
select button .............................15
Index
202