Page 16 of 208
Compass display (if equipped)
The compass reading may be
affected when you drive near large
buildings, bridges, power lines and
powerful broadcast antenna.
Magnetic or metallic objects placed
in, on or near the vehicle may also
affect compass accuracy.
Usually, when something affects the
compass readings, the compass will
correct itself after a few days of operating your vehicle in normal conditions.
If the compass still appears to be inaccurate, a manual calibration may be
necessary. Refer toCompass calibration adjustment.
Most geographic areas (zones) have a magnetic north compass point that
varies slightly from the northerly direction on maps. This variation is four
degrees between adjacent zones and will become noticeable as the
vehicle crosses multiple zones. A correct zone setting will eliminate this
error. Refer toCompass zone adjustment.
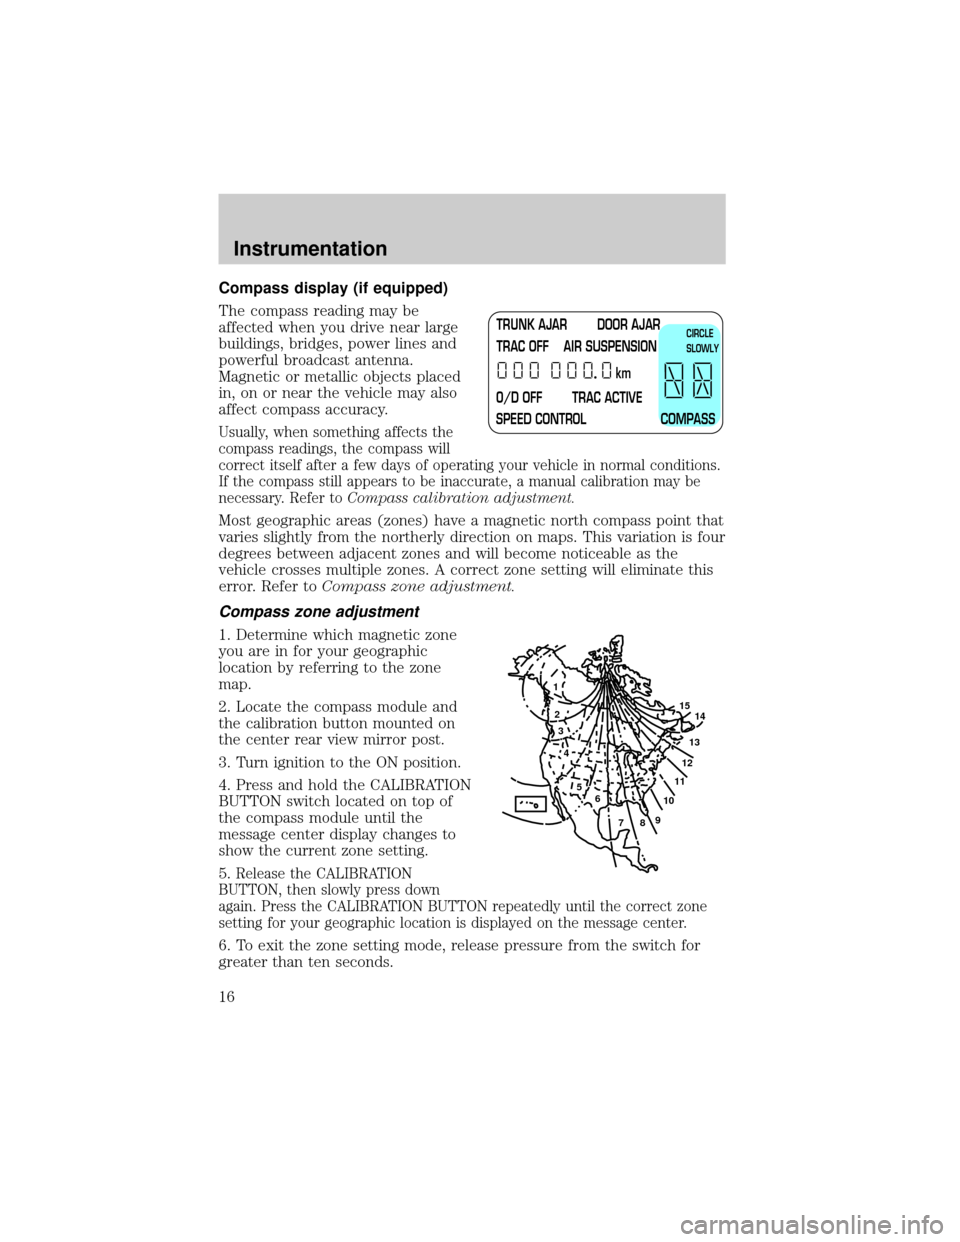
Compass zone adjustment
1. Determine which magnetic zone
you are in for your geographic
location by referring to the zone
map.
2. Locate the compass module and
the calibration button mounted on
the center rear view mirror post.
3. Turn ignition to the ON position.
4. Press and hold the CALIBRATION
BUTTON switch located on top of
the compass module until the
message center display changes to
show the current zone setting.
5.
Release the CALIBRATION
BUTTON, then slowly press down
again. Press the CALIBRATION BUTTON repeatedly until the correct zone
setting for your geographic location is displayed on the message center.
6. To exit the zone setting mode, release pressure from the switch for
greater than ten seconds.
TRUNK AJAR DOOR AJAR
TRAC OFF AIR SUSPENSION
O/D OFF TRAC ACTIVE
SPEED CONTROL COMPASSkmCIRCLE
SLOWLY
1
2
3
4
5
6
7891011121314 15
Instrumentation
16
Page 17 of 208
Compass calibration adjustment
Perform this adjustment in an open area free from steel structures and
high voltage lines.
For optimum calibration, turn off all electrical accessories (heater/air
conditioning, wipers, etc.) and make sure all vehicle doors are shut.
1. Start the vehicle.
2. Locate the compass module and the CALIBRATION BUTTON mounted
on the center rear view mirror post.
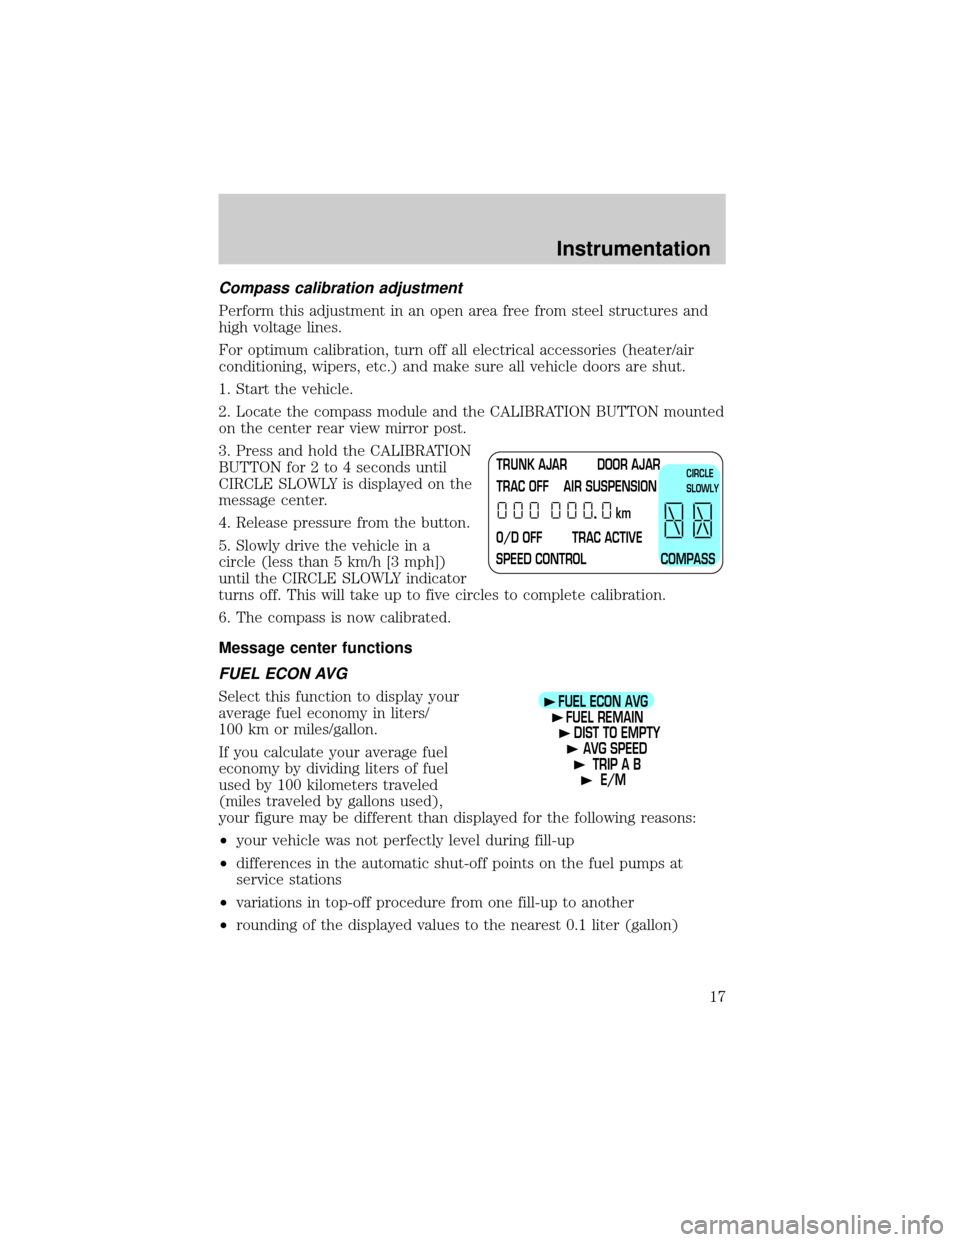
3. Press and hold the CALIBRATION
BUTTON for 2 to 4 seconds until
CIRCLE SLOWLY is displayed on the
message center.
4. Release pressure from the button.
5. Slowly drive the vehicle in a
circle (less than 5 km/h [3 mph])
until the CIRCLE SLOWLY indicator
turns off. This will take up to five circles to complete calibration.
6. The compass is now calibrated.
Message center functions
FUEL ECON AVG
Select this function to display your
average fuel economy in liters/
100 km or miles/gallon.
If you calculate your average fuel
economy by dividing liters of fuel
used by 100 kilometers traveled
(miles traveled by gallons used),
your figure may be different than displayed for the following reasons:
²your vehicle was not perfectly level during fill-up
²differences in the automatic shut-off points on the fuel pumps at
service stations
²variations in top-off procedure from one fill-up to another
²rounding of the displayed values to the nearest 0.1 liter (gallon)
TRUNK AJAR DOOR AJAR
TRAC OFF AIR SUSPENSION
O/D OFF TRAC ACTIVE
SPEED CONTROL COMPASSkmCIRCLE
SLOWLY
FUEL ECON AVG
FUEL REMAIN
DIST TO EMPTY
AVG SPEED
TRIP A B
E/M
Instrumentation
17
Page 64 of 208
MOON ROOF (IF EQUIPPED)
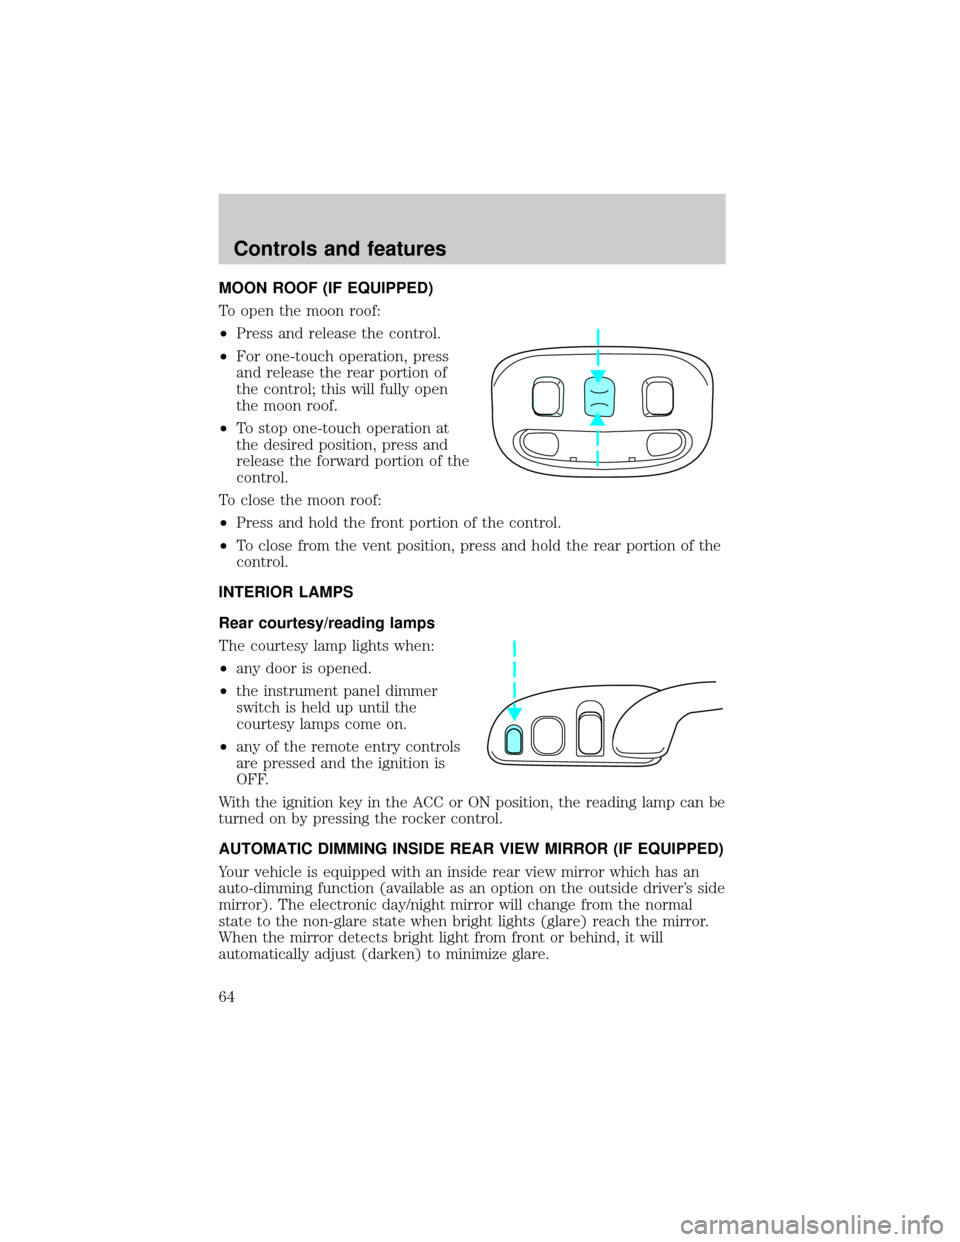
To open the moon roof:
²Press and release the control.
²For one-touch operation, press
and release the rear portion of
the control; this will fully open
the moon roof.
²To stop one-touch operation at
the desired position, press and
release the forward portion of the
control.
To close the moon roof:
²Press and hold the front portion of the control.
²To close from the vent position, press and hold the rear portion of the
control.
INTERIOR LAMPS
Rear courtesy/reading lamps
The courtesy lamp lights when:
²any door is opened.
²the instrument panel dimmer
switch is held up until the
courtesy lamps come on.
²any of the remote entry controls
are pressed and the ignition is
OFF.
With the ignition key in the ACC or ON position, the reading lamp can be
turned on by pressing the rocker control.
AUTOMATIC DIMMING INSIDE REAR VIEW MIRROR (IF EQUIPPED)
Your vehicle is equipped with an inside rear view mirror which has an
auto-dimming function (available as an option on the outside driver's side
mirror). The electronic day/night mirror will change from the normal
state to the non-glare state when bright lights (glare) reach the mirror.
When the mirror detects bright light from front or behind, it will
automatically adjust (darken) to minimize glare.
Controls and features
64
Page 65 of 208
Do not block the sensor on the backside of the mirror since this may
impair proper mirror performance.
Press the control to turn the mirror
on or off.
The mirror will automatically return
to the normal state whenever the
vehicle is placed in R (Reverse)
(when the mirror is on) to ensure a
bright clear view when backing up.
TRUNK REMOTE CONTROL
The remote trunk release control is
located on the driver's door trim
panel and can be operated at any
time.
Use the key to lock and unlock the
release control.
FUEL DOOR RELEASE
Your vehicle is equipped with a
locking fuel door. To open the door,
press the control located on the
door.
COMP MIRROR
TRUNK
Controls and features
65
Page 67 of 208
Accessory delay (if equipped)
With accessory delay, the window switches, radio, and moonroof may be
used for up to ten minutes after the ignition switch is turned to the OFF
position or until any door is opened.
POWER DOOR LOCKS
Press control to unlock or lock all
doors.
Smart locks
With the key in the ignition, in any switch position, and either the
driver's or passenger's door open, the doors cannot be locked using the
front door lock switches.
POWER SIDE VIEW MIRRORS
The ignition must be in ACC or ON position to adjust the power side
view mirrors.
To adjust your mirrors:
1. Select L to adjust the left mirror
or R to adjust the right mirror.
2. Move the control in the direction
you wish to tilt the mirror.
3. Return to the center position to lock mirrors in place.
DOOR LOCK
LR
LR
Controls and features
67
Page 68 of 208
Heated outside mirrors (if equipped)
Both mirrors are heated
automatically to remove ice, mist
and fog when the rear window
defrost is activated.
Do not remove ice from the mirrors
with a scraper or attempt to
readjust the mirror glass if it is
frozen in place. These actions could
cause damage to the glass and
mirrors.
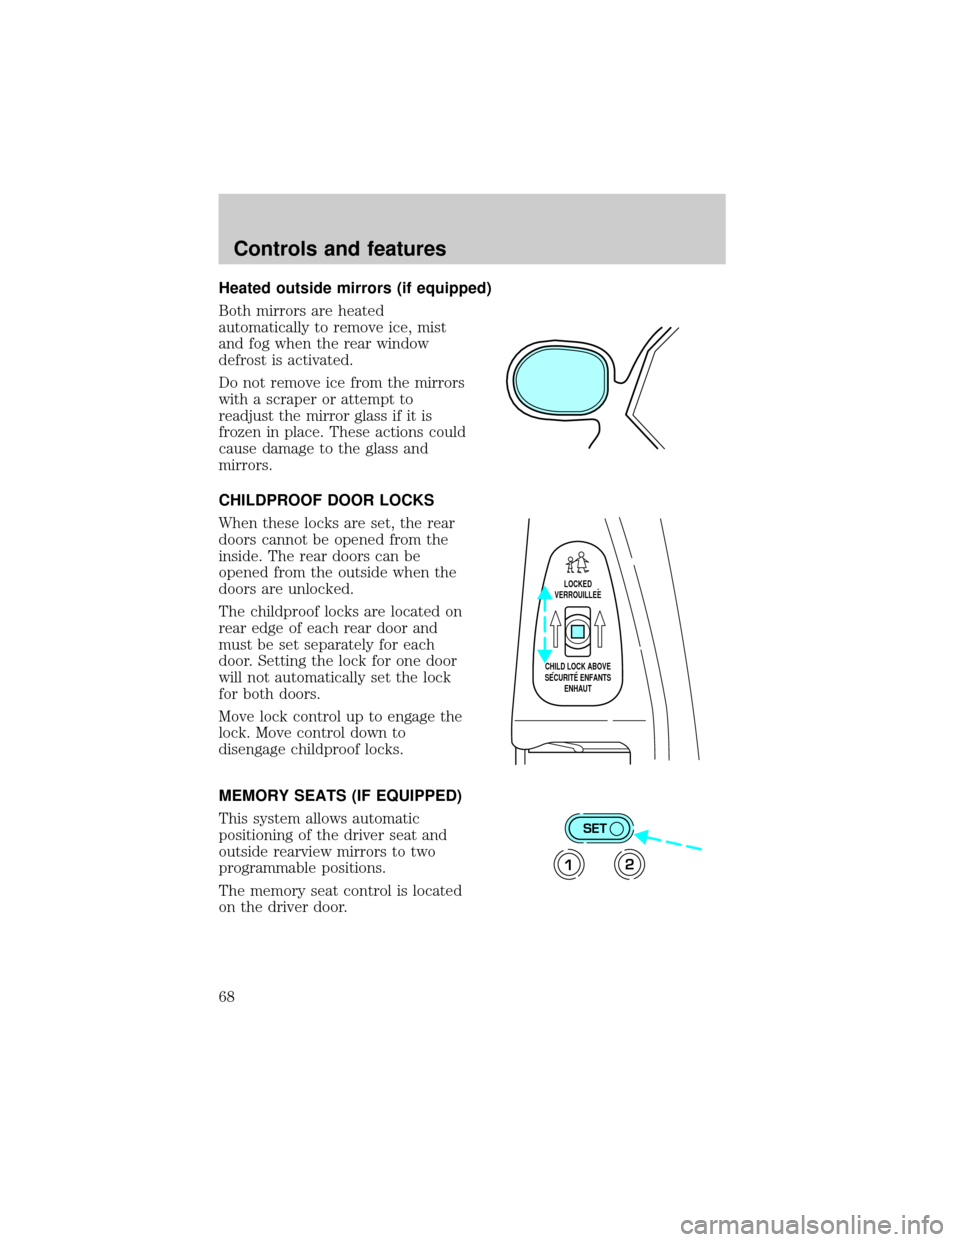
CHILDPROOF DOOR LOCKS
When these locks are set, the rear
doors cannot be opened from the
inside. The rear doors can be
opened from the outside when the
doors are unlocked.
The childproof locks are located on
rear edge of each rear door and
must be set separately for each
door. Setting the lock for one door
will not automatically set the lock
for both doors.
Move lock control up to engage the
lock. Move control down to
disengage childproof locks.
MEMORY SEATS (IF EQUIPPED)
This system allows automatic
positioning of the driver seat and
outside rearview mirrors to two
programmable positions.
The memory seat control is located
on the driver door.
LOCKED
VERROUILLEE
CHILD LOCK ABOVE
SECURITE ENFANTS
ENHAUT
SET
12
Controls and features
68
Page 74 of 208
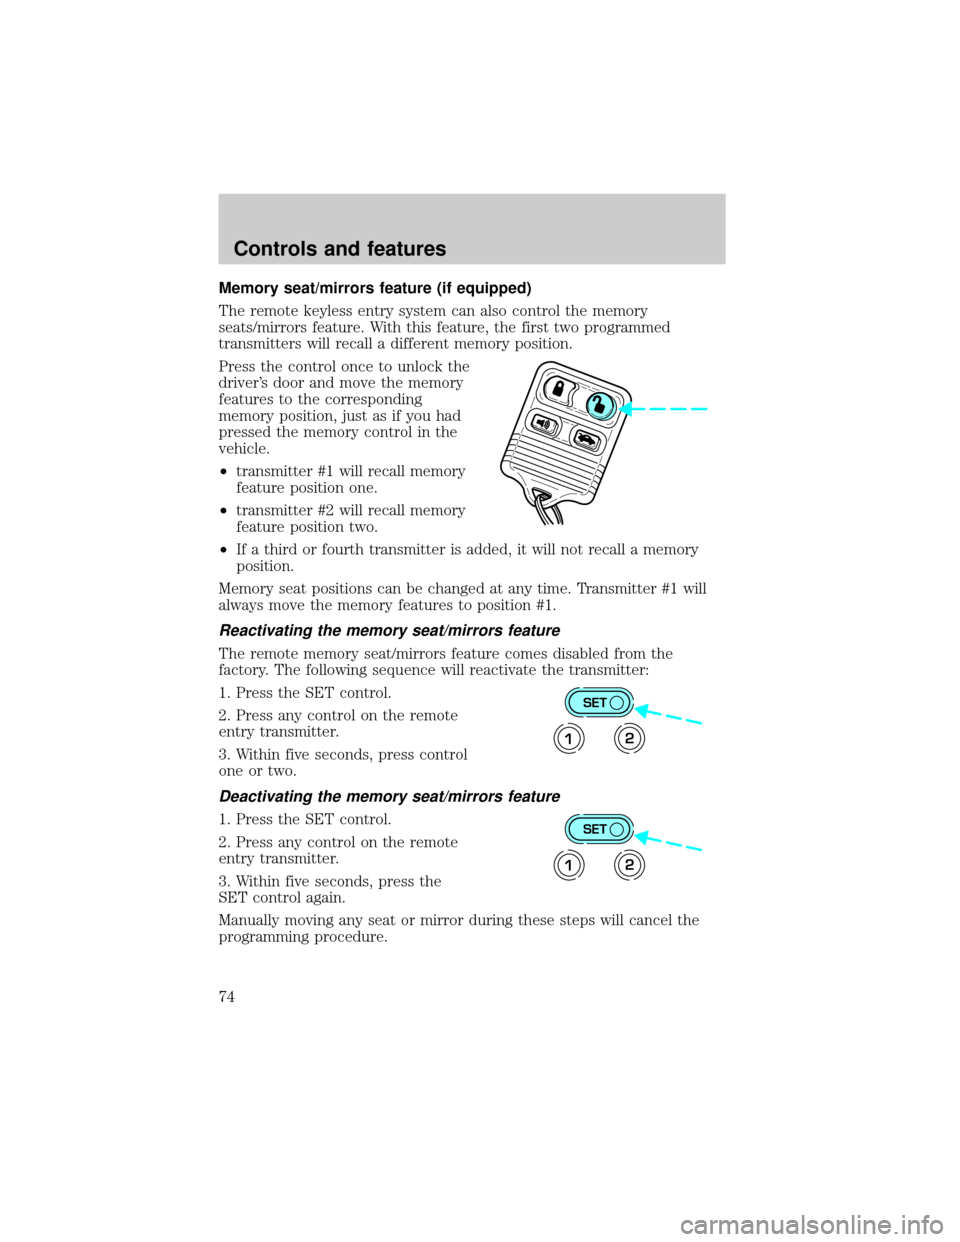
Memory seat/mirrors feature (if equipped)
The remote keyless entry system can also control the memory
seats/mirrors feature. With this feature, the first two programmed
transmitters will recall a different memory position.
Press the control once to unlock the
driver's door and move the memory
features to the corresponding
memory position, just as if you had
pressed the memory control in the
vehicle.
²transmitter #1 will recall memory
feature position one.
²transmitter #2 will recall memory
feature position two.
²If a third or fourth transmitter is added, it will not recall a memory
position.
Memory seat positions can be changed at any time. Transmitter #1 will
always move the memory features to position #1.
Reactivating the memory seat/mirrors feature
The remote memory seat/mirrors feature comes disabled from the
factory. The following sequence will reactivate the transmitter:
1. Press the SET control.
2. Press any control on the remote
entry transmitter.
3. Within five seconds, press control
one or two.
Deactivating the memory seat/mirrors feature
1. Press the SET control.
2. Press any control on the remote
entry transmitter.
3. Within five seconds, press the
SET control again.
Manually moving any seat or mirror during these steps will cancel the
programming procedure.
SET
12
SET
12
Controls and features
74
Page 84 of 208
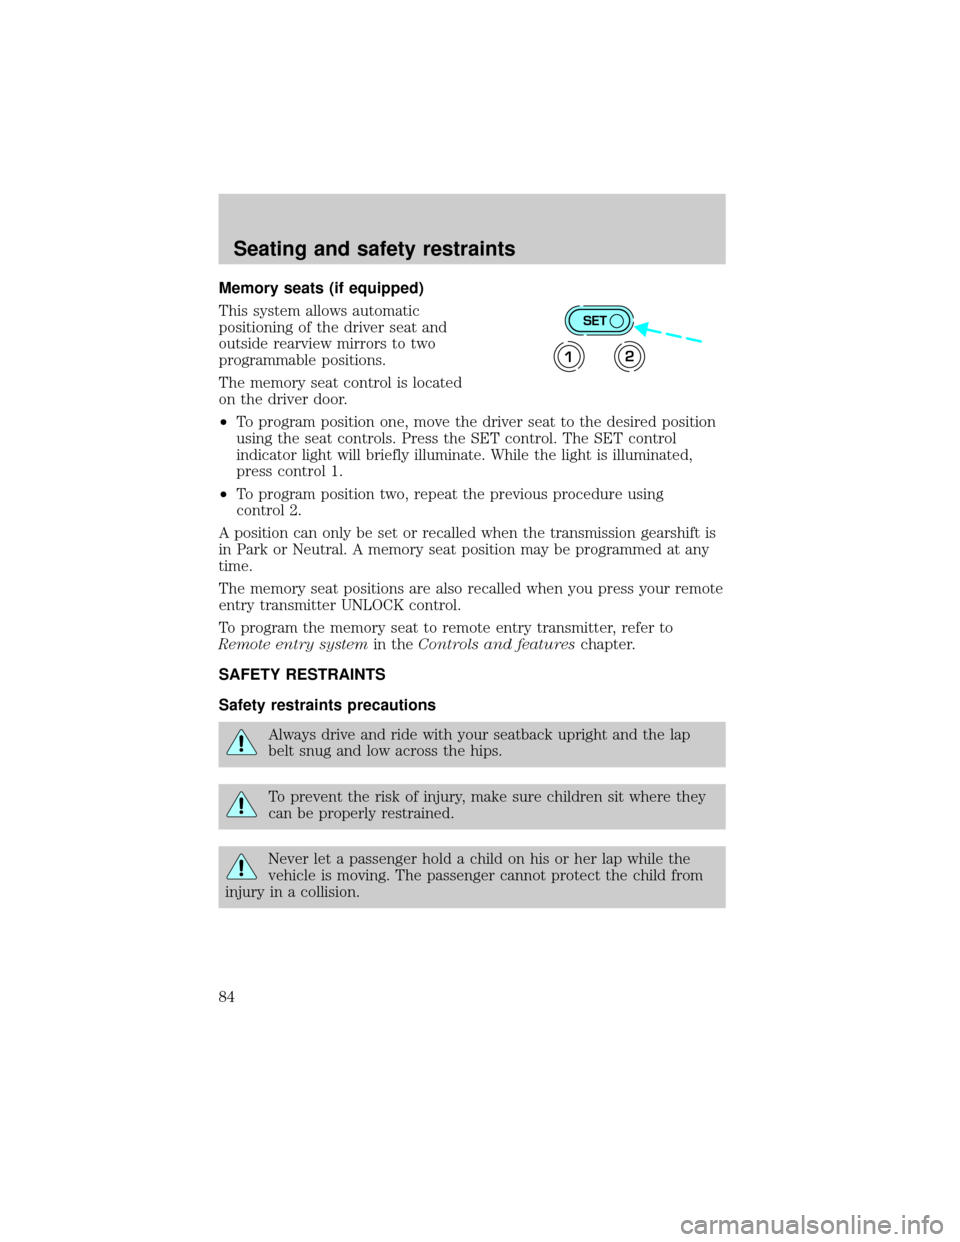
Memory seats (if equipped)
This system allows automatic
positioning of the driver seat and
outside rearview mirrors to two
programmable positions.
The memory seat control is located
on the driver door.
²To program position one, move the driver seat to the desired position
using the seat controls. Press the SET control. The SET control
indicator light will briefly illuminate. While the light is illuminated,
press control 1.
²To program position two, repeat the previous procedure using
control 2.
A position can only be set or recalled when the transmission gearshift is
in Park or Neutral. A memory seat position may be programmed at any
time.
The memory seat positions are also recalled when you press your remote
entry transmitter UNLOCK control.
To program the memory seat to remote entry transmitter, refer to
Remote entry systemin theControls and featureschapter.
SAFETY RESTRAINTS
Safety restraints precautions
Always drive and ride with your seatback upright and the lap
belt snug and low across the hips.
To prevent the risk of injury, make sure children sit where they
can be properly restrained.
Never let a passenger hold a child on his or her lap while the
vehicle is moving. The passenger cannot protect the child from
injury in a collision.
SET
12
Seating and safety restraints
84