1999 LINCOLN CONTINENTAL ECO mode
[x] Cancel search: ECO modePage 5 of 208

NEXT
MODEVOL
TEMP FAN
000000.0
SYSTEM
DRIVER ID
MENU
TRIP
RESET
SELECT
DISPLAY
DTE ECON
VEHICLE HANDLING
NITNOCLATNE
VOL
PUSH ON
TAPE
MUTESEEK
TUNE
AM
FM
REW
FFSIDE 1 2
COMP
SHUFF
EXT
OFFMAX
A/CCDEJ
RDS
SCAN AUTO
AUTO
123
4
56
FRONT
REAR
BASS
TREBSELBAL
FADE
HIHI
OFF OFFBACK
BOTH BOTHBACK00
HEATED SEATS
Electronic sound
system control*
(pg. 49)Message Center
(pg. 12)Clock
(pg. 32)
Electronic sound
system
(pg. 32)
Climate control
systems
(pg. 26) Heated seat
control*
(pg. 94) Climate controls*
(pg. 49)
Instrumentation
5
Page 29 of 208

²MAX A/C-Uses recirculated air to cool the vehicle. The temperature
will display 16ÉC (60ÉF). To exit, press AUTOMATIC or any other
override controls. MAX A/C is noisier than normal A/C but more
economical and will cool the inside of the vehicle faster. Airflow is
from the instrument panel registers. This mode can also be used to
prevent undesirable odors from entering the vehicle.
²
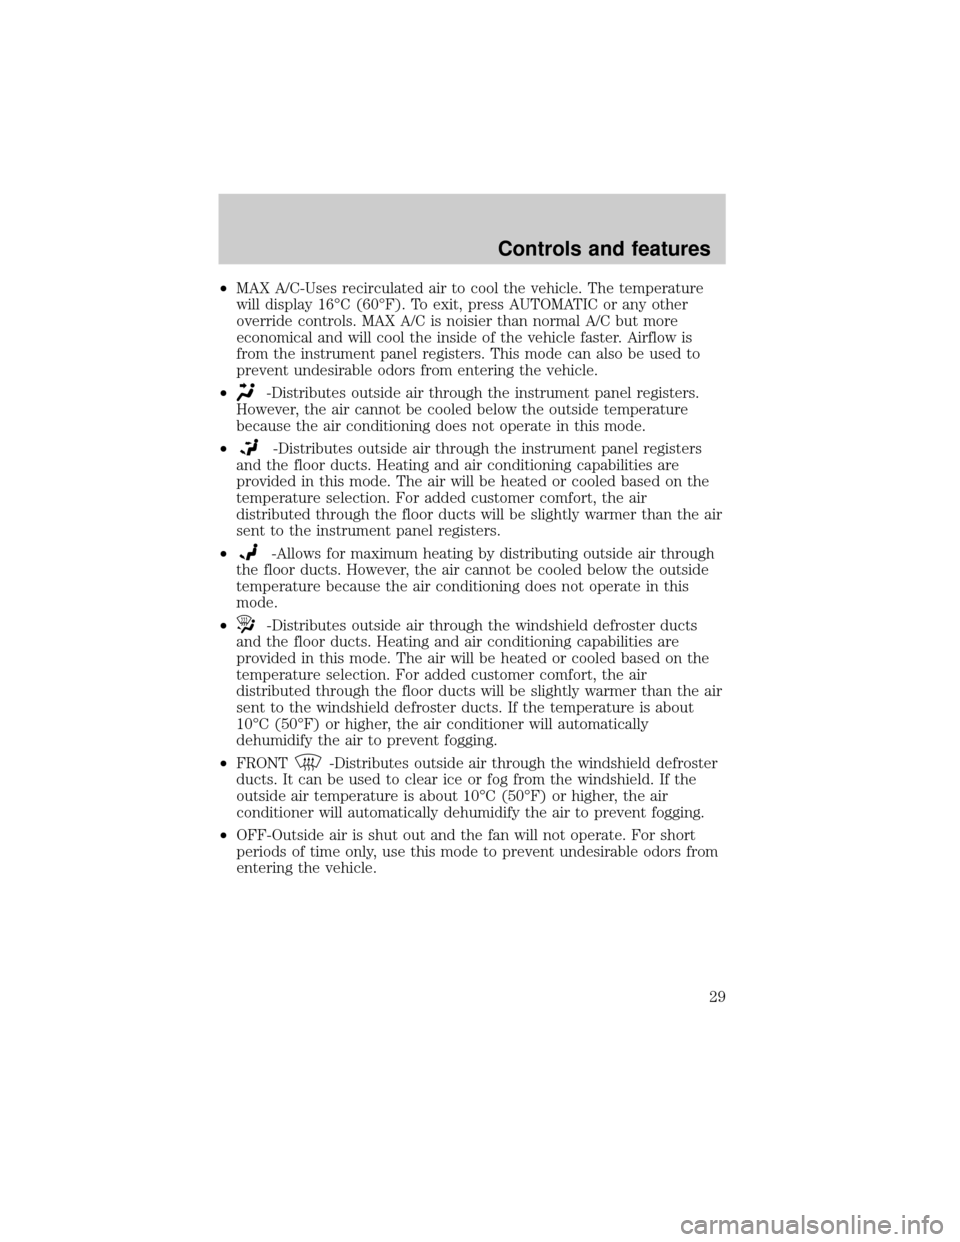
-Distributes outside air through the instrument panel registers.
However, the air cannot be cooled below the outside temperature
because the air conditioning does not operate in this mode.
²
-Distributes outside air through the instrument panel registers
and the floor ducts. Heating and air conditioning capabilities are
provided in this mode. The air will be heated or cooled based on the
temperature selection. For added customer comfort, the air
distributed through the floor ducts will be slightly warmer than the air
sent to the instrument panel registers.
²
-Allows for maximum heating by distributing outside air through
the floor ducts. However, the air cannot be cooled below the outside
temperature because the air conditioning does not operate in this
mode.
²
-Distributes outside air through the windshield defroster ducts
and the floor ducts. Heating and air conditioning capabilities are
provided in this mode. The air will be heated or cooled based on the
temperature selection. For added customer comfort, the air
distributed through the floor ducts will be slightly warmer than the air
sent to the windshield defroster ducts. If the temperature is about
10ÉC (50ÉF) or higher, the air conditioner will automatically
dehumidify the air to prevent fogging.
²FRONT
-Distributes outside air through the windshield defroster
ducts. It can be used to clear ice or fog from the windshield. If the
outside air temperature is about 10ÉC (50ÉF) or higher, the air
conditioner will automatically dehumidify the air to prevent fogging.
²OFF-Outside air is shut out and the fan will not operate. For short
periods of time only, use this mode to prevent undesirable odors from
entering the vehicle.
Controls and features
29
Page 36 of 208

Tune adjust for CD changer (if equipped)
²Pressto select the previous
disc in the CD changer. (Play will
begin on the first track of the
disc unless the CD changer is in
shuffle mode.) Refer toShuffle featurefor more information. Hold the
control to continue reversing through the disc.
²Press
to select the next disc in the CD changer. Hold the control
to fast-forward through the remaining discs.
Seek function
The seek function control works in radio, tape or CD mode
(if equipped).
Seek function in radio mode
²Pressto find the next
listenable station down the
frequency band.
²Press
to find the next
listenable station up the frequency band.
Seek function in tape mode
²Pressto listen to the previous selection on the tape or return to
the beginning of the current selection.
²Press
to listen to the next selection on the tape.
Seek function for CD changer (if equipped)
²Pressto seek to the previous
track of the current disc. If a
selection has been playing for
three seconds or more and you
press
, the CD changer will replay that selection from the
beginning.
²Press
to seek forward to the next track of the current disc. After
the last track has been completed, the first track of the current disc
will automatically replay.
TUNE
SEEK
SEEK
Controls and features
36
Page 40 of 208

²In CD mode, pressing the REW control for less than three seconds
results in slow rewind. Pressing the control for more than three
seconds results in fast rewind.
Fast forward
The fast forward control works in
tape and CD modes (if equipped).
²In the tape mode, tape direction
will automatically reverse when
the end of the tape is reached.
²In CD mode, pressing the control for less than three seconds results in
slow forward action. Pressing the control for more than three seconds
results in fast forward action.
Tape direction select
Press SIDE 1±2 to play the alternate
side of a tape.
Eject function
Press the control to stop and eject a
tape.
DolbyTnoise reduction
Dolbytnoise reduction operates
only in tape mode. Dolbytreduces
the amount of hiss and static during
tape playback.
Press the
control to activate (and deactivate) Dolbytnoise reduction.
The noise reduction system is manufactured under license from Dolby
Laboratories Licensing Corporation.
Compression feature
Compression adjust brings soft and
loud CD passages together for a
more consistent listening level.
REW
FF
1
2
SIDE 1-23
4
EJ
SIDE 1-23
4
COMP
SHUFF
5
6
Controls and features
40
Page 41 of 208

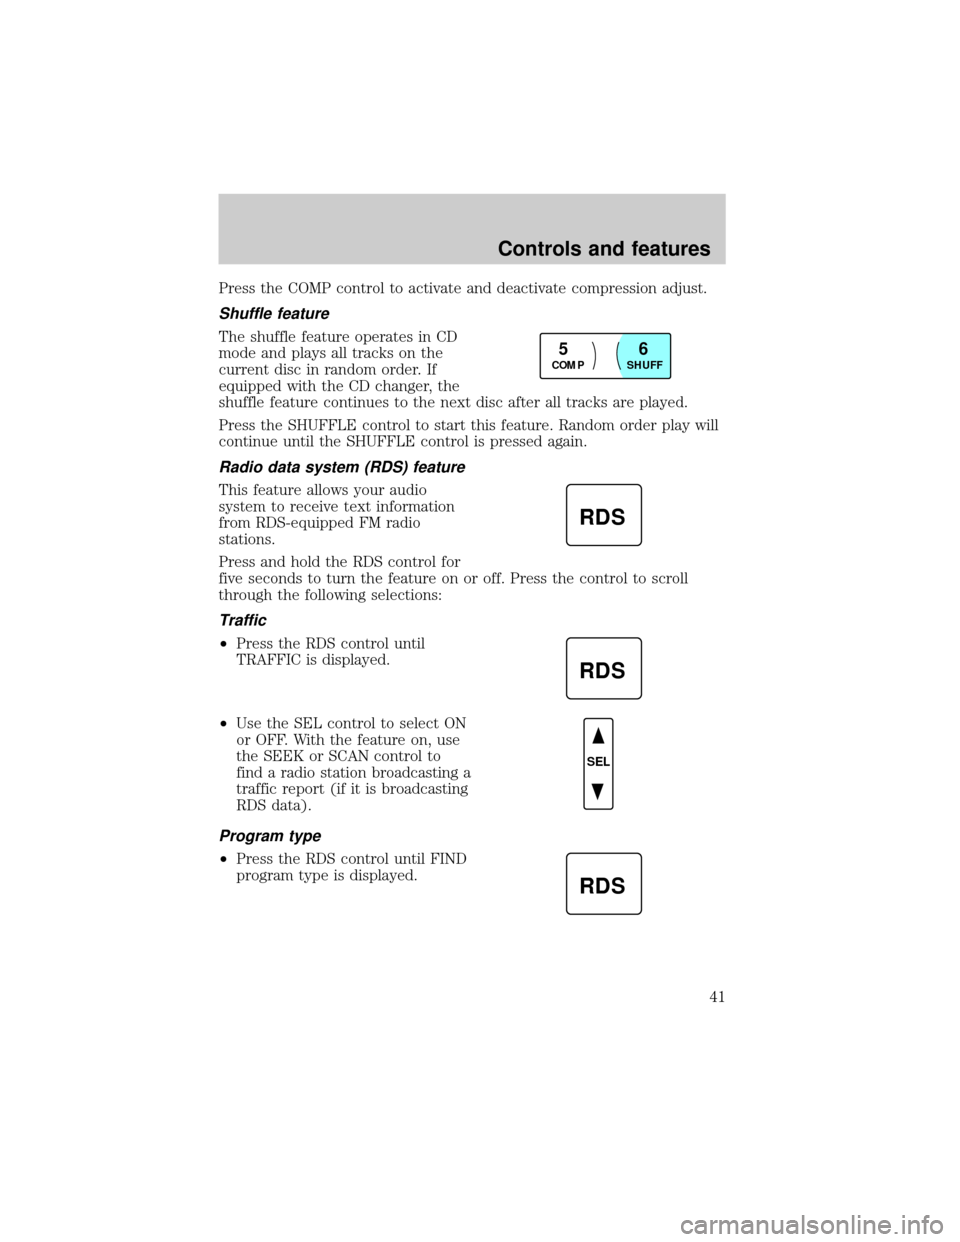
Press the COMP control to activate and deactivate compression adjust.
Shuffle feature
The shuffle feature operates in CD
mode and plays all tracks on the
current disc in random order. If
equipped with the CD changer, the
shuffle feature continues to the next disc after all tracks are played.
Press the SHUFFLE control to start this feature. Random order play will
continue until the SHUFFLE control is pressed again.
Radio data system (RDS) feature
This feature allows your audio
system to receive text information
from RDS-equipped FM radio
stations.
Press and hold the RDS control for
five seconds to turn the feature on or off. Press the control to scroll
through the following selections:
Traffic
²Press the RDS control until
TRAFFIC is displayed.
²Use the SEL control to select ON
or OFF. With the feature on, use
the SEEK or SCAN control to
find a radio station broadcasting a
traffic report (if it is broadcasting
RDS data).
Program type
²Press the RDS control until FIND
program type is displayed.
COMP
SHUFF5
6
RDS
RDS
SEL
RDS
Controls and features
41
Page 46 of 208

CD and CD changer care
²Handle discs by their edges only. Never touch the playing surface.
²Do not expose discs to direct sunlight or heat sources for extended
periods of time.
²Do not insert more than one disc into each slot of the CD changer
magazine.
Cleaning cassette player
Clean the tape player head with a cassette cleaning cartridge after ten to
twelve hours of play in order to maintain the best sound and operation.
Cassette and cassette player care
²Use only cassettes that are 90 minutes long or less.
²Do not expose tapes to direct sunlight, high humidity, extreme heat or
extreme cold. Allow tapes that may have been exposed to extreme
temperatures to reach a moderate temperature before playing.
²Tighten very loose tapes by inserting a finger or pencil into the hole
and turning the hub.
²Remove loose labels before inserting tapes.
²Do not leave tapes in the cassette player for a long time when not
being played.
Radio frequency information
The Federal Communications Commission (FCC) and the Canadian Radio
and Telecommunications Communications (CRTC) establish the
frequencies AM and FM stations may use for their broadcasts. Allowable
frequencies are:
AM 530, 540±1600, 1610 kHz
FM 87.9, 88.1±107.1, 107.9 MHz
Not all frequencies are used in a given area.
Controls and features
46
Page 72 of 208

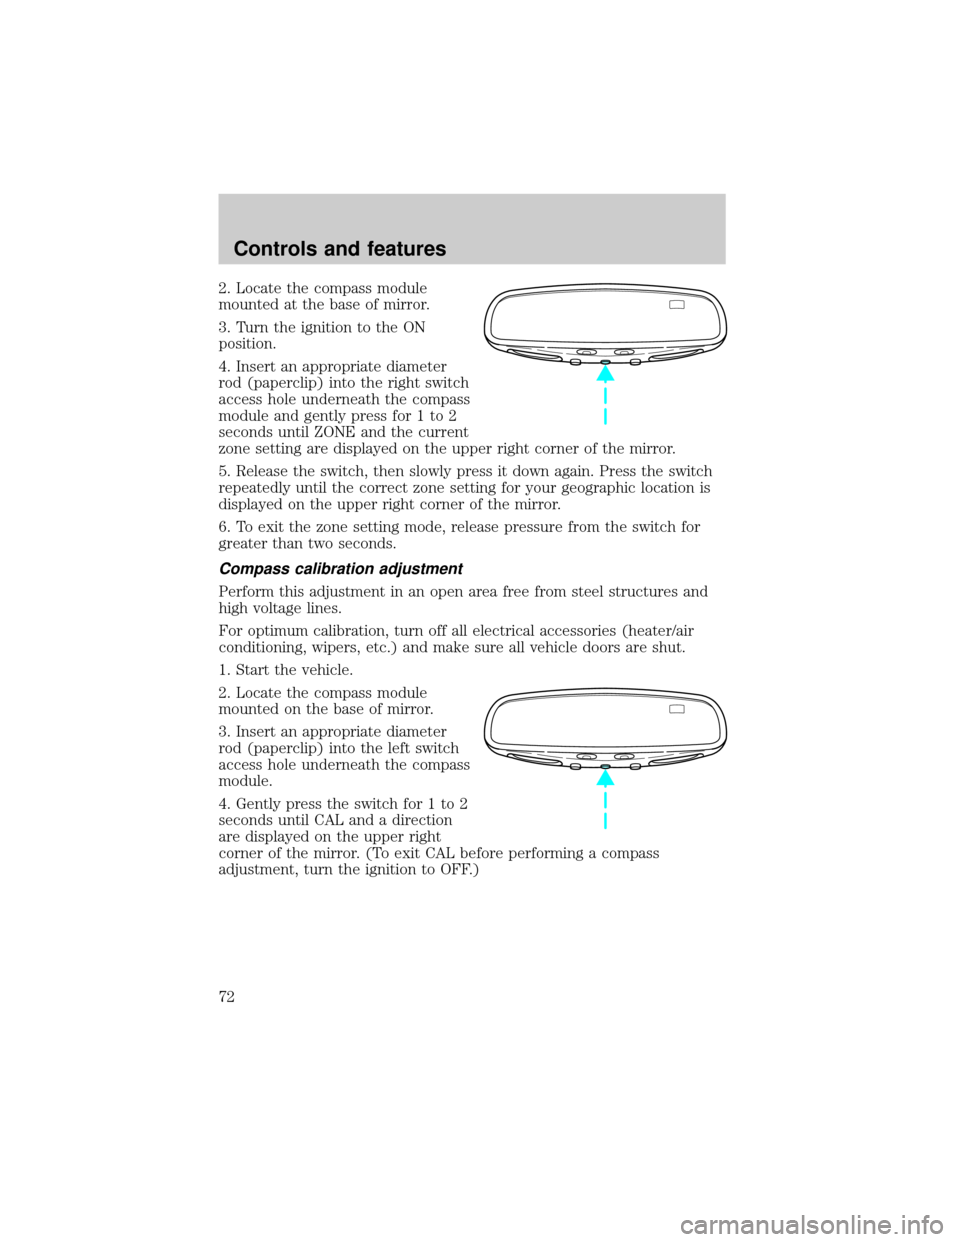
2. Locate the compass module
mounted at the base of mirror.
3. Turn the ignition to the ON
position.
4. Insert an appropriate diameter
rod (paperclip) into the right switch
access hole underneath the compass
module and gently press for 1 to 2
seconds until ZONE and the current
zone setting are displayed on the upper right corner of the mirror.
5. Release the switch, then slowly press it down again. Press the switch
repeatedly until the correct zone setting for your geographic location is
displayed on the upper right corner of the mirror.
6. To exit the zone setting mode, release pressure from the switch for
greater than two seconds.
Compass calibration adjustment
Perform this adjustment in an open area free from steel structures and
high voltage lines.
For optimum calibration, turn off all electrical accessories (heater/air
conditioning, wipers, etc.) and make sure all vehicle doors are shut.
1. Start the vehicle.
2. Locate the compass module
mounted on the base of mirror.
3. Insert an appropriate diameter
rod (paperclip) into the left switch
access hole underneath the compass
module.
4. Gently press the switch for 1 to 2
seconds until CAL and a direction
are displayed on the upper right
corner of the mirror. (To exit CAL before performing a compass
adjustment, turn the ignition to OFF.)
Controls and features
72
Page 110 of 208

SAFETY SEATS FOR CHILDREN
Child and infant or child safety seats
Use a safety seat that is recommended for the size and weight of the
child. Carefully follow all of the manufacturer's instructions with the
safety seat you put in your vehicle. If you do not install and use the
safety seat properly, the child may be injured in a sudden stop or
collision.
When installing a child safety seat:
²Review and follow the information
presented in theAir Bag
Supplemental Restraint System
section in this chapter.
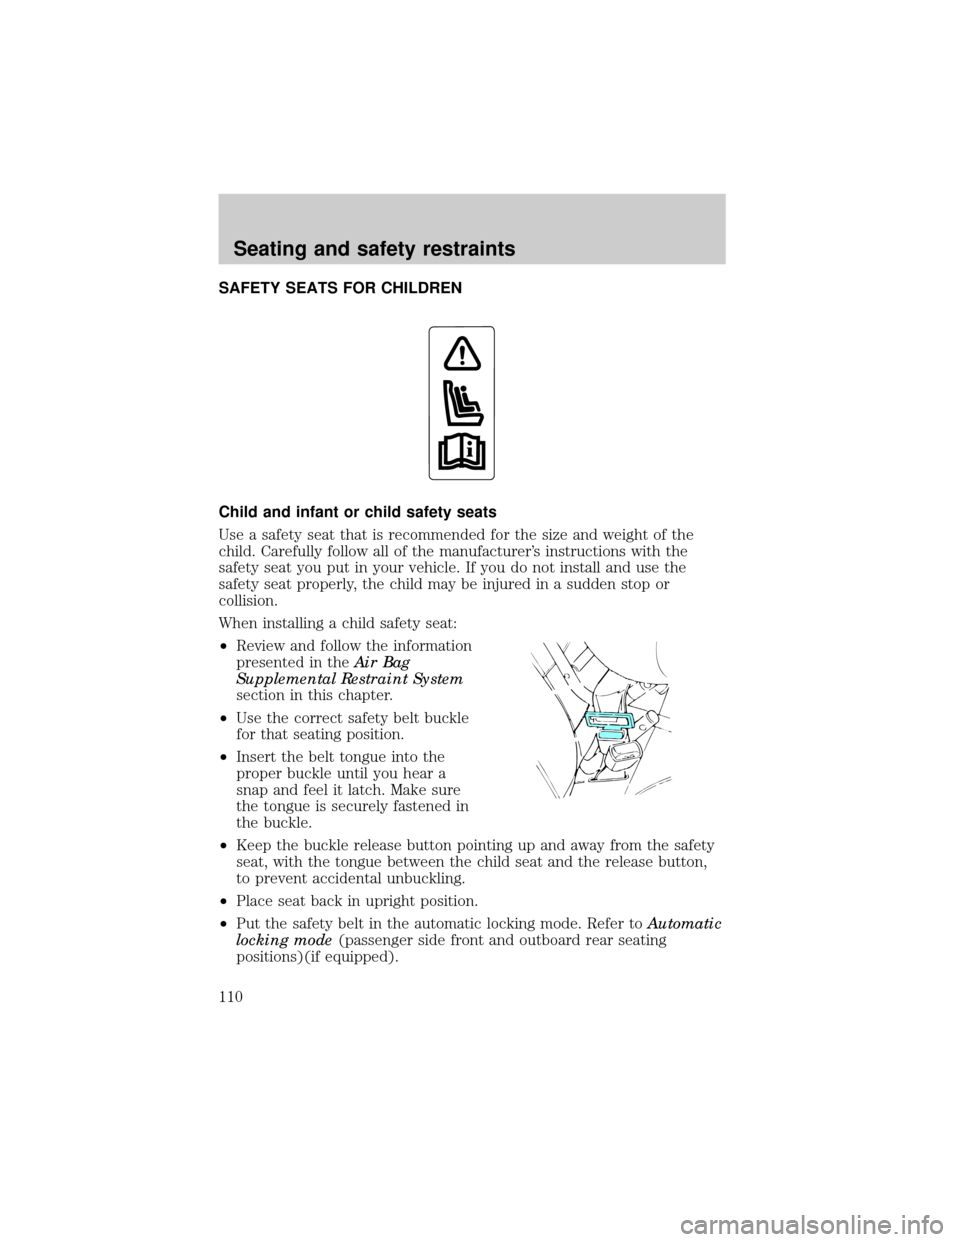
²Use the correct safety belt buckle
for that seating position.
²Insert the belt tongue into the
proper buckle until you hear a
snap and feel it latch. Make sure
the tongue is securely fastened in
the buckle.
²Keep the buckle release button pointing up and away from the safety
seat, with the tongue between the child seat and the release button,
to prevent accidental unbuckling.
²Place seat back in upright position.
²Put the safety belt in the automatic locking mode. Refer toAutomatic
locking mode(passenger side front and outboard rear seating
positions)(if equipped).
Seating and safety restraints
110