Page 164 of 413

2-87 CHANGE ENGINE OIL
This message is displayed
when the engine oil needs
to be changed. The message
is only displayed for
15 seconds at the start of
each ignition cycle.
When you change the engine oil, be sure to reset the
Engine Oil Life System. See ªEngine Oil, When to
Changeº in the Index.
SECURITY
This message is displayed
when the content
theft
-deterrent system
has been activated and
also monitors the
Passlock
� System.
If the security message is displayed continuously while
driving and stays on, there may be a problem with the
Passlock System. Your vehicle will not be protected by
Passlock, and you should see your GM dealer.
SERVICE 4WD (If Equipped)
If the SERVICE 4WD
message comes on, there
may be a problem with the
automatic transfer case and
service is required.
Malfunctions can be indicated by the system before any
problem is apparent, which may prevent serious damage
to the vehicle. This system is also designed to assist your
service technician in correctly diagnosing a malfunction.
LOW WASHER FLUID
This message is displayed
when the vehicle is low on
windshield washer fluid.
The message is only
displayed for 15 seconds
each ignition cycle.
For more information, see ªWindshield Washer Fluidº in
the Index.
Page 165 of 413
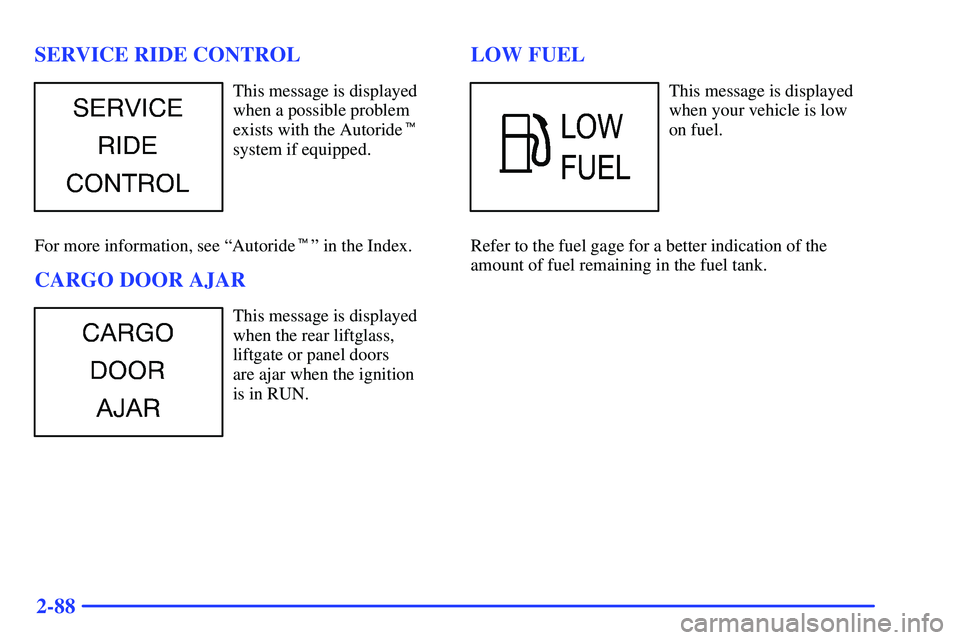
2-88 SERVICE RIDE CONTROL
This message is displayed
when a possible problem
exists with the Autoride�
system if equipped.
For more information, see ªAutoride�º in the Index.
CARGO DOOR AJAR
This message is displayed
when the rear liftglass,
liftgate or panel doors
are ajar when the ignition
is in RUN.
LOW FUEL
This message is displayed
when your vehicle is low
on fuel.
Refer to the fuel gage for a better indication of the
amount of fuel remaining in the fuel tank.
Page 177 of 413

3-12 Heating
The heater works best if you keep your windows
closed while using it. On cold days, use the HEATER
or VENT/HEAT setting with the temperature knob in
the red area.
On cold days, approximately 32�F (
-0�C) or lower, if
your vehicle is equipped with an automatic transmission,
you may experience differences in how the transmission
shifts until the engine is warm. This feature automatically
reduces the time it takes for the engine to reach normal
operating temperature and shortens the time it takes the
heater to reach full output.
If you use the engine coolant heater before starting your
engine in cold weather, 20�F (
-8�C) or lower, the
heating system will produce warmer air faster to heat the
passenger compartment.
The use of an engine coolant heater also reduces the
time it takes for the engine to reach normal operating
temperature. For more information, see ªEngine Coolant
Heaterº in the Index.
Defogging and Defrosting
On cool, humid days, use DEFOG to keep the
windshield and side windows clear. Use DEFROST to
remove fog or ice from the windshield in extremely
humid or cold conditions. Use DEFROST with the
temperature knob toward the red area and the fan
control turned all the way to the right.
Rear Window Defogger (If Equipped)
If you see lines running across the rear window, you
have a rear window defogger. The lines warm the glass.
To turn on the rear window
defogger, press this button
located next to the fan
control knob.
The rear window defogger
will only work if the
ignition is in RUN. For best
results, clear the window
of as much snow or ice
as possible first.
Page 180 of 413

3-15
Audio Systems
Your audio system has been designed to operate easily
and give years of listening pleasure. You will get the
most enjoyment out of it if you acquaint yourself with it
first. Find out what your audio system can do and how
to operate all its controls, to be sure you're getting the
most out of the advanced engineering that went into it.
Setting the Clock for Systems with
SET Button
Press SET. Within five seconds, press and hold the
SEEK right arrow until the correct minute appears on
the display. Press and hold the SEEK left arrow until
the correct hour appears on the display.
Setting the Clock for Systems with HR
and MN Buttons
Press and hold HR until the correct hour appears on
the display. Press and hold MN until the correct minute
appears on the display. To display the clock with the
ignition off, press RECALL or HR/MN and the time
will be displayed for a few seconds. There is an initial
two
-second delay before the clock goes into the
time
-set mode.
AM-FM Stereo
Playing the Radio
VOLUME: This knob turns the system on and off and
controls the volume. To increase volume and turn the radio
on, turn the knob clockwise. Turn it counterclockwise to
decrease volume and turn the radio off.
RECALL: Display the time with the ignition off by
pressing the recall knob. When the radio is playing,
press this knob to recall the station frequency.
Finding a Station
AM
-FM: Press the lower knob to switch between
AM and FM. The display shows your selection.
TUNE: Turn the lower knob to tune in radio stations.
Page 182 of 413

Playing the Radio
VOLUME: This knob turns the system on and off and
controls the volume. To increase volume and turn the radio
on, turn the k")
3-17 AM-FM Stereo with Cassette Tape Player
(If Equipped)
Playing the Radio
VOLUME: This knob turns the system on and off and
controls the volume. To increase volume and turn the radio
on, turn the knob clockwise. Turn it counterclockwise to
decrease volume and turn the radio off.
RECALL: Display the time with the ignition off by
pressing this knob. When the radio is playing, press this
knob to recall the station frequency.Finding a Station
AM
-FM: Press the lower knob to switch between
AM, FM1 and FM2.
TUNE: Turn the lower knob to tune in radio stations.
SEEK: Press the right arrow to tune to the next
higher station and the left arrow to tune to the next
lower station.
PUSHBUTTONS: The four numbered pushbuttons let
you return to your favorite stations. You can set up to
21 stations (seven AM, seven FM1 and seven FM2). Just:
1. Turn the radio on.
2. Press AM
-FM to select the band.
3. Tune in the desired station.
4. Press SET. (SET will appear on the display.)
5. Press one of the four pushbuttons within five
seconds. Whenever you press that numbered button,
the station you set will return.
6. Repeat the steps for each pushbutton.
Page 184 of 413

3-19
EJECT: Press this button to remove the tape or stop
the tape and play the radio.
CLN: If this message appears on the display, the cassette
tape player needs to be cleaned. It will still play tapes, but
you should clean it as soon as possible to prevent damage
to the tapes and player. See ªCare of Your Cassette Tape
Playerº in the Index. After you clean the player, press and
hold EJECT for five seconds to reset the CLN indicator.
The radio will display
--- to show the indicator was reset.
CD Adapter Kits
It is possible to use a portable CD player adapter kit
with your cassette tape player after activating the bypass
feature on your tape player.
To activate the bypass feature, use the following steps:
1. Turn the radio on.
2. Insert the adapter into the cassette slot.
3. Within five seconds, press and hold the REV and
FWD buttons at the same time for three seconds.
The tape symbol on the display will flash, showing
that the cut tape detection feature is no longer active.
This override routine will remain active until EJECT
is pressed.
AM-FM Stereo with Cassette Tape Player
and Automatic Tone Control (If Equipped)
Playing the Radio
PWR
-VOL: Press this knob to turn the system on
and off. To increase volume, turn the knob clockwise.
Turn it counterclockwise to decrease volume. The knob
is capable of being rotated continuously.
RECALL: Display the time with the ignition off by
pressing this button. When the radio is playing, press
this button to recall the station frequency.
Page 187 of 413

3-22
Playing a Cassette Tape
Your tape player is built to work best with tapes that
are up to 30 to 45 minutes long on each side. Tapes
longer than that are so thin they may not work well in
this player.
To load a cassette tape with the ignition off, press
EJECT or RECALL. Then, insert the cassette tape.
If the ignition is on but the radio is off, the tape will
begin playing.
Once the tape is playing, use the VOL, AUTO TONE,
BAL, FADE, BASS and TREB controls just as you
do for the radio. The tape symbol and a direction arrow
will be on the display whenever a tape is being played.
Anytime a tape is inserted, the top side is selected for
play first.
The player automatically senses if the cassette tape is
metal or CrO
2 and adjusts for best playback sound.
PREV (1): Press the PREV button or the SEEK left
arrow to search for the previous selection. A minimum
three
-second blank gap is required for the player to
stop at the beginning of the selection. The tape direction
arrow will blink during the SEEK operation.PROG (2): Press this button to switch from one side
of the tape to the other.
NEXT (3): Press the NEXT button or the SEEK
right arrow to search for the next selection. A minimum
three
-second blank gap is required for the player to
stop at the beginning of the selection. The tape direction
arrow will blink during the SEEK operation. The sound
will mute while searching for the next selection.
REV (4): Press this button to rapidly reverse the tape
to the beginning of the cassette or until you press REV
again. The radio will play the last selected station while
reversing the tape. The tape direction arrow will blink
during the reverse operation.
� (5): Press this button to reduce cassette tape noise.
The double
-D symbol will appear on the display while
the player is in this mode.
Dolby Noise Reduction is manufactured under a license
from Dolby Laboratories Licensing Corporation. Dolby
and the double
-D symbol are trademarks of Dolby
Laboratories Licensing Corporation.
FWD (6): Press this button to rapidly forward the tape
to the end of the cassette or until you press FWD again.
The radio will play the last selected station while
forwarding the tape. The tape direction arrow will blink
during the forward operation.
Page 188 of 413

3-23
AM-FM: Press this button to switch from a tape to
the radio.
TAPE AUX: Press this button to return to the tape
player when playing the radio. The lighted arrow will
appear and show the direction of play when a tape is in
the active mode.
EJECT: Press this button to remove the tape. The
radio will now play. EJECT can be used with either the
ignition or radio off. To load a cassette tape with the
ignition or radio off, press EJECT before loading
the cassette.
CLN: If this message appears on the display, the cassette
tape player needs to be cleaned. It will still play tapes, but
you should clean it as soon as possible to prevent damage
to the tapes and player. See ªCare of Your Cassette Tape
Playerº in the Index. After you clean the player, press and
hold EJECT for five seconds to reset the CLN indicator.
The radio will display
--- to show the indicator was reset.CD Adapter Kits
It is possible to use a portable CD player adapter kit
with your cassette tape player after activating the bypass
feature on your tape player.
To activate the bypass feature, use the following steps:
1. Turn the ignition to RUN or ACCESSORY.
2. Turn the radio off.
3. Press and hold the TAPE AUX button for five
seconds. The tape symbol on the display will flash
for two seconds, indicating the feature is active.
4. Insert the adapter into the cassette slot. It will
power up the radio and begin playing.
This override routine will remain active until EJECT
is pressed.