1999 FORD WINDSTAR child lock
[x] Cancel search: child lockPage 80 of 248

Memory lock
If you lock your doors with the power lock switch or the remote
transmitter while the sliding door is open, the door will automatically
lock after it is closed.
Smart locks
With the key in the ignition, in any switch position, and either the
driver's or passenger's door open, the doors cannot be locked using the
front door lock switches.
CHILDPROOF DOOR LOCKS
When these locks are set, the rear
doors cannot be opened from the
inside. The rear doors can be
opened from the outside when the
doors are unlocked.
The childproof locks are located on
front edge of each rear door and
must be set separately for each
door. Setting the lock for one door will not automatically set the lock for
both doors.
Move lock control up to engage the lock. Move control down to
disengage childproof locks.
If your vehicle is equipped with Power Sliding Door(s), refer to the
Power Sliding Doorsection of this chapter for more information on how
the childproof locks operate with this system.
AUTOMATIC DIMMING INSIDE REAR VIEW MIRROR (IF EQUIPPED)
Your vehicle is equipped with an inside rear view mirror which has an
auto-dimming function. The electronic day/night mirror will change from
the normal state to the non-glare state when bright lights (glare) reach
the mirror. When the mirror detects bright light from front or behind, it
will automatically adjust (darken) to minimize glare.
Do not block the sensor on the backside of the mirror since this may
impair proper mirror performance.
Controls and features
80
Page 90 of 248

6. Repeat steps 3±5 for opposite door.
If the door does not rest in the fully open position, repeat Steps 1±4
again. If the door still does not operate correctly:
7. Turn the ignition switch to OFF.
8. Remove the PSD fuse (fuse #6) from the passenger fuse panel and
leave it out for thirty (30) seconds. Refer toFuses and relaysin the
Roadside emergencieschapter.
9. Reinstall the fuse and wait ten (10) seconds.
10. Repeat steps 1±6 above.
If the door still does not operate correctly, see you dealer for service.
Sliding Door Child Safety Lock
Your vehicle is equipped with a sliding door child safety lock that helps
prevent passengers from operating the sliding door by using the inside
door handle. This lock is on both doors if equipped. The child safety lock
lever is located in the inside of the sliding door, on the front edge of the
door. Lift the control up to engage the child lock.
If you have the optional power sliding door, disable the power sliding
door by pushing the ON/OFF control in the overhead console to the OFF
position. The power sliding door cannot be opened from the rear seat
when both this feature and the child lock are engaged.
If you want to open the sliding door when the child safety lock is on:
²Unlock the sliding door and open the door from the outside.
²If you have the optional power sliding door, press the right or left
hand control on the overhead console to open the door.
CENTER CONSOLE (IF EQUIPPED)
Your vehicle may be equipped with a variety of console features. These
include:
²utility compartment
²compact disc changer (if equipped)
Controls and features
90
Page 112 of 248

Accessing the 3rd row seat
If your vehicle has an adjustable 2nd row bench seat, it can be adjusted
to allow easier access to the 3rd row seat by sliding the seat forward,
folding the seatback to the forward flat position, or using the recline
control to adjust seatback forward. The ICS (integrated child seat) bench
seat does not have any adjustments.
If your vehicle has 2nd row bucket seats, it has an easy entry seat
feature which allows ready access to the 3rd row seat.
To access the 3rd row seat with
2nd row buckets:
1. Pull the seatback recline control
up and allow seatback to flip
forward.
2. Push seatback toward front of
vehicle. This releases the seat track
automatically and the seat will move
forward.
3. After entering the 3rd row seat,
pull back the seatback until it latches. This will latch and lock the
seatback and the seat track. The seatback and seat will not return to
their original position.
Do not attempt to use this feature when the seatback is folded in the
forward flat position. The seatback must be in an upright position, as
shown, for the system to work properly.
Check to see that the seat and seatback is latched securely in
position. Keep floor area free of objects that would prevent
proper seat engagement. Never attempt to adjust the seat while the
vehicle is in motion.
Seating and safety restraints
112
Page 141 of 248

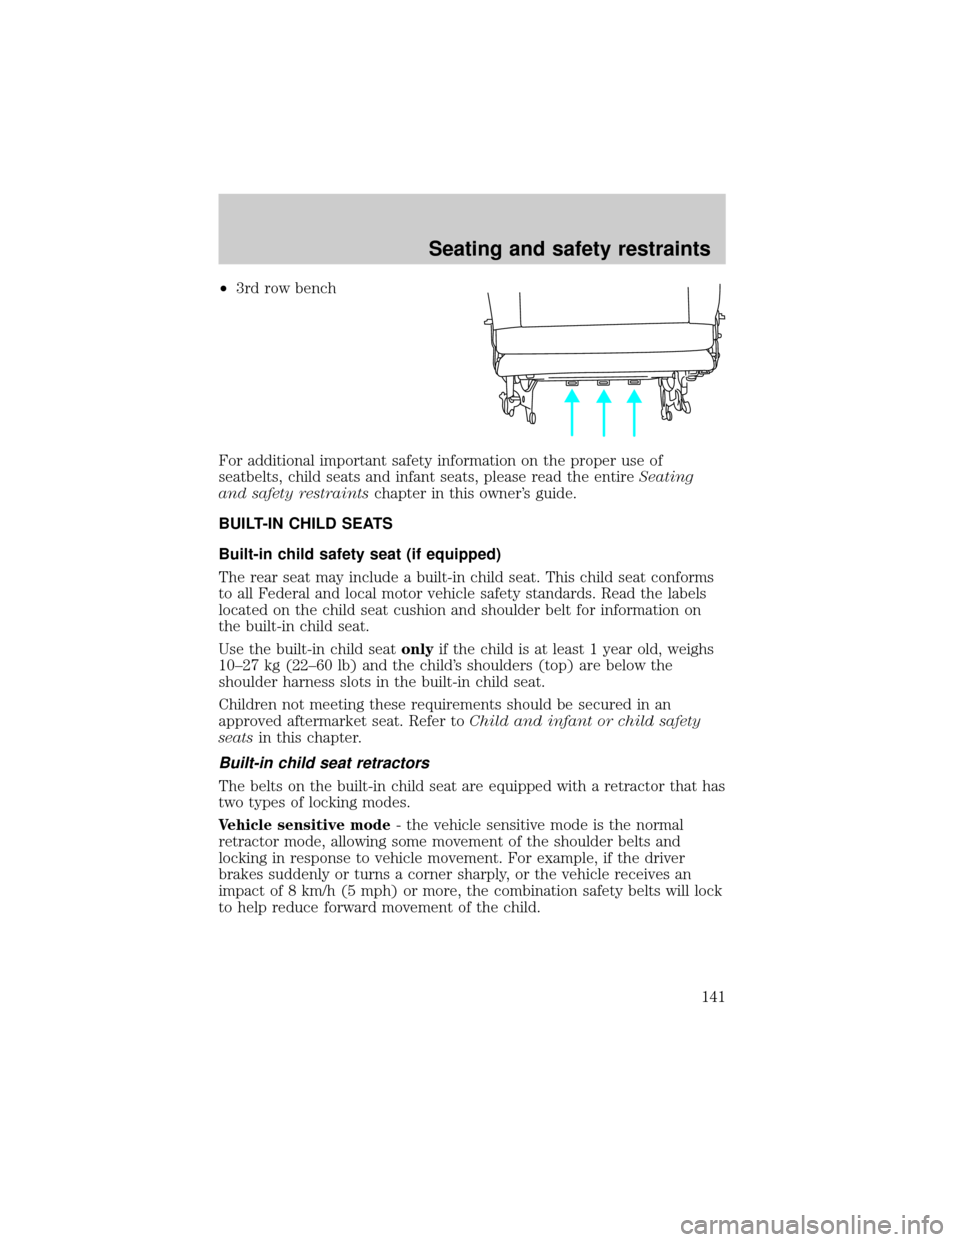
²3rd row bench
For additional important safety information on the proper use of
seatbelts, child seats and infant seats, please read the entireSeating
and safety restraintschapter in this owner's guide.
BUILT-IN CHILD SEATS
Built-in child safety seat (if equipped)
The rear seat may include a built-in child seat. This child seat conforms
to all Federal and local motor vehicle safety standards. Read the labels
located on the child seat cushion and shoulder belt for information on
the built-in child seat.
Use the built-in child seatonlyif the child is at least 1 year old, weighs
10±27 kg (22±60 lb) and the child's shoulders (top) are below the
shoulder harness slots in the built-in child seat.
Children not meeting these requirements should be secured in an
approved aftermarket seat. Refer toChild and infant or child safety
seatsin this chapter.
Built-in child seat retractors
The belts on the built-in child seat are equipped with a retractor that has
two types of locking modes.
Vehicle sensitive mode- the vehicle sensitive mode is the normal
retractor mode, allowing some movement of the shoulder belts and
locking in response to vehicle movement. For example, if the driver
brakes suddenly or turns a corner sharply, or the vehicle receives an
impact of 8 km/h (5 mph) or more, the combination safety belts will lock
to help reduce forward movement of the child.
Seating and safety restraints
141
Page 142 of 248

Automatic locking modeÐ in this mode, the shoulder belt is
automatically pre-locked to limit the child's movement in the seat. The
belt will still retract to remove any slack in the shoulder belts. The
automatic locking mode should be used if the child is sleeping or
attempting to get out of the seat.
The retractor will switch from the vehicle sensitive mode to the
automatic locking mode when the left hand shoulder belt is pulled all the
way out. The retractor will switch back to the vehicle sensitive mode
when the belts are unbuckled and the shoulder belts retract completely.
Frequently check the child seat's lap and shoulder harness belts for
correct placement and tightness. Use the child seat only if the harness
belts will stay snug when belts are placed into the lock mode with a child
in the seat. If belts do not remain snug, take the vehicle to the dealer for
child seat repair.
Always adjust the lap and shoulder harness belts provided with this child
seat snugly around your child.
Placing your child in the built-in child seat
Failure to follow all of the instructions on the use of this child
restraint system can result in your child striking the vehicle's
interior during a sudden stop or crash.
Never use the Built-In Child Seat as a booster cushion with the
adult safety belts. A child using the adult belts could slide
forward and out from under the safety belts.
Seating and safety restraints
142
Page 145 of 248

7. Pull on the safety belt tongues to
ensure that they are both securely
latched. If they are not properly
latched, repeat steps five through
seven.
Activating the automatic locking mode on the built-in child safety
seat
1. Fully extend the left shoulder belt.
2. Allow the belts to tighten snugly against the child's shoulders. As the
belt retracts, you will hear a clicking sound which indicates the safety
belt is now in the automatic locking mode.
Deactivating the automatic locking mode on the built-in child
safety seat
1. Disconnect the chest clip and remove the left and right safety belt
tongues from the crotch buckle.
2. Allow the shoulder belts to fully retract.
Removing your child from the built-in child seat
1. Disconnect the chest clip by
squeezing the release tabs together
and pulling the two sides apart.
2. Press the release button on the
crotch buckle.
3. Slide the shoulder belts off the
child's shoulders and remove the
child from the seat.
Seating and safety restraints
145
Page 146 of 248

To fold up the child seat
1. Fold the protector flap onto the child seat cushion.
2. Push the built-in child seat up ensuring the wire handle on the bottom
of the child seat engages into the slot under the head restraint.
3. Ensure that the child seat is fully engaged into the seatback. The head
restraint will not operate if the child seat is not properly stowed.
Inspecting the built-in child seat after a collision
Inspect all built-in child restraints, including seats, buckles, retractors,
and seat latches. Interlocks and attaching hardware should be inspected
by a qualified technician after any collision. If the child seat was in use
during a collision, Ford recommends replacing it. Built-in child restraints
not in use during a collision should be inspected and replaced if either
damage or improper operation is noted.
Seating and safety restraints
146
Page 243 of 248

Accessory delay ..........................78
Air bag supplemental restraint
system ........................................124
and child safety seats ............126
description .......................125,128
disposal ....................................131
indicator light ..................128,130
passenger air bag ............126,129
Air filter, cabin ..........................203
Anti-theft system ...99,100,101,102
,103
arming the system ..................100
disarming a triggered system 100
Automatic transaxle .................155
driving with ...............156,157,158
Brakes ........................................151
anti-lock ............................151,152
anti-lock brake system (ABS)
warning light ...........................152
fluid, checking and adding ....195
shift interlock ..........................155
Break-in period .............................3
Cargo net ...................................104
CD player .....................64,65,66,67
Child safety seats
attaching with tether straps ..136
in rear seat .......................133,136
tether anchorage
hardware ...................137,138,140
Cleaning your vehicle ...............230
built-in child seat ...........141,142,
145,146
engine compartment ..............232
exterior .............................231,234
exterior lamps .........................233
interior .....................................234
plastic parts ............................232
washing ....................................231
waxing .....................................231
wheels ......................................232
windows ..................................235
wiper blades ............................233Compass, electronic
set zone adjustment .......22,23,24
Console ........................................90
overhead ....................................86
Controls
power seat ...............................108
Coolant ......................................199
checking and adding ..............197
refill capacities ........................199
Cupholder(s) .110,112,113,115,117
Defrost
rear window ..............................37
Doors
power sliding .............87,88,89,90
Emission control system ..........222
Engine
check engine/service engine
soon light ...............................9,10
coolant .....................................197
idle speed control ...................206
service points ...................190,191
starting after a collision .........167
Engine block heater .................149
Engine oil
checking and adding ..............193
dipstick ....................................192
specifications ...................192,194
Exhaust fumes ..........................150
Floor mats ...................................91
Fuel
choosing the right fuel ...........216
comparisons with EPA fuel
economy estimates .................221
detergent in fuel .....................217
filling your vehicle
with fuel ...........................214,215
gauge .........................................12
quality ......................................217
running out of fuel .................218
safety information relating to
automotive fuels .....................214
Fuses ...................................168,169
Index
243