Page 11 of 216

Speed control
This light comes on when either the
SET/ACCEL or RESUME controls
are pressed. It turns off when the
speed control OFF control is
pressed, the brake is applied or the ignition is turned to the OFF
position.
Safety belt warning chime
Chimes to remind you to fasten your safety belts.
For information on the safety belt warning chime, refer to theSeating
and safety restraintschapter.
Supplemental restraint system (SRS) warning chime
For information on the SRS warning chime, refer to theSeating and
safety restraintschapter.
Key-in-ignition warning chime
Sounds when the key is left in the ignition in the OFF/LOCK or ACC
position and the driver's door is opened.
Headlamps on warning chime
Sounds when the headlamps or parking lamps are on, the ignition is off
(and the key is not in the ignition) and the driver's door is opened.
GAUGES
Standard instrument cluster gauges
SPEED
CONT
ABS
CHECK
ENGINE
FH
H
H
ELSPEED
CONT THEFT
DOOR
AJAR
O/D
OFFPRND21LL
10MPH 205060
70
304080
90
km/h
0 0 0
10 100
1
20
1
0 0 0 0 0 0406080100
120
140
160
180
20
Instrumentation
11
Page 63 of 216
One touch down
²Press AUTO completely down and
release quickly. The window will
open fully. Depress again to stop
window operation.
POWER DOOR LOCKS (IF EQUIPPED)
Press the top of the control to
unlock all doors and the bottom to
lock all doors.
POWER SIDE VIEW MIRRORS (IF EQUIPPED)
To adjust your mirrors:
1. Select
to adjust the left mirror orto adjust the right mirror.
2. Move the control in the direction
you wish to tilt the mirror.
3. Return to the center position to lock mirrors in place.
AUTO
UNLOCK
LOCK
Controls and features
63
Page 64 of 216
CENTER CONSOLE (IF EQUIPPED)
Your vehicle may be equipped with a
variety of console features. These
include:
²utility compartment with
cassette/compact disc storage
²cupholders
²coin holder slots
²flip up armrest
²removable utility bag
(if equipped)
Use only soft cups in the cupholder. Hard objects can injure you
in a collision.
CARGO AREA FEATURES
Cargo area shade (if equipped)
Your vehicle may be equipped with notches in the side trim panels that
are used for a cargo area shade. See your dealer for more information.
REMOTE ENTRY SYSTEM (IF EQUIPPED)
The remote entry system allows you to lock or unlock all vehicle doors
without a key.
The remote entry features only operate with the ignition in the OFF
position.
Controls and features
64
Page 65 of 216

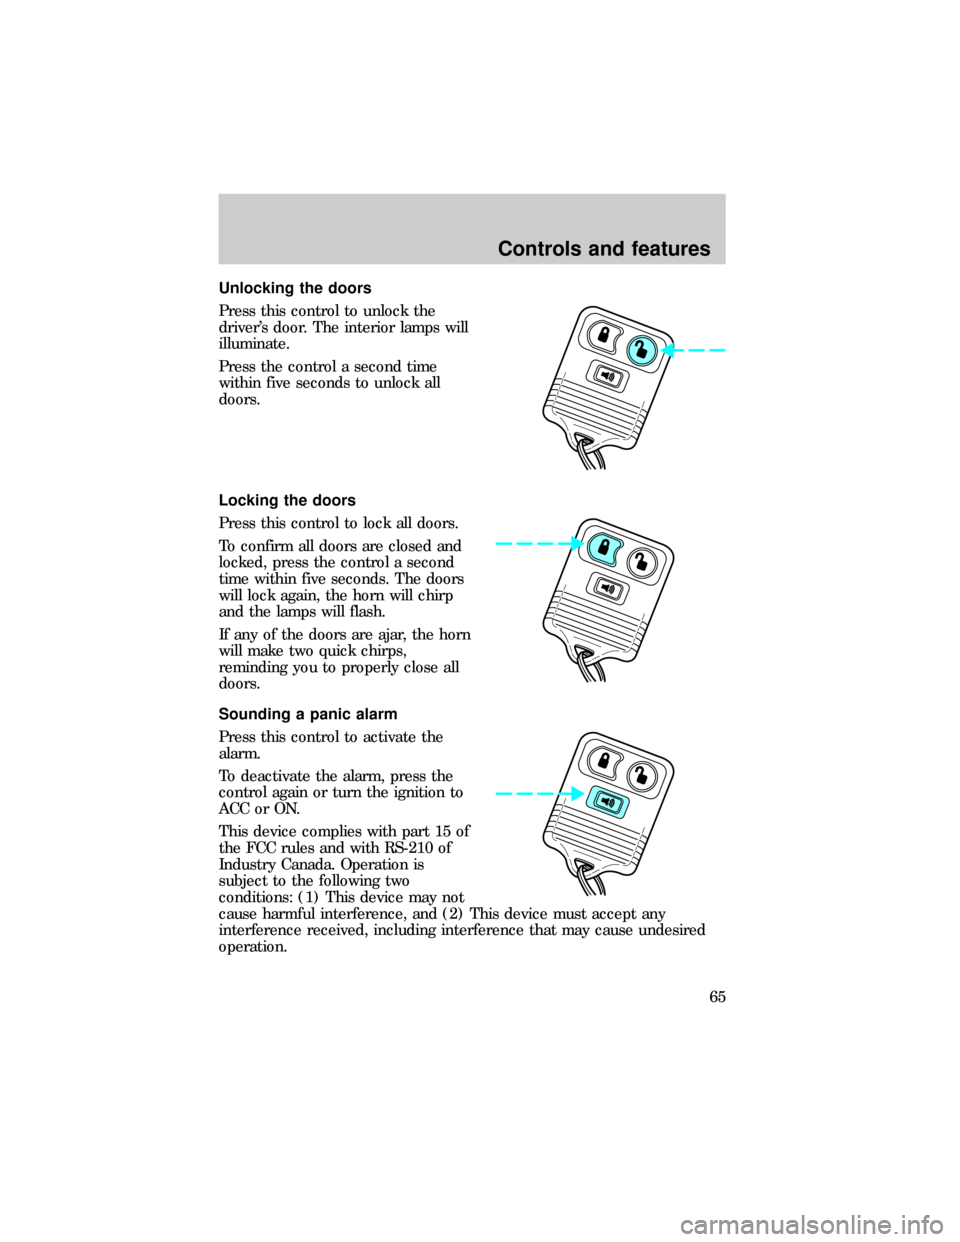
Unlocking the doors
Press this control to unlock the
driver's door. The interior lamps will
illuminate.
Press the control a second time
within five seconds to unlock all
doors.
Locking the doors
Press this control to lock all doors.
To confirm all doors are closed and
locked, press the control a second
time within five seconds. The doors
will lock again, the horn will chirp
and the lamps will flash.
If any of the doors are ajar, the horn
will make two quick chirps,
reminding you to properly close all
doors.
Sounding a panic alarm
Press this control to activate the
alarm.
To deactivate the alarm, press the
control again or turn the ignition to
ACC or ON.
This device complies with part 15 of
the FCC rules and with RS-210 of
Industry Canada. Operation is
subject to the following two
conditions: (1) This device may not
cause harmful interference, and (2) This device must accept any
interference received, including interference that may cause undesired
operation.
Controls and features
65
Page 67 of 216

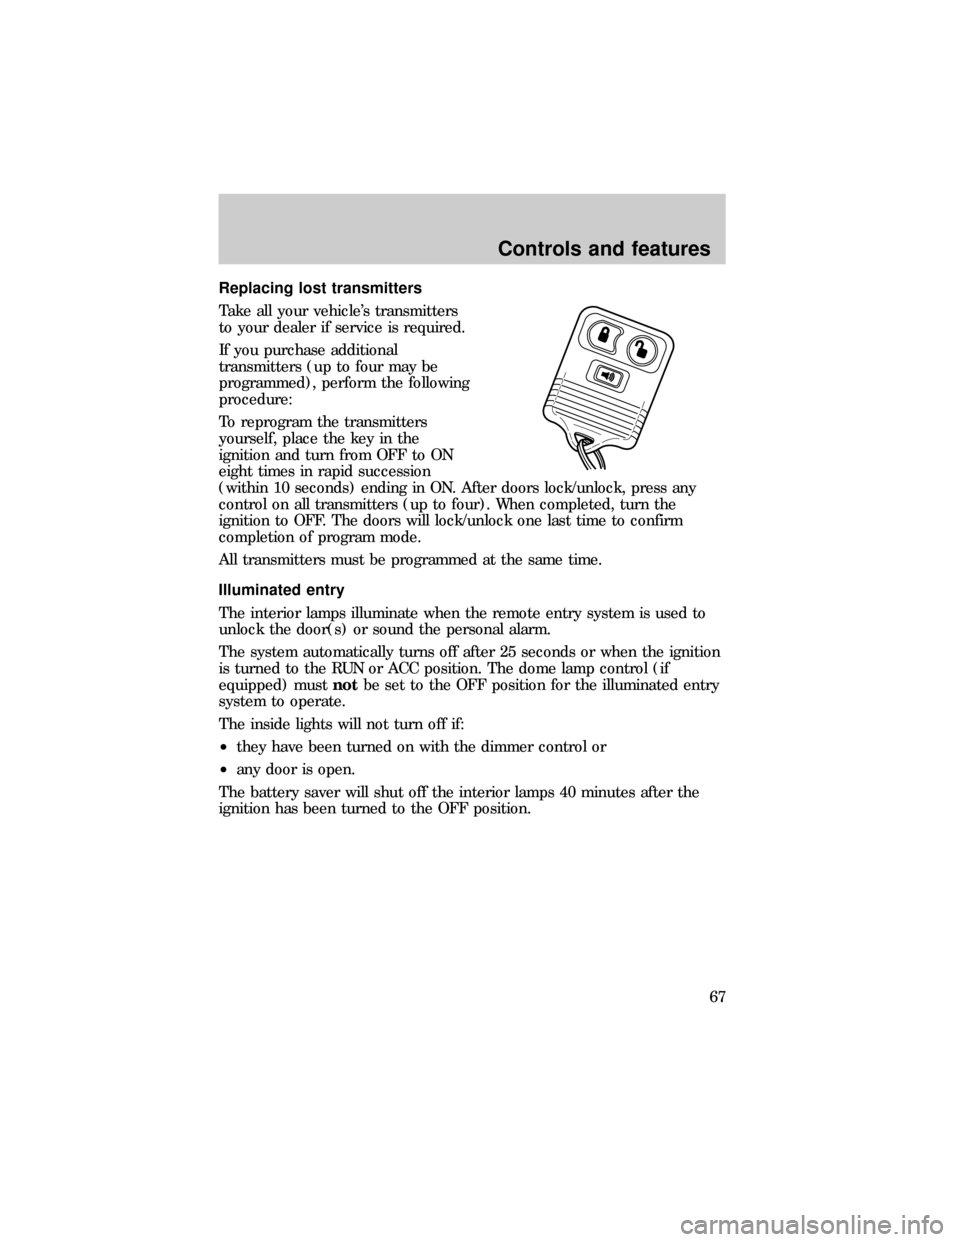
Replacing lost transmitters
Take all your vehicle's transmitters
to your dealer if service is required.
If you purchase additional
transmitters (up to four may be
programmed), perform the following
procedure:
To reprogram the transmitters
yourself, place the key in the
ignition and turn from OFF to ON
eight times in rapid succession
(within 10 seconds) ending in ON. After doors lock/unlock, press any
control on all transmitters (up to four). When completed, turn the
ignition to OFF. The doors will lock/unlock one last time to confirm
completion of program mode.
All transmitters must be programmed at the same time.
Illuminated entry
The interior lamps illuminate when the remote entry system is used to
unlock the door(s) or sound the personal alarm.
The system automatically turns off after 25 seconds or when the ignition
is turned to the RUN or ACC position. The dome lamp control (if
equipped) mustnotbe set to the OFF position for the illuminated entry
system to operate.
The inside lights will not turn off if:
²they have been turned on with the dimmer control or
²any door is open.
The battery saver will shut off the interior lamps 40 minutes after the
ignition has been turned to the OFF position.
Controls and features
67
Page 72 of 216
Pull lever up to adjust seatback.
Using the manual lumbar support
Turn the lumbar support control
clockwise to increase firmness.
Turn the lumbar support control
counterclockwise to increase
softness.
REAR SEATS
Center facing jump seat (2 door SuperCab) (if equipped)
To open, pull inboard and down on the seat handle.
To stow the seat, pull seat bottom back to the fully upright position.
Do not install a child seat in a center facing jump seat.
Seating and safety restraints
72
Page 74 of 216

Each seating position in your vehicle has a specific safety belt
assembly which is made up of one buckle and one tongue that
are designed to be used as a pair. 1) Use the shoulder belt on the
outside shoulder only. Never wear the shoulder belt under the arm. 2)
Never swing the safety belt around your neck over the inside shoulder.
3) Never use a single belt for more than one person.
On four-door SuperCab vehicles, do not open the rear door when
the rear seat belt is still buckled.
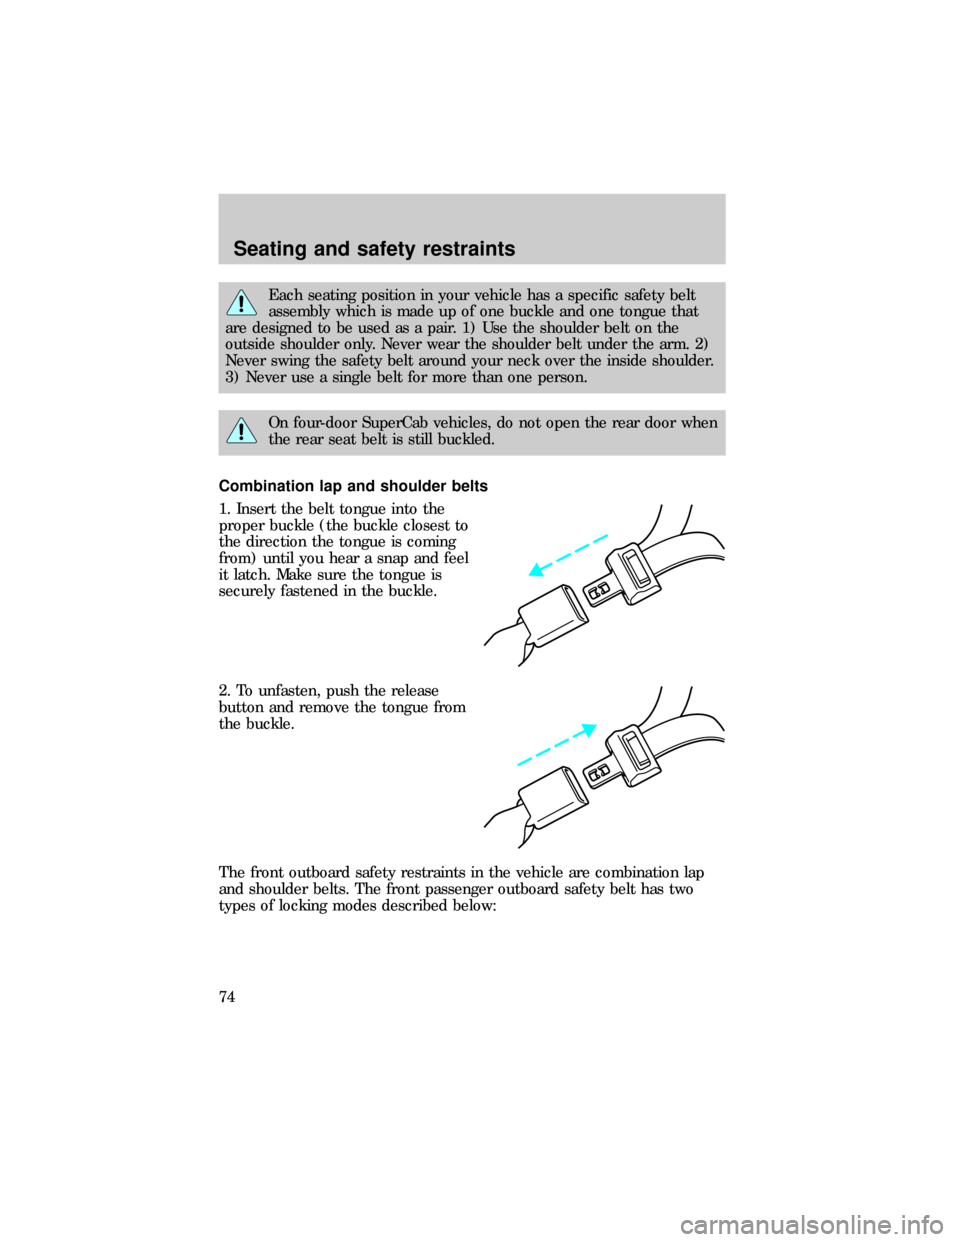
Combination lap and shoulder belts
1. Insert the belt tongue into the
proper buckle (the buckle closest to
the direction the tongue is coming
from) until you hear a snap and feel
it latch. Make sure the tongue is
securely fastened in the buckle.
2. To unfasten, push the release
button and remove the tongue from
the buckle.
The front outboard safety restraints in the vehicle are combination lap
and shoulder belts. The front passenger outboard safety belt has two
types of locking modes described below:
Seating and safety restraints
74
Page 137 of 216

Fuse/Relay
LocationFuse Amp
RatingDescription
10 7.5A Speed Control Servo/Amplifier Assembly,
Generic Electronic Module (GEM), Shift Lock
Actuator, Blend Door Actuator, A/C-Heater
Assembly, Turn Signals
11 7.5A Instrument Cluster, Daytime Running Lights
(DRL), RABS Resistor
12 Ð Not Used
13 20A Brake Pedal Position Switch
14 20A or 10A 20A: If equipped with Rear Anti-Lock Brake
System (RABS) Module.
10A: If equipped with 4 Wheel Anti-Lock
Brake System (4WABS) Module, 4WABS Main
Relay
15 7.5A Air Bag Indicator Lamp, Alternator Indicator
Lamp
16 30A Windshield Wiper Motor, Wiper Hi-Lo Relay,
Wiper Run/Park Relay
17 25A Cigar Lighter
18 15A Driver's Unlock Relay, All-Unlock Relay,
All-Lock Relay
19 25A PCM Power Diode
20 7.5A RAP Module, Generic Electronic Module
(GEM), Radio
21 15A Flasher (Hazard)
22 20A Auxiliary Power Socket
23 Ð Not Used
24 7.5A Clutch Pedal Position (CPP) switch, Starter
Interrupt Relay, Anti-Theft
25 7.5A Generic Electronic Module (GEM),
Instrument Cluster
26 10A Battery Saver Relay, Electronic Shift Relay,
Interior Lamp Relay, Power Window Relay,
Electronic Shift Control Module, Dome/Map
Lamp, GEM
Roadside emergencies
137