Page 93 of 216

The ABS operates by
detecting the onset of
wheel lockup during
brake applications
and compensating for
this tendency. The
wheels are prevented
from locking even
when the brakes are firmly applied. The
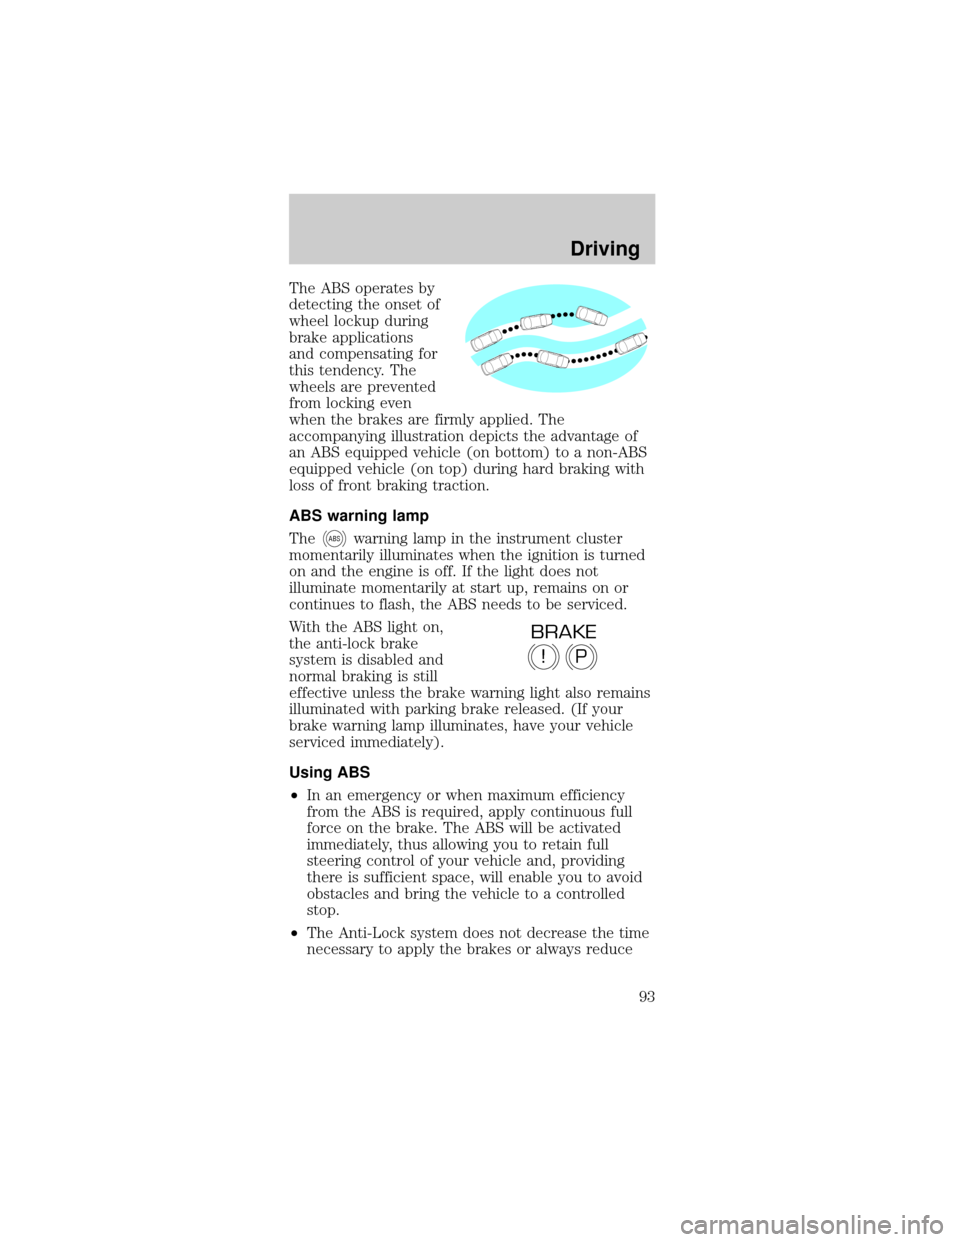
accompanying illustration depicts the advantage of
an ABS equipped vehicle (on bottom) to a non-ABS
equipped vehicle (on top) during hard braking with
loss of front braking traction.
ABS warning lamp
The
ABSwarning lamp in the instrument cluster
momentarily illuminates when the ignition is turned
on and the engine is off. If the light does not
illuminate momentarily at start up, remains on or
continues to flash, the ABS needs to be serviced.
With the ABS light on,
the anti-lock brake
system is disabled and
normal braking is still
effective unless the brake warning light also remains
illuminated with parking brake released. (If your
brake warning lamp illuminates, have your vehicle
serviced immediately).
Using ABS
²In an emergency or when maximum efficiency
from the ABS is required, apply continuous full
force on the brake. The ABS will be activated
immediately, thus allowing you to retain full
steering control of your vehicle and, providing
there is sufficient space, will enable you to avoid
obstacles and bring the vehicle to a controlled
stop.
²The Anti-Lock system does not decrease the time
necessary to apply the brakes or always reduce
P!
BRAKE
Driving
93
Page 94 of 216

stopping distance. Always leave enough room
between your vehicle and the vehicle in front of
you to stop.
²We recommend that you familiarize yourself with
this braking technique. However, avoid taking any
unnecessary risks.
Hydraulic brake booster system (Hydroboost)
The Hydroboost system receives fluid pressure from
the power steering pump to provide power assist
during braking.
The sound of the pump operating may be heard by
the driver, but this is a normal characteristic of the
system.
For Hydroboost-equipped vehicles operating under
normal conditions, the noise of the fluid flowing
through the booster may be heard whenever the
brake is applied. This condition is normal. Vehicle
service is not required.
If braking performance or pedal response becomes
very poor, even when the pedal is strongly
depressed, it may indicate the presence of air in the
hydraulic system or leakage of fluid. Stop the vehicle
safely as soon as possible and seek service
immediately.
Parking brake
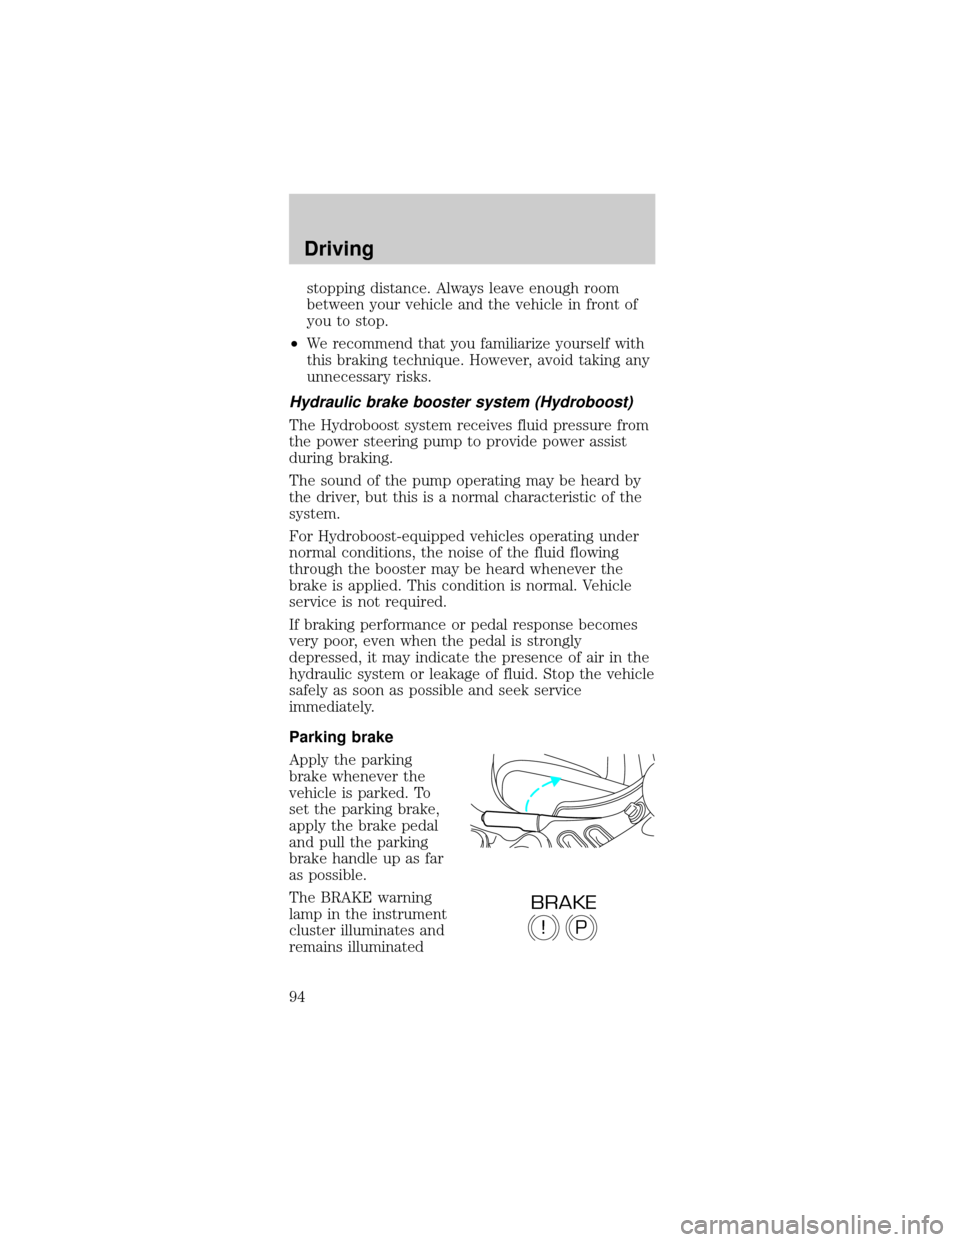
Apply the parking
brake whenever the
vehicle is parked. To
set the parking brake,
apply the brake pedal
and pull the parking
brake handle up as far
as possible.
The BRAKE warning
lamp in the instrument
cluster illuminates and
remains illuminated
P!
BRAKE
Driving
94
Page 96 of 216

controlled by automatically applying and releasing
the rear brakes in conjunction with engine torque
reductions. Engine torque reduction is realized via
the fully electronic spark and fuel injection systems.
This process is very sensitive to driving conditions
and very fast acting. The rear wheels ªsearchº for
optimum traction several times a second and
adjustments are made accordingly.
The Traction Controlysystem will allow your
vehicle to make better use of available traction on
slippery surfaces. The system is a driver aid which
makes your vehicle easier to handle primarily on
snow, ice covered and gravel roads.
During Traction
Controlyoperation,
the traction control
active light will
illuminate, you may hear an electric motor type of
sound coming from the engine compartment and the
engine will not ªrev-upº when you push further on
the accelerator. This is normal system behavior.
The Traction Controlyon/off switch, located in front
of the gearshift, illuminates when the system is OFF.
The Traction Controlysystem will revert to the ON
position every time the ignition is turned OFF and
ON.
If you should become stuck in snow or ice or on a
very slippery road surface, try switching the Traction
Controlysystem off. This may allow excess wheel
spin to ªdigº the vehicle out and enable a successful
ªrockingº maneuver.
If a system fault is detected the warning indicator
lamp is and your vehicle should be serviced.
STEERING
Your vehicle is equipped with power steering. Power
steering uses energy from the engine to help steer
the vehicle.
Driving
96
Page 98 of 216

Do not drive your vehicle until you verify
that the brakelamps are working.
If your vehicle gets stuck in mud or snow it may be
rocked out by shifting from forward and reverse
gears, stopping between shifts, in a steady pattern.
Press lightly on the accelerator in each gear.
Do not rock the vehicle for more than a few
minutes. The transmission and tires may be
damaged or the engine may overheat.
Always set the parking brake fully and make
sure the gearshift is latched in P (Park).
Turn off the ignition whenever you leave your
vehicle.
If the parking brake is fully released, but the
brake warning lamp remains illuminated, the
brakes may not be working properly. See your
dealer or a qualified service technician.
Driving with a 4±speed automatic transmission
(if equipped)
Understanding gearshift positions
Pull the gearshift lever towards you and downward
to move the automatic gearshift.
Hold the brake pedal down while you move
the gearshift lever from P (Park) to another
position. If you do not hold the brake pedal down,
your vehicle may move unexpectedly and injure
someone.
Driving
98
Page 110 of 216

Exceeding the GCWR rating may cause internal
transmission damage and void your warranty
coverage.
Servicing after towing
If you tow a trailer for long distances, your vehicle
will require more frequent service intervals. Refer to
your Scheduled Maintenance guide for more
information.
Trailer towing tips
²Practice turning, stopping and backing up in an
area before starting on a trip to get the feel of the
vehicle trailer combination. When turning, make
wider turns so the trailer wheels will clear curbs
and other obstacles.
²Allow more distance for stopping with a trailer
attached.
²The trailer tongue weight should be 10% of the
loaded trailer weight.
²After you have traveled 80 km (50 miles),
thoroughly check your hitch, electrical
connections and trailer wheel lug nuts.
²When stopped in traffic for long periods of time in
hot weather, place the gearshift in P (Park) and
increase idle speed. This aids engine cooling and
air conditioner efficiency.
²Vehicles with trailers should not be parked on a
grade. If you must park on a grade, place wheel
chocks under the trailer's wheels.
Driving
110
Page 128 of 216
4. Remove the jumper cable from the positive (+)
terminal of the disabled vehicle's battery.
After the disabled vehicle has been started and the
jumper cables removed, allow it to idle for several
minutes so the engine computer canrelearnits idle
conditions.
Wrecker towing
If you need to have your vehicle towed, contact a
professional towing service or, if you are a member,
your roadside assistance center.
+–+–
Roadside emergencies
128
Page 130 of 216

SERVICE RECOMMENDATIONS
To help you service your vehicle:
²We highlight do-it-yourself items in the engine
compartment for easy location.
²We provide a Scheduled Maintenance Guide which
makes tracking routine service easy.
If your vehicle requires professional service, your
dealership can provide necessary parts and service.
Check your ªWarranty Guideº to find out which parts
and services are covered.
Use only recommended fuels, lubricants, fluids and
service parts conforming to specifications. Motorcraft
parts are designed and built to provide the best
performance in your vehicle.
PRECAUTIONS WHEN SERVICING YOUR
VEHICLE
Be especially careful when inspecting or servicing
your vehicle.
²Do not work on a hot engine.
²When the engine is running, keep loose clothing,
jewelry or long hair away from moving parts.
²Do not work on a vehicle with the engine running
in an enclosed space, unless you are sure you
have enough ventilation.
²Keep all lit cigarettes, open flames and other lit
material away from the battery and all fuel related
parts.
If you disconnect the battery, the engine must
ªrelearnº its idle conditions before your vehicle will
drive properly, as explained in theBatterysection in
this chapter.
Working with the engine off
²Automatic transmission:
1. Set the parking brake and ensure the gearshift is
securely latched in P (Park).
Maintenance and care
130
Page 136 of 216

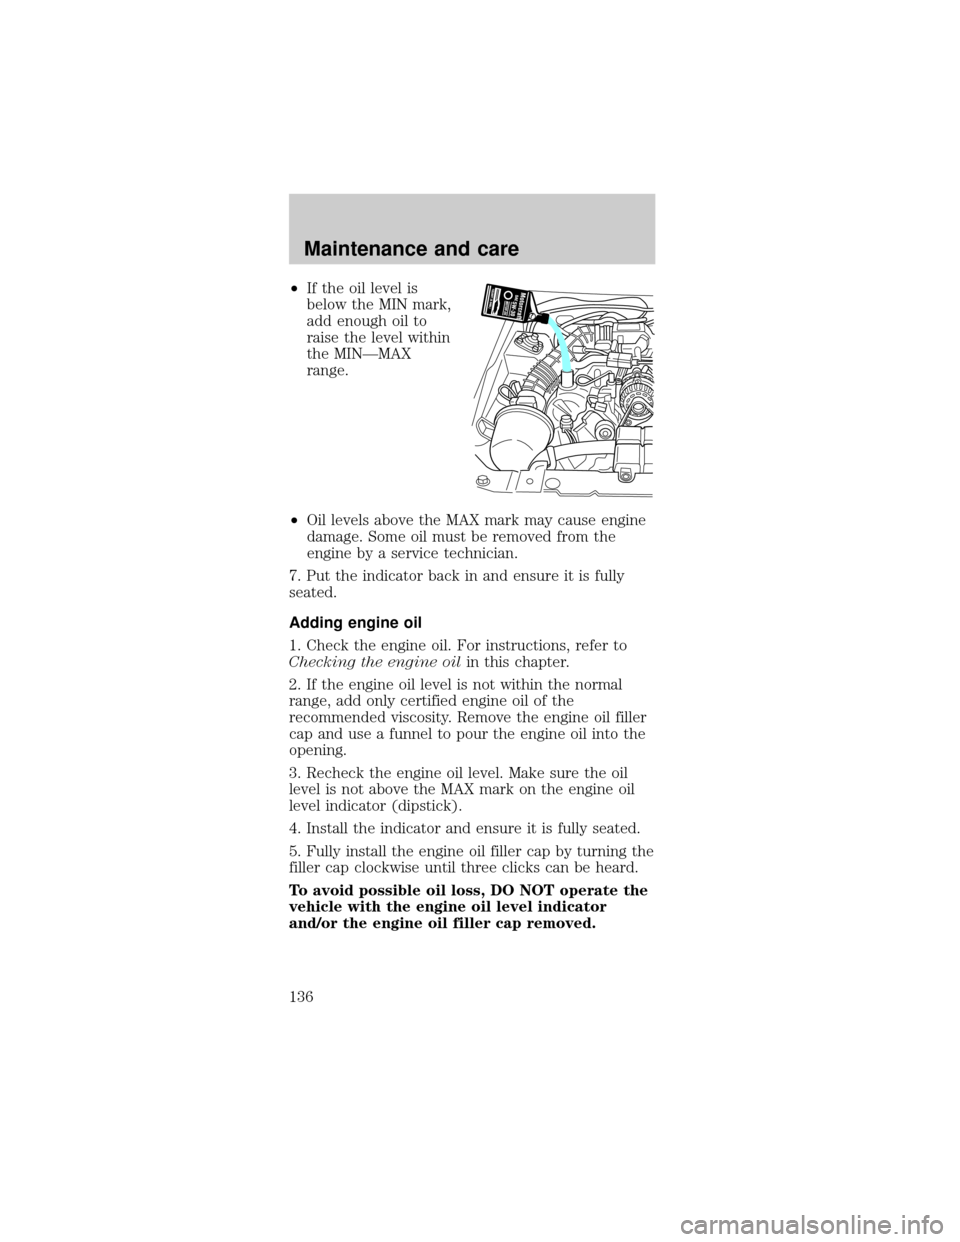
²If the oil level is
below the MIN mark,
add enough oil to
raise the level within
the MINÐMAX
range.
²Oil levels above the MAX mark may cause engine
damage. Some oil must be removed from the
engine by a service technician.
7. Put the indicator back in and ensure it is fully
seated.
Adding engine oil
1. Check the engine oil. For instructions, refer to
Checking the engine oilin this chapter.
2. If the engine oil level is not within the normal
range, add only certified engine oil of the
recommended viscosity. Remove the engine oil filler
cap and use a funnel to pour the engine oil into the
opening.
3. Recheck the engine oil level. Make sure the oil
level is not above the MAX mark on the engine oil
level indicator (dipstick).
4. Install the indicator and ensure it is fully seated.
5. Fully install the engine oil filler cap by turning the
filler cap clockwise until three clicks can be heard.
To avoid possible oil loss, DO NOT operate the
vehicle with the engine oil level indicator
and/or the engine oil filler cap removed.
Maintenance and care
136