Page 17 of 216
PANEL DIMMER CONTROL
To adjust the
brightness of the
instrument panel:
²Rotate clockwise/
counterclockwise
when the headlamp
control is in the
parking lamp or low-beam position.
To turn on the courtesy lamps:
²Rotate fully counterclockwise.
REAR WINDOW DEFROSTER (IF EQUIPPED)
The rear defroster
control is located on
the instrument panel.
Press the rear defroster control to clear the rear
window of thin ice and fog.
²The small LED will illuminate when the rear
defroster is activated.
The ignition must be in the ON position to operate
the rear window defroster.
The defroster turns off automatically after 10
minutes or when the ignition is turned to the OFF
position. To manually turn off the defroster before
ten minutes have passed, push the control again.
REAR DEF
Controls and features
17
Page 19 of 216

Under normal conditions, your vehicle's climate
control system should be left in any position other
than MAX A/C or OFF when the vehicle is parked.
This allows the vehicle to ªbreatheº through the
outside air inlet duct. In snowy or dirty conditions,
leave the mode selector in the OFF position when
the ignition is turned off.
²MAX A/C-Uses recirculated air to cool the vehicle.
MAX A/C is noisier than NORM A/C but more
economical and will cool the inside of the vehicle
faster. Airflow will be from the instrument panel
registers. This mode can also be used to reduce
undesirable odors from entering the vehicle.
²NORM A/C-Uses outside air to cool the vehicle. It
is quieter than MAX A/C but not as economical.
Airflow will be from the instrument panel
registers.
²VENT-Distributes outside air through the
instrument panel registers. However, the air will
not be cooled below the outside temperature
because the air conditioning does not operate in
this mode.
²OFF-Outside air is shut out and the fan will not
operate. For short periods of time only, use this
mode to prevent undesirable odors from entering
the vehicle.
²FLR-Allows for maximum heating by distributing
outside air through the floor ducts. However, the
air will not be cooled below the outside
temperature because the air conditioning does not
operate in this mode.
²MIX-Distributes outside air through the
windshield defroster ducts and the floor ducts.
Heating and air conditioning capabilities are
provided in this mode. For added customer
comfort, when the temperature control knob is
anywhere in between the full hot and full cold
positions, the air distributed through the floor
ducts will be slightly warmer than the air sent to
Controls and features
19
Page 20 of 216

the windshield defroster ducts. If the temperature
is about 10ÉC (50ÉF) or higher, the air conditioner
will automatically dehumidify the air to reduce
fogging.
²
-Distributes outside air through the
windshield defroster ducts. It can be used to clear
ice or fog from the windshield. If the temperature
is about 10ÉC (50ÉF) or higher, the air conditioner
will automatically dehumidify the air to reduce
fogging.
Operating tips
²In humid weather, selectbefore driving. This
will reduce your windshield from fogging. After a
few minutes, select any desired position.
²To reduce humidity buildup inside the vehicle,
don't drive with the climate control system in the
OFF position.
²Don't put objects under the front seat that will
interfere with the airflow to the back seats.
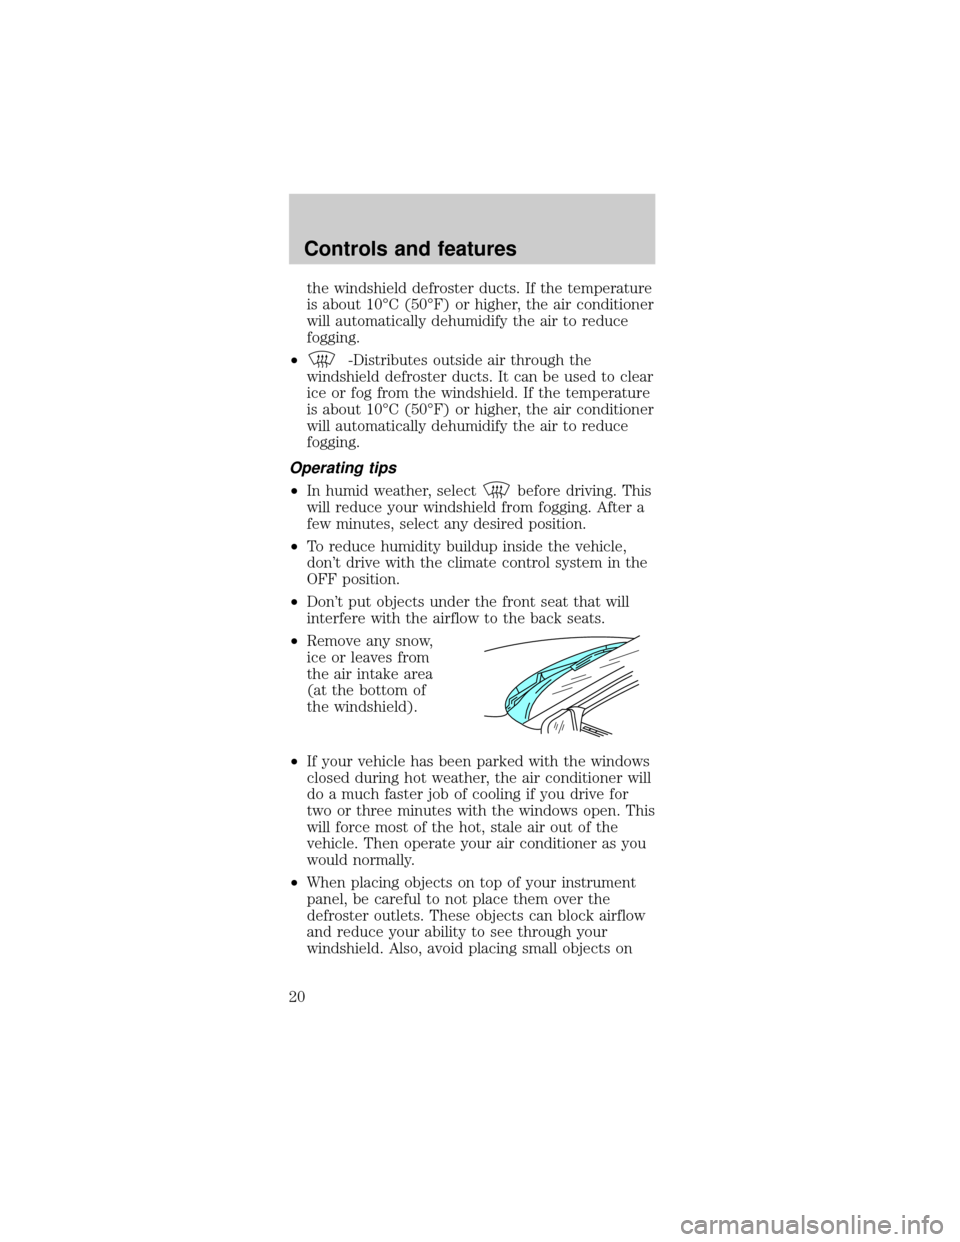
²Remove any snow,
ice or leaves from
the air intake area
(at the bottom of
the windshield).
²If your vehicle has been parked with the windows
closed during hot weather, the air conditioner will
do a much faster job of cooling if you drive for
two or three minutes with the windows open. This
will force most of the hot, stale air out of the
vehicle. Then operate your air conditioner as you
would normally.
²When placing objects on top of your instrument
panel, be careful to not place them over the
defroster outlets. These objects can block airflow
and reduce your ability to see through your
windshield. Also, avoid placing small objects on
Controls and features
20
Page 21 of 216
top of your instrument panel. These objects can
fall down into the defroster outlets and block
airflow and possibly damage your climate control
system.
Do not place objects on top of the
instrument panel, as these objects may
become projectiles in a collision or sudden stop.
USING YOUR AUDIO SYSTEM
AM/FM Stereo/Cassette/Premium Sound
Power control
Press the control to
turn the audio system
on or off.
Volume control
Press the control to
raise or lower volume.
If the volume is set
above a certain level and the ignition is turned off,
the volume will come back on at a ªnominalº
listening level when the ignition switch is turned
back on. If you wish to maintain your preset volume
level, turn the audio system off with the power
control before switching off the ignition.
DOLBY SYSTEMSTFM 1
123
4 5 CLOCKAMS SCAN
SEEK
VOLUME
POWERAUDIO AM/FM
–+
POWER
VOLUME+ –
Controls and features
21
Page 132 of 216
OPENING THE HOOD
1. Inside the vehicle,
pull the hood release
handle located under
the bottom left corner
of the instrument
panel.
2. Go to the front of the vehicle and release the
auxiliary latch that is located under the front center
of the hood.
3. Lift the hood and secure it with the prop rod.
HOOD
Maintenance and care
132
Page 175 of 216
Map lamps
For bulb replacement, see a qualified service
technician or your dealer.
Using the right bulbs
Function Trade Number
Tail lamp, brakelamp, turn lamp 3157K
Park lamp, turn lamp, side
marker (front)3157NAK
Backup lamp 3156K
License plate lamp 168
High-mount brakelamp 906
Headlamps 9007
Luggage compartment lamp 906
Dome lamp 575
Map lamp 575
Visor vanity lamp 74
Glove compartment 194
Rearview mirror map lamps 192
Fog lamp 899
To replace all instrument panel lights - see your
dealer.
AIMING THE HEADLAMPS
The alignment of your headlamps should be checked
if:
²Oncoming motorists frequently signal you to
deactivate your high beams, and your high beams
are not activated.
²The headlamps do not seem to provide enough
light for clear night vision.
²The headlamp beams are pointed substantially
away from a slightly down and to the right
position.
Maintenance and care
175
Page 180 of 216

If the wiper still does not wipe properly, this could
be caused by substances on the windshield such as
tree sap and some hot wax treatments used by
commercial car washes. Clean the outside of the
windshield with a non-abrasive cleanser such as the
non-abrasive Bon-Amitpowder. Rinse thoroughly
with clean water.Do notuse abrasive cleansers on
glass as they may cause scratches. The windshield is
clean if beads do not form when you rinse it with
water. The windshield and wiper blades should be
cleaned on a regular basis, and blades or rubber
elements replaced when worn.
Cleaning the instrument panel
Clean with a damp cloth, then dry with a dry cloth.
Avoid cleaner or polish that increases the gloss of
the upper portion of the instrument panel. The dull
finish in this area helps protect the driver from
undesirable windshield reflection.
Cleaning the interior fabric
Remove dust and loose dirt with a whisk broom or a
vacuum cleaner. Remove fresh spots immediately. Do
not use household or glass cleaners. These agents
can stain and discolor the fabric. Use a mild soap
and water solution if necessary.
Cleaning leather seats (if equipped)
To clean, simply use a soft cloth dampened with
water and a mild soap. Wipe the leather again with a
damp cloth to remove soap residue. Dry with a soft
cloth. For tougher soiling concerns, Ford
recommends using the Deluxe Leather Care Kit
F8AZ-19G253±AA, which is available from your Ford
Dealer. This mild cleaner and special pad, cleans the
leather and maintains its natural beauty. Follow the
instructions on the cleaner label. Regular cleaning of
your leather upholstery helps maintain its resiliency
and color.
Maintenance and care
180
Page 190 of 216

IDENTIFYING YOUR VEHICLE
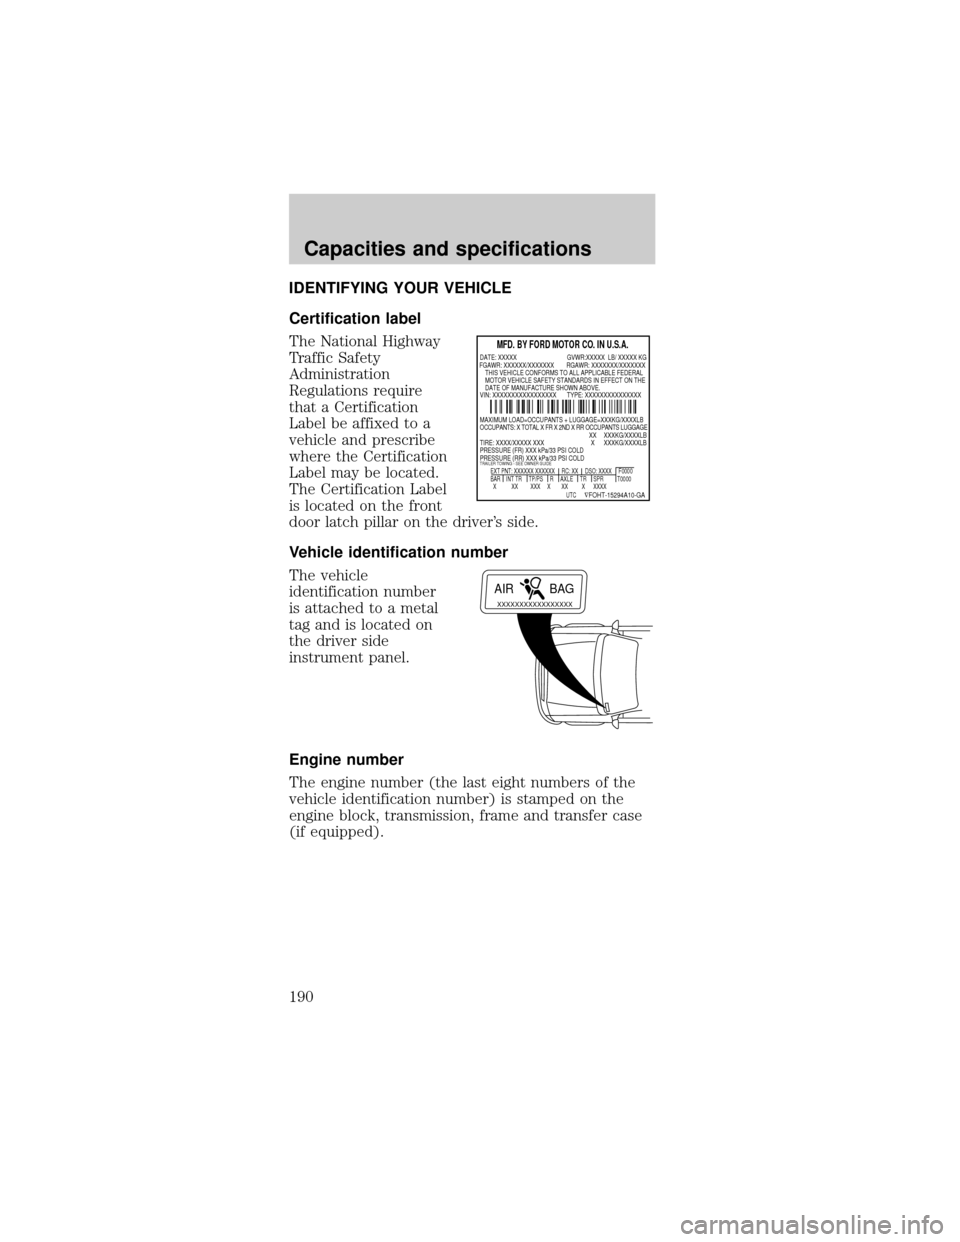
Certification label
The National Highway
Traffic Safety
Administration
Regulations require
that a Certification
Label be affixed to a
vehicle and prescribe
where the Certification
Label may be located.
The Certification Label
is located on the front
door latch pillar on the driver's side.
Vehicle identification number
The vehicle
identification number
is attached to a metal
tag and is located on
the driver side
instrument panel.
Engine number
The engine number (the last eight numbers of the
vehicle identification number) is stamped on the
engine block, transmission, frame and transfer case
(if equipped).
MFD. BY FORD MOTOR CO. IN U.S.A.
EXT PNT: XXXXXX XXXXXX RC: XX DSO: XXXX F0000
BAR INT TR TP/PS R AXLE TR SPR T0000
X XX XXX X XX X XXXX
UTC
ÑFOHT-15294A10-GA
MAXIMUM LOAD=OCCUPANTS + LUGGAGE=XXXKG/XXXXLB
OCCUPANTS: X TOTAL X FR X 2ND X RR OCCUPANTS LUGGAGE
XX XXXKG/XXXXLB
TIRE: XXXX/XXXXX XXX X XXXKG/XXXXLB
PRESSURE (FR) XXX kPa/33 PSI COLD
PRESSURE (RR) XXX kPa/33 PSI COLD
TRAILER TOWING - SEE OWNER GUIDE
DATE: XXXXX GVWR:XXXXX LB/ XXXXX KG
VIN: XXXXXXXXXXXXXXXXX TYPE: XXXXXXXXXXXXXXX FGAWR: XXXXXX/XXXXXXX RGAWR: XXXXXXX/XXXXXXXTHIS VEHICLE CONFORMS TO ALL APPLICABLE FEDERAL
MOTOR VEHICLE SAFETY STANDARDS IN EFFECT ON THE
DATE OF MANUFACTURE SHOWN ABOVE.
XXXXXXXXXXXXXXXXXAIR BAG
Capacities and specifications
190