Page 83 of 264
To disengage speed control
²Depress the brake pedal or
²Depress the clutch pedal (if
equipped)
Disengaging the speed control will
not erase the previously
programmed set speed.
Pressing OFF will erase the
previously programmed set speed.
OFF ON
Controls and features
83
Page 105 of 264

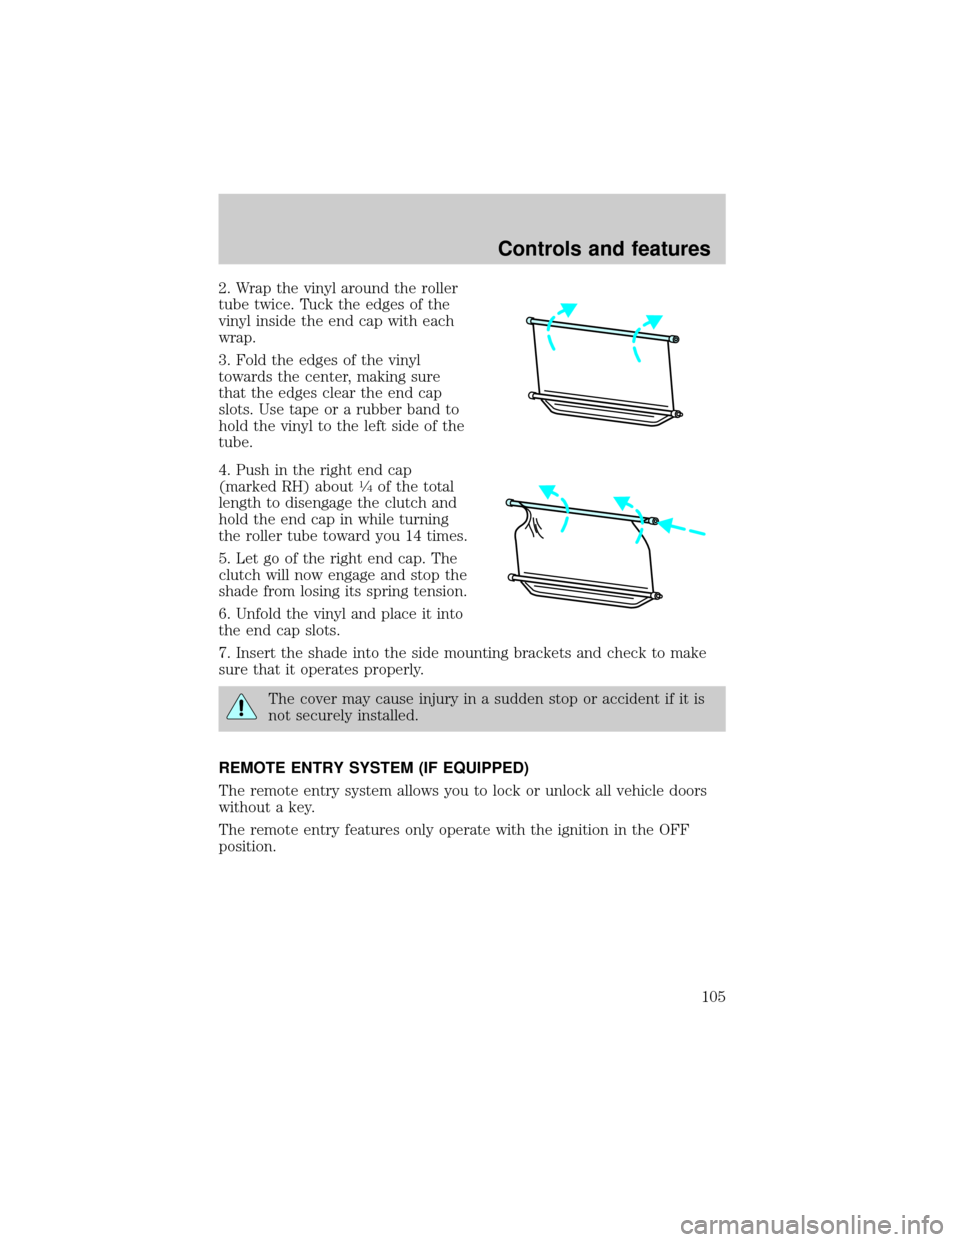
2. Wrap the vinyl around the roller
tube twice. Tuck the edges of the
vinyl inside the end cap with each
wrap.
3. Fold the edges of the vinyl
towards the center, making sure
that the edges clear the end cap
slots. Use tape or a rubber band to
hold the vinyl to the left side of the
tube.
4. Push in the right end cap
(marked RH) about
1¤4of the total
length to disengage the clutch and
hold the end cap in while turning
the roller tube toward you 14 times.
5. Let go of the right end cap. The
clutch will now engage and stop the
shade from losing its spring tension.
6. Unfold the vinyl and place it into
the end cap slots.
7. Insert the shade into the side mounting brackets and check to make
sure that it operates properly.
The cover may cause injury in a sudden stop or accident if it is
not securely installed.
REMOTE ENTRY SYSTEM (IF EQUIPPED)
The remote entry system allows you to lock or unlock all vehicle doors
without a key.
The remote entry features only operate with the ignition in the OFF
position.
Controls and features
105
Page 141 of 264
If starting a vehicle with an automatic transmission:
²Make sure the parking brake is
set.
²Make sure the gearshift is in P (Park).
If starting a vehicle with a manual transmission:
²Make sure the parking brake is set.
²Push the clutch pedal to the
floor.
3. Turn the key to 4 (ON) without
turning the key to 5 (START).
1
2
34
5
Starting
141
Page 154 of 264

2 (Second)
Use 2 (Second) to start-up on
slippery roads or to provide
additional engine braking on
downgrades. Transmission operates
in third gear.
1 (First)
Use 1 (First) to provide maximum
engine braking on steep
downgrades. Upshifts can be made
by shifting to 2 (Second) or to
(Overdrive). Selecting 1 (Low)
at higher speeds causes the transmission to shift to a lower gear and will
shift to 1 (First) after the vehicle decelerates to the proper vehicle
speed.
Forced Downshifts
To gain acceleration in(Overdrive) or Drive (O/D OFF) when passing
another vehicle, push the accelerator to the floor. The transmission will
downshift to the appropriate gear: fourth, third, second or first gear.
Driving a manual transmission (if equipped)
Using the clutch
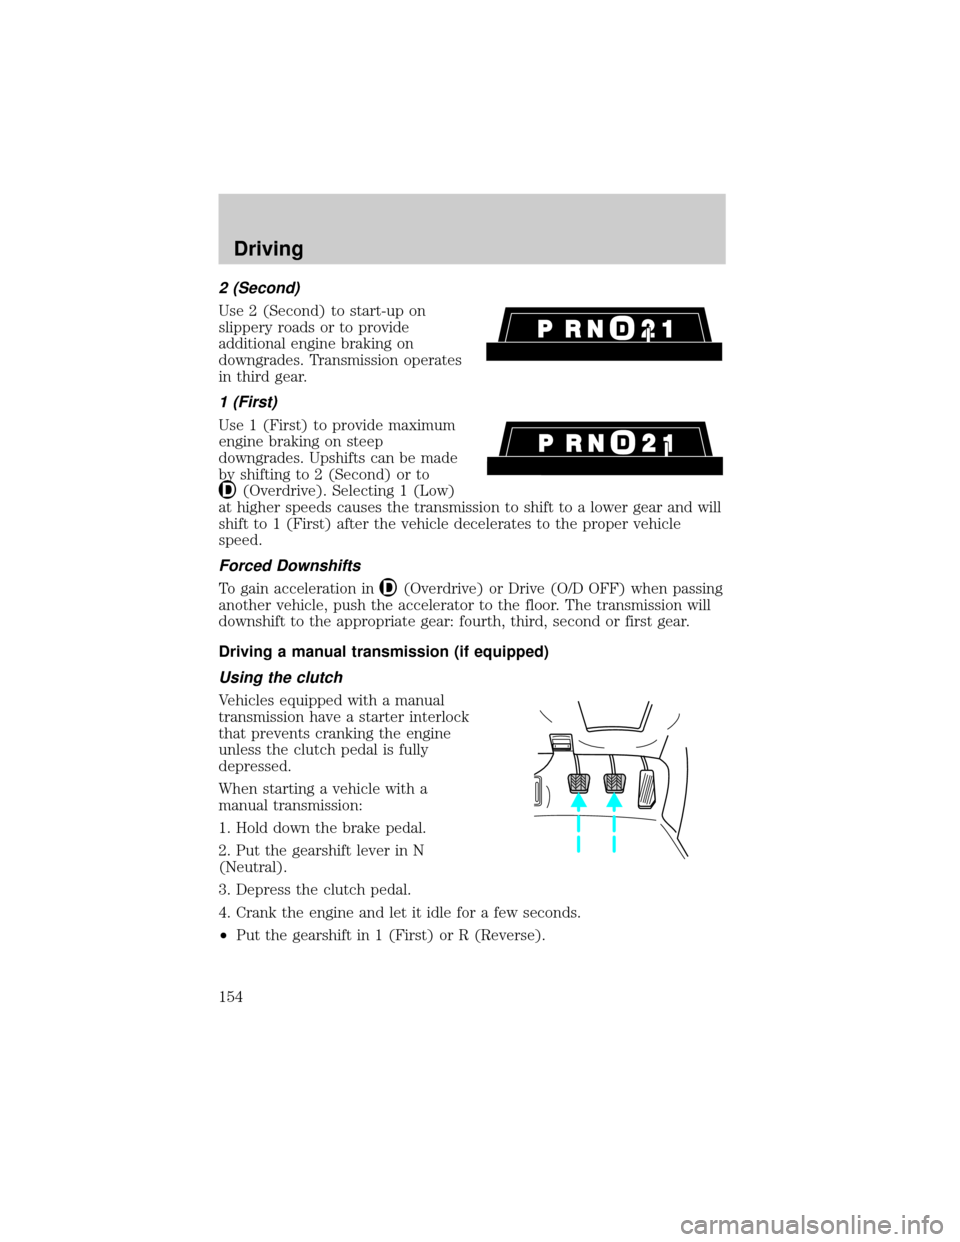
Vehicles equipped with a manual
transmission have a starter interlock
that prevents cranking the engine
unless the clutch pedal is fully
depressed.
When starting a vehicle with a
manual transmission:
1. Hold down the brake pedal.
2. Put the gearshift lever in N
(Neutral).
3. Depress the clutch pedal.
4. Crank the engine and let it idle for a few seconds.
²Put the gearshift in 1 (First) or R (Reverse).
Driving
154
Page 155 of 264
5. Release the clutch slowly while pressing gradually down on the
accelerator pedal.
²Do not drive with your foot resting on the clutch pedal. Do not use
the clutch to hold your vehicle at a standstill while waiting on a hill.
These actions may reduce clutch life.
Parking
1. Apply the brake and shift into N
(Neutral).
2. Engage the parking brake.
3. Shift into 1 (First).
4. Turn the ignition to Off.
Do not park your vehicle in Neutral, it may move unexpectedly
and injure someone. Use 1 (First) gear and set the parking brake
fully.
Driving
155
Page 159 of 264
Using the Control-Trac system
Shifting between 4WD AUTO and 4WD HIGH
When you move the control to 4WD
HIGH, the indicator light will
illuminate in the instrument cluster.
When you move the control to 4WD
AUTO, the indicator light will turn
off.
Either shift can be done at a stop or
while driving at any speed.
Shifting from 4WD AUTO or 4WD HIGH to 4WD LOW
1. Bring the vehicle to a stop.
2. Depress the brake.
3. Place the gearshift in N (Neutral)
(automatic transmission) or depress
the clutch (manual transmission).
4. Move the 4WD control to the
4WD LOW position.
Shifting from 4WD LOW to 4WD AUTO or 4WD HIGH
1. Bring the vehicle to a stop.
2. Depress the brake.
3. Place the gearshift in N (Neutral)
(automatic transmission) or depress
the clutch (manual transmission).
4. Move the 4WD control to the
4WD AUTO or 4WD HIGH position.
HIGH
LOW AUTO4x4
HIGH
LOW AUTO4x4
HIGH
LOW AUTO4x4
Driving
159
Page 183 of 264
Fuse/Relay
LocationFuse Amp
RatingDescription
20 7.5A RAP Module, Generic Electronic Module
(GEM), Radio
21 15A Flasher (Hazard)
22 20A Auxiliary Power Socket
23 Ð Not Used
24 7.5A Clutch Pedal Position (CPP) Switch, Starter
Interrupt Relay, Anti-Theft
25 7.5A Generic Electronic Module (GEM),
Instrument Cluster, Securi-Lock
26 10A Battery Saver Relay, Electronic Shift Relay,
Interior Lamp Relay, Electronic Shift Control
Module
27 15A DRL, Backup Lamps Switch, DTR Sensor,
Electric Shift
28 7.5A Generic Electronic Module (GEM), Radio,
Memory Seat
29 10A Radio
30 15A Park Lamp/Trailer Tow Relay
31 Ð Not Used
32 10A Heated Mirror
33 15A Headlamps, Daytime Running Lamps (DRL)
Module, Instrument Cluster
34 7.5A Rear Integrated Control Panel, CD
35 7.5A Rear Blower Motor (w/EATC)
36 7.5A EATC Memory, CD, Rear Integrated Control
Panel, Memory Seat, Message Center
Roadside emergencies
183
Page 201 of 264
²Manual transmission:
1. Set the parking brake.
2. Depress the clutch and place the gearshift in 1 (First).
3. Turn off the engine and remove the key.
4. Block the wheels to prevent the vehicle from moving unexpectedly.
Working with the engine on
²Automatic transmission:
1. Set the parking brake and ensure the gearshift is securely latched in P
(Park).
2. Block the wheels to prevent the vehicle from moving unexpectedly.
Do not start your engine with the air cleaner removed and do
not remove it while the engine is running.
²Manual transmission:
1. Set the parking brake, depress the clutch and place the gearshift in N
(Neutral).
2. Block the wheels to prevent the vehicle from moving unexpectedly.
Do not start your engine with the air cleaner removed and do
not remove it while the engine is running.
OPENING THE HOOD
1. Inside the vehicle, pull the hood
release handle located under the
steering column on the instrument
panel.
Maintenance and care
201