Page 58 of 216
Compass zone adjustment
1. Determine which magnetic zone
you are in for your geographic
location by referring to the zone
map.
2. Locate the compass module
mounted at the base of the mirror.
3. Turn ignition to the ON position.
4. Insert an appropriate diameter
rod (paperclip) into the small hole
underneath the compass module
and gently press the switch for 1 to
2 seconds until ZONE and the
current zone setting is displayed on
the trip computer.
5. Release the switch, then slowly press down again. Press the switch
repeatedly until the correct zone setting for your geographic location is
displayed on the trip computer.
6. To exit the zone setting mode, release pressure from the switch for
greater than two seconds.
1
2
3
4
5
6
7891011121314 15
Controls and features
58
Page 59 of 216

Compass calibration adjustment
Perform this adjustment in an open area free from steel structures and
high voltage lines.
For optimum calibration, turn off all electrical accessories (heater/air
conditioning, wipers, etc.) and make sure all vehicle doors are shut.
1. Start the vehicle.
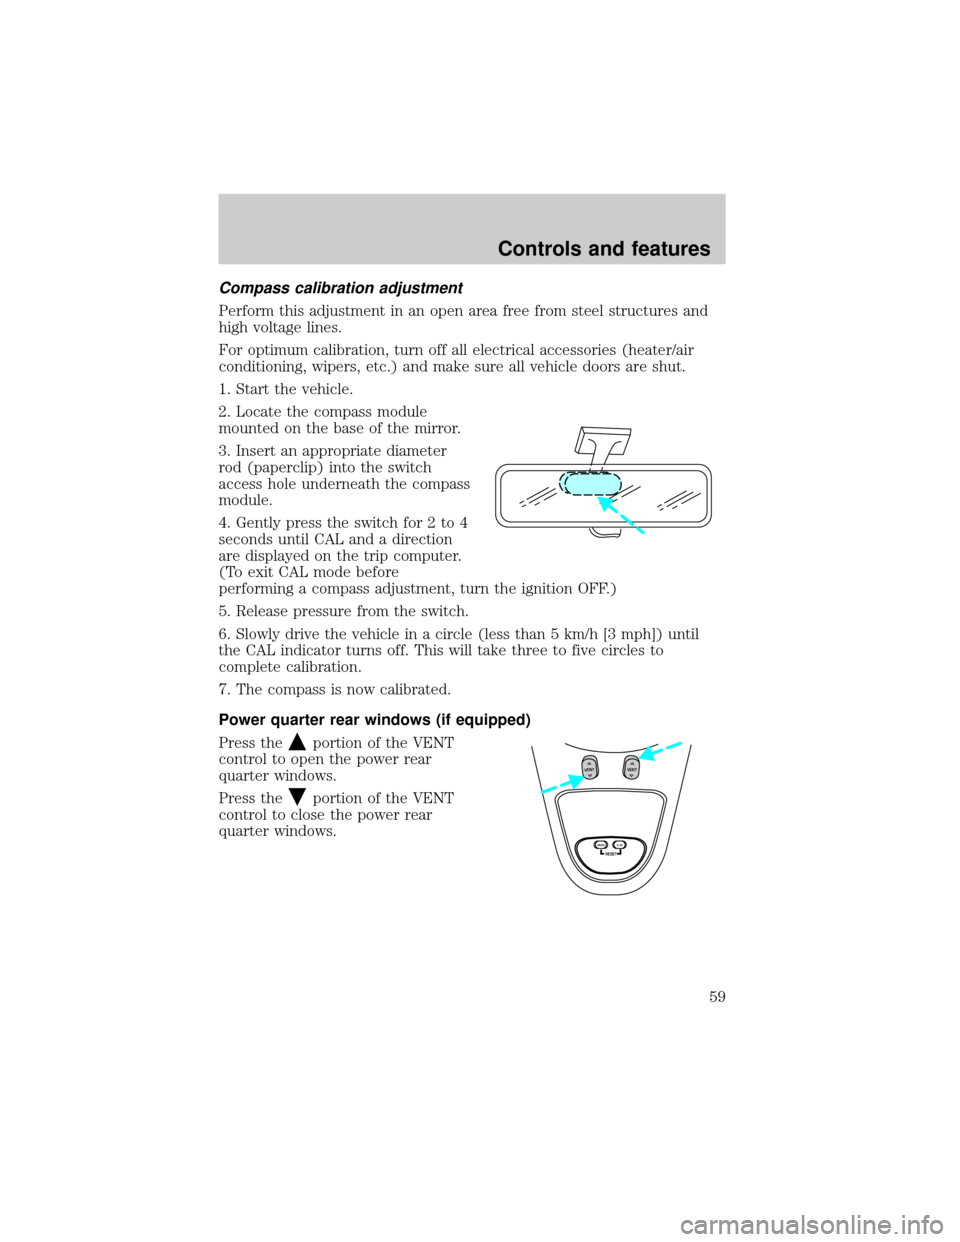
2. Locate the compass module
mounted on the base of the mirror.
3. Insert an appropriate diameter
rod (paperclip) into the switch
access hole underneath the compass
module.
4. Gently press the switch for 2 to 4
seconds until CAL and a direction
are displayed on the trip computer.
(To exit CAL mode before
performing a compass adjustment, turn the ignition OFF.)
5. Release pressure from the switch.
6. Slowly drive the vehicle in a circle (less than 5 km/h [3 mph]) until
the CAL indicator turns off. This will take three to five circles to
complete calibration.
7. The compass is now calibrated.
Power quarter rear windows (if equipped)
Press the
portion of the VENT
control to open the power rear
quarter windows.
Press the
portion of the VENT
control to close the power rear
quarter windows.
RESET
VENTVENT
MODE E/M
Controls and features
59
Page 62 of 216
POWER SIDE VIEW MIRRORS
The ignition must be in ACC or ON position to adjust the power side
view mirrors.
To adjust your mirrors:
1. Select L to adjust the left mirror
or R to adjust the right mirror.
2. Move the control in the direction
you wish to tilt the mirror.
3. Return to the center position to lock mirrors in place.
Heated outside mirrors
Both mirrors are heated
automatically to remove ice, mist
and fog when the rear window
defrost is activated.
Do not remove ice from the mirrors
with a scraper or attempt to
readjust the mirror glass if it is
frozen in place. These actions could
cause damage to the glass and
mirrors.
MIRRORS
L R
MIRRORS
L R
Controls and features
62
Page 63 of 216
Signal mirrors (if equipped)
If your vehicle is equipped with
signal mirrors, the word ªsignalº is
located at the top of the right and
left side view mirrors.
When the turn signal is activated,
the appropriate mirror will show a
blinking red arrow.
The arrow provides an additional
warning to other drivers that your
vehicle is about to turn. Driver and passengers seated inside the vehicle
cannot see the arrow.
Fold-away mirrors
Pull the side mirrors in carefully
when driving through a narrow
space, like an automatic car wash.
CENTER CONSOLE
Your vehicle may be equipped with a variety of console features. These
include:
²utility compartment
²cupholders
²coin holder slots
²tissue box holder
²compact disc changer (if equipped)
²cellular phone (if equipped)
Use only soft cups in the cupholder. Hard objects can injure you
in a collision.
Signal
Controls and features
63