Page 27 of 208

Operating tips
²In humid weather, selectbefore driving. This will prevent your
windshield from fogging. After a few minutes, select any desired
position.
²To prevent humidity buildup inside the vehicle, don't drive with the
climate control system in the OFF position.
²Don't put objects under the front seat that will interfere with the
airflow to the back seats.
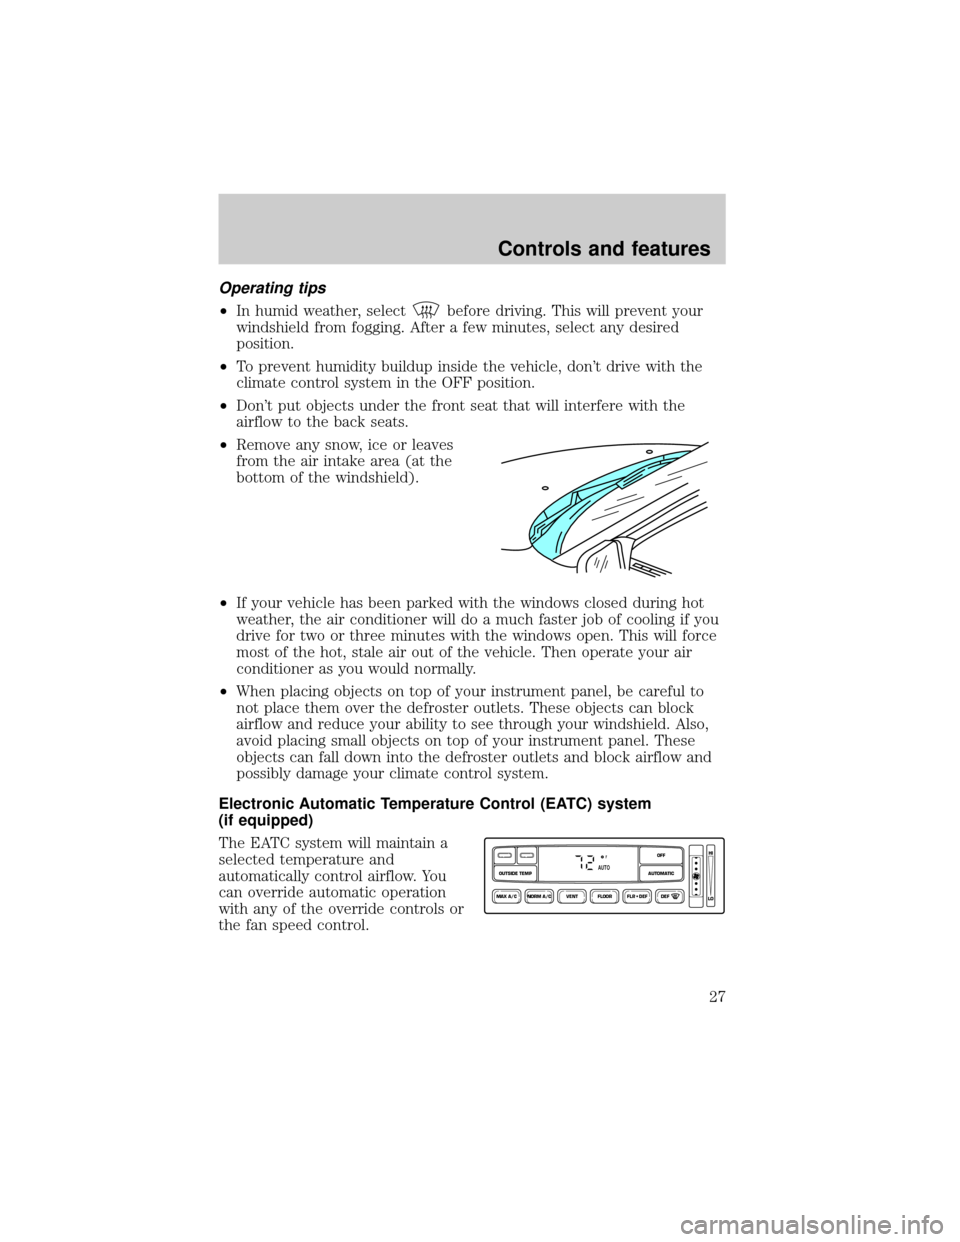
²Remove any snow, ice or leaves
from the air intake area (at the
bottom of the windshield).
²If your vehicle has been parked with the windows closed during hot
weather, the air conditioner will do a much faster job of cooling if you
drive for two or three minutes with the windows open. This will force
most of the hot, stale air out of the vehicle. Then operate your air
conditioner as you would normally.
²When placing objects on top of your instrument panel, be careful to
not place them over the defroster outlets. These objects can block
airflow and reduce your ability to see through your windshield. Also,
avoid placing small objects on top of your instrument panel. These
objects can fall down into the defroster outlets and block airflow and
possibly damage your climate control system.
Electronic Automatic Temperature Control (EATC) system
(if equipped)
The EATC system will maintain a
selected temperature and
automatically control airflow. You
can override automatic operation
with any of the override controls or
the fan speed control.
NORM A/CVENT FLOOR FLR • DEF DEF
HI
LO
MAX A/C
OUTSIDE TEMP AUTOMATICOFF
FAUTO
Controls and features
27
Page 32 of 208

Displaying outside temperature
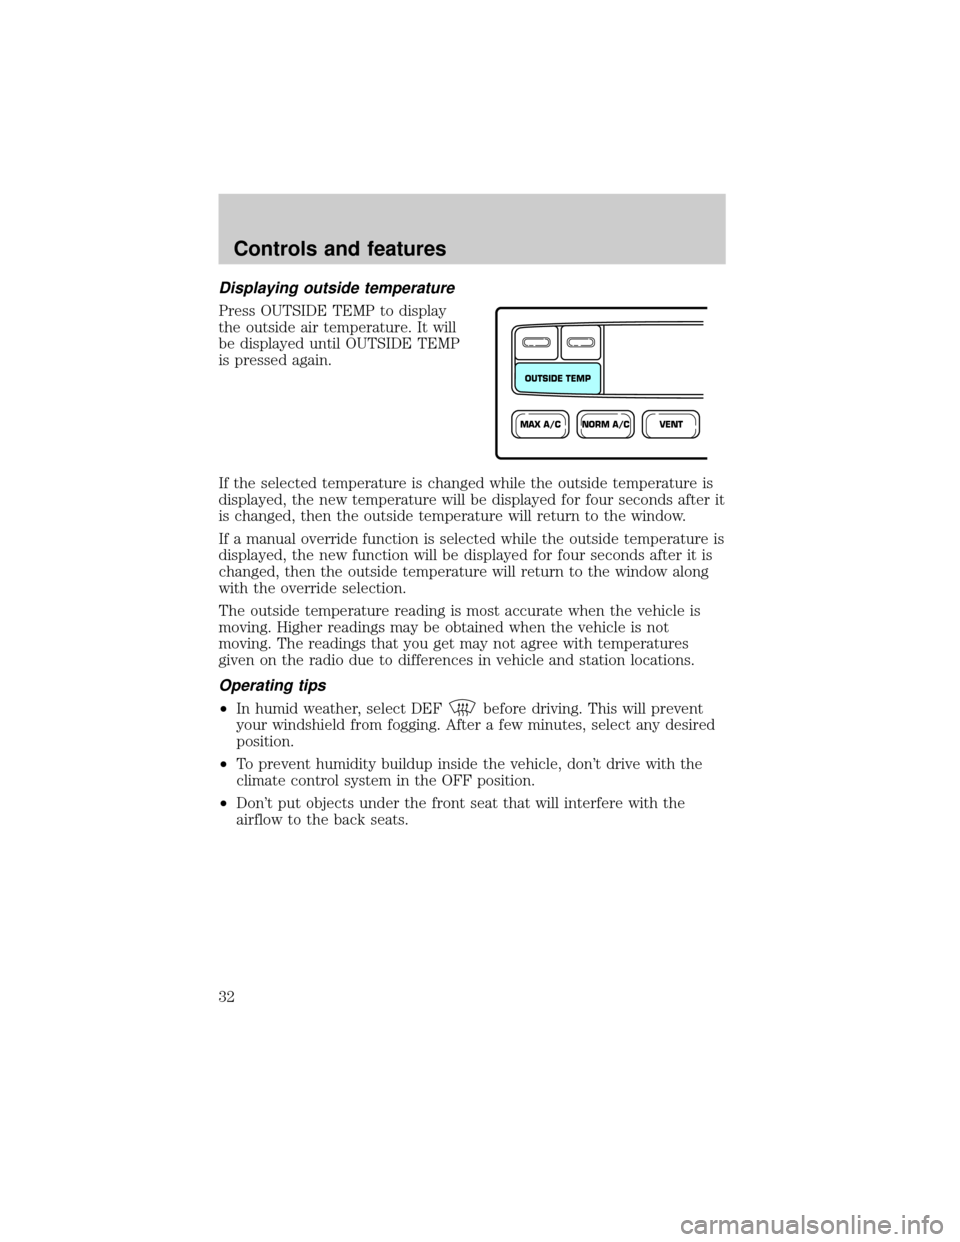
Press OUTSIDE TEMP to display
the outside air temperature. It will
be displayed until OUTSIDE TEMP
is pressed again.
If the selected temperature is changed while the outside temperature is
displayed, the new temperature will be displayed for four seconds after it
is changed, then the outside temperature will return to the window.
If a manual override function is selected while the outside temperature is
displayed, the new function will be displayed for four seconds after it is
changed, then the outside temperature will return to the window along
with the override selection.
The outside temperature reading is most accurate when the vehicle is
moving. Higher readings may be obtained when the vehicle is not
moving. The readings that you get may not agree with temperatures
given on the radio due to differences in vehicle and station locations.
Operating tips
²In humid weather, select DEFbefore driving. This will prevent
your windshield from fogging. After a few minutes, select any desired
position.
²To prevent humidity buildup inside the vehicle, don't drive with the
climate control system in the OFF position.
²Don't put objects under the front seat that will interfere with the
airflow to the back seats.
NORM A/CVENTMAX A/C
OUTSIDE TEMP
Controls and features
32
Page 61 of 208
²NEWSЪvoice-onlyº type of sound with a limited audio band.
Press the DSP control until one of
the following appears:
²ALL SEATS
²DRIVER SEAT
²REAR SEATS
Use the SELECT control to change
the equalization to the desired
mode.
CD changer (if equipped)
The CD changer is located in one of the following locations:
²in the trunk
²in the center console
²under the driver's seat
1. Slide the door to access the CD
changer magazine.
DSP
SEL
Controls and features
61
Page 91 of 208
SEATING
Head restraints
Your vehicle's seats may be equipped with head restraints which are
vertically adjustable. The purpose of these head restraints is to help limit
head motion in the event of a rear collision. To properly adjust your head
restraints, lift the head restraint so that it is located directly behind your
head or as close to that position as possible. Refer to the following to
raise and lower the head restraints.
Push or pull the head rests to the
desired position.
Adjusting the front manual seat
Never adjust the driver's seat or seatback when the vehicle is
moving.
Do not pile cargo higher than the seatbacks to avoid injuring
people in a collision or sudden stop.
Always drive and ride with your seatback upright and the lap
belt snug and low across the hips.
Seating and safety restraints
91
Page 93 of 208
²Release the handle when the desired position has been reached.
Adjusting the power front seats ± door mounted controls
The controls for the power seats are located on the inside of each front
door.
Never adjust the driver's seat or seatback when the vehicle is
moving.
Do not pile cargo higher than the seatbacks to avoid injuring
people in a collision or sudden stop.
Always drive and ride with your seatback upright and the lap
belt snug and low across the hips.
Press the control to recline the
seatback forward or backward.
Press to move the seat forward or
backward.
Seating and safety restraints
93
Page 94 of 208
Press to move the front portion of
the seat cushion up or down.
Press to move the rear portion of
the seat cushion up or down.
Adjusting the power seats ± seat mounted controls
Never adjust the driver's seat or seatback when the vehicle is
moving.
The power seat controls are located
on the side of the driver's seat.
Press to raise or lower the seat, or
to move the seat forward or
backward.
Seating and safety restraints
94
Page 95 of 208

Using the power lumbar support (if equipped)
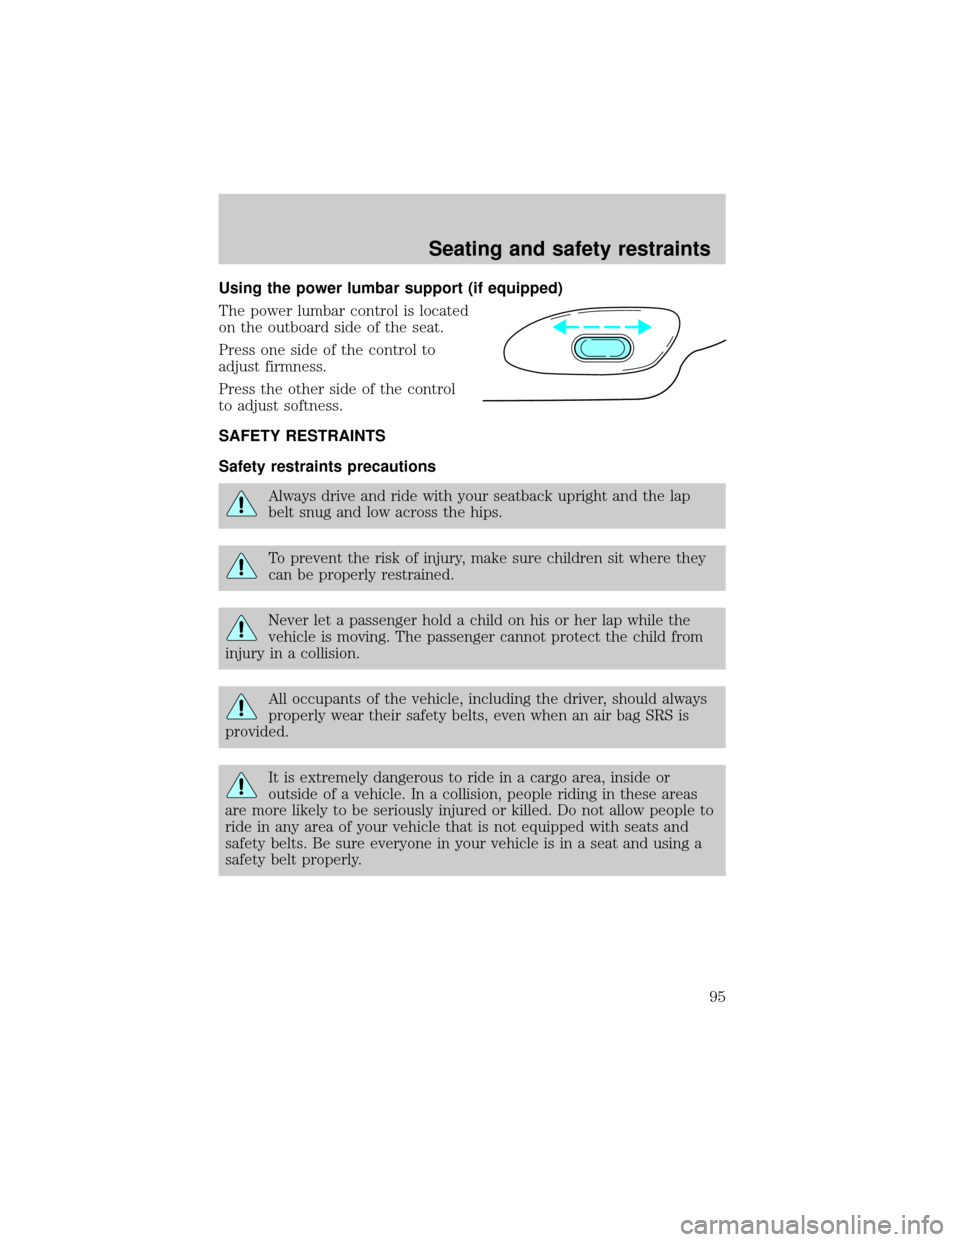
The power lumbar control is located
on the outboard side of the seat.
Press one side of the control to
adjust firmness.
Press the other side of the control
to adjust softness.
SAFETY RESTRAINTS
Safety restraints precautions
Always drive and ride with your seatback upright and the lap
belt snug and low across the hips.
To prevent the risk of injury, make sure children sit where they
can be properly restrained.
Never let a passenger hold a child on his or her lap while the
vehicle is moving. The passenger cannot protect the child from
injury in a collision.
All occupants of the vehicle, including the driver, should always
properly wear their safety belts, even when an air bag SRS is
provided.
It is extremely dangerous to ride in a cargo area, inside or
outside of a vehicle. In a collision, people riding in these areas
are more likely to be seriously injured or killed. Do not allow people to
ride in any area of your vehicle that is not equipped with seats and
safety belts. Be sure everyone in your vehicle is in a seat and using a
safety belt properly.
Seating and safety restraints
95
Page 97 of 208
Automatic locking mode
In this mode, the shoulder belt is automatically pre-locked. The belt will
still retract to remove any slack in the shoulder belt.
The automatic locking mode is not available on the driver safety belt.
When to use the automatic locking mode
²When a tight lap/shoulder fit is desired.
²Anytimea child safety seat is installed in a passenger front or
outboard rear seating position (if equipped). Refer toSafety
Restraints for ChildrenorSafety Seats for Childrenlater in this
chapter.
How to use the automatic locking mode
²Buckle the combination lap and
shoulder belt.
²Grasp the shoulder portion and
pull downward until the entire
belt is extracted.
Seating and safety restraints
97