Page 135 of 440

yellowblue
2-35
Disarming with the Remote Keyless
Entry Transmitter
Your alarm system will disarm when you use your
remote keyless entry transmitter to unlock the doors.
The security light will stop flashing to let you know the
system is no longer armed.
Disarming with Your Key
Your alarm system will disarm when you use your key
to unlock the doors. The security light will stop flashing
to let you know the system is no longer armed. If you
would like your key not to disarm the alarm system, see
ªMultifunction Alarm Locks and Lighting Choicesº in
the Index.
Nuisance Alarms
If you experience nuisance alarms (alarms which are not
caused by the opening of a door or the liftgate and are
not desirable), you may need to reduce the damage
detection sensitivity. Try programming the Content
Theft
-Deterrent to Mode 1.
If you continue to experience nuisance alarms, you may
want to try turning off damage detection by
programming your Content Theft
-Deterrent to Mode 2.If you are still having trouble with nuisance alarms, you
can turn off the Content Theft
-Deterrent system by
programming your Content Theft
-Deterrent to Mode 3.
See ªMultifunction Alarm Locks and Lighting Choicesº
in the Index for more information. See your dealer or
qualified technician for service.
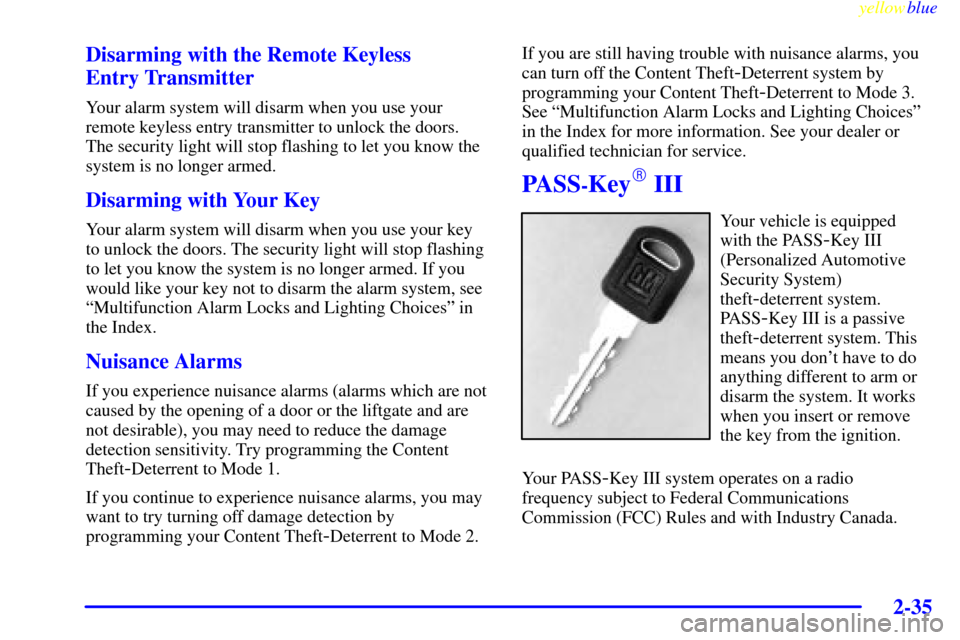
PASS-Key� III
Your vehicle is equipped
with the PASS
-Key III
(Personalized Automotive
Security System)
theft
-deterrent system.
PASS
-Key III is a passive
theft
-deterrent system. This
means you don't have to do
anything different to arm or
disarm the system. It works
when you insert or remove
the key from the ignition.
Your PASS
-Key III system operates on a radio
frequency subject to Federal Communications
Commission (FCC) Rules and with Industry Canada.
Page 154 of 440

yellowblue
2-54
To activate the auto-down feature, push the switch all
the way down, then release. The window will lower
completely. To stop the window from lowering all the
way, pull up the front of the switch.
To raise the window, pull up the front of the switch.
Side Window Latches
The rear of each side window swings open.
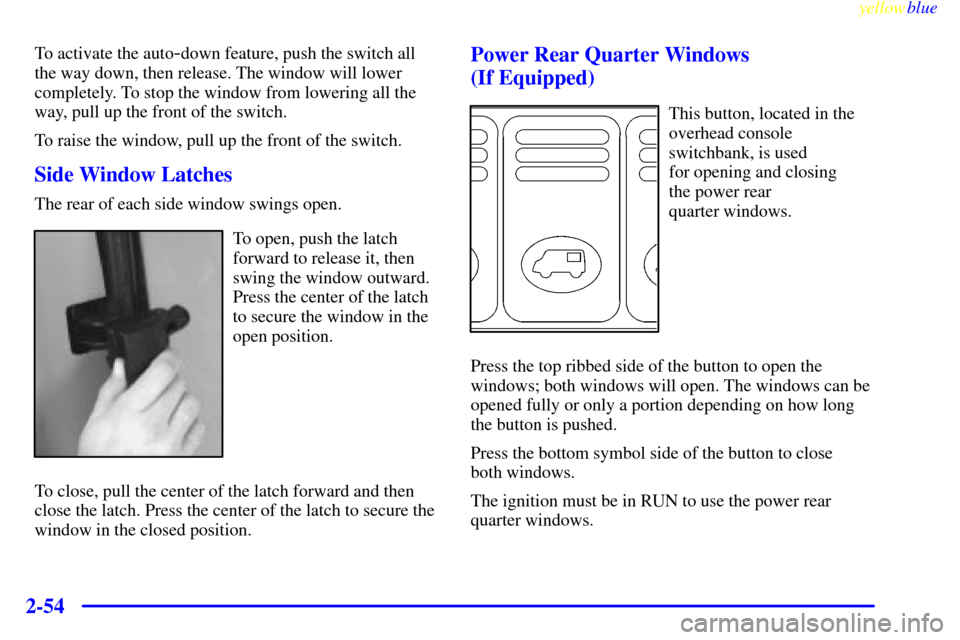
To open, push the latch
forward to release it, then
swing the window outward.
Press the center of the latch
to secure the window in the
open position.
To close, pull the center of the latch forward and then
close the latch. Press the center of the latch to secure the
window in the closed position.
Power Rear Quarter Windows
(If Equipped)
This button, located in the
overhead console
switchbank, is used
for opening and closing
the power rear
quarter windows.
Press the top ribbed side of the button to open the
windows; both windows will open. The windows can be
opened fully or only a portion depending on how long
the button is pushed.
Press the bottom symbol side of the button to close
both windows.
The ignition must be in RUN to use the power rear
quarter windows.
Page 168 of 440

yellowblue
2-68
Storage Compartments
Your vehicle's large carrying capacity can store many
items. If you have the extended wheelbase version, you
can carry things as large as a 4� x 8� piece of plywood.
You can also use the floor pins that are used to attach the
seats, to secure larger loads. This section also describes
storage areas for specific items like sunglasses and cups.
Glove Box
Your vehicle has a glove box below the instrument
panel. To open the glove box, lift the latch release. Use
the key to lock or unlock the glove box.
The glove box door has a detent to prevent the door
from lowering too far. Open the glove box until the door
is partway open, then pull the door down if you need it
fully open. To close the glove box, the door must be
pushed up past the detent.
In the door of the glove box, you will find a tissue pack
holder and clip for a pen or pencil.
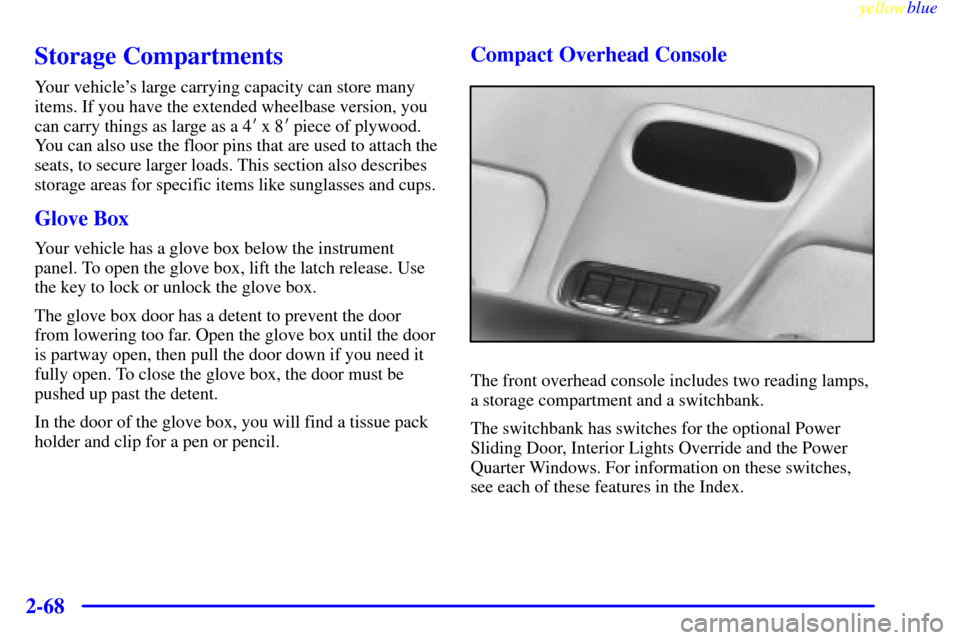
Compact Overhead Console
The front overhead console includes two reading lamps,
a storage compartment and a switchbank.
The switchbank has switches for the optional Power
Sliding Door, Interior Lights Override and the Power
Quarter Windows. For information on these switches,
see each of these features in the Index.
Page 176 of 440
yellowblue
2-76
NOTICE:
Loading cargo that weighs more than
150 lbs. (68 kg) on the luggage carrier may
damage your vehicle.
When you carry cargo on the luggage carrier of a
proper size and weight, put it on the slats, as far
forward as you can. Then slide the crossrail up
against the rear of the load, to help keep it from
moving. You can then tie it down.
Don't exceed the maximum vehicle capacity when
loading your vehicle. For more information on vehicle
capacity and loading, see ªLoading Your Vehicleº in
the Index.
To prevent damage or loss of cargo as you're driving,
check now and then to make sure the luggage carrier and
cargo are still securely fastened.
Page 177 of 440
yellowblue
2-77
Your luggage carrier has
release knobs set in the ends
of each crossrail.
Turn the release knobs counterclockwise to unlock the
crossrails. Slide the crossrails forward or back, as
needed, to accommodate loads of various sizes.
After repositioning the crossrails, be sure to tighten the
release knobs by turning them clockwise. This will lock
the crossrails in place.Use the adjustable tie-down
loops in the side rails to
help secure large loads.
Reposition the tie
-downs by turning them
counterclockwise, then slide them along the side rail.
Turn the tie
-downs clockwise to tighten them in place.
If you wish to attach the luggage tie
-downs or other
compatible bicycle or ski accessory racks to the
crossrail, use the adjustable tapped plates under the
bumper strips.
Page 182 of 440

yellowblue
2-82
To use your air inflator system, the engine must be
running or the ignition key in ACCESSORY. Attach the
appropriate nozzle adapter, if required, to the end of the
hose that has the pressure gage. Then attach that end of
the hose to the object you wish to inflate. Remove the
protective cap covering the outlet. Attach the other end
of the hose to the outlet. Press the ON switch.If the air inflator system does not turn on, the fuse may
be blown or installed incorrectly. See ªFuses and Circuit
Breakersº in the Index or see your dealer for service.
Your air inflator will automatically shut off after about
10 minutes. To reset, press the ON switch again.
Don't run your air inflator for longer than 30 minutes at
one time. If you do, you may damage the system. After
30 minutes, wait at least 10 minutes before restarting the
air inflator.
To turn off the inflator, press OFF and detach the hose,
first from the inflated object, then from the outlet.
Replace the protective cap. Place the inflator kit tools in
the pouch, and store in the glove box.
To replace the cover, line up the tabs at the back of the
cover and put it in place. Push down the tab to secure
the cover.
Page 183 of 440

yellowblue
2-83
Accessory Power Outlets
Power outlets can be used to plug in electrical
equipment such as a cellular telephone, CB radio, etc.
Follow the proper installation instructions that are
included with any electrical equipment you install.
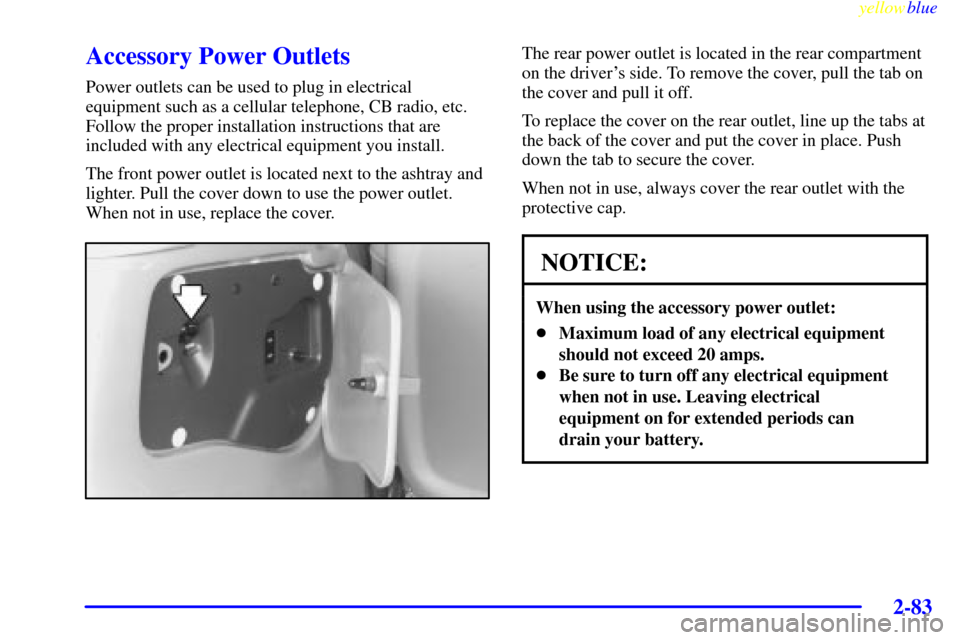
The front power outlet is located next to the ashtray and
lighter. Pull the cover down to use the power outlet.
When not in use, replace the cover.
The rear power outlet is located in the rear compartment
on the driver's side. To remove the cover, pull the tab on
the cover and pull it off.
To replace the cover on the rear outlet, line up the tabs at
the back of the cover and put the cover in place. Push
down the tab to secure the cover.
When not in use, always cover the rear outlet with the
protective cap.
NOTICE:
When using the accessory power outlet:
�Maximum load of any electrical equipment
should not exceed 20 amps.
�Be sure to turn off any electrical equipment
when not in use. Leaving electrical
equipment on for extended periods can
drain your battery.
Page 200 of 440
yellowblue
2-100Door Ajar Light
This light will come on
when the ignition is turned
to RUN or START and the
driver's/passenger's door or
hatch is open.
It may also come on if a sliding door is not in the fully
latched position.
PASS-Key� III Security Light
If you are ever driving and
this light comes on and
stays on, you will be able to
restart your engine if you
turn it off.
Your PASS
-Key III system, however, is not working
properly and must be serviced by your dealer. Your
vehicle is not protected by the PASS
-Key III system at
this time.
Fuel Gage
United States Canada
When the indicator nears EMPTY (E), you still have a
little fuel left, but you should get more soon.
If your fuel is low, the warning light near the fuel gage
will go on. See ªLow Fuel Warning Lightº later in
this section.
Your fuel gage tells you about how much fuel you have
left when the ignition is on.