Page 199 of 368

yellowblue
4-35
Your vehicle can tow a trailer if it is equipped with a
2.4L L4 engine and 4 speed automatic transaxle and the
proper trailer towing equipment. To identify what the
vehicle trailering capacity is for your vehicle, you
should read the information in ªWeight of the Trailerº
that appears later in this section. But trailering is
different than just driving your vehicle by itself.
Trailering means changes in handling, durability and
fuel economy. Successful, safe trailering takes correct
equipment, and it has to be used properly.
That's the reason for this part. In it are many
time
-tested, important trailering tips and safety rules.
Many of these are important for your safety and that of
your passengers. So please read this section carefully
before you pull a trailer.
Load
-pulling components such as the engine, transaxle,
wheel assemblies and tires are forced to work harder
against the drag of the added weight. The engine is
required to operate at relatively higher speeds and under
greater loads, generating extra heat. What's more, the
trailer adds considerably to wind resistance, increasing
the pulling requirements.
If You Do Decide To Pull A Trailer
If you do, here are some important points:
�There are many different laws, including speed limit
restrictions, having to do with trailering. Make sure
your rig will be legal, not only where you live but
also where you'll be driving. A good source for this
information can be state or provincial police.
�Consider using a sway control. You can ask a hitch
dealer about sway controls.
�Don't tow a trailer at all during the first 1,000 miles
(1 600 km) your new vehicle is driven. Your engine,
axle or other parts could be damaged.
�Then, during the first 500 miles (800 km) that you
tow a trailer, don't drive over 50 mph (80 km/h) and
don't make starts at full throttle. This helps your
engine and other parts of your vehicle wear in at the
heavier loads.
�Obey speed limit restrictions when towing a trailer.
Don't drive faster than the maximum posted speed
for trailers (or no more than 55 mph (90 km/h)) to
save wear on your vehicle's parts.
�Do not tow when the ambient temperature is above
100�F (38�C).
�Do not tow more than 1,000 miles (1 600 km)
per year.
Page 203 of 368

yellowblue
4-39 Passing
You'll need more passing distance up ahead when
you're towing a trailer. And, because you're a good deal
longer, you'll need to go much farther beyond the
passed vehicle before you can return to your lane.
Backing Up
Hold the bottom of the steering wheel with one hand.
Then, to move the trailer to the left, just move that hand
to the left. To move the trailer to the right, move your
hand to the right. Always back up slowly and, if
possible, have someone guide you.
Making Turns
NOTICE:
Making very sharp turns while trailering could
cause the trailer to come in contact with the
vehicle. Your vehicle could be damaged. Avoid
making very sharp turns while trailering.
When you're turning with a trailer, make wider turns
than normal. Do this so your trailer won't strike soft
shoulders, curbs, road signs, trees or other objects.
Avoid jerky or sudden maneuvers. Signal well
in advance.
Turn Signals When Towing a Trailer
When you tow a trailer, your vehicle may need a
different turn signal flasher and/or extra wiring. Check
with your dealer. The arrows on your instrument panel
will flash whenever you signal a turn or lane change.
Properly hooked up, the trailer lamps will also flash,
telling other drivers you're about to turn, change lanes
or stop.
When towing a trailer, the arrows on your instrument
panel will flash for turns even if the bulbs on the trailer
are burned out. Thus, you may think drivers behind you
are seeing your signal when they are not. It's important
to check occasionally to be sure the trailer bulbs are
still working.
Page 204 of 368
. Extended, higher than normal
engine and transaxle temperatures may result
and damage yo")
yellowblue
4-40 Driving On Grades
NOTICE:
Do not tow on steep continuous grades exceeding
6 miles (9.6 km). Extended, higher than normal
engine and transaxle temperatures may result
and damage your vehicle. Frequent stops are
very important to allow the engine and transaxle
to cool.
Reduce speed and shift to a lower gear before you start
down a long or steep downgrade. If you don't shift
down, you might have to use your brakes so much that
they would get hot and no longer work well.
On a long uphill grade, shift down and reduce your
speed to around 45 mph (70 km/h) to reduce the
possibility of engine and transaxle overheating.
Pay attention to the engine coolant gage. If the indicator
is in the red area, turn off the air conditioning (if you
have this option) to reduce engine load (see ªEngine
Overheatingº in the Index).
Parking on Hills
CAUTION:
You really should not park your vehicle, with a
trailer attached, on a hill. If something goes
wrong, your rig could start to move. People can
be injured, and both your vehicle and the trailer
can be damaged.
But if you ever have to park your rig on a hill, here's
how to do it:
1. Apply your regular brakes, but don't shift into
PARK (P) yet.
2. Have someone place chocks under the trailer wheels.
3. When the wheel chocks are in place, release the
regular brakes until the chocks absorb the load.
4. Reapply the regular brakes. Then apply your parking
brake, and then shift to PARK (P).
5. Release the regular brakes.
Page 214 of 368
yellowblue
5-8
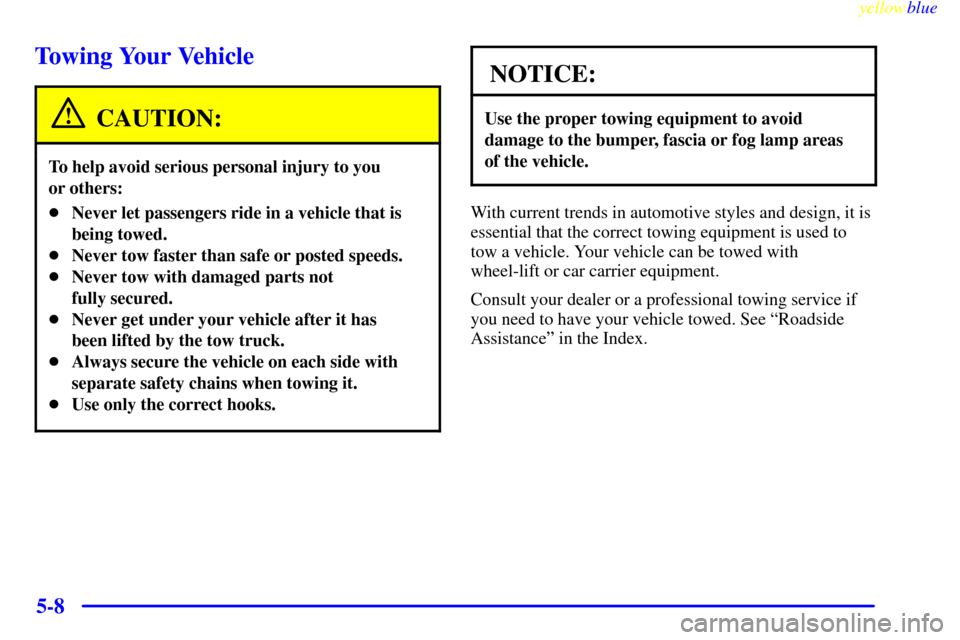
Towing Your Vehicle
CAUTION:
To help avoid serious personal injury to you
or others:
�Never let passengers ride in a vehicle that is
being towed.
�Never tow faster than safe or posted speeds.
�Never tow with damaged parts not
fully secured.
�Never get under your vehicle after it has
been lifted by the tow truck.
�Always secure the vehicle on each side with
separate safety chains when towing it.
�Use only the correct hooks.
NOTICE:
Use the proper towing equipment to avoid
damage to the bumper, fascia or fog lamp areas
of the vehicle.
With current trends in automotive styles and design, it is
essential that the correct towing equipment is used to
tow a vehicle. Your vehicle can be towed with
wheel-lift or car carrier equipment.
Consult your dealer or a professional towing service if
you need to have your vehicle towed. See ªRoadside
Assistanceº in the Index.
Page 224 of 368

yellowblue
5-18
5. Then replace the pressure
cap. Be sure the pressure
cap is hand
-tight.
Check the level in the surge tank when the cooling
system has cooled down. If the coolant isn't at the
proper level, repeat Steps 1 to 3 and reinstall the
pressure cap or see your dealer.
If a Tire Goes Flat
It's unusual for a tire to ªblow outº while you're driving,
especially if you maintain your tires properly. If air goes
out of a tire, it's much more likely to leak out slowly.
But if you should ever have a ªblowout,º here are a few
tips about what to expect and what to do:
If a front tire fails, the flat tire will create a drag that
pulls the vehicle toward that side. Take your foot off the
accelerator pedal and grip the steering wheel firmly.
Steer to maintain lane position, and then gently brake to
a stop well out of the traffic lane.
A rear blowout, particularly on a curve, acts much like a
skid and may require the same correction you'd use in a
skid. In any rear blowout, remove your foot from the
accelerator pedal. Get the vehicle under control by
steering the way you want the vehicle to go. It may be
very bumpy and noisy, but you can still steer. Gently
brake to a stop
-- well off the road if possible.
If a tire goes flat, the next part shows how to use your
jacking equipment to change a flat tire safely.
Page 225 of 368
yellowblue
5-19
Changing a Flat Tire
If a tire goes flat, avoid further tire and wheel damage
by driving slowly to a level place. Turn on your hazard
warning flashers.
CAUTION:
Changing a tire can cause an injury. The vehicle
can slip off the jack and roll over you or other
people. You and they could be badly injured.
Find a level place to change your tire. To help
prevent the vehicle from moving:
1. Set the parking brake firmly.
2. Put an automatic transaxle shift lever in
PARK (P), or shift a manual transaxle to
FIRST (1) or REVERSE (R).
3. Turn off the engine.
To be even more certain the vehicle won't move,
you can put blocks at the front and rear of the
tire farthest away from the one being changed.
That would be the tire on the other side of the
vehicle, at the opposite end.
The following steps will tell you how to use the jack and
change a tire.
Page 226 of 368
yellowblue
5-20 Removing the Spare Tire and Tools
The equipment you'll need
is in the trunk. Turn the
center retainer nut on the
compact spare cover
counterclockwise to
remove it.
Lift and remove the cover. See ªCompact Spare Tireº
later in this section for more information about the
compact spare.
Turn the wing bolt
counterclockwise and
remove it. Then lift off the
adapter and remove the
spare tire.
Remove the jack and wheel wrench from the trunk. Your
vehicle's jack and wheel wrench are stored in a foam
tray. Remove the band around the jack.
Page 227 of 368
yellowblue
5-21
The tools you'll be using include the jack (A) and wheel
wrench (B).
Removing the Flat Tire and Installing the
Spare Tire
1. Using the wheel wrench,
remove the plastic nut
caps (if equipped).


 and wheel
wrench (B).
Removing the Flat Tire and Installing the
Spare Tire
1. Using the wheel wrench,
remove the plastic nut
caps (i")