Page 110 of 368

yellowblue
2-46
Mirrors
Inside Day/Night Rearview Mirror
To reduce glare from lamps behind you, move the lever
toward you to the night position.
Manual Remote Control Mirror
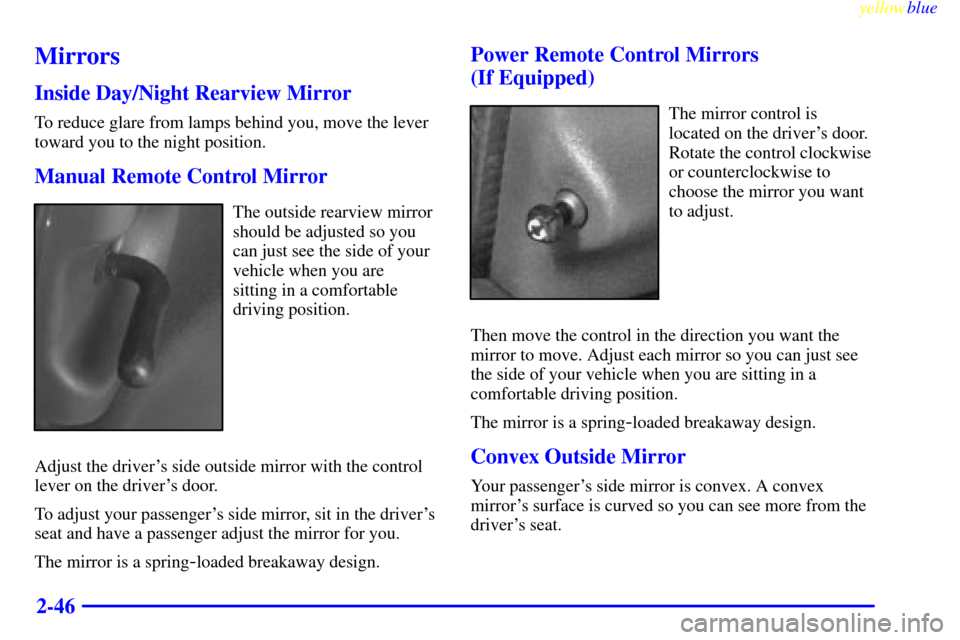
The outside rearview mirror
should be adjusted so you
can just see the side of your
vehicle when you are
sitting in a comfortable
driving position.
Adjust the driver's side outside mirror with the control
lever on the driver's door.
To adjust your passenger's side mirror, sit in the driver's
seat and have a passenger adjust the mirror for you.
The mirror is a spring
-loaded breakaway design.
Power Remote Control Mirrors
(If Equipped)
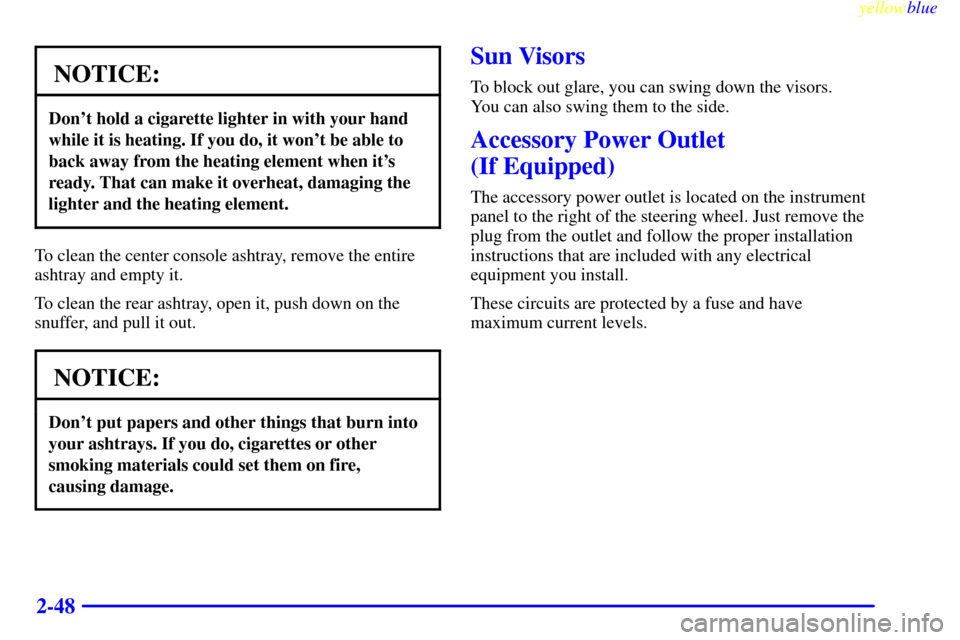
The mirror control is
located on the driver's door.
Rotate the control clockwise
or counterclockwise to
choose the mirror you want
to adjust.
Then move the control in the direction you want the
mirror to move. Adjust each mirror so you can just see
the side of your vehicle when you are sitting in a
comfortable driving position.
The mirror is a spring
-loaded breakaway design.
Convex Outside Mirror
Your passenger's side mirror is convex. A convex
mirror's surface is curved so you can see more from the
driver's seat.
Page 112 of 368

yellowblue
2-48
NOTICE:
Don't hold a cigarette lighter in with your hand
while it is heating. If you do, it won't be able to
back away from the heating element when it's
ready. That can make it overheat, damaging the
lighter and the heating element.
To clean the center console ashtray, remove the entire
ashtray and empty it.
To clean the rear ashtray, open it, push down on the
snuffer, and pull it out.
NOTICE:
Don't put papers and other things that burn into
your ashtrays. If you do, cigarettes or other
smoking materials could set them on fire,
causing damage.
Sun Visors
To block out glare, you can swing down the visors.
You can also swing them to the side.
Accessory Power Outlet
(If Equipped)
The accessory power outlet is located on the instrument
panel to the right of the steering wheel. Just remove the
plug from the outlet and follow the proper installation
instructions that are included with any electrical
equipment you install.
These circuits are protected by a fuse and have
maximum current levels.
Page 115 of 368
yellowblue
2-51
6. Rotate the latch handle up to the locked position.
Installing the Boot
1. From inside the vehicle, pull the tab on the rear seat
to fold down the seat. See ªFold
-Down Rear Seatº in
the Index.
2. Open the trunk and remove both boot side covers.
Leave the trunk open.
Page 121 of 368
yellowblue
2-57
6. Turn the latch handle up to lock the top. Be sure the
top is securely latched on both sides.
Lowering the Top Manually
NOTICE:
Do not attempt to lower the top manually as
damage to the vehicle will occur. If the top fails to
raise or lower completely, see ªRaising the Top
Manuallyº following.
Raising the Top Manually
If your vehicle loses power, or something else happens
that prevents you from raising the top electrically, you
may need to raise the top manually. This will allow you
to safely drive the vehicle until you can get the top
repaired. Raising the convertible top manually should
only be done in an emergency and requires two people.
Before you do these steps, check to make sure that the
bypass switch in the trunk is switched up to the
NORMAL OPERATION position. If it is not, switch it
to the NORMAL OPERATION position and see if the
power top works.
Page 123 of 368
yellowblue
2-59
8. Raise the top until it is all the way up. Line up the
top so the pins are even with the holes.9. Pull down on the top and rotate the latch handle up
to lock the convertible top. Be sure the top is
latched securely on both sides.
10. Press the bypass switch up to the NORMAL
OPERATION position.
11. Close the trunk.
Page 132 of 368

yellowblue
2-68 Anti-Lock Brake System Warning Light
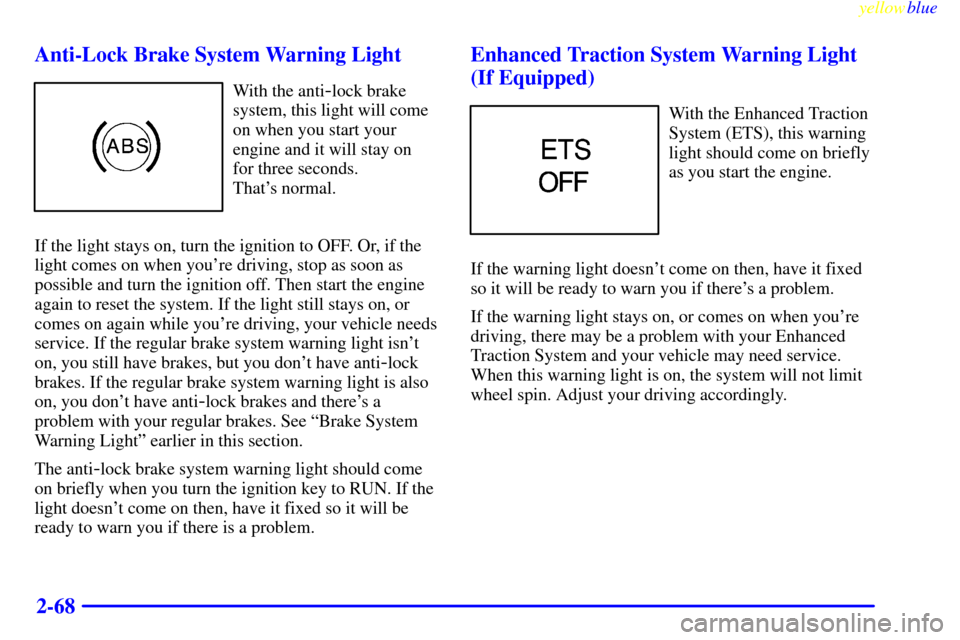
With the anti-lock brake
system, this light will come
on when you start your
engine and it will stay on
for three seconds.
That's normal.
If the light stays on, turn the ignition to OFF. Or, if the
light comes on when you're driving, stop as soon as
possible and turn the ignition off. Then start the engine
again to reset the system. If the light still stays on, or
comes on again while you're driving, your vehicle needs
service. If the regular brake system warning light isn't
on, you still have brakes, but you don't have anti
-lock
brakes. If the regular brake system warning light is also
on, you don't have anti
-lock brakes and there's a
problem with your regular brakes. See ªBrake System
Warning Lightº earlier in this section.
The anti
-lock brake system warning light should come
on briefly when you turn the ignition key to RUN. If the
light doesn't come on then, have it fixed so it will be
ready to warn you if there is a problem.
Enhanced Traction System Warning Light
(If Equipped)
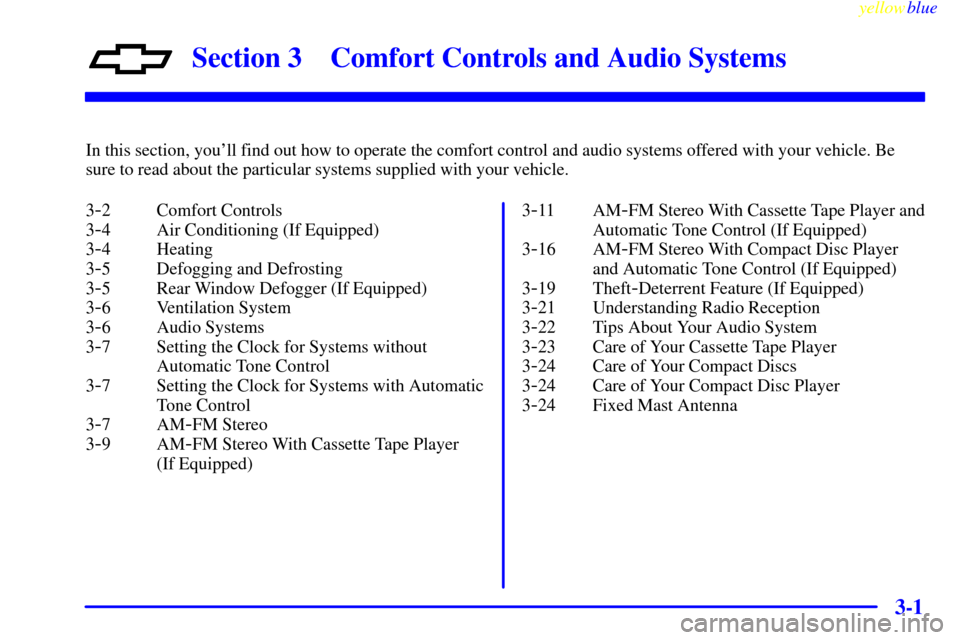
With the Enhanced Traction
System (ETS), this warning
light should come on briefly
as you start the engine.
If the warning light doesn't come on then, have it fixed
so it will be ready to warn you if there's a problem.
If the warning light stays on, or comes on when you're
driving, there may be a problem with your Enhanced
Traction System and your vehicle may need service.
When this warning light is on, the system will not limit
wheel spin. Adjust your driving accordingly.
Page 138 of 368
yellowblue
2-74
CAUTION:
Don't keep driving if the oil pressure is low. If
you do, your engine can become so hot that it
catches fire. You or others could be burned.
Check your oil as soon as possible and have your
vehicle serviced.
NOTICE:
Damage to your engine from neglected oil
problems can be costly and is not covered by
your warranty.
Passlock� Warning Light
This light will come on
briefly when you turn the
key toward START.
If the light flashes, the Passlock system has entered a
tamper mode. If the vehicle fails to start, see ªPasslockº
in the Index.
If the light comes on continuously while driving and
stays on, there may be a problem with the Passlock
system. Your vehicle will not be protected by Passlock,
and you should see your dealer.
Up-Shift Light (Manual Transaxle)
This light comes on when
you need to shift to the next
higher gear. See ªManual
Transaxleº in the Index.
Page 141 of 368

3-
yellowblue
3-1
Section 3 Comfort Controls and Audio Systems
In this section, you'll find out how to operate the comfort control and audio systems offered with your vehicle. Be
sure to read about the particular systems supplied with your vehicle.
3
-2 Comfort Controls
3
-4 Air Conditioning (If Equipped)
3
-4 Heating
3
-5 Defogging and Defrosting
3
-5 Rear Window Defogger (If Equipped)
3
-6 Ventilation System
3
-6 Audio Systems
3
-7 Setting the Clock for Systems without
Automatic Tone Control
3
-7 Setting the Clock for Systems with Automatic
Tone Control
3
-7AM-FM Stereo
3
-9AM-FM Stereo With Cassette Tape Player
(If Equipped)3
-11 AM-FM Stereo With Cassette Tape Player and
Automatic Tone Control (If Equipped)
3
-16 AM-FM Stereo With Compact Disc Player
and Automatic Tone Control (If Equipped)
3
-19 Theft-Deterrent Feature (If Equipped)
3
-21 Understanding Radio Reception
3
-22 Tips About Your Audio System
3
-23 Care of Your Cassette Tape Player
3
-24 Care of Your Compact Discs
3
-24 Care of Your Compact Disc Player
3
-24 Fixed Mast Antenna