Page 202 of 362

yellowblue
4-12
An emergency like this requires close attention and a
quick decision. If you are holding the steering wheel at
the recommended 9 and 3 o'clock positions, you can
turn it a full 180 degrees very quickly without removing
either hand. But you have to act fast, steer quickly, and
just as quickly straighten the wheel once you have
avoided the object.
The fact that such emergency situations are always
possible is a good reason to practice defensive driving at
all times and wear safety belts properly.
Off-Road Recovery
You may find that your right wheels have dropped off the
edge of a road onto the shoulder while you're driving.
If the level of the shoulder is only slightly below the
pavement, recovery should be fairly easy. Ease off the
accelerator and then, if there is nothing in the way, steer
so that your vehicle straddles the edge of the pavement.
You can turn the steering wheel up to one
-quarter turn
until the right front tire contacts the pavement edge.
Then turn your steering wheel to go straight down
the roadway.
Page 248 of 362
yellowblue
5-16
1. You can remove the coolant surge tank pressure cap
when the cooling system, including the coolant surge
tank pressure cap and upper radiator hose, is no
longer hot. Turn the pressure cap slowly
counterclockwise (left) about one
-quarter turn and
then stop.
If you hear a hiss, wait for that to stop. A hiss means
there is still some pressure left.
2. Then keep turning the pressure cap slowly, and
remove it.
3. Then fill the coolant surge tank with the proper
mixture, to or above the fill mark at the forward edge
of the surge tank.
Page 255 of 362
yellowblue
5-23
CAUTION:
Raising your vehicle with the jack improperly
positioned can damage the vehicle and even make
the vehicle fall. To help avoid personal injury and
vehicle damage, be sure to fit the jack lift head
into the proper location before raising
the vehicle.
3. Turn the jack handle counterclockwise to lower the
jack lift head until the jack fits under the car.
4. Raise the jack until the metal flange fits firmly into
the channel of the jack head.
5. Put the compact spare near you.
6. Raise the vehicle by turning the jack handle
clockwise. Raise the vehicle far enough off the
ground for the spare tire to fit under the vehicle.
7. Remove all wheel nuts and take off the flat tire.
Page 257 of 362
yellowblue
5-25
11. Lower the vehicle by turning the jack handle
counterclockwise. Lower the jack completely.
12. Tighten the wheel
nuts firmly in a
crisscross sequence
as shown.
On the STS, screw on the wheel nut covers with your
fingers, then tighten one
-quarter turn with the
wheel wrench.
Page 270 of 362
yellowblue
6-6
The fuel door release button
is located on the left side of
the instrument panel below
the lamp controls. To open
the fuel door, press the fuel
door release button upward.
The vehicle must be in
PARK (P) or NEUTRAL (N)
and the VALET lockout
button must be in the
OFF position.
An alternate fuel door
release is located inside of
the trunk on the driver's
side. Pull it to release the
fuel door.
While refueling, hang the cap by the tether from the
hook on the filler door.
To remove the cap, turn it slowly to the left
(counterclockwise). The cap has a spring in it; if you let
go of the cap too soon, it will spring back to the right.
Page 271 of 362

yellowblue
6-7
CAUTION:
If you get gasoline on yourself and then
something ignites it, you could be badly burned.
Gasoline can spray out on you if you open the
fuel filler cap too quickly. This spray can happen
if your tank is nearly full, and is more likely in
hot weather. Open the fuel filler cap slowly and
wait for any ªhissº noise to stop. Then unscrew
the cap all the way.
Be careful not to spill gasoline. Clean gasoline from
painted surfaces as soon as possible. See ªCleaning the
Outside of Your Vehicleº in the Index.When you put the cap back on, turn it to the right
(clockwise) until you hear a clicking sound. Make sure
you fully install the cap. The diagnostic system can
determine if the fuel cap has been left off or improperly
installed. This would allow fuel to evaporate into the
atmosphere. See ªMalfunction Indicator Lampº in
the Index.
NOTICE:
If you need a new cap, be sure to get the right
type. Your dealer can get one for you. If you get
the wrong type, it may not fit properly. This may
cause your malfunction indicator lamp to light
and your fuel tank and emissions system may be
damaged. See ªMalfunction Indicator Lampº in
the Index.
Page 276 of 362
yellowblue
6-12 Checking Engine Oil
Pull out the dipstick and clean it with a paper towel or
cloth, then push it back in all the way. Remove it again,
keeping the tip down, and check the level.
When to Add Engine Oil
If the oil is at or below the ADD line, then you'll need
to add at least one quart of oil. But you must use the
right kind. This part explains what kind of oil to use. For
crankcase capacity, see ªCapacities and Specificationsº
in the Index.
NOTICE:
Don't add too much oil. If your engine has so
much oil that the oil level gets above the upper
mark that shows the proper operating range,
your engine could be damaged.
The engine oil fill cap is
located behind the radiator
on the passenger's side of
the engine. Turn the cap
counterclockwise to
remove it.
Be sure to fill it enough to put the level somewhere in
the proper operating range. Push the dipstick all the way
back in when you're through.
Page 284 of 362

yellowblue
6-20
To get the right reading, the fluid should be at normal
operating temperature, which is 180�F to 200�F
(82�C to 93�C).
Get the vehicle warmed up by driving about 15 miles
(24 km) when outside temperatures are above 50�F
(10�C). If it's colder than 50�F (10�C), you may have
to drive longer.
Checking the Fluid Level
�Park your vehicle on a level place. Keep the
engine running.
�With the parking brake applied, place the shift lever
in PARK (P).
�With your foot on the brake pedal, move the shift
lever through each gear range, pausing for about
three seconds in each range. Then, position the shift
lever in PARK (P).
�Let the engine run at idle for three to five minutes.Then, without shutting off the engine, follow
these steps:
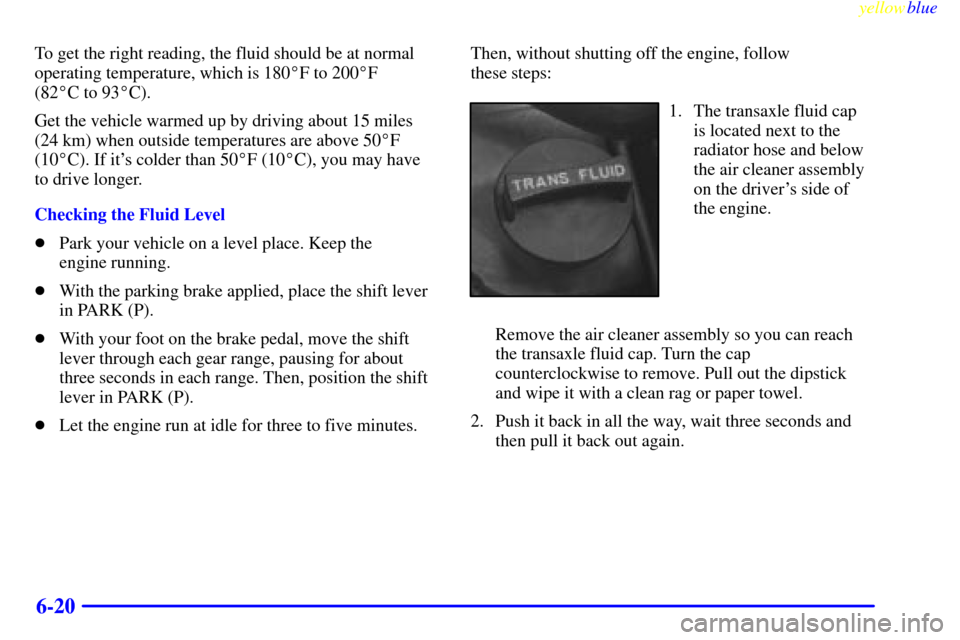
1. The transaxle fluid cap
is located next to the
radiator hose and below
the air cleaner assembly
on the driver's side of
the engine.
Remove the air cleaner assembly so you can reach
the transaxle fluid cap. Turn the cap
counterclockwise to remove. Pull out the dipstick
and wipe it with a clean rag or paper towel.
2. Push it back in all the way, wait three seconds and
then pull it back out again.