Page 172 of 344

yellowblue
3-30
NOTICE:
Before you add any sound equipment to your
vehicle
-- like a tape player, CB radio, mobile
telephone or two
-way radio -- be sure you can
add what you want. If you can, it's very
important to do it properly. Added sound
equipment may interfere with the operation of
your vehicle's engine, radio or other systems, and
even damage them. Your vehicle's systems may
also interfere with the operation of sound
equipment that has been added improperly.
So, before adding sound equipment, check with
your dealer and be sure to check Federal rules
covering mobile radio and telephone units.
Care of Your Cassette Tape Player
A tape player that is not cleaned regularly can cause
reduced sound quality, ruined cassettes or a damaged
mechanism. Cassette tapes should be stored in their
cases away from contaminants, direct sunlight and
extreme heat. If they aren't, they may not operate
properly or may cause failure of the tape player.Your tape player should be cleaned regularly after every
50 hours of use. Your radio may display CLN or
CLEAN TAPE to indicate that you have used your tape
player for 50 hours without resetting the tape clean
timer. If this message appears on the display, your
cassette tape player needs to be cleaned. It will still play
tapes, but you should clean it as soon as possible to
prevent damage to your tapes and player. If you notice a
reduction in sound quality, try a known good cassette to
see if it is the tape or the tape player at fault. If this other
cassette has no improvement in sound quality, clean the
tape player.
The recommended cleaning method for your cassette
tape player is the use of a scrubbing action,
non
-abrasive cleaning cassette with pads which scrub
the tape head as the hubs of the cleaner cassette turn.
The recommended cleaning cassette is available through
your dealership (GM Part No. 12344789).
When using a scrubbing action, non
-abrasive cleaning
cassette, it is normal for the cassette to eject because
your unit is equipped with a cut tape detection feature
and a cleaning cassette may appear as a broken tape. To
prevent the cleaning cassette from being ejected, use the
following steps.
1. Turn the ignition to RUN or ACCESSORY.
2. Turn the radio off.
Page 174 of 344

yellowblue
3-32 Power Antenna Mast Care
Your power antenna will look its best and work well
if it's cleaned from time to time. To clean the
antenna mast:
1. Turn on the ignition and radio to raise the antenna.
2. Dampen a clean cloth with mineral spirits or
equivalent solvent.
3. Wipe the cloth over the mast sections, removing
any dirt.
4. Wipe dry with a clean cloth.
5. Make the antenna go up and down by turning the
radio or ignition off and on.
6. Repeat if necessary.
NOTICE:
Don't lubricate the power antenna. Lubrication
could damage it.
NOTICE:
Before entering an automatic car wash, turn off
your radio to make the power antenna go down.
This will prevent the mast from possibly getting
damaged. If the antenna does not go down when
you turn the radio off, it may be damaged or
need to be cleaned. In either case, lower the
antenna by hand by carefully pressing the
antenna down.
If the mast portion of your antenna is damaged, you can
easily replace it. See your dealer for a replacement kit
and follow the instructions in the kit.
Page 200 of 344

yellowblue
4-24
CAUTION:
Coasting downhill in NEUTRAL (N) or with the
ignition off is dangerous. Your brakes will have to
do all the work of slowing down. They could get
so hot that they wouldn't work well. You would
then have poor braking or even none going down
a hill. You could crash. Always have your engine
running and your vehicle in gear when you
go downhill.
�Know how to go uphill. You may want to shift down
to a lower gear. The lower gears help cool your engine
and transaxle, and you can climb the hill better.
�Stay in your own lane when driving on two
-lane
roads in hills or mountains. Don't swing wide or cut
across the center of the road. Drive at speeds that let
you stay in your own lane.
�As you go over the top of a hill, be alert. There could be
something in your lane, like a stalled car or an accident.
�You may see highway signs on mountains that warn of
special problems. Examples are long grades, passing or
no
-passing zones, a falling rocks area or winding
roads. Be alert to these and take appropriate action.
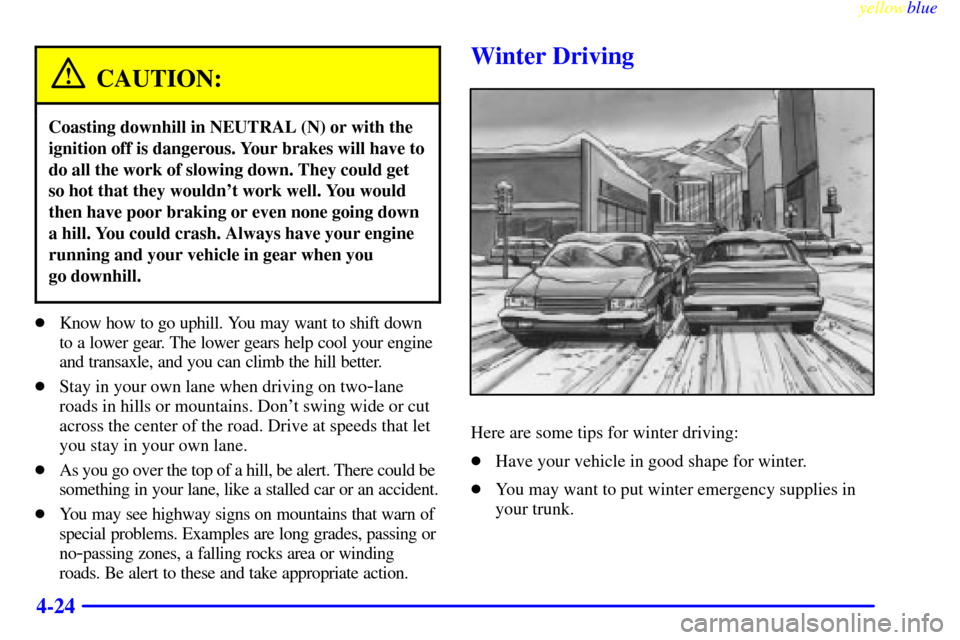
Winter Driving
Here are some tips for winter driving:
�Have your vehicle in good shape for winter.
�You may want to put winter emergency supplies in
your trunk.
Page 216 of 344
yellowblue
5-2
Hazard Warning Flashers
Your hazard warning flashers let you warn others. They
also let police know you have a problem. Your front and
rear turn signal lamps will flash on and off.
Press the button in to make your front and rear turn
signal lamps flash on and off.
This light on the instrument
panel will flash, indicating
that the hazard warning
flashers are on.
The hazard warning flashers will work once the button
is pressed in regardless of the ignition key position.
Page 218 of 344

yellowblue
5-4
NOTICE:
Ignoring these steps could result in costly damage
to your vehicle that wouldn't be covered by
your warranty.
The ACDelco Freedom� battery in your vehicle
has a built
-in hydrometer. Do not charge, test or
jump start the battery if the hydrometer looks
clear or light yellow. Replace the battery when
there is a clear or light yellow hydrometer and a
cranking complaint.
Trying to start your vehicle by pushing or pulling
it won't work, and it could damage your vehicle.
1. Check the other vehicle. It must have a 12-volt
battery with a negative ground system.
NOTICE:
If the other system isn't a 12-volt system with a
negative ground, both vehicles can be damaged.
2. Get the vehicles close enough so the jumper cables
can reach, but be sure the vehicles aren't touching
each other. If they are, it could cause a ground
connection you don't want. You wouldn't be able to
start your vehicle, and the bad grounding could
damage the electrical systems.
3. Turn off the ignition on both vehicles. Unplug
unnecessary accessories plugged into the cigarette
lighter. Turn off all lamps that aren't needed as well
as radios. This will avoid sparks and help save both
batteries. In addition, it could save your radio!
4. Open the hoods and locate the batteries. Find
the positive (+) and negative (
-) terminals on
each battery.
Page 268 of 344

yellowblue
6-22 How to Reset Transaxle Fluid
Change Indicator
Your vehicle is equipped with a transaxle fluid change
indicator. A CHANGE TRANS FLUID message will
display on the Driver Information Center (DIC) when
the powertrain computer determines that the transaxle
fluid needs to be changed or at each 100,000 miles
(160 000 km) interval, whichever occurs first. See your
Maintenance Schedule booklet for more information.
When this message appears, change the transaxle fluid
and reset the transaxle fluid life indicator as follows:
1. Turn the ignition on but do not start the engine.
2. Press and hold the OFF and rear defog buttons on the
climate control system at the same time until the
TRANS FLUID RESET message appears on the DIC.
Surge Tank Pressure Cap
NOTICE:
The surge tank cap is a 15 psi (105 kPa)
pressure
-type cap and must be tightly installed
to prevent coolant loss and possible engine
damage from overheating. Be sure the arrows on
the cap line up.
If the surge tank pressure cap needs to be replaced, a
GM cap is recommended.
Page 285 of 344
yellowblue
6-39
Windshield Wiper
Blade Replacement
Windshield wiper blades should be inspected at least
twice a year for wear or cracking. See ªWiper Blade
Checkº in the Maintenance Schedule booklet
under Part B ªOwner Checks and Servicesº for
more information.
It's a good idea to clean or replace the wiper blade
assembly on a regular basis or when worn. For proper
windshield wiper blade length and type, see ªNormal
Maintenance Replacement Partsº in the Index. To
replace the wiper blade assembly:
1. Turn the ignition key to ACCESSORY and turn the
wipers on. Position the wipers on the windshield in
the ªmidº wipe position. Then with the door open,
turn the key to OFF.
2. Insert a screwdriver into the slot as shown and press
down to release the wiper blade assembly.
3. Align the wiper arm pin with the hole on the wiper
blade assembly and snap it into place to install.
Page 303 of 344

yellowblue
6-57
MaxiFuse
(8
-Way)Usage
BODY 1 Road Sensing Suspension (RSS) Fuse
(ETC Only), Convenience Fuse, BATT
Fuse, Antenna Fuse, Passenger and
Driver Seat Belt Comfort Solenoids,
Trunk and Fuel Door Release
Solenoids and Relays, Door
Lock/Unlock Relays, Damper Relay
(ETC Only), Parking Lamp Relay,
Right and Left Park Fuse, Rear Fog
Lamp Relay (Export)
BODY 2 Defog Relay, Pull
-Down Fuse, Right
and Left Heated Seat Fuses, Electronic
Level Control (ELC) Relay, Heated
Mirror Fuse, Heated Backlite Fuse,
ELC Circuit Breaker
BODY 3 Controlled Power Relay, Controlled
Power Back
-Up Relay, Cluster Fuse,
Passenger Zone Module (PZM) Fuse,
Radio Fuse, DAB Relay, Trunk and
Fuel Door Release Relay, High
-Beam
Relay, Comfort Fuse, AMP (Bose
Only) Fuse, Right and Left Bose RelayMaxiFuse
(8
-Way)Usage
INADVERT Inadvertent Power Relay, Interior
Lamps Fuse, Cigarette Lighter
-1 Fuse,
Courtesy Lamp Relay
LAMPS Headlamps Fuse/Relay, High/Low
Beam Control Relay, Fog Lamp Fuse,
DRL Fuse, Hazard Fuse, Mirror Fuse,
Inadvertent Power Relay, Right and
Left High
-Beam Fuse, Right and Left
Low
-Beam Fuse, Stoplamp Fuse, Fog
Lamp Relay, DRL Relay
IGN 1 Rear Ignition
-1 Relay, Wiper Fuse,
Relay Ignition
-1 Fuse, Supplemental
Inflatable Restraint (SIR) Fuse,
Accessory Relay
WINDOWS Delayed Accessory Bus (DAB) Relay
SEATS Horn Relay, Driver and Passenger
Lumbar In/Out Relays, Driver and
Passenger Lumbar Up/Down Relays