1998 TOYOTA TACOMA ignition
[x] Cancel search: ignitionPage 84 of 246

'98 Tacoma (U)
84
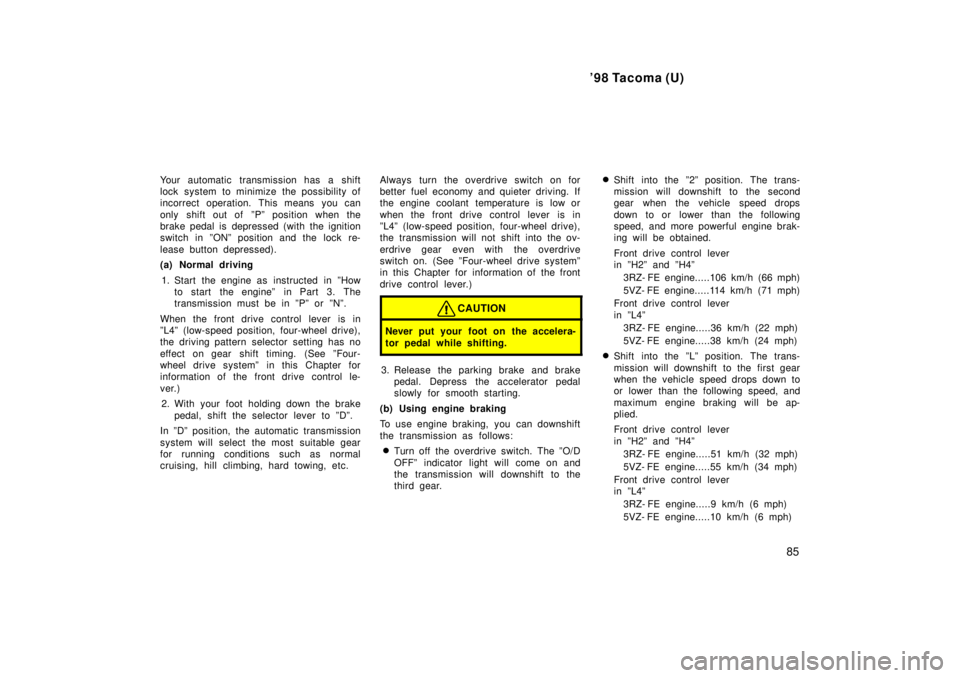
Parking, engine starting and
key removal position
Reverse position Neutral position
Normal driving position
Position for engine braking
Position for stronger engine
braking than that in 2º
position
With the brake pedal depressed,
shift while holding the lock release
button in. (The ignition switch must
be in ONº position.)
Shift while holding the lock
release button in Driving pattern selector button
For selecting a driving pattern
suited to existing driving conditions
Overdrive switch
For selecting either a three- speed
or four- speed transmission
OFFº position
(Shifting into overdrive
not possible) ONº position
(Shifting into
overdrive possible)
Lock release button
To prevent misshifting
O/D OFFº indicator light
Shows the overdrive
switch is in OFF position
NORMALº
(Normal) mode
for general driving
conditions
POWERº
(Power) mode
for powerful
acceleration
POWER mode indicator light
on the instrument panel shows
the driving pattern selector
button is the POWERº mode.
Shift normally
Vehicles with cruise controlÐWhen the cruise control is being used, eve n if you downshift the transmission by turning off the overdrive
switch, engine braking will not be applied because the cruise cont rol is not cancelled. For ways to decrease the vehicle speed, see
ºCruise controlº in this chapter. Automatic transmission
(electronically controlled typeÐfour- wheel drive models and Pre Runner
)
Page 85 of 246

'98 Tacoma (U)85
Your automatic transmission has a shift
lock system to minimize the possibility of
incorrect operation. This means you can
only shift out of ºPº position when the
brake pedal is depressed (with the ignition
switch in ºONº position and the lock re-
lease button depressed).
(a) Normal driving
1. Start the engine as instructed in ºHow to start the engineº in Part 3. The
transmission must be in ºPº or ºNº.
When the front drive control lever is in
ºL4º (low-speed position, four-wheel drive),
the driving pattern selector setting has no
effect on gear shift timing. (See ºFour-
wheel drive systemº in this Chapter for
information of the front drive control le-
ver.) 2. With your foot holding down the brake pedal, shift the selector lever to ºDº.
In ºDº position, the automatic transmission
system will select the most suitable gear
for running conditions such as normal
cruising, hill climbing, hard towing, etc. Always turn the overdrive switch on for
better fuel economy and quieter driving. If
the engine coolant temperature is low or
when the front drive control lever is in
ºL4º (low-speed position, four-wheel drive),
the transmission will not shift into the ov-
erdrive gear even with the overdrive
switch on. (See ºFour-wheel drive systemº
in this Chapter for information of the front
drive control lever.)
CAUTION
Never put your foot on the accelera-
tor pedal while shifting.
3. Release the parking brake and brake
pedal. Depress the accelerator pedal
slowly for smooth starting.
(b) Using engine braking
To use engine braking, you can downshift
the transmission as follows: � Turn off the overdrive switch. The ºO/D
OFFº indicator light will come on and
the transmission will downshift to the
third gear. �
Shift into the º2º position. The trans-
mission will downshift to the second
gear when the vehicle speed drops
down to or lower than the following
speed, and more powerful engine brak-
ing will be obtained.
Front drive control lever
in ºH2º and ºH4º
3RZ- FE engine.....106 km/h (66 mph)
5VZ- FE engine.....114 km/h (71 mph)
Front drive control lever
in ºL4º 3RZ- FE engine.....36 km/h (22 mph)
5VZ- FE engine.....38 km/h (24 mph)
� Shift into the ºLº position. The trans-
mission will downshift to the first gear
when the vehicle speed drops down to
or lower than the following speed, and
maximum engine braking will be ap-
plied.
Front drive control lever
in ºH2º and ºH4º
3RZ- FE engine.....51 km/h (32 mph)
5VZ- FE engine.....55 km/h (34 mph)
Front drive control lever
in ºL4º 3RZ- FE engine.....9 km/h (6 mph)
5VZ- FE engine.....10 km/h (6 mph)
Page 98 of 246

'98 Tacoma (U)
98
To check the indicator bulb, turn the ignition
key to the ºONº position, but do not start
the engine.
CAUTION
Do not keep driving with the differen-
tial lock switch on.
Parking brake
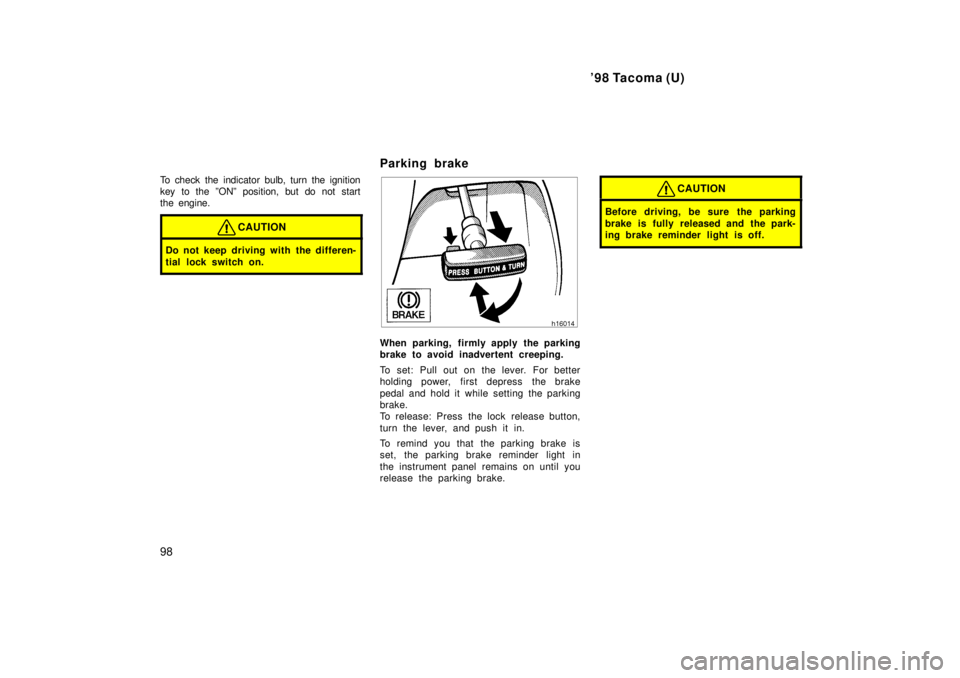
When parking, firmly apply the parking
brake to avoid inadvertent creeping.
To set: Pull out on the lever. For better
holding power, first depress the brake
pedal and hold it while setting the parking
brake.
To release: Press the lock release button,
turn the lever, and push it in.
To remind you that the parking brake is
set, the parking brake reminder light in
the instrument panel remains on until you
release the parking brake.
CAUTION
Before driving, be sure the parking
brake is fully released and the park-
ing brake reminder light is off.
Page 101 of 246

'98 Tacoma (U)101
CRUISE CONTROL FAILURE WARNING
If the ºCRUISEº indicator light in the
instrument cluster flashes when using the
cruise control, press the ºCRUISE ON-
OFFº button to turn the system off and
then press it again to turn it on.
If any of the following conditions then oc-
curs, there is some trouble in the cruise
control system.
� The indicator light does not come on.
� The indicator light flashes again.
� The indicator light goes out after it
comes on.
If this is the case, contact your Toyota
dealer and have your vehicle inspected.
To crank the engine without depressing
the clutch pedal, push the switch with
the ignition on.
The switch stays on as long as the igni-
tion is on. And it will automatically turn off
when the ignition is off. An indicator light
will illuminate to indicate the system is
operating.
This switch cancels the clutch start sys-
tem, which is designed to keep the starter
motor from operating if the clutch pedal is
not depressed all the way down.
The switch allows the vehicle to be driven
out of difficult situations by cranking the
engine with the clutch engaged. Never use the switch for normal engine
starting. Be sure to follow the starting
procedure instructed in ºHow to start the
engineº in Part 3.
Clutch start cancel switch
(four-wheel drive models with
manual transmission)
Page 104 of 246

'98 Tacoma (U)
104
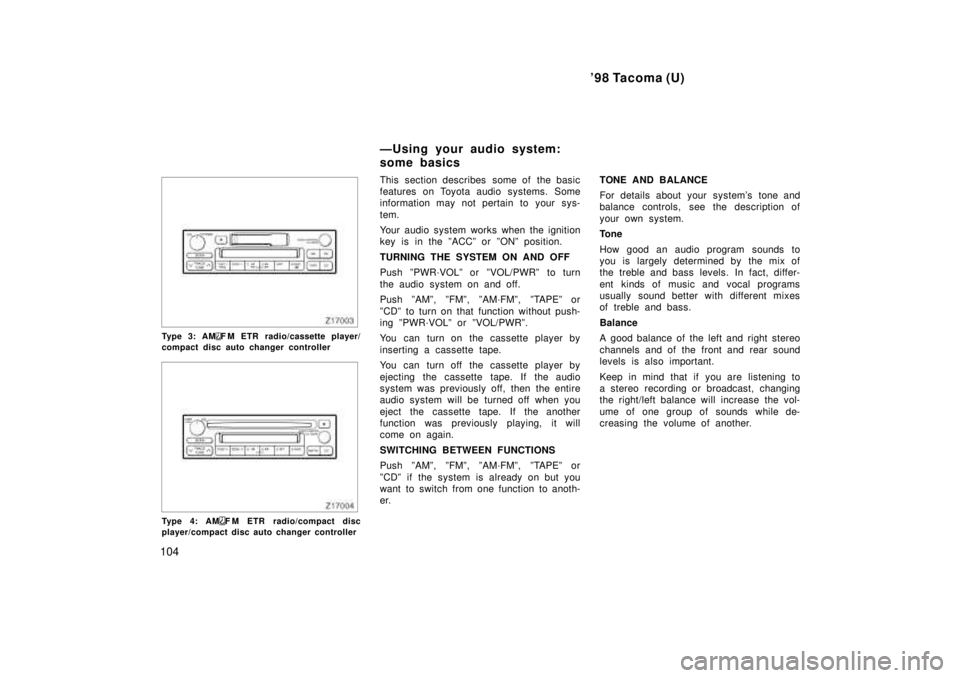
Type 3: AMF M ETR radio/cassette player/
compact disc auto changer controller
Type 4: AMF M ETR radio/compact disc
player/compact disc auto changer controller This section describes some of the basic
features on Toyota audio systems. Some
information may not pertain to your sys-
tem.
Your audio system works when the ignition
key is in the ºACCº or ºONº position.
TURNING THE SYSTEM ON AND OFF
Push ºPWR´VOLº or ºVOL/PWRº to turn
the audio system on and off.
Push ºAMº, ºFMº, ºAM´FMº, ºTAPEº or
ºCDº to turn on that function without push-
ing ºPWR´VOLº or ºVOL/PWRº.
You can turn on the cassette player by
inserting a cassette tape.
You can turn off the cassette player by
ejecting the cassette tape. If the audio
system was previously off, then the entire
audio system will be turned off when you
eject the cassette tape. If the another
function was previously playing, it will
come on again.
SWITCHING BETWEEN FUNCTIONS
Push ºAMº, ºFMº, ºAM´FMº, ºTAPEº or
ºCDº if the system is already on but you
want to switch from one function to anoth-
er.
TONE AND BALANCE
For details about your system's tone and
balance controls, see the description of
your own system.
Tone
How good an audio program sounds to
you is largely determined by the mix of
the treble and bass levels. In fact, differ-
ent kinds of music and vocal programs
usually sound better with different mixes
of treble and bass.
Balance
A good balance of the left and right stereo
channels and of the front and rear sound
levels is also important.
Keep in mind that if you are listening to
a stereo recording or broadcast, changing
the right/left balance will increase the vol-
ume of one group of sounds while de-
creasing the volume of another.
ÐUsing your audio system:
some basics
Page 105 of 246

'98 Tacoma (U)105
YOUR RADIO ANTENNA
To lower a manual antenna, carefully push
it down.
To lower a power antenna, turn off the
audio system by pushing ºPWR´VOLº or
ºVOL/PWRº, or turn the ignition key to
ºLOCKº.
On some models, the power antenna auto-
matically retracts when the radio mode is
switched off to turn on the cassette tape
player.
YOUR CASSETTE PLAYER
When you insert a cassette, the exposed
tape should be to the right.
NOTICE
Do not oil any part of the player and
do not insert anything other than cas-sette tapes into the slot, or the tape
player may be damaged.
YOUR COMPACT DISC PLAYER
When you insert a disc, gently push it in
with the label side up. (The player will
automatically eject a disc if the label side
is down.) The compact disc player will
play from track 1 through the end of the
disc. Then it will play from track 1 again.
NOTICE
Never try to disassemble or oil any
part of the compact disc player. Donot insert anything except a compact disc into the slot.
8 cm (3 in.) compact disc singles
Your compact disc player does not need
an adaptor to play compact disc singles.
Compact disc singles are about 8 cm (3
in.) in diameter- smaller than standard
discs.
After you eject a compact disc single, do
not insert a standard 12 cm (5 in.) disc
until ºDISCº disappears from the display.
NOTICE
Do not use an adaptor for compact
disc singles
'it could cause tracking
errors or interfere with the ejection of
compact discs.
Page 112 of 246

'98 Tacoma (U)
11 2
1 2 3 4 5 6 (Preset buttons)
These buttons are used to preset and
tune in radio stations.
To preset a station to a button: Tune in
the desired station (see ºTUNEº button).
Push and hold down the button until you
hear a beep
'this will set the station to
the button. The button number will appear
on the display.
To tune in to a preset station: Push the
button for the station you want. The but-
ton number and station frequency will ap-
pear on the display.
These systems can store one AM and two
FM stations for each button (The display
will show ºAMº, ºFM1º or ºFM2º when you
push ºAMº or ºFMº).
(Eject button)
Push this button to eject a cassette.
After you turn the ignition to ºLOCKº, you
will be able to eject a cassette but you
will not be able to reinsert it.
(Reverse/Fast forward buttons)
Cassette Player
Push the fast forward button to fast for-
ward a cassette tape. ºFFº will appear on
the display. Push the reverse button to
rewind a tape. ºREWº will appear on the
display.
To stop the tape while it is fast forward-
ing, push the fast forward button or
ºTAPEº; to stop the tape while it is re-
winding, push the reverse button or
ºTAPEº.
If a tape side rewinds completely, the cas-
sette player will stop and then play that
same side. If a tape fast forwards com-
pletely, the cassette player will play the
other side of the tape, using the auto- re-
verse feature.
Compact Disc Player
If you want to fast forward or reverse
through a compact disc track, push and
hold in the fast forward or reverse button.
When you release the button, the compact
disc player will resume playing. AM
Push ºAMº to switch the AM band. ºAMº
will appear on the display.
If the audio system is off, you can turn
on the radio by pushing ºAMº. Also, push
ºAMº to switch from cassette or compact
disc operation to radio operation.
AUDIO CONTROL / MODE
Manual tone adjustment functionÐ
This knob is used to adjust the tone
manually.
For low- pitch tone adjustment, push
ºAUDIO CONTROL / MODEº repeatedly
until ºBASº appears on the display. Then
turn the knob to suit your preference.
The display will show the range from
ºBAS -5º to ºBAS 5º.
For high- pitch tone adjustment, push
ºAUDIO CONTROL / MODEº repeatedly
until ºTREº appears on the display. Then
turn the knob to suit your preference.
The display will show the range from
ºTRE -5º to ºTRE 5º.
Page 118 of 246

'98 Tacoma (U)
11 8
1 2 3 4 5 6 (Preset buttons)
These buttons are used to preset and
tune in radio stations.
To preset a station to a button: Tune in
the desired station (see ºTUNEº button).
Push and hold down the button until you
hear a beep
'this will set the station to
the button. The button number will appear
on the display.
To tune in to a preset station: Push the
button for the station you want. The but-
ton number and station frequency will ap-
pear on the display.
These systems can store one AM and two
FM stations for each button (The display
will show ºAMº, ºFM1º or ºFM2º when you
push ºAM´FMº).
(Eject button)
Push this button to eject a compact disc.
After you turn the ignition to ºLOCKº, you
will be able to eject a disc but you will
not be able to reinsert it.
(Reverse/Fast forward buttons)
If you want to fast forward or reverse
through a compact disc track, push and
hold in the fast forward or reverse button.
When you release the button, the compact
disc player will resume playing. AM
FM
Push ºAM
F Mº to switch between the AM
and FM bands. ºAMº, ºFM1º or ºFM2º will
appear on the display. These systems al-
low you to set twelve FM stations, two for
each button.
If the audio system is off, you can turn
on the radio by pushing ºAM
FMº. Also,
push ºAM
F Mº to switch from compact
disc operation to radio operation.
AUDIO CONTROL / MODE
Manual tone adjustment functionÐ
This knob is used to adjust the tone
manually.
For low- pitch tone adjustment, push
ºAUDIO CONTROL / MODEº repeatedly
until ºBASº appears on the display. Then
turn the knob to suit your preference.
The display will show the range from
ºBAS -5º to ºBAS 5º. For high- pitch tone adjustment, push
ºAUDIO CONTROL / MODEº repeatedly
until ºTREº appears on the display. Then
turn the knob to suit your preference.
The display will show the range from
ºTRE -5º to ºTRE 5º.
Sound balance adjustment functionÐ
This knob is also to adjust the sound
balance between the front and rear, and
the right and left speakers.
For front/rear adjustment, push ºAUDIO
CONTROL / MODEº repeatedly until ºFAdº
appears on the display. Then turn the
knob to adjust the front/rear balance.
The display will show the range from ºFAd
F7º to ºFAd R7º.
For left/right adjustment, push ºAUDIO
CONTROL / MODEº repeatedly until ºBALº
appears on the display. Then turn the
knob to adjust the left/right balance.
The display will show the range from ºBAL
L7º to ºBAL R7º.