Page 11 of 73

HEATING
Air distribution unit
61
PRO61.3
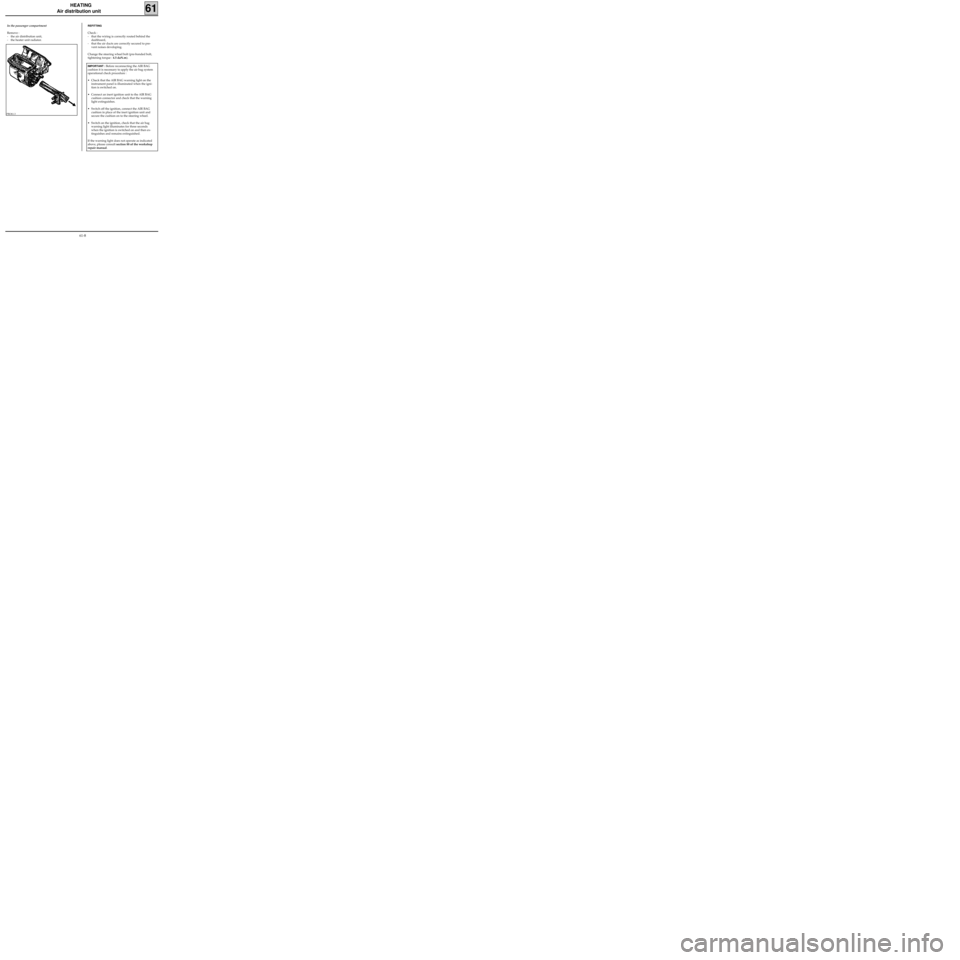
In the passenger compartment
Remove :
- the air distribution unit,
- the heater unit radiator.REFITTING
Check :
- that the wiring is correctly routed behind the
dashboard,
- that the air ducts are correctly secured to pre-
vent noises developing.
Change the steering wheel bolt (pre-bonded bolt,
tightening torque : 4.5 daN.m).
IMPORTANT : Before reconnecting the AIR BAG
cushion it is necessary to apply the air bag system
operational check procedure :
• Check that the AIR BAG warning light on the
instrument panel is illuminated when the igni-
tion is switched on.
• Connect an inert ignition unit to the AIR BAG
cushion connector and check that the warning
light extinguishes.
• Switch off the ignition, connect the AIR BAG
cushion in place of the inert ignition unit and
secure the cushion on to the steering wheel.
• Switch on the ignition, check that the air bag
warning light illuminates for three seconds
when the ignition is switched on and then ex-
tinguishes and remains extinguished.
If the warning light does not operate as indicated
above, please consult section 88 of the workshop
repair manual.
61-8
Page 40 of 73

Check the condition of the wiring between:
B2 A2
control B3 A1 resistance
panel B4 C4 unit
B5 C1
Is the wiring in good condition?
yes
c11010.0
AIR CONDITIONING
Fault finding charts
62
KANGOO
ALL TYPES
AFTER
REPAIR
yes
CHART 9PASSENGER COMPARTMENT FAN DOES NOT OPERATE
NOTES
Check fuses +battery, +fuse board, +side
lights. Are the fuses in good condition?noChange the faulty fuse(s).
noEnd of fault finding.
yes
noChange the control panel.
yes
noRepair the faulty
electrical wiring.
A
Before carrying out any work, check that the customer uses the air conditioning
correctly.
Non regulated air conditioning.
Check the connections between the fuses
and the instrument panel connector.
Repair if necessary.
Does the fault persist?
With the ignition on and the air conditioning
selected, position the ventilation at the
various speeds and check that 12 V
is present on the tracks of the
control panel connector:
- B5 in position 1,
- B4 in position 2,
- B2 in position 3,
- B3 in position 4.
Is 12 V present?
Check that the components which were removed are connected correctly.
Check that the system operates correctly.
62-29
Page 67 of 73
AIR CONDITIONING
Dehydration canister
62
13828R1
Remove the dehydration canister from under-
neath the vehicle.
Fit plugs on each hole to prevent any entry of hu-
midity into the components.
REFITTING
Proceed in the reverse order to removal.
Check that the seals are in good condition and lu-
bricate them with
P.A.G. SP 10 oil.
Create a vacuum, then fill the R134a coolant cir-
cuit using the filling equipment.
When changing the dehydration canister, add 15
ml of
P.A.G. SP 10 oil to the circuit.
NOTE: tightening torque of bolt (2) : 1.2 daN.m
REMOVAL
Drain the R134a coolant circuit using the filling
equipment.
Remove:
- the two radiator upper mounting bolts,
- the two mounting bolts which secure the pipes
to the dehydration canister.
Move back the radiator-condenser assembly
slightly.
Through the bumper, remove the two dehydra-
tion canister to condenser retaining bolts (1).
62-56