1998 PONTIAC GRAND PRIX heating
[x] Cancel search: heatingPage 87 of 402

Trunk Trunk Lock
A CAUTION:
It can be dangerous to drive with the trunk open
because carbon monoxide (CO) gas can come into
your vehicle. You can’t see or smell
CO. It can
cause unconsciousness and even death.
If you must drive with the trunk open or if
electrical wiring or other cable connections
must pass through the seal between the body
and the trunk:
0 Make sure all windows are shut.
Turn the fan on your heating or cooling
system to its highest speed with the setting
on
VENT. That will force outside air into
your vehicle. See “Comfort Controls” in
the Index.
instrument panel, open them
all the way.
If you have air outlets on or under the
See “Engine Exhaust” in the Index. can
also use
the remote
keyless entry transmitter, if
your vehicle has this option.
Remote Trunk Release (If Equipped)
Press the button behind the
glove
box door to unlock
the
trunk from inside Your
vehicle.
your transaxfe shift
lever must be in PARK (P).
2-12
Page 133 of 402
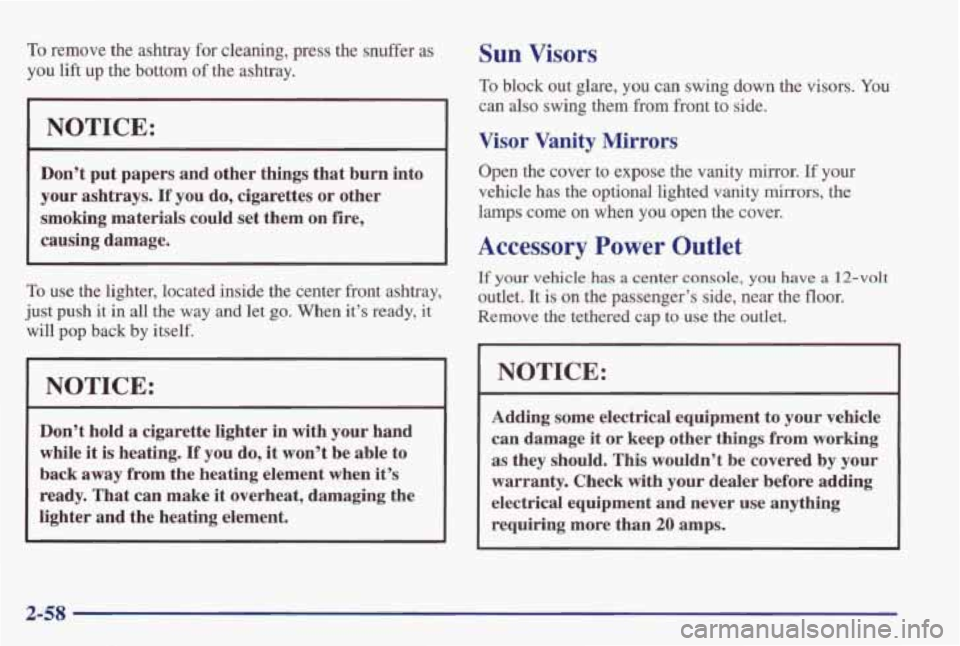
To remove the ashtray for cleaning, press the snuffer as
you lift up the bottom of the ashtray.
NOTICE:
Don’t put papers and other things that burn into
your ashtrays.
If you do, cigarettes or other
smoking materials could set them on fire,
causing damage.
To use the lighter, located inside the center front ashtray,
just push it
in all the way and let go. When it’s ready, it
will pop back by itself.
NOTICE: ~~
~~
Don’t hold a cigarette lighter in with your hand
while it is heating. If you do, it won’t be able to
back away from the heating element when
it’s
ready. That can make it overheat, damaging the
lighter and the heating element.
Sun Visors
To block out glare, you can swing down the visors. You
can also swing them from front to side.
Visor Vanity Mirrors
Open the cover to expose the vanity mirror. If your
vehicle has the optional lighted vanity mirrors, the
lamps come on when
you open the cover.
Accessory Power Outlet
If your vehicle has a center console, you have a 12-volt
outlet. It is on the passenger’s side, near the floor.
Remove the tethered cap to use the outlet.
NOTICE:
Adding some electrical equipment to your vehicle
can damage it or keep other things from working
as they should. This wouldn’t be covered by your
warranty. Check with your dealer before adding
electrical equipment and never use anything
requiring more than
20 amps.
2-58
Page 148 of 402

The oil level monitoring system only checks oil level during the brief period between key on and engine
crank. It
does not monitor engine oil level when the
engine is running. Additionally, an oil level check is
only performed if the engine has been turned
off for a
considerable period of time, allowing the oil normally in
circulation to drain back into the oil pan.
Engine Coolant Temperature Light
TEMP
This light tells you that your
engine coolant has
overheated or your radiator
cooling fan
is not working.
If you have been operating your
vehicle under normal
driving conditions, you should pull
off the road, stop
your vehicle and turn
off the engine as soon as possible.
In “Problems on the Road,” this manual shows what to
do. See “Engine Overheating” in the Index.
Engine Coolant Temperature Gage
You have a gage that shows
the engine coolant
temperature. If the gage
pointer moves into
the red
area, your engine is too hot!
That reading means the sarne thing as the warning light.
It means
that your engine coolant has overheated. If you
have been operating your vehicle under normal driving
conditions, you should pull
off the road, stop your
vehicle and turn
off the engine as soon as possible.
In “Problems on the Road,”
this manual shows what to
do. See “Engine Overheating” in the Index.
2-73
Page 161 of 402
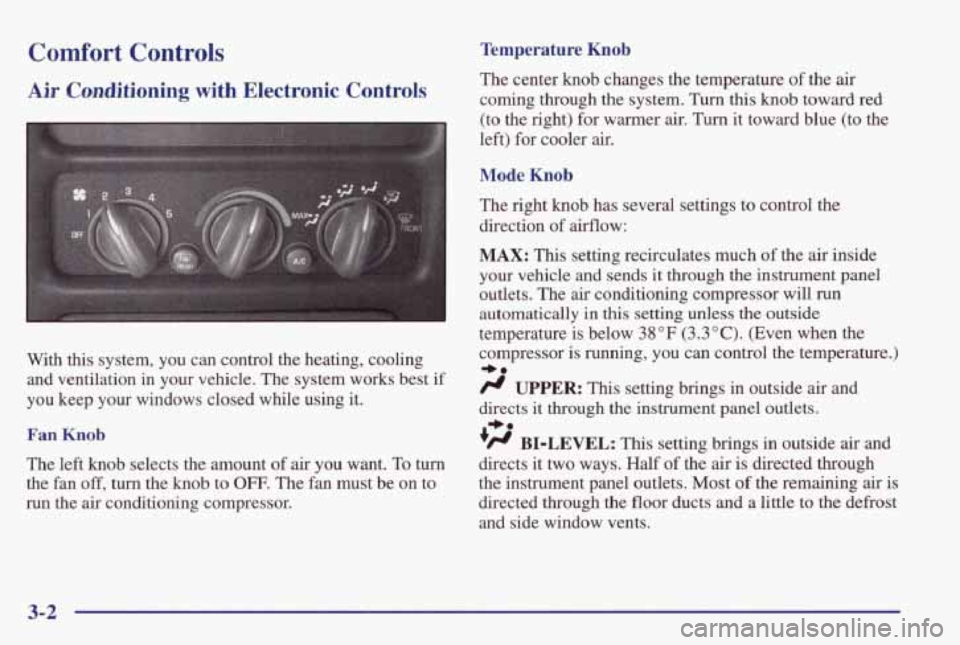
Comfort Controls
Air Conditioning with Electronic Controls
With this system, you can control the heating, cooling
and ventilation in your vehicle. The system works best if
you keep your windows closed while using it.
Fan Knob
The left knob selects the amount of air you want. To turn
the fan off, turn the knob to OFF. The fan must be on to
run the
air conditioning compressor.
Temperature Knob
The center knob changes the temperature of the air
coming through the system.
Turn this knob toward red
(to the right) for warmer
air. Turn it toward blue (to the
left) for cooler air.
Mode Knob
The right knob has several settings to control the
direction of airflow:
MAX: This setting recirculates much of the air inside
your vehicle and sends it through the instrument panel
outlets. The air conditioning compressor will
run
automatically in this setting unless the outside
temperature is below
38°F (3.3"C). (Even when the
compressor is running, you can control the temperature.)
/r UPPER: This setting brings in outside air and
directs
it through the instrument panel outlets.
'H BI-LEVEL: This setting brings in outside air and
directs it two ways. Half of the
air is directed through
the instrument panel outlets. Most
of the remaining air is
directed through the floor
ducts and a little to the defrost
and side window vents.
+e
+e
3-2
Page 163 of 402
Heating
On cold days use FLOOR with the temperature knob all
the
way in the red area. The system will bring in outside
air, heat it and send it to the floor ducts.
If your vehicle has
an engine coolant heater, you can use
it to help your system provide warm
air faster when it’s
cold outside
0 OF (- 18 O C) or lower. An engine coolant
heater warms the coolant your engine and heating
system use to provide heat. See “Engine Coolant
Heater”
in the Index.
Ventilation
For mild outside temperatures when little heating or
cooling
is needed, use UPPER, with the A/C button off,
to direct outside air through your vehicle. Your vehicle
also has the flow-through ventilation system described
later in this section.
Defogging and Defrosting
Your system has two settings for clearing the front and
side windows.
To defiost the windows quickly, use
DEFROST with the temperature knob all the way in the
red area. To warm passengers while keeping the
windows clean, use
DEFOG.
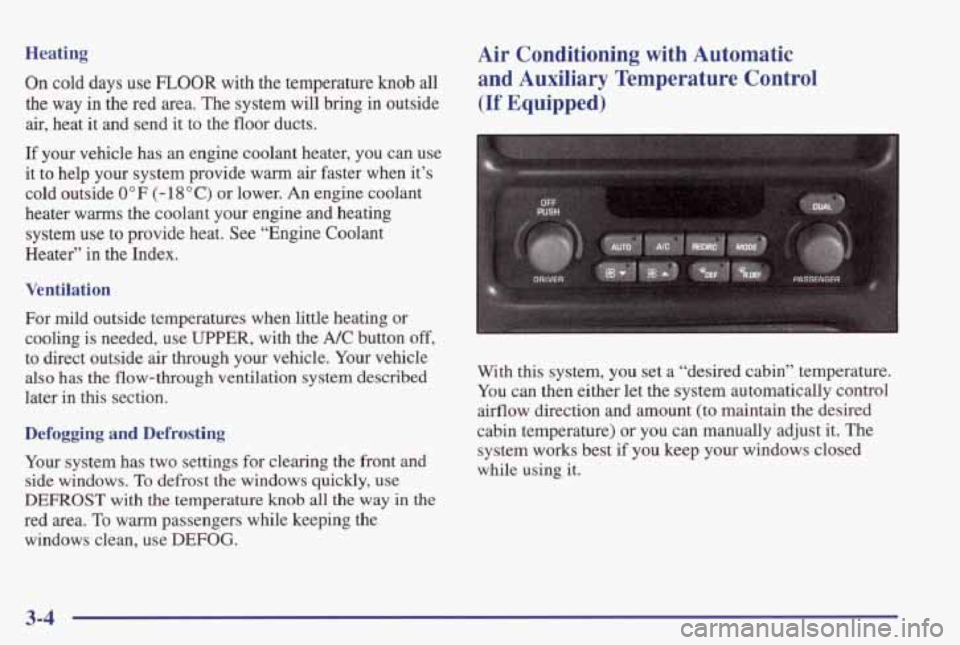
Air Conditioning with Automatic
and Auxiliary Temperature Control
(If Equipped)
With this system, you set a “desired cabin” temperature.
You can then either let the system automatically control
airflow direction and amount (to maintain the desired
cabin temperature) or you can manually adjust it. The
system works best if
you keep your windows closed
while using it.
3-4
Page 165 of 402

Hot Weather Example: When you start the vehicle in
hot weather, 80°F (27°C) or after being parked during
the day in full sun, if your Driver Set Temperature is
73°F (23°C) and you are in Full Automatic mode, the
system will automatically move the temperature doors to
full cold. The blower will be at low speed momentarily
and then to the high speed. The
air intake will be
recirculated for maximum cooling performance. As the
interior of the vehicle cools down to your desired
comfort point, the blower will decrease and the
temperature door will move to a warmer position to maintain your desired comfort.
As the cabin cools down
or the sun load decreases the system could switch to
air
delivered to A/C vents and the floor (Bi-level mode).
Manual Control
Fan Buttons
The fan buttons select the amount of air you want when
the system is not in AUTO. The display will show the
fan speed by illuminating a maximum
of seven fan bars.
Mode Button
The center panel has several settings to control the
direction of airflow when the system is not in AUTO.
The indicator light on the button will glow when the
button
is pressed. To access the various modes available,
continue to press the MODE button until the desired
mode appears on the display.
If you prefer to manually control the heating, cooling
and ventilation
in your vehicle, push UPPER, BI-LEV,
LOWER, DEFOG or DEE AUTO will go off the
display. Set
the system to the temperature and fan speed
you want. The system will
try to maintain the
temperature you set using the mode you select.
The
following suggestions will help the system run more
efficiently in manual mode.
RECIRC: This setting recirculates much of the
air inside your vehicle and sends it through the
instrument panel outlets. The
air conditioning
compressor will run automatically in
this setting unless
the outside temperature is below 38°F (3.3"C).
Page 167 of 402
Heating Ventilation System
On cold days use LOWER. The system will bring in
outside
air, heat it and send it to the floor ducts.
If your vehicle has
an engine coolant heater, you can use
it to help
your system provide warm air faster when it’s
cold outside
0°F (- 18°C) or lower. An engine coolant
heater
warms the coolant your engine and heating
system uses to provide heat. See “Engine Coolant
Heater” in the Index.
Ventilation
For mild, outside temperatures when little heating or
cooling is needed, use
UPPER with the A/C button off,
to direct outside air through your vehicle. Your vehicle
also has the flow-through ventilation system described
later in this section.
Defogging and Defrosting
Your system has two settings for clearing the front and
side windows. To defrost the windows quickly, use DEE
To warm passengers while keeping the windows clean,
use
DEFOG.
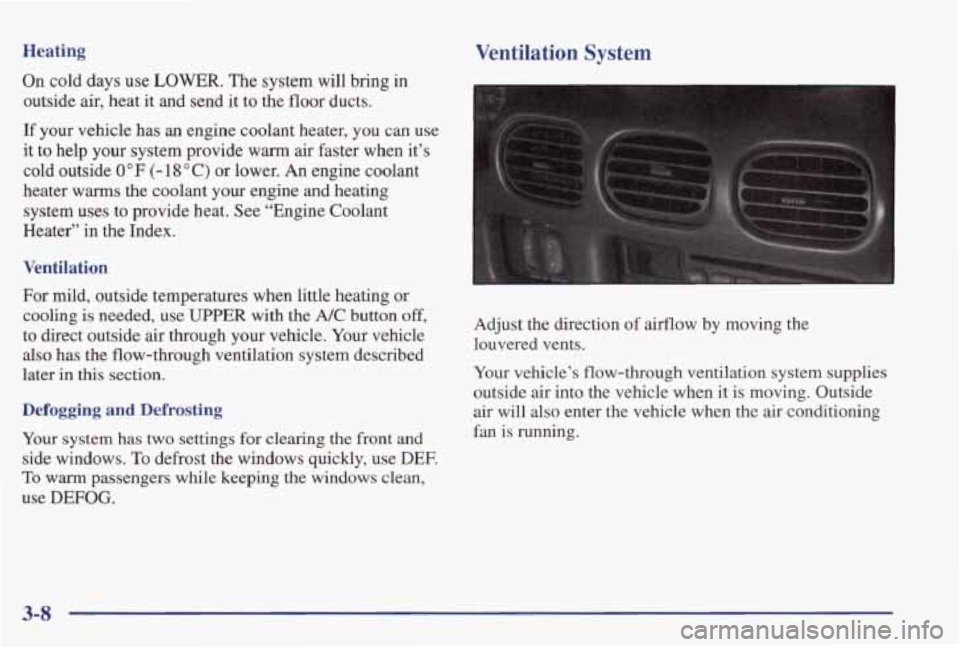
Adjust the direction of airflow by moving the
louvered vents.
Your vehicle’s flow-through ventilation system supplies
outside
air into the vehicle when it is moving. Outside
air will also enter the vehicle when the
air conditioning
fan is running.
3-8
Page 232 of 402
Driving On Grades
Reduce speed and shift to a lower gear before you start
down a long or steep downgrade.
If you don’t shift
down, you might have to use your brakes
so much that
they would get hot and no longer work well.
On a long uphill grade, shift down and reduce your
speed to around
45 mph (70 km/h) to reduce the
possibility of engine and transaxle overheating.
If you have overdrive, you may want to drive in
THIRD (3), instead of DRIVE (D).
Parking on Hills
You really should not park your vehicle, with a trailer
attached, on a hill.
If something goes wrong, your rig
could start
to move. People can be injured, and both
your vehicle and the trailer can be damaged.
But if you ever have to park your rig on a hill, here’s
how to do it:
1. Apply your regular brakes, but don’t shift into
2. Have someone place chocks under the trailer wheels.
3. When the wheel chocks are in place, release the
regular brakes until the chocks absorb the load.
4. Reapply the regular brakes. Then apply your parking
brake, and then shift to PARK (P).
5. Release the regular brakes. PARK (P) yet.
4-39