1998 PONTIAC BONNEVILLE fuel
[x] Cancel search: fuelPage 6 of 395
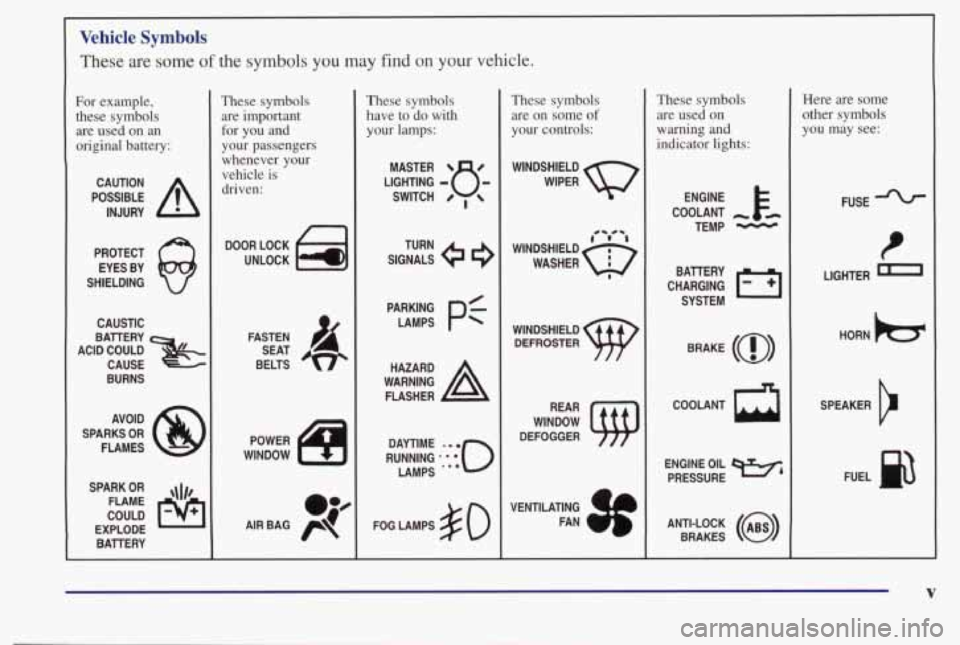
Vehicle Symbols
These are some of the symbols you may find on your vehicle.
For example,
these symbols are used on an
original battery:
POSSIBLE A
CAUTION
INJURY
PROTECT EYES BY
SHIELDING
Q
CAUSTIC
ACID COULD BAllERY
CAUSE -~~-. .
BURNS
AVOID
SPARKS
OR
FLAMES
SPARK
OR ,\I/,
COULD FLAME
EXPLODE BAllERY
I
These symbols are important
for you and
your passengers
whenever your
vehicle is
driven:
DOOR LOCK
UNLOCK
n
POWER
WINDOW
oJ4
AIR BAG p
These symbols
have to do with your lamps:
SIGNALS e3
TURN
FOG LAMPS
# 0
These symbols are on some
of
your controls:
WINDSHIELD
WIPER
WINDSHIELD
DEFROSTER
DEFOGGER
VENTILATING FAN
( rc?: A
These symbols are used on
warning
and
indicator lights:
COOLANT -
TEMP -
CHARGING I-1
BAllERY
SYSTEM
BRAKE
(a)
R
Here are some
other symbols
you may see:
FUSE
LIGHTER
n
HORN )b.
ENGINE OIL e,
PRESSURE
V
SPEAKER
b
FUEL
Page 68 of 395
Operation
The driver’s door will unlock when UNLOCK is
pressed. The fuel door
will also unlock when UNLOCK
is pressed, if you have the optional fuel door lock.
If
UNLOCK is pressed again within five seconds, all
doors
will unlock. Pressing the UNLOCK button will
also illuminate the interior lamps. See “Illuminated
Entry”
in the index.
All doors will lock when LOCK is pressed.
The
trunk will unlock when the trunk symbol is pressed
when
the ignition is OFF. The trunk symbol will
also work when the ignition is on, but only while
in
PARK (P).
Instant Alarm
When the button with the horn symbol on the key
transmitter is pressed, the horn will sound and the
headlamps and taillamps will flash for up to one minute.
This can be turned off by pressing the instant alarm
button again or by turning the ignition to
ON. If your
vehicle is equipped with the Universal Theft-Deterrent
feature, you may also turn
off the alarm by unlocking
the vehicle with a key. See “Universal Theft-Deterrent”
in the Index.
Resynchronization
If only the instant alarm button works, the rransmitter
needs to be resynchronized to the receiver.
Do this by
pressing and holding both the
LOCK and UNLOCK
buttons at the same time for about eight seconds. You
must be within range of the vehicle.
When the system has been resynchronized, the horn
will
chrp and the exterior lamps will flash once. The system
should now operate properly.
Personalization Features
The following list of features that are available on your
vehicle can be programmed to each driver’s preference
for
each of the key transmitters.
Programmable Automatic Door Locks: This feature
programs your door locks to automatically lock or
unlock when shifting in and out
of PARK (P).
Security Feedback: This feature provides feedback to
the driver when the vehicle receives a command from
the key transmitter.
Delayed Locking: This feature lets the driver delay the
actual locking of the vehicle. When all doors have been
closed, the doors will lock automatically after five seconds.
For more detailed information
and programming
instructions, refer to the Index for each individual
feature listed above.
2-11
Page 75 of 395
PASS-Key@ I1
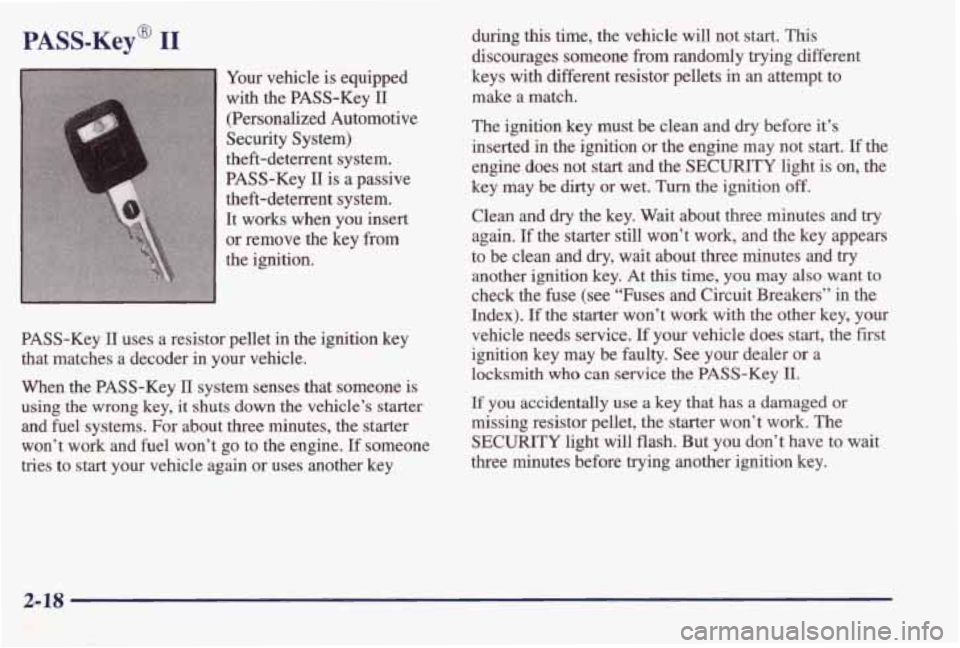
Your vehicle is equipped
with the PASS-Key
11
(Personalized Automotive
Security System)
theft-deterrent system.
PASS-Key
II is a passive
theft-deterrent system.
It works when you insert
or remove the key from
the ignition.
PASS-Key
11 uses a resistor pellet in the ignition key
that matches a decoder in your vehicle.
When the PASS-Key
11 system senses that someone is
using
the wrong key, it shuts down the vehicle’s starter
and fuel systems. For about three minutes, the starter
won’t work and fuel won’t go to the engine.
If someone
tries
to start your vehicle again or uses another key during
this time, the vehicle will not start. This
discourages someone from randomly trying different
keys with different resistor pellets in
an attempt to
make a match.
The ignition key must be clean and
dry before it’s
inserted in the ignition or the engine may not start.
If the
engine does not
start and the SECURITY light is on, the
key may be
dirty or wet. Turn the ignition off,
Clean and dry the key. Wait about three minutes and try
again. If the starter still won’t work, and the key appears
to be clean and
dry, wait about three minutes and try
another ignition key. At this time, you may also want to
check the
fuse (see “Fuses and Circuit Breakers” in the
Index).
If the starter won’t work with the other key, your
vehicle needs service.
If your vehicle does start, the first
ignition key may be faulty. See your dealer
or a
locksmith who can service
the PASS-Key II.
If you accidentally use a key that has a damaged or
missing resistor pellet, the starter won’t work. The
SECURITY light will flash. But you don’t have to wait
three minutes before trying another ignition
key.
Page 80 of 395
Engine Coolant Heater (If Equipped)
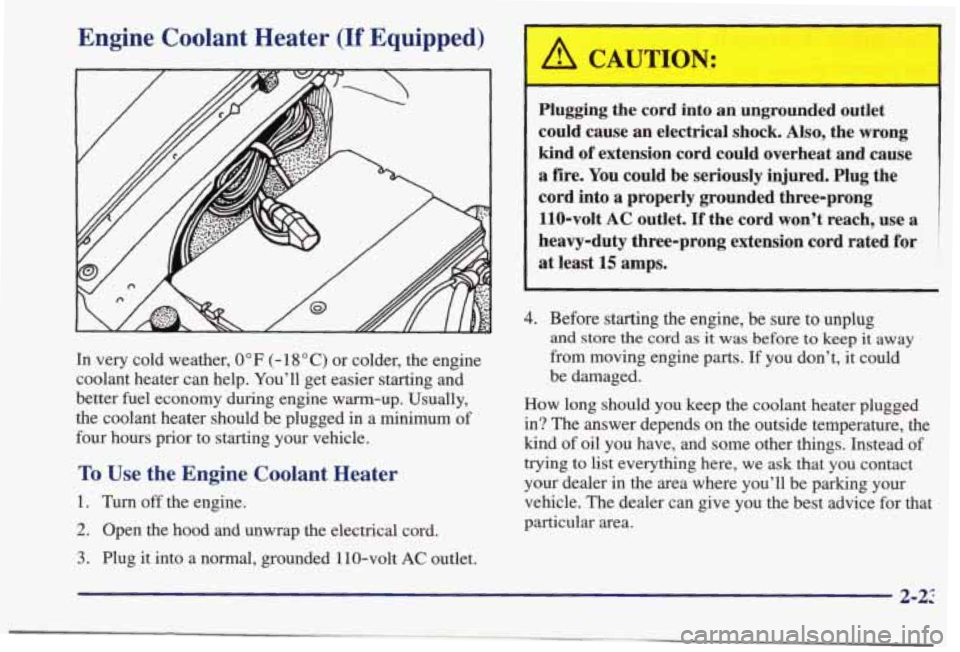
In very cold weather, 0” F (- 18 O C) or colder, the engine
coolant heater can help. You’ll get easier starting and
better fuel economy during engine warm-up. Usually,
the coolant heater should be plugged in a minimum of
four hours prior to starting your vehicle.
To Use the Engine Coolant Heater
1. Turn off the engine.
2. Open the hood and unwrap the electrical cord.
3. Plug it into a normal, grounded 1 10-volt AC outlet.
/1 CAUTION:
Plugging the cord into an ungrounded outlet
could cause
an electrical shock. Also, the wrong
kind of extension cord could overheat and cause
a fire. You could be seriously injured. Plug the
cord into a properly grounded three-prong
110-volt AC outlet.
If the cord won’t reach, use a
heavy-duty three-prong extension cord rated for at least
15 amps.
4. Before starting the engine, be sure to unplug
and store the cord as it was before to keep it away
from moving engine parts.
If you don’t, it could
be damaged.
How long should you keep the coolant heater plugged in? The answer depends
on the outside temperature, the
kind of oil you have, and some other things. Instead of
trying to list everything here, we ask that you contact
your dealer in the area where you’ll be parking your
vehicle. The dealer can give you the best advice for that
particular area.
2-22
Page 83 of 395
AUTOMATIC OVERDRIVE (@I): This position is
for normal driving.
If you need more power for passing,
and you’re:
Going less than about 35 mph (55 km/h), push your
0 Going about 35 mph (55 km/h) or more, push the
You’ll shift down to the next gear and have more power.
accelerator pedal about halfway down.
accelerator
all the way down.
NOTICE:
If your vehicle seems to start up rather slowly, or
if it seems not to shift gears as you go faster,
something may be wrong with a transaxle system
sensor.
If you drive very far that way, your
vehicle can be damaged.
So, if this happens, have
your
vehicle serviced right away. Until then, you
can use
SECOND (2) when you are driving less
than 35 mph (55 km/h) and AUTOMATIC
OVERDRIVE (0) for higher speeds.
DRIVE @): This position is also used for normal
driving, however, it offers more power and lower fuel
economy than AUTOMATIC OVERDRIVE (@).
Here are some times you might choose DRIVE (D)
instead of AUTOMATIC OVERDRIVE (0):
When driving on hilly, winding roads
When towing a trailer, so there is less shifting
When going down a steep hill
SECOND (2): This position gives you more power but
lower fuel economy.
You can use SECOND (2) on hills.
It can help control your speed as you go down steep
mountain roads, but then
you would also want to use
your brakes
off and on.
between gears
NOTICE:
Don’t drive in SECOND (2) for more than
5 miles (8 km), or at speeds over 55 mph
(90 M), or you can damage your transaxle.
Use AUTOMATIC OVERDRIVE (0) or
DRIVE @) as much as possible.
Don’t shif’t into SECOND (2) unless you are going
slower than 65 mph (105 km/h), or you can
damage your engine.
2-26
Page 84 of 395
FIRST (1): This position gives you even more power
(but lower fuel economy) than
SECOND (2). You can
use it on very steep hills, or in deep snow or mud.
If
the selector lever is put in FIRST (l), the transaxle
won't
shift into first gear until the vehicle is going
slowly enough.
NOTICE:
If your front wheels can't rotate, don't try to
drive. This might happen
if you were stuck in
very deep sand or mud or were up against a solid
object. You could damage your transaxle.
Also, if you stop when going uphill, don't hold
your vehicle there with only the accelerator
pedal. This could overheat and damage the
transaxle. Use your brakes or shift into
PARK (P)
to hold your vehicle in position on a hill.
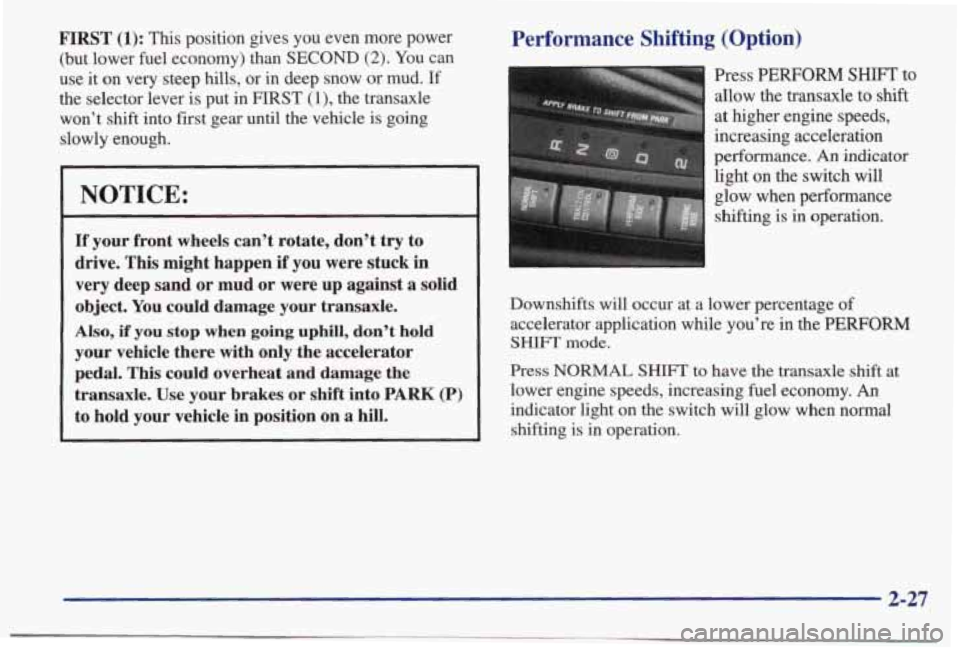
Performance Shifting (Option)
Press PERFORM SHIFI' to
allow the transaxle to shift
at higher engine speeds,
increasing acceleration
performance.
An indicator
light on the switch will
glow when performance
shifting is
in operation.
Downshifts will occur at a lower percentage
of
accelerator application while you're in the PERFORM
SHIFT mode.
Press NORMAL SHIFT to have the transaxle shift at
lower engine speeds, increasing fuel economy.
An
indicator light on the switch will glow when normal
shifting is in operation.
2-27
Page 115 of 395
Instrument Panel Clusters
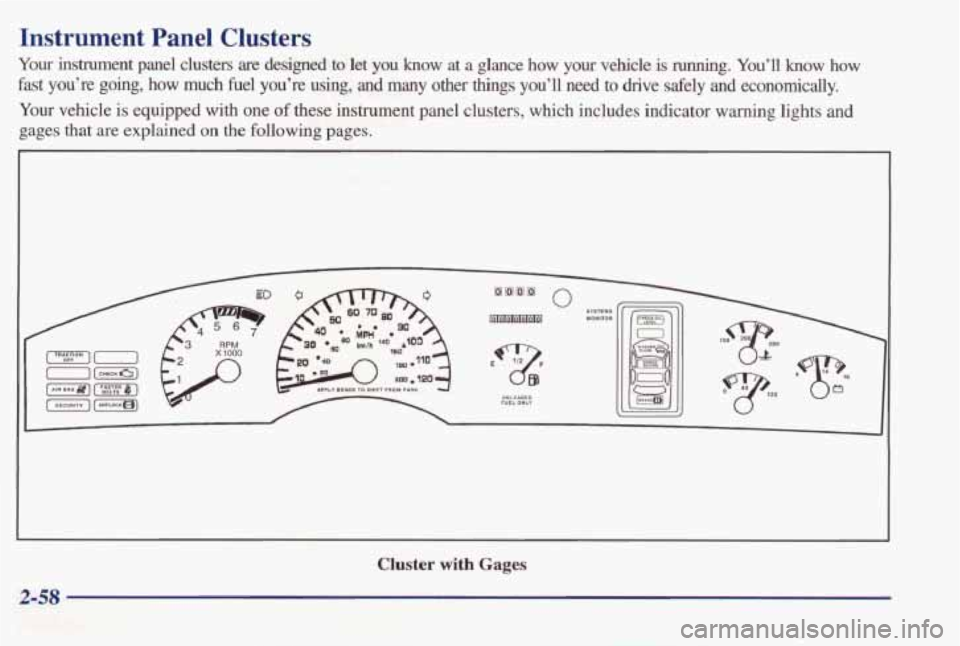
Your instrument panel clusters are designed to let you know at a glance how your vehicle is running. You’ll know how
fast you’re going, how much fuel you’re using, and many
other things you’ll need to drive safely and economically.
Your vehicle is equipped with one
of these instrument panel clusters, which includes indicator warning lights and
gages that are explained on the following pages.
Cluster with Gages
2-58
Page 125 of 395
Engine Coolant Temperature Gage
280
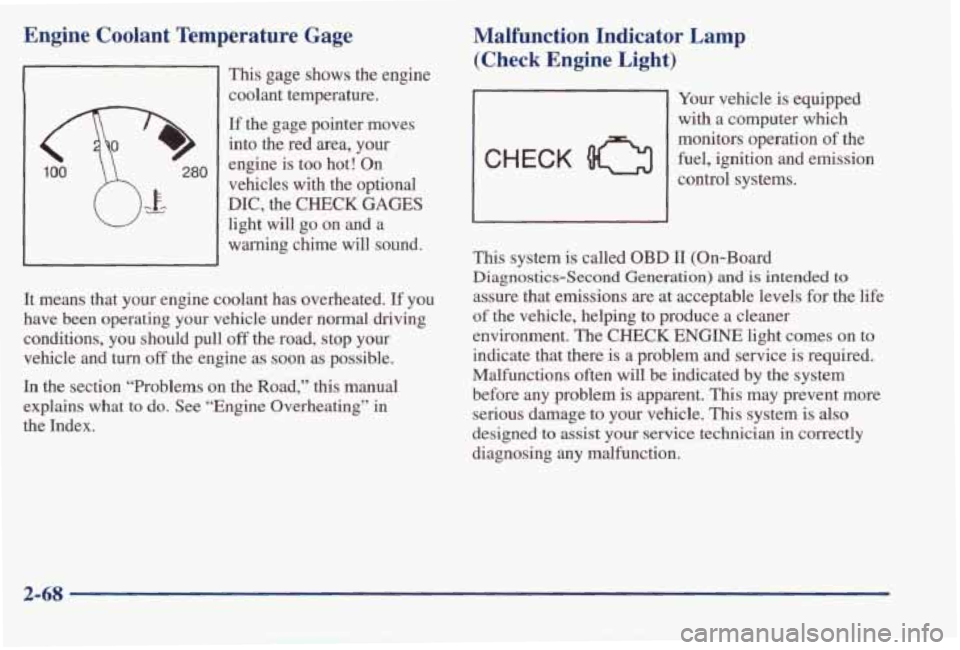
This gage shows the engine
coolant temperature.
If the gage pointer moves
into
the red area, your
engine is too hot! On
vehicles
with the optional
DIC, the CHECK GAGES
light will go on and a
warning chime will sound.
It means that your engine coolant has overheated.
If you
have been operating your vehicle under normal driving
conditions, you should pull
off the road, stop your
vehicle and
turn off the engine as soon as possible.
In the section “Problems
on the Road,” this manual
explains what to
do. See “Engine Overheating” in
the Index.
Malfunction Indicator Lamp (Check Engine Light)
CHECK 0
Your vehicle is equipped
with a computer which
monitors operation of the
fuel, ignition and emission
control systems.
This system is called OBD II (On-Board
Diagnostics-Second Generation)
and is intended to
assure that emissions are at acceptable levels for the life
of the vehicle, helping to produce a cleaner
environment. The
CHECK ENGINE light comes on to
indicate that there is a problem and service is required.
Malfunctions often will be indicated by the system
before any problem is apparent. This may prevent more
serious damage to your vehicle. This system is also
designed to assist your service technician in correctly
diagnosing any malfunction.
2-68