1998 OLDSMOBILE SILHOUETTE instrument panel
[x] Cancel search: instrument panelPage 189 of 444

When one of the warning lights comes on and stays on
when you are driving, or when one of the gages shows
there may be a problem, check the section that tells you
what to do about it. Please follow this manual’s advice.
Waiting to do repairs can be costly
-- and even
dangerous.
So please get to know your warning lights
and gages. They’re a big help.
Safety Belt Reminder Light
When the key is turned to RUN or START, a chime will
come on for about eight seconds to remind people to
fasten their safety belts.
The safety belt light will
also come on and stay on
for about
70 seconds. If the
driver’s belt is already
buckled, neither the chime
nor the light will come on.
Air Bag Readiness Light
There is an air bag readiness light on the instrument
panel, which shows a deployed air bag. The system
checks the air bag’s electrical system for malfunctions.
The light tells
you if there is an electrical problem. The
system check includes the air bag sensors, the air bag
module, the wiring and the diagnostic module. For more
information on the air bag system, see “Air Bag” in
the Index.
This light will come on
when you start your engine,
and it will flash for a few
seconds. Then the light
should go out. This means
the system
is ready.
If the air bag readiness light stays on after you
start the
engine or comes
on when you are driving, your air bag
system may not work properly. Have your vehicle
serviced right away.
The air bag readiness light should flash for a few
seconds when you turn the ignition key to
RUN. If the
light doesn’t come on then, have it fixed
so it will be
ready
to warn you if there is a problem.
2-87
ProCarManuals.com
Page 193 of 444
The traction control system warning light may come on
for the following reasons:
If there’s a brake system problem that is specifically
related to traction control, the traction control system
will turn
off and the warning light will come on. If
your brakes begin to overheat, the traction control
system will turn off and the warning light will come
on until your brakes cool down.
If the traction control system is affected by an
engine-related problem, the system will turn off and
the warning light will come on.
If the traction control system warning light comes on
and stays
on for an extended period of time when the
system
is turned on, your vehicle needs service.
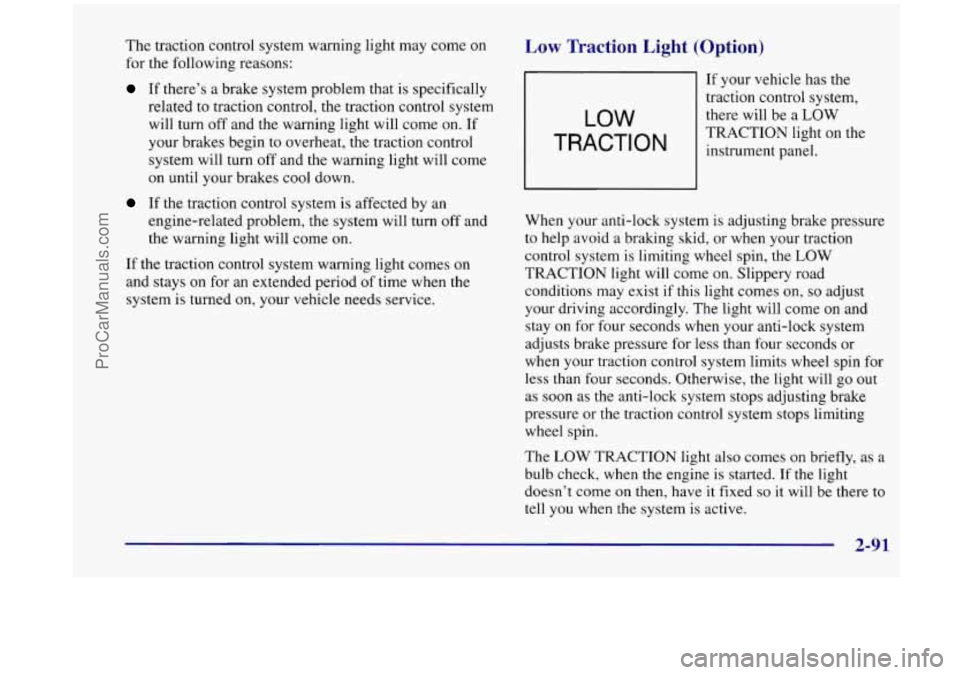
Low Traction Light (Option)
LOW
TRACTION
If your vehicle has the
traction control system,
there will be a
LOW
TRACTION light on the
instrument panel.
When your anti-lock system is adjusting brake pressure
to help avoid a braking skid, or when your traction
control system is limiting wheel spin, the
LOW
TRACTION light will come on. Slippery road
conditions may exist if this light comes on,
so adjust
your driving accordingly. The light will come on and
stay
on for four seconds when your anti-lock system
adjusts brake pressure for less than four seconds or
when your traction control system limits wheel spin for
less than four seconds. Otherwise, the light will
go out
as soon as the anti-lock system
stops adjusting brake
pressure or the traction control system stops limiting
wheel spin.
The
LOW TRACTION light also comes on briefly, as a
bulb check, when the engine is started. If the light
doesn’t come on then, have it fixed
so it will be there to
tell you when
the system is active.
2-91
ProCarManuals.com
Page 206 of 444

Comfort Controls
This section tells you how to make your air system work
for you. Your comfort control system uses
ozone-friendly
R- 134a refrigerant.
With these systems,
you can control the heating, cooling
and ventilation
in your vehicle. Your vehicle also has a
flow-through ventilation system described later
in
this section.
Fan Knob
The left knob is the fan knob and selects the force of air
you want. Turn the knob to the right to increase fan
speed and to the left to decrease fan speed. The fan must be turned on
for the air conditioning compressor
to operate.
Temperature Knob
The center knob controls the temperature of the air
coming through the system. Turn it to the left (toward
the blue area) for cooler air. Turn it to the right (toward
the red area) for warmer air.
Mode Knob
This knob selects the direction of where the air will
enter the vehicle.
/J UPPER: This setting directs outside air through
the instrument panel outlets.
+fl BI-LEV: This setting directs outside air into your
vehicle in two ways. Cooler air is directed toward your
upper body through the front instrument panel outlets,
while warmed air is directed through the heater ducts at
your feet.
+d LOWER: This setting brings in most of the air
through the floor ducts. This setting is also used to send
air to the rear of the vehicle. Keep the area under the
front seats free
of objects that could obstruct airflow to
the rear
of the vehicle.
+0
+e
0
3-2
ProCarManuals.com
Page 208 of 444
Heating
Turn the temperature knob to the right (toward the red
area) to warm the air.
In the LOWER mode, outside air will be brought in and
sent through the floor outlets.
The heater works best if
you keep your windows closed while using it.
Defogging and Defrosting
To rapidly defrost the windshield, turn the temperature
control knob all the way to the right (to the red area) and
turn the mode
knob to DEFROST.
The BI-LEV setting
is designed for use on sunny days
when the air is only moderately warm or cool. On days
like these, the sun may adequately warm your upper
body, but your lower body may not be
warm enough.
For the best results, turn the temperature control knob
to
the middle position, and then adjust it for comfort.
If
you have the optional engine coolant heater and use it
during cold weather, 0 “F (- 18 O C) or lower, your heating
system will provide heat more quickly because the
engine coolant is already warmed. See “Engine Coolant
Heater” in
the Index. Adjust the
fan to the highest speed.
To keep the windshield clear and bring in heated air
through the heater ducts, turn the mode knob
to DEFOG.
When the temperature outside
is above freezing, the air
conditioner compressor will run in these settings to help
remove moisture from the air.
Your vehicle is equipped with side window defogger
vents located
on the top of the instrument panel. For
additional side window defogging, turn the mode knob
to the BI-LEVEL setting and adjust the fan to the
highest speed. Aim the
side vents on the instrument
panel toward the side windows. For increased airflow to
the side vents, close the center vents.
3-4
ProCarManuals.com
Page 210 of 444
Rear Climate Control (If Equipped)
If you have the optional rear climate control, the rear
seat passengers can control the temperature and
the
amount of air directed to the rear of the vehicle. The
amount of air directed to the rear of the vehicle can also
be adjusted using the front control for the rear fan.
Set the main climate control mode knob to
LOWER,
DEFOG or DEFROST, when outside temperatures are
cold or moderate, to send air to the rear of the vehicle
through the lower vents.
Set the main climate control mode knob to UPPER or
BI-LEV to send air to the rear
of the vehicle through the
headliner outlets.
To send conditioned air to the rear of the vehicle, press
the
A/C button (the light will glow) on the main climate
controls.
If you do not select NC, air directed to the rear
of the vehicle will be cabin temperature.
Rear Fan Control
This option comes with the rear climate controls.
Keep the area around the base
of the center instrument
panel console and
the area between and under the front
seats free
of objects that would obstruct airflow to the
rear
of the vehicle.
O’@ ’
/C
R (
REAR) c
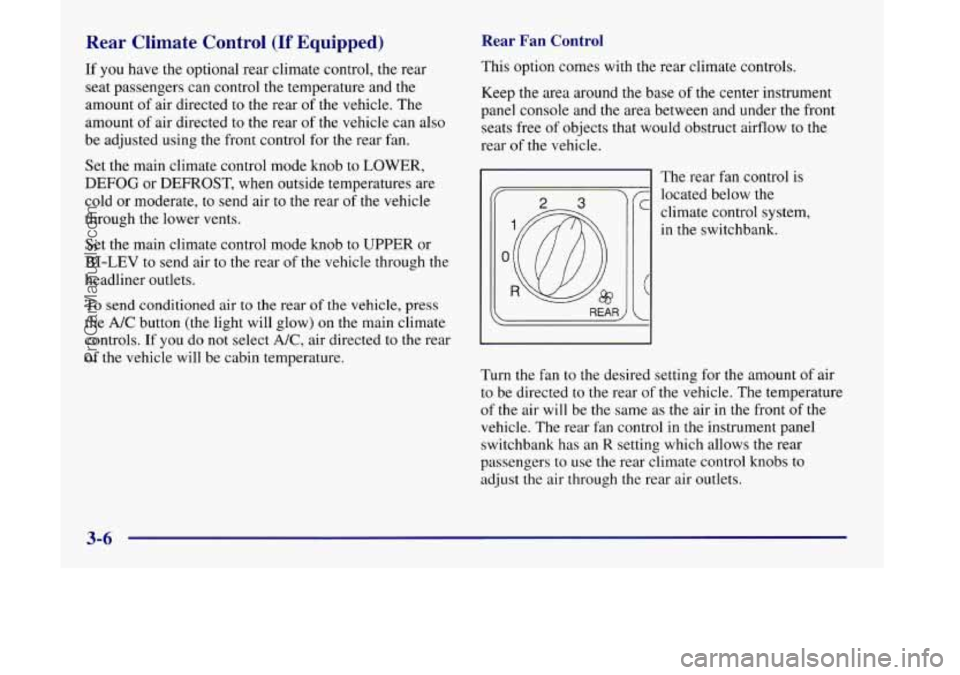
The rear fan control is
located below the
climate control system,
in the switchbank.
Turn the fan to the desired setting for the amount of air
to be directed to
the rear of the vehicle. The temperature
of the air will be
the same as the air in the front of the
vehicle. The rear fan control in the instrument panel
switchbank has an
R setting which allows the rear
passengers to use the rear climate control knobs to
adjust the air through the rear air outlets.
3-6
ProCarManuals.com
Page 211 of 444
Rear Comfort Controls
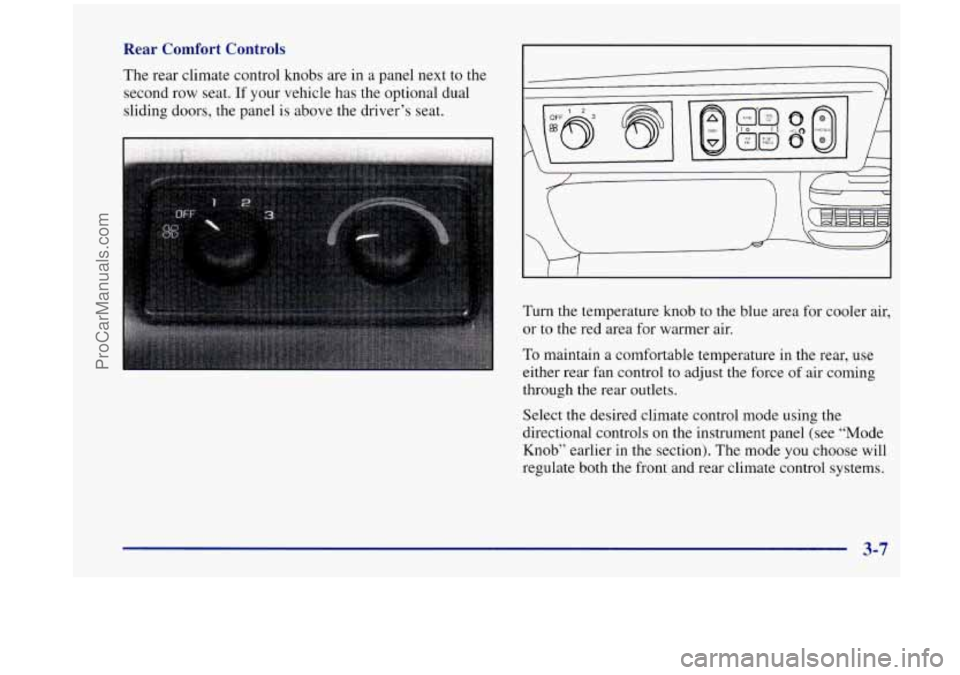
The rear climate control knobs are in a panel next to the
second row seat.
If your vehicle has the optional dual
sliding doors, the panel is above the driver’s seat. Cl
A
Turn the temperature knob to the blue area for cooler air,
or to the red area for warmer air.
To maintain a comfortable temperature in the rear, use
either rear fan control to adjust the force of air coming
through the rear outlets.
Select the desired climate control mode using the
directional controls on the instrument panel (see “Mode
Knob” earlier in the section). The mode you choose will
regulate both the front and rear climate control systems.
3-7
ProCarManuals.com
Page 212 of 444
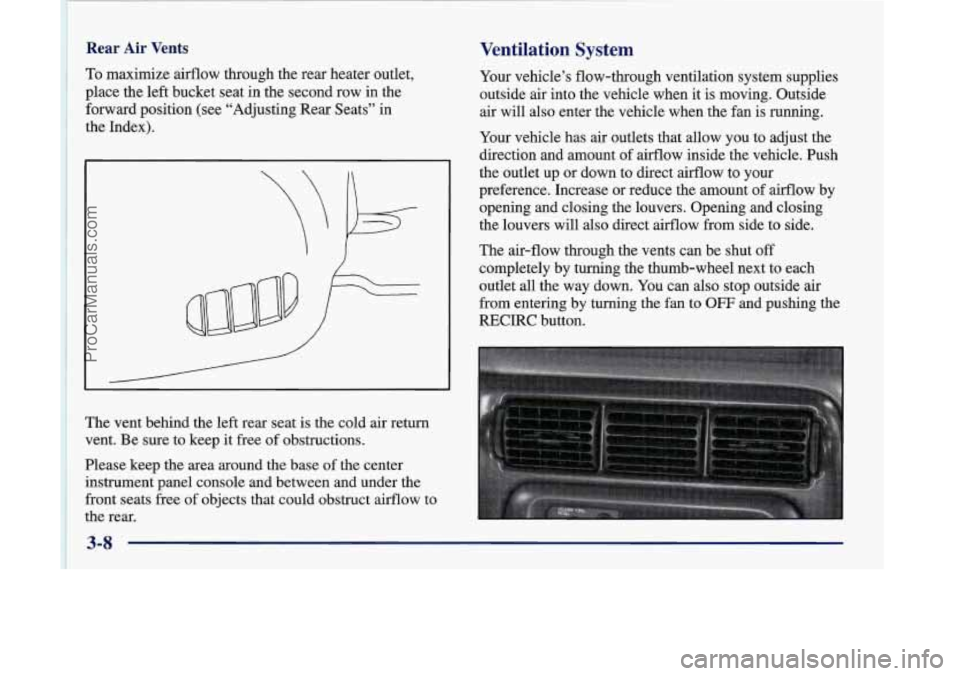
~ 1 To maximize airflow through the rear heater outlet,
i place the
left bucket seat in the second row in the
~ forward position (see “Adjusting Rear Seats” in
1 the Index).
Rear Air Vents
I
~
1 ~ vent. Be sure to keep it free of obstructions.
~ Please keep the area around the base of the center ’ instrument panel console and between and under the
~ front seats free of objects that could obstruct airflow to
~ the rear.
The
vent behind
the left rear seat is the cold air return
~
Ventilation System
Your vehicle’s flow-through ventilation system supplies
outside air into the vehicle when it is moving. Outside
air will also enter the vehicle when the fan
is running.
Your vehicle has
air outlets that allow you to adjust the
direction and amount
of airflow inside the vehicle. Push
the outlet up or down to direct airflow to your
preference. Increase or reduce the amount of airflow by
opening and closing the louvers. Opening and closing
the louvers will
also direct airflow from side to side.
The air-flow through the vents can be shut
off
completely by turning the thumb-wheel next to each
outlet all the way down. You can also stop outside air
from entering by turning the fan
to OFF and pushing the
RECIRC button.
ProCarManuals.com
Page 213 of 444
Ventilation Tips
Keep the hood and front air inlet free of ice, snow or
any other obstruction (such as leaves). This will
allow the heater and defroster to work much better,
reducing the chance of fogging the inside of
your windows.
When you enter a vehicle in cold weather, turn the
blower fan to
5 for a few moments before driving
off. This helps clear the intake ducts of snow and
moisture, and reduces the chance of fogging the
inside of your windows.
instrument panel console and the air path under the
front seats clear of objects. This helps air to circulate
throughout your vehicle.
Keep the area around the base of the center
In cold weather, operating the system in the
OUTSIDE AIR mode will improve the time it takes
to warm the vehicle.
Audio Systems
Your Delco Electronics audio system has been designed
to operate easily and give years
of listening pleasure.
You will get the most enjoyment out of it if you acquaint
yourself with it first. Find out what your Delco
Electronics system can do and how to operate all its
controls, to be sure you’re getting the most out of the
advanced engineering that went into it.
Setting the Clock for All Systems
Press and hold HR until the correct hour appears. Press
and hold
MN until the correct minute appears.
ProCarManuals.com